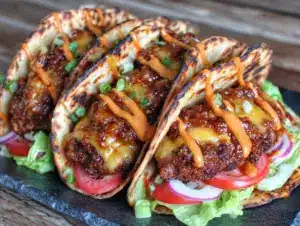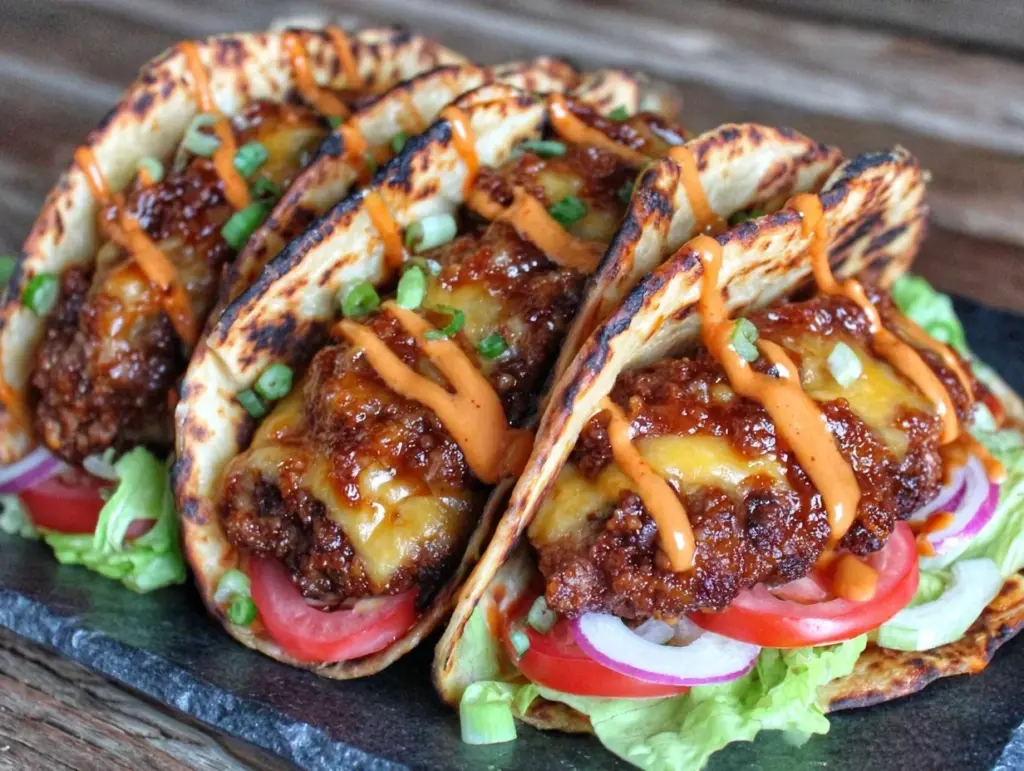
Last Tuesday, I stood in my kitchen at 5:30 PM, staring into the abyss of my empty fridge. It was one of those weeks where work ran late, the kids were loud, and the idea of chopping vegetables or monitoring a simmering sauce felt like climbing Mount Everest. I didn’t want takeout. I didn’t want salad. I wanted something warm, savory, and completely stress-free. So, I grabbed a pound of ground beef, some cheap flour tortillas, and a handful of shredded cheese. Ten minutes later, I had crispy, golden-brown burger patties smashed flat, seasoned simply, and tucked into warm tortillas with melty cheese and a drizzle of sauce. It tasted like a cheat day, but it was actually just dinner.
That night sparked a realization. If this could work for a chaotic Tuesday, why not make it for the whole week? I started experimenting with batch-cooking these smash burger tacos, realizing that the components freeze beautifully and reheat with surprising ease. The key isn’t just cooking the meat; it’s understanding how to store the crispy texture and how to assemble them so they don’t get soggy in the fridge. Now, I make a double batch every Sunday. I portion everything out, wrap them tight, and freeze them in groups of four. By Wednesday evening, when my energy is low, I just pull two out of the freezer, pop them in the air fryer or oven, and I’m eating like I just came from a drive-thru, but with zero guilt and zero wait time.
This smash burger tacos meal prep strategy has saved my sanity. It’s not about fancy ingredients or complex techniques. It’s about using the high-heat sear of a smash patty, which creates those delicious caramelized edges, and wrapping it in a vessel that holds up to freezing and reheating. I’ve tested this method with different cheeses, different sauces, and even different meats, but the base remains the same: beef, cheese, tortilla, repeat. It’s the ultimate “make it once, eat it four times this week” solution. Whether you’re a busy parent, a working professional, or just someone who hates doing dishes every single night, this recipe will become your new best friend. Let’s get into the details of how to nail this prep so you can stop worrying about dinner.
Why You’ll Love This Smash Burger Tacos Meal Prep
There’s a specific kind of relief that comes from opening your freezer and seeing four neatly wrapped, delicious meals ready to go. This isn’t just about saving time; it’s about reclaiming your evenings. Here’s why this smash burger tacos meal prep has earned a permanent spot in my weekly rotation:
- Textural Integrity — Most frozen tacos turn into a sad, soggy mess. Not these. By cooking the tortillas slightly before wrapping and using a proper reheating method, the outside stays crispy while the inside stays juicy. I’ve tested air frying, oven baking, and skillet reheating, and they all maintain that satisfying crunch.
- Super Fast Assembly — The actual cooking time is under 15 minutes. I can have four servings done before my laundry cycle finishes. This is crucial for weeknights when I’m exhausted. It’s faster than ordering pizza and significantly cheaper.
- Freezer-Friendly Components — Ground beef freezes exceptionally well, especially when seasoned simply. The cheese doesn’t separate, and the tortillas hold up if stored correctly. This means you can prep on Sunday and eat through Thursday without quality loss.
- Customizable Portions — I make these for my family of four, but I also freeze singles for myself or my husband’s quick lunch. You can adjust the beef-to-cheese ratio easily. If you’re watching calories, you can lean into the lean beef; if you’re not, go heavy on the cheddar.
- Versatile Flavor Profile — While I stick to classic burger flavors, the base is neutral enough to swap in different toppings. Pickles, onions, jalapeños, or even a spicy mayo—these tacos adapt to your mood. It’s like having four different dinners in one batch.
- Minimal Cleanup — You only need one large skillet or griddle for the beef. The rest is assembly. I find myself doing less dishwashing overall because I’m not washing pots and pans every night for five nights straight.
This is my go-to when dinner needs to just work. It’s reliable, it’s tasty, and it respects your time. Plus, if you’re looking for other make-ahead ideas, this method pairs perfectly with a high protein cottage cheese egg bites for a balanced week of grab-and-go breakfasts and lunches.
Key Ingredients for the Best Smash Burger Tacos
You don’t need fancy cuts of meat or gourmet toppings for this. In fact, simplicity is the secret. Here’s exactly what I buy and why, with specific measurements to ensure your smash burger tacos meal prep turns out perfectly every time.
Ground Beef (1 lb / 450g) — I use 80/20 ground chuck. The 20% fat content is non-negotiable. Lean beef dries out when frozen and reheated. You need that fat to render out during the smash, creating the crispy edges that make this recipe special. If you can only find 90/10, mix in a tablespoon of olive oil to compensate, but 80/20 is ideal.
Flour Tortillas (8 small / 8-inch diameter) — I prefer soft, pliable flour tortillas over corn. They stretch better when warm and don’t crack as easily when frozen. Look for brands that don’t have a strong “doughy” taste. Warm them slightly before wrapping to make them pliable. Store-bought is fine; homemade is unnecessary for meal prep.
Shredded Cheddar Cheese (2 cups / 200g) — Buy a block and shred it yourself. Pre-shredded cheese contains cellulose (anti-caking agents) that prevents it from melting smoothly. You want that gooey, stringy cheese pull. Sharp cheddar adds more flavor, but mild works if you prefer a milder taste. I use a mix of both.
Yellow Onion (1 medium / diced) — Finely diced yellow onion adds sweetness and texture. I sauté it briefly with the beef to caramelize it slightly, which adds depth to the frozen flavor. Don’t skip this; raw onion in a frozen taco tastes harsh.
Dijon Mustard (2 tbsp) — This is my secret weapon. A thin layer of Dijon on the tortilla before adding the patty cuts through the richness of the beef and cheese. It adds a tangy brightness that keeps the tacos from feeling heavy. It’s a classic burger topping for a reason.
Garlic Powder & Salt (1 tsp each) — Keep it simple. High-quality kosher salt and fresh garlic powder are enough. Avoid complex spice blends; you want the beef flavor to shine. If you like heat, add a pinch of cayenne, but keep the base classic.
Optional Toppings for Serving — Pickles, lettuce, tomato, and burger sauce. Note: Do NOT freeze these with the tacos. They will get mushy. Add fresh toppings when you reheat and serve.
Tools Needed for Smash Burger Tacos
You don’t need fancy equipment. Here’s what I use to make this smash burger tacos meal prep efficient and effective.
Heavy-Bottomed Skillet or Griddle — I use a 12-inch cast iron skillet. The heavy bottom retains heat, which is essential for the “smash.” When you drop the ball of beef onto the hot surface, you need that thermal mass to sear immediately. A thin stainless steel pan might cool down too much, resulting in steamed beef rather than crispy beef.
Smash Tool or Flat-Sided Spatula — You need something with a wide, flat surface to press the beef down. A dedicated smash tool works, but I often use the bottom of a heavy metal spatula or even a sturdy rubber mallet (clean, of course!). The goal is to get the patty thin, about 1/4 inch thick.
Offset Spatula — This is crucial for flipping. Once the edges are crispy and browned, you need to slide the spatula underneath cleanly. A regular spatula might tear the thin patty. An offset spatula gives you better leverage and control.
Freezer-Safe Containers or Bags — I use quart-sized ziplock bags, removing as much air as possible. This prevents freezer burn, which is the enemy of frozen meat. Alternatively, small airtight containers work if you prefer stackability, but bags save space.
Aluminum Foil or Parchment Paper — I place a small square of parchment between each taco if stacking them in the freezer. This prevents them from sticking together, so you can pull out just one or two at a time.
Step-by-Step Cooking Instructions
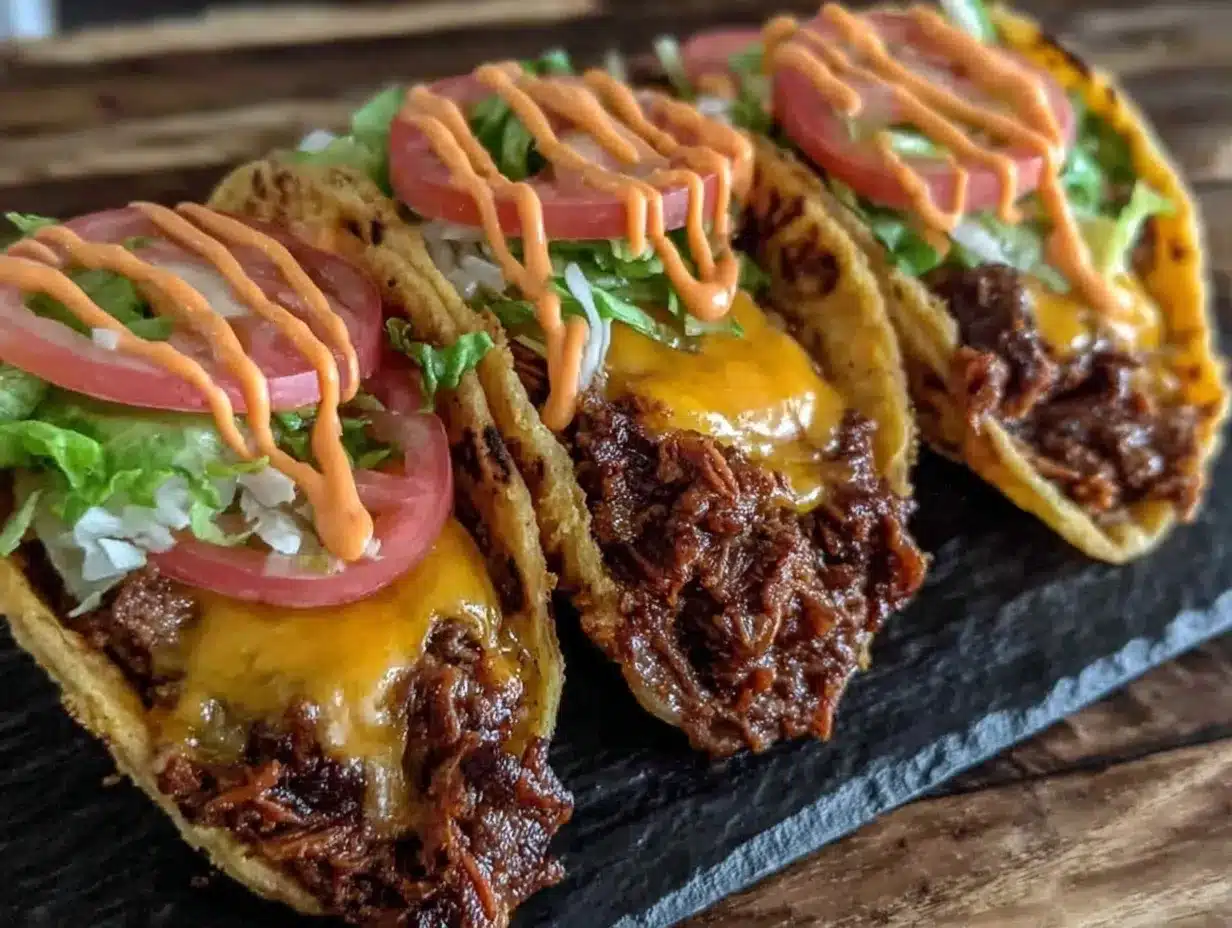
Let’s walk through exactly how to make this smash burger tacos meal prep. I’ve timed these steps so you can move through them efficiently.
Step 1: Prep the Beef Balls (5 minutes)
Divide your 1 lb of ground beef into four equal portions, about 4 ounces (115g) each. Roll them into loose balls. Do not pack them tight; loose balls allow for better expansion and even cooking. Keep them covered in the fridge until you’re ready to cook. This prevents them from drying out.
Step 2: Heat the Skillet (3 minutes)
Place your heavy skillet over medium-high heat. Let it get hot. You’re looking for a shimmering heat, not smoking, but definitely hot. Lightly grease with a neutral oil like avocado or canola. You don’t need much—just enough to prevent sticking and aid browning.
Step 3: Smash and Sear (2-3 minutes per batch)
Place one beef ball onto the hot skillet. Immediately press down with your smash tool or spatula. Apply firm, even pressure for 10-15 seconds. You want the patty to be thin and ragged at the edges. This creates the maximum surface area for the Maillard reaction (browning). Sprinkle with salt and garlic powder. Let it cook undisturbed for 2 minutes. You should see juices bubbling to the top. This means the bottom is seared.
Step 4: Flip and Cheese (1 minute)
Use your offset spatula to flip the patty. The underside should be dark brown and crispy. Immediately add a generous handful of shredded cheddar cheese. Add the sautéed onions if using. Cook for 30-60 seconds until the cheese is melted. Remove from heat. Repeat with the remaining three patties.
Step 5: Warm the Tortillas (2 minutes)
While the beef rests, warm your tortillas in a dry pan for 15 seconds per side, or microwave them wrapped in a damp paper towel for 30 seconds. They need to be pliable, not stiff. Cold tortillas will crack when you wrap them.
Step 6: Assemble and Wrap (5 minutes)
Place a warm tortilla on a flat surface. Spread a thin layer of Dijon mustard. Place the cheesy patty in the center. Roll it up tightly, tucking in the sides as you go. If freezing, wrap each taco individually in plastic wrap or foil, then place four tacos in a freezer bag. Remove all air. Label with the date.
Total Active Time: 20 minutes.
Total Prep Time: 30 minutes (including cooling and wrapping).
Yield: 4 tacos (enough for 2 servings if doubled).
Expert Tips for Perfect Frozen Smash Burger Tacos
Here’s everything I learned from making this too many times, so you don’t have to make the same mistakes.
Don’t Overcook the Beef Before Freezing
This is the #1 mistake. Ground beef continues to cook slightly when reheated. If you cook the patty to well-done before freezing, it will be dry and crumbly when you heat it up later. Aim for medium-well when you first make them. The internal temperature should be around 155°F (68°C). It will finish cooking in the air fryer or oven.
Use Parchment Paper Between Layers
If you stack tacos in the freezer without separation, they will fuse into one giant block of beef and cheese. I learned this the hard way when I tried to save space. Now, I use small squares of parchment paper between each taco. It takes an extra 30 seconds but saves so much frustration later.
Reheat in an Air Fryer for Best Results
While you can use the oven, the air fryer is superior for texture. It circulates hot air that crisps the tortilla without drying out the beef. Set it to 375°F (190°C) for 5-7 minutes. If you use the oven, bake at 400°F (200°C) on a wire rack for 10-12 minutes. Avoid the microwave unless you’re in a true emergency—it makes the tortilla chewy and rubbery.
Label Everything
It sounds obvious, but I’ve opened freezer bags full of unmarked meatballs and wondered, “What was this?” Write the date and contents on your freezer bags. These smash burger tacos meal prep packs last well for 3 months, but quality is best within the first 6 weeks.
Recipe Variations to Mix It Up
Once you’ve nailed the basic version, here’s how to mix it up so you don’t get bored.
Spicy Jalapeño Smash Tacos
Add diced jalapeños to the beef patty before smashing, or mix them into the cheese. Top with a slice of pepper jack cheese. This adds a kick that wakes up your palate. I make these for my husband when he wants something spicy.
Bacon and BBQ Smash Tacos
Swap the mustard for BBQ sauce. Add crumbled cooked bacon inside the taco. This tastes like a Texas-style burger. The smokiness of the bacon pairs perfectly with the frozen beef. Note: Ensure the bacon is fully cooked and drained of excess grease before wrapping.
Veggie-Loaded Smash Tacos
Mix finely chopped mushrooms and spinach into the beef before forming the balls. This adds moisture and nutrients. The mushrooms release water, so cook the patty a minute longer to evaporate it. This is a great way to sneak veggies into a meal.
Turkey Smash Tacos
For a lighter option, use 93/7 ground turkey. Turkey is leaner, so add a tablespoon of olive oil to the pan and mix a tablespoon of mayo into the meat for moisture. It won’t be as juicy as beef, but it’s a solid alternative. Season with cumin and chili powder for a Tex-Mex twist.
Gluten-Free Option
Simply swap the flour tortillas for corn tortillas or gluten-free flour tortillas. Corn tortillas are naturally gluten-free but more fragile, so handle them gently and don’t overfill them. They add a nice corn flavor that complements the beef.
Serving & Storage Guidelines
Serving Suggestions
When you reheat your smash burger tacos meal prep, serve them immediately while hot. I like to add fresh toppings after reheating. A few pickle slices, a handful of shredded lettuce, and a drizzle of burger sauce or ranch make a huge difference. They add crunch and freshness that balances the rich, savory beef. Pair with a side of budget-friendly watermelon feta salad for a refreshing contrast, or some crispy sheet pan potatoes for a hearty meal.
Storage Instructions
Room Temperature: Do not leave assembled tacos at room temperature for more than 2 hours. Bacteria grows quickly in the dairy and meat.
Refrigerator: These can be stored in the fridge for up to 3 days. Reheat in the air fryer or oven. They are best eaten fresh, as the tortillas may soften over time.
Freezer: This is where the magic happens. Store in airtight freezer bags for up to 3 months. To reheat from frozen, place directly in the air fryer at 375°F (190°C) for 8-10 minutes. No need to thaw. Thawing can make the tortilla soggy.
Meal Prep Tip: I prep on Sunday, freeze through Wednesday, and eat Thursday and Friday. This ensures the beef stays fresh-tasting.
Nutrition Information
I’m not a nutritionist, but here’s the breakdown per taco (based on 80/20 beef, cheddar cheese, flour tortilla, and mustard).
| Nutrient | Amount |
|---|---|
| Calories | 480 kcal |
| Protein | 28g |
| Carbohydrates | 32g |
| Fat | 26g |
| Fiber | 1g |
| Sodium | 650mg |
My Take: This is comfort food. It’s high in protein and fat, which keeps you full, but it’s also calorie-dense. If you’re watching your intake, consider using leaner beef or smaller tortillas. But honestly? It’s better than takeout and you know exactly what’s in it. It’s a balanced indulgence.
Final Thoughts
Mastering this smash burger tacos meal prep has changed how I approach weeknight dinners. It’s not about perfection; it’s about having a reliable, tasty option ready when you need it. I hope you give it a try. Make a double batch, freeze half, and enjoy the peace of mind knowing dinner is handled. If you make this, drop a comment! I love hearing how it turns out in your kitchen. Happy cooking!
FAQs
Can I freeze the tacos with toppings already inside?
No. Fresh toppings like lettuce, tomato, and pickles will become mushy and release water when frozen and reheated. This will make your tortilla soggy. Always add fresh toppings after reheating. You can freeze cooked onions or peppers, but raw veggies are best saved for serving.
Why did my smash patties stick to the skillet?
This usually happens if the pan isn’t hot enough before you add the meat, or if you try to flip them too early. Let the patty sear for 2 minutes until a crust forms. The crust will release from the pan naturally. If it sticks, your heat was too low or the pan wasn’t preheated properly.
Can I use ground chicken or turkey instead?
Yes, but adjust your expectations. Chicken and turkey are leaner and won’t get as crispy or juicy. Add a tablespoon of oil to the meat mixture and cook them slightly longer to ensure they’re fully cooked. They will be lighter and less “burger-like,” but still delicious.
How do I prevent the tortillas from cracking when wrapping?
Cold tortillas crack. Always warm them before wrapping. You can microwave them for 15 seconds or heat them in a dry pan for 10 seconds per side. They should be pliable and soft. If they’re still stiff, warm them a bit longer.
Do these taste good cold from the fridge?
They are edible, but not ideal. The cheese will be firm, and the tortilla will be chewy. I highly recommend reheating them. The air fryer or oven brings back the texture. If you must eat them cold, let them sit at room temperature for 10 minutes first.
Can I double the recipe?
Absolutely. I often make two pounds of beef at once. Just ensure you have enough freezer space. Use multiple bags and label them clearly. This recipe scales very well for larger families or for stocking the freezer for guests.
Pin This Recipe!
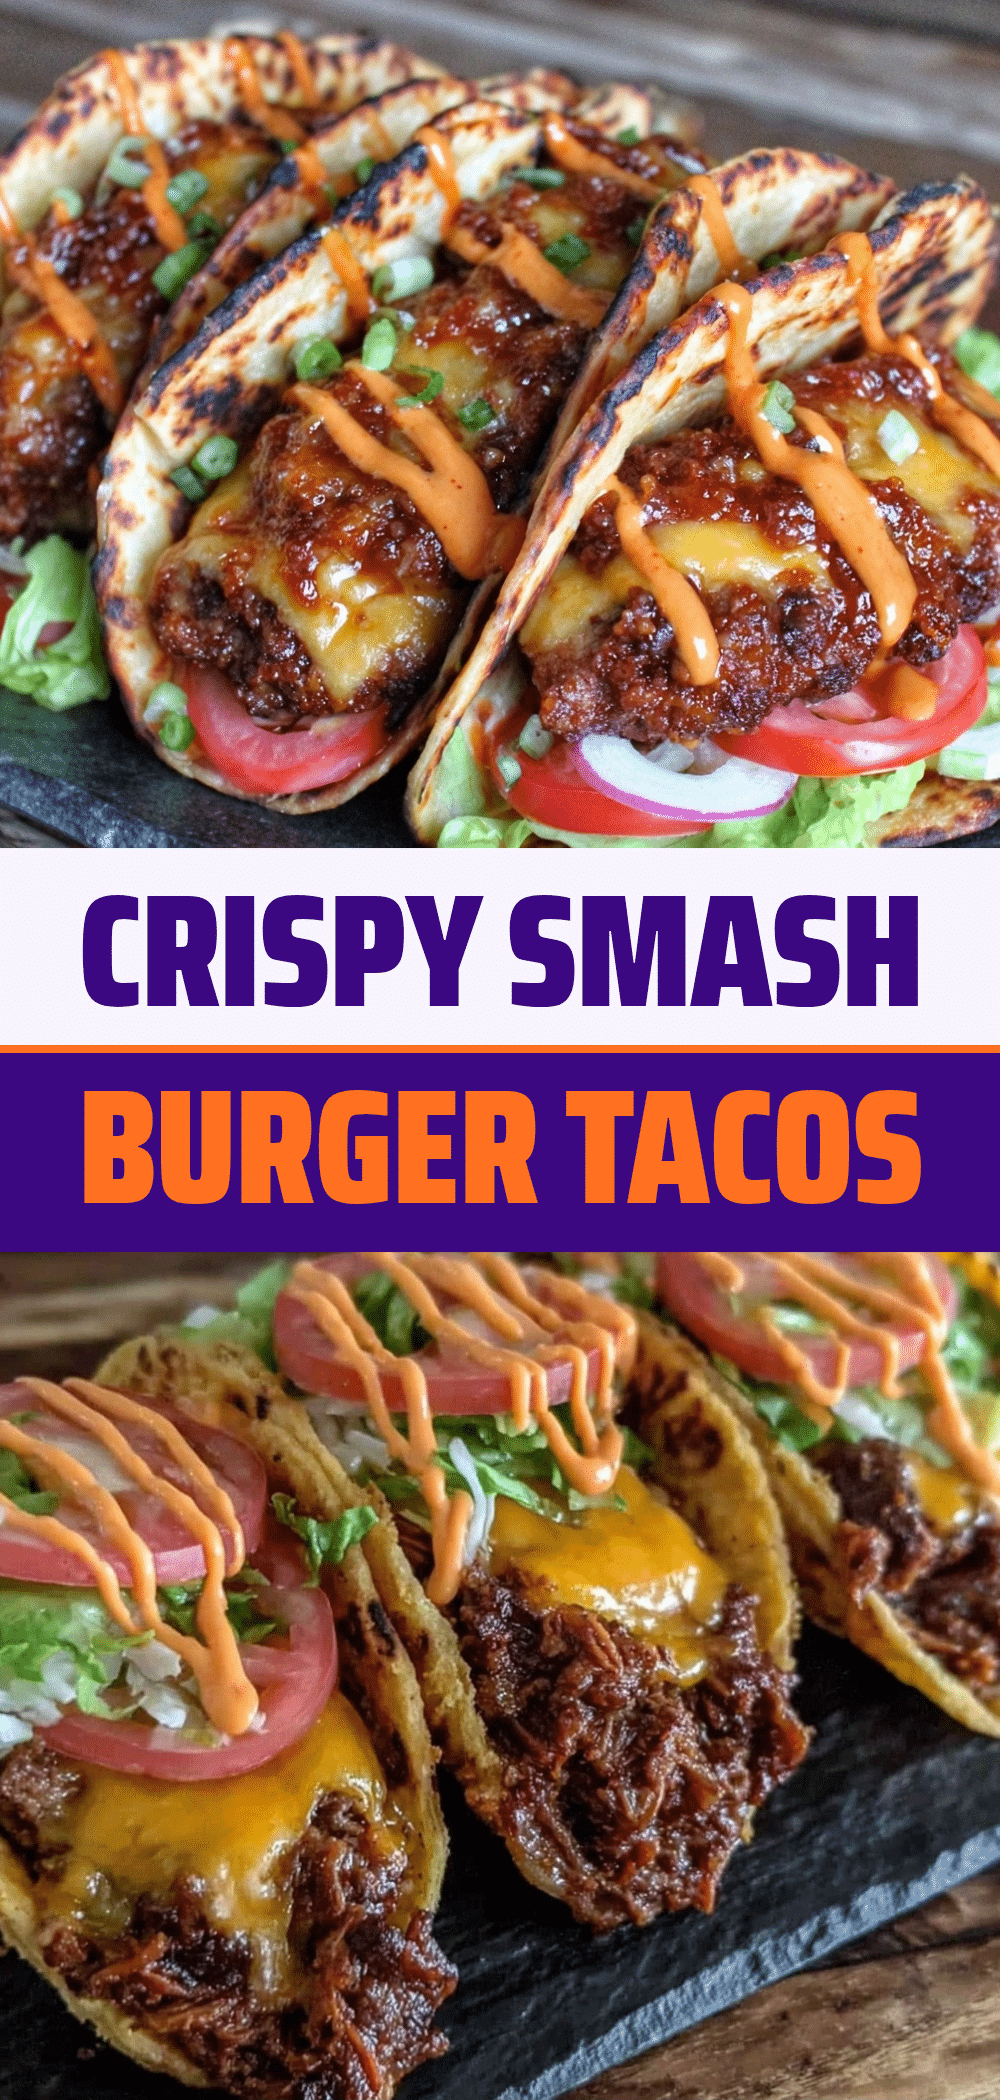
Smash Burger Tacos Meal Prep: 4 Easy Grab-and-Go Freezer Meals
- Total Time: 45 minutes
- Yield: 4 tacos 1x
Description
A stress-free meal prep solution featuring crispy smash burger patties wrapped in warm tortillas with cheese and mustard, designed to be batch-cooked, frozen, and reheated for quick weeknight dinners.
Ingredients
- 1 lb (450g) 80/20 ground chuck
- 8 small flour tortillas (8-inch diameter)
- 2 cups (200g) shredded cheddar cheese
- 1 medium yellow onion, diced
- 2 tbsp Dijon mustard
- 1 tsp kosher salt
- 1 tsp garlic powder
- Neutral oil (avocado or canola) for greasing skillet
Instructions
- Divide ground beef into four 4-ounce loose balls and keep covered in the fridge.
- Heat a heavy-bottomed skillet over medium-high heat and lightly grease with oil.
- Place one beef ball on the hot skillet and press down firmly with a smash tool or spatula for 10-15 seconds to create a thin patty.
- Sprinkle with salt and garlic powder, then cook undisturbed for 2 minutes until juices bubble to the top.
- Flip the patty, add shredded cheese and sautéed onions, and cook for 30-60 seconds until cheese melts.
- Remove patty from heat and repeat with remaining three patties.
- Warm tortillas in a dry pan or microwave until pliable.
- Spread Dijon mustard on a warm tortilla, place the cheesy patty in the center, and roll tightly, tucking in the sides.
- For freezing, wrap each taco individually in plastic wrap or foil, place four tacos in a freezer bag, remove air, and label with the date.
Notes
Do not freeze fresh toppings like lettuce, tomato, or pickles as they will become mushy. Add these after reheating. Ensure beef is cooked to medium-well (155°F) before freezing to prevent dryness upon reheating. Use parchment paper between tacos in the freezer to prevent sticking. Reheat in an air fryer at 375°F for 5-7 minutes for best texture.
- Prep Time: 30 minutes
- Cook Time: 15 minutes
- Category: Main Course
- Cuisine: American
Nutrition
- Serving Size: 1 taco
- Calories: 480
- Sodium: 650
- Fat: 26
- Carbohydrates: 32
- Fiber: 1
- Protein: 28
Keywords: smash burger tacos, meal prep, freezer meals, ground beef recipes, quick dinner, grab-and-go meals, air fryer recipes