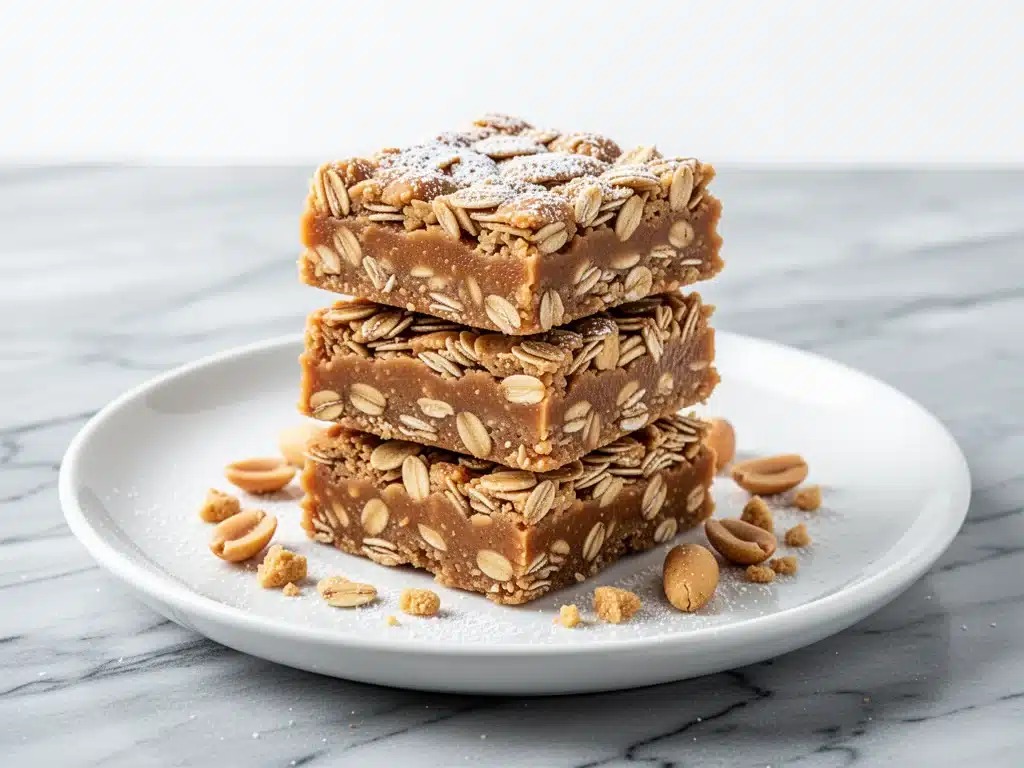
It was 7:45 AM on a Tuesday, and I was staring at a half-eaten granola bar like it owed me money. My seven-year-old had already eaten two breakfasts, my husband was running late for a meeting, and the lunchbox I was packing for my daughter looked suspiciously empty. I knew I needed something fast, something that wouldn’t make a mess in her backpack, and something that didn’t taste like cardboard. That was the day I finally stopped buying those expensive, pre-packaged “healthy” bars and started making these no-bake peanut butter oat bars.
I’ve made this batch at least fifty times over the last year. Sometimes it’s because I’m desperate for a quick breakfast. Sometimes it’s because I need to pack twelve lunchbox treats for a school bake sale. But mostly, I make them because they are the only thing that gets me through the chaotic morning rush without sacrificing my sanity—or my kid’s nutrition. These bars are chewy, sweet, salty, and hold together perfectly (unlike those sad, crumbling granola bars you buy at the gas station). Best of all? You don’t need to turn on the oven. In the middle of summer, or just on a lazy Sunday, this is the easiest win you’ll have in the kitchen all week.
I remember my first attempt. I mixed everything, pressed it into the pan, and put it in the fridge. I got impatient and tried to cut one after twenty minutes. It was a sticky, melted disaster. Lesson learned: patience is key. But once I got the timing right, these bars became a staple. They’re my go-to for anything that requires food—school events, carpool snacks, post-workout fuel, or just when I need to sneak some protein into my kids without them noticing. If you’re looking for a reliable, healthy lunchbox treat that actually tastes good, you’re going to love this recipe.
Why You’ll Love This No-Bake Peanut Butter Oat Bars Recipe
There are a hundred reasons I keep coming back to this recipe, but they all boil down to simplicity and reliability. These aren’t fancy, artisanal treats that require a culinary degree. They’re practical, delicious, and incredibly versatile. Here’s why they’ve earned a permanent spot in my routine:
- Actually Takes Five Minutes (Plus Chilling) — The active cooking time is basically zero. You just melt, mix, press, and chill. I can have these ready to go before I finish my morning coffee. The “no-bake” part is the real hero here. No preheating, no watching the oven, no burning the edges.
- Perfectly Portable — I’ve packed these in hot car seats, cold backpacks, and lunchboxes that sit on desks for hours. They hold their shape. They don’t get sticky in your hand. They don’t crumble everywhere. My daughter’s teacher actually asked for the recipe because the bars survived a day in a first-grader’s backpack intact.
- Healthy-ish Comfort Food — Yes, they have honey and peanut butter, but they’re packed with fiber from the oats and protein from the nuts. They’re not a salad, but they’re not a cookie either. It’s the perfect middle ground. I feel good giving them to my kids, and I feel good eating them myself when I need a mid-afternoon pick-me-up.
- Pantry-Friendly Ingredients — You probably have almost everything you need right now. Oats, peanut butter, honey, and butter are staples in my house. I don’t have to run to the store to make these. It’s the ultimate “I need to feed people now” recipe.
- Customizable for Any Taste — Hate chocolate chips? Use raisins. Allergic to peanuts? Use sunflower seed butter. Want them extra sweet? Add a drizzle of chocolate. This recipe is a blank canvas. I’ve made them with dried cranberries, white chocolate chips, and even a sprinkle of sea salt. They always work.
This recipe has saved me more times than I can count. It’s my answer to “what’s for snack?” and “what can I pack for lunch?” when I’m tired and don’t want to think. It’s reliable, it’s tasty, and it makes everyone happy.
Ingredients You’ll Need for Perfect Bars
Here’s the best part: this list is short. I’m not asking you to hunt down obscure spices or expensive superfoods. This is simple, wholesome food. I’m particular about the quality of the peanut butter, but the rest is pretty flexible.
The Base
Old-Fashioned Rolled Oats (3 cups / 270g) — Do not use instant oats. They’ll turn into mush. Do not use steel-cut oats; they won’t soften. You need the chewy, hearty texture of old-fashioned oats. I buy the store brand to save money, but any major brand works. Look for whole grain oats if you can find them.
Crunchy Peanut Butter (1 cup / 250g) — This is non-negotiable. Smooth peanut butter makes the bars too soft and sticky. The crunchy bits give structure and texture. Use natural peanut butter if you prefer, but make sure it’s not the kind that separates too much—you’ll need to mix it really well. I usually use Jif or Skippy for consistency, but homemade is great if you’re feeling fancy.
Unsalted Butter (½ cup / 115g) — This binds everything together and adds richness. Salted butter works too, just reduce any added salt (though I don’t add salt here anyway). Room temperature butter melts faster, but cold butter is fine if you’re gentle with it.
The Sweeteners & Binders
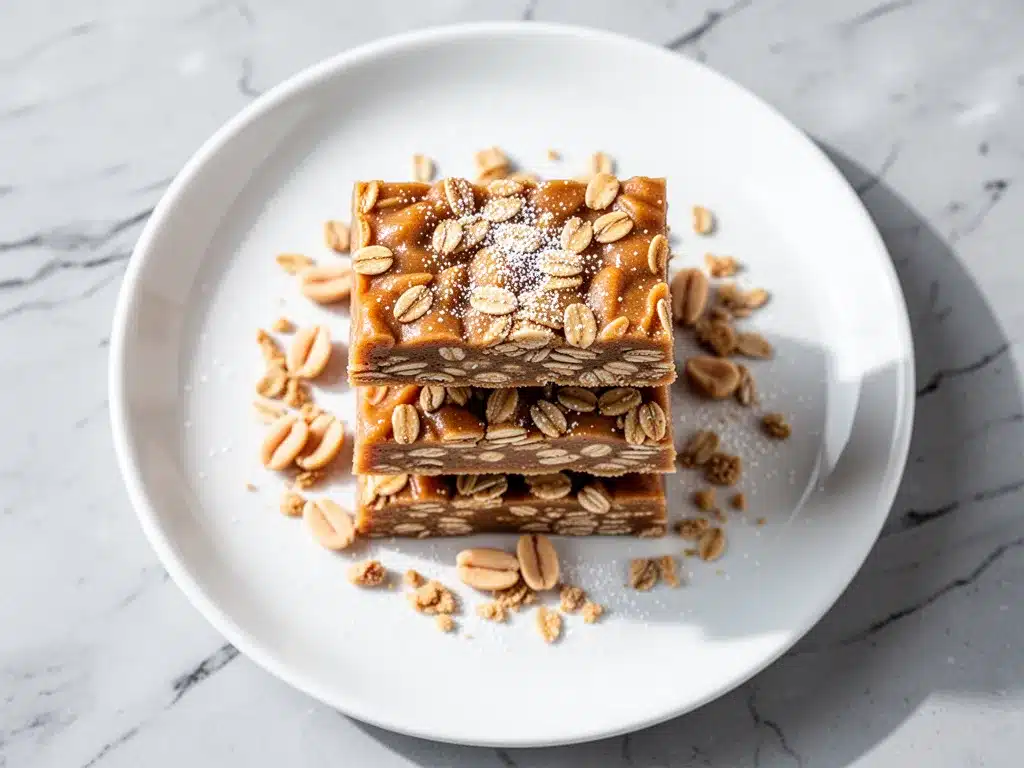
Honey (½ cup / 170g) — Honey adds that sticky sweetness that holds the bars together. Maple syrup works as a substitute, but the bars will be slightly softer and less chewy. I prefer honey for its flavor and binding power. Use raw honey if you have it; it tastes better.
Vanilla Extract (1 teaspoon) — Just a splash to round out the flavors. Don’t skip it. It makes the peanut butter taste like a dessert rather than just a sandwich filling.
The Mix-Ins (Optional but Recommended)
Dark Chocolate Chips (½ cup / 85g) — I add these in about half the batches. They melt slightly into the warm mixture, creating little pockets of sweetness. Semi-sweet chips work too if dark is too bitter for your kids.
Raisins or Dried Cranberries (½ cup) — For a fruity twist. I love dried cranberries because they add a nice tartness that cuts through the sweetness. Just make sure they aren’t too large; chop them if needed.
Mini M&Ms (½ cup) — A kid favorite. They hold up well in the bars and add color. Great for school lunches where you want something fun-looking.
Chopped Nuts (½ cup) — Walnuts, pecans, or almonds. Adds extra crunch and protein. If you’re allergic to nuts, skip this or use seeds like pumpkin seeds (pepitas) for a crunchy alternative.
Pro Tips for Ingredient Success
- Butter Substitution: Can’t have dairy? Use coconut oil instead of butter. The bars will be firmer when cold but softer at room temperature. It changes the texture slightly but still works.
- Peanut Butter Alternative: Sunflower seed butter is a great nut-free option. It has a similar texture and binds well. Almond butter works too but is more expensive.
- Stickiness Warning: If your peanut butter is very oily, add an extra ¼ cup of oats. Every jar is different, so trust your eyes over the measurements.
Equipment Needed
You don’t need fancy gadgets for this. Here’s what I actually use in my kitchen:
Large Saucepan — I use a 3-quart saucepan. It needs to be big enough to hold the oats and melted mixture without spilling when you stir. Medium-sized pots work too, just be careful not to overflow.
Large Mixing Bowl — A glass or ceramic bowl works best. I’ve tried plastic, and it sometimes retains the heat from the melted mixture, which can be annoying. A 4-quart bowl is ideal.
8×8 Inch Baking Pan — This is the standard size for these bars. Line it with parchment paper for easy removal. I usually use a square pan, but a 9×9 will work if you want thinner bars (they’ll just be harder to handle).
Parchment Paper — Non-negotiable. I line the pan with a “sling” (two strips of parchment crossing each other) so I can lift the entire block of bars out once they’re chilled. This makes cutting so much easier.
Spatula — A heat-resistant silicone spatula is perfect for stirring the hot mixture and pressing it into the pan. A wooden spoon works too, but be careful not to scratch non-stick pans.
Chef’s Knife — For chopping nuts or slicing the bars. A sharp knife makes clean cuts. Dull knives will squish the bars.
Measuring Cups and Spoons — Standard stuff. I use nested measuring cups for dry ingredients and liquid measuring cups for the honey and butter. Accuracy helps, but eyeballing is okay for this recipe since it’s forgiving.
How to Make It: Step-by-Step
Alright, let’s make these! I’m walking you through exactly how I do it, including the little tricks that prevent the dreaded sticky mess.
Step 1: Prep Your Pan (2 minutes)
Line your 8×8 inch baking pan with parchment paper. Leave an overhang on the sides so you can lift the bars out later. This step is crucial for easy removal. If you don’t have parchment, grease the pan heavily with butter or cooking spray, but parchment is much cleaner.
Step 2: Melt the Wet Ingredients (3-4 minutes)
In your large saucepan, combine the butter, honey, and peanut butter over medium-low heat. Stir constantly with your spatula. You want the butter and honey to melt and blend with the peanut butter until the mixture is smooth and glossy. This should take about 3-4 minutes. Do not let it boil. If it boils, the honey can become too sticky and harden the bars. Low and slow is the way to go. Once it’s smooth and combined, remove it from the heat immediately.
Step 3: Combine with Oats (2 minutes)
Pour the warm peanut butter mixture over the rolled oats in your large mixing bowl. If you’re adding mix-ins like chocolate chips, raisins, or nuts, add them now. Stir vigorously until every single oat is coated. You want no dry spots. The mixture will look thick and heavy. This is normal. If it’s too dry and crumbly, add a splash more honey or peanut butter. If it’s too wet and sticky, add a handful more oats.
Step 4: Press Into the Pan (3 minutes)
Transfer the mixture to your prepared pan. Use your spatula or the back of a wet spoon to press it down firmly. This is the most important step for texture. Press it down evenly and tightly. If it’s loose, the bars will fall apart. I usually use my hands (lightly greased with butter) to press it down for even pressure. You want it compact. Don’t worry about making it perfect; it just needs to be flat and dense.
Step 5: Chill (At least 1 hour)
Place the pan in the refrigerator for at least 1 hour, or until the bars are firm to the touch. I know it’s tempting to cut them early, but they need time to set. If you rush this step, you’ll get a sticky mess. For best results, chill for 2-3 hours. You can also put them in the freezer for 30 minutes if you’re in a huge hurry, but the fridge is safer.
Step 6: Cut and Serve
Once firm, lift the bars out of the pan using the parchment sling. Place them on a cutting board. Use a sharp chef’s knife to cut them into squares or rectangles. I usually cut them into 12-16 bars. Wipe the knife clean between cuts if they start to get sticky. Serve immediately or store in an airtight container.
Troubleshooting Tips:
- Bars are too soft: You didn’t press them down enough, or you used smooth peanut butter. Next time, use crunchy PB and press harder.
- Bars are too hard: You boiled the honey mixture, or you used too little butter. Keep the heat low next time.
- Bars are crumbly: Not enough binder. Add more honey or peanut butter next batch.
Expert Tips & Tricks
Here’s everything I’ve learned from making these dozens of times. These tips will save you from my mistakes.
Use a Wet Spoon or Hands — The mixture sticks like glue. Wet your spoon or hands with a little water or butter before pressing it into the pan. This prevents sticking and makes the job much easier.
Don’t Skip the Chill Time — I know you want to eat them now. But if you cut them warm, they’ll be a disaster. Patience pays off. The bars get firmer and more chewy as they chill.
Store Properly — These bars keep well in the fridge for up to 2 weeks. In the freezer for up to 3 months. I usually make a double batch and freeze half. They thaw quickly at room temperature.
Customize Your Mix-Ins — Don’t like chocolate? Use dried fruit. Want more protein? Add protein powder (start with ¼ cup and adjust oats). The base recipe is forgiving, so experiment!
Check Your Peanut Butter — Natural peanut butter can be oily. Stir it well before measuring. If it’s too loose, add extra oats. If it’s too stiff, warm it slightly before mixing.
Variations & Substitutions
Once you’ve mastered the basic version, here’s how you can mix it up. I’ve tried all of these.
Chocolate Chip Peanut Butter Bars — Add ½ cup dark chocolate chips. Classic combo. My kids’ favorite.
Trail Mix Bars — Add ½ cup raisins, ½ cup chopped walnuts, and ¼ cup chocolate chips. Like a granola bar in bar form.
White Chocolate Coconut — Swap dark chocolate chips for white chocolate chips and add ½ cup shredded coconut. Tropical twist.
Apple Cinnamon — Add ½ cup dried apple bits and 1 teaspoon cinnamon. Tastes like apple pie.
Nut-Free Version — Use sunflower seed butter instead of peanut butter. Add pumpkin seeds for crunch. Perfect for school-safe lunches.
Vegan Version — Use coconut oil instead of butter and maple syrup instead of honey. Use vegan chocolate chips. Just as good.
Serving & Storage
These bars are incredibly versatile. Here’s how I enjoy and store them.
How to Serve: I usually cut them into 1-inch squares for lunchboxes. For breakfast, I eat one bar with a glass of milk. For snacks, they’re perfect with fruit or yogurt. They’re also great for potlucks—just cut them into smaller pieces and serve on a platter.
Storage Instructions:
- Refrigerator: Store in an airtight container with parchment paper between layers. Keeps for 2 weeks.
- Freezer: Wrap individual bars in plastic wrap, then place in a freezer bag. Keeps for 3 months. Thaw at room temperature for 15 minutes.
- Room Temperature: Not recommended for more than 2 days, especially in warm weather. The peanut butter can go rancid, and the bars can get too soft.
Pro Tip: If you’re meal-prepping, make a double batch and freeze half. It saves time and ensures you always have a healthy snack on hand.
Nutrition Information
I’m not a nutritionist, but here’s the breakdown if you’re tracking. Per bar (based on 12 bars):
| Nutrient | Amount |
|---|---|
| Calories | 220 |
| Protein | 7g |
| Carbs | 28g |
| Fiber | 3g |
| Sugar | 14g |
| Fat | 10g |
These bars are a good source of protein and fiber, thanks to the oats and peanut butter. They’re naturally gluten-free if you use certified gluten-free oats. They’re not low-calorie, but they’re satisfying and nutrient-dense. Perfect for a snack or light lunch.
Final Thoughts
So that’s my go-to no-bake peanut butter oat bars! I’ve probably talked your ear off at this point, but when you make a recipe this often, you have a lot to say about it. These bars have saved me more times than I can count. They’re my answer to “what’s for snack?” and “what can I pack for lunch?” when I’m tired and don’t want to think. They’re reliable, tasty, and make everyone happy.
Make them yours! Try different mix-ins, swap in your favorite nut butter, or adjust the sweetness. The best recipes are the ones you adapt to your family’s tastes. If you make this, drop a comment and let me know what you think! I love hearing how recipes turn out in your kitchen. And if something doesn’t work, tell me that too—I’m here to help troubleshoot.
Happy cooking! And I hope your kitchen smells half as good as mine does right now.
Frequently Asked Questions
Can I use instant oats instead of rolled oats?
I don’t recommend it. Instant oats are thinner and will turn the bars mushy. You need the chewy texture of old-fashioned rolled oats for the right consistency. If you only have instant oats, you can try it, but the texture will be different—softer and less chewy.
Why are my bars too sticky?
This usually happens if you didn’t press them down firmly enough, or if you used smooth peanut butter. Next time, use crunchy peanut butter and press the mixture down hard with a wet spoon or hands. Also, make sure you chill them for at least 1 hour.
Can I freeze these bars?
Yes! These bars freeze beautifully. Wrap individual bars in plastic wrap, then place them in a freezer-safe bag. They’ll keep for up to 3 months. Thaw at room temperature for 15 minutes before eating. This is great for meal prep.
Can I make these nut-free?
Absolutely. Use sunflower seed butter or soy nut butter instead of peanut butter. Add pumpkin seeds or sunflower seeds for crunch. Just make sure all other ingredients are nut-free. These are perfect for school-safe lunches.
How long do these bars last?
In the fridge, they last up to 2 weeks in an airtight container. At room temperature, they last 2-3 days, but they may get soft. In the freezer, they last up to 3 months. I usually make a big batch and freeze half for later.
Can I use maple syrup instead of honey?
Yes, but the bars will be slightly softer and less chewy. Honey has better binding properties. If you use maple syrup, you may need to chill the bars longer to set. I prefer honey for the texture and flavor.
Can I add protein powder?
You can, but it will change the texture. Start with ¼ cup of vanilla or chocolate protein powder and add an extra ¼ cup of oats to absorb the extra dryness. Mix it well to avoid clumps. The bars will be higher in protein but slightly drier.
Pin This Recipe!
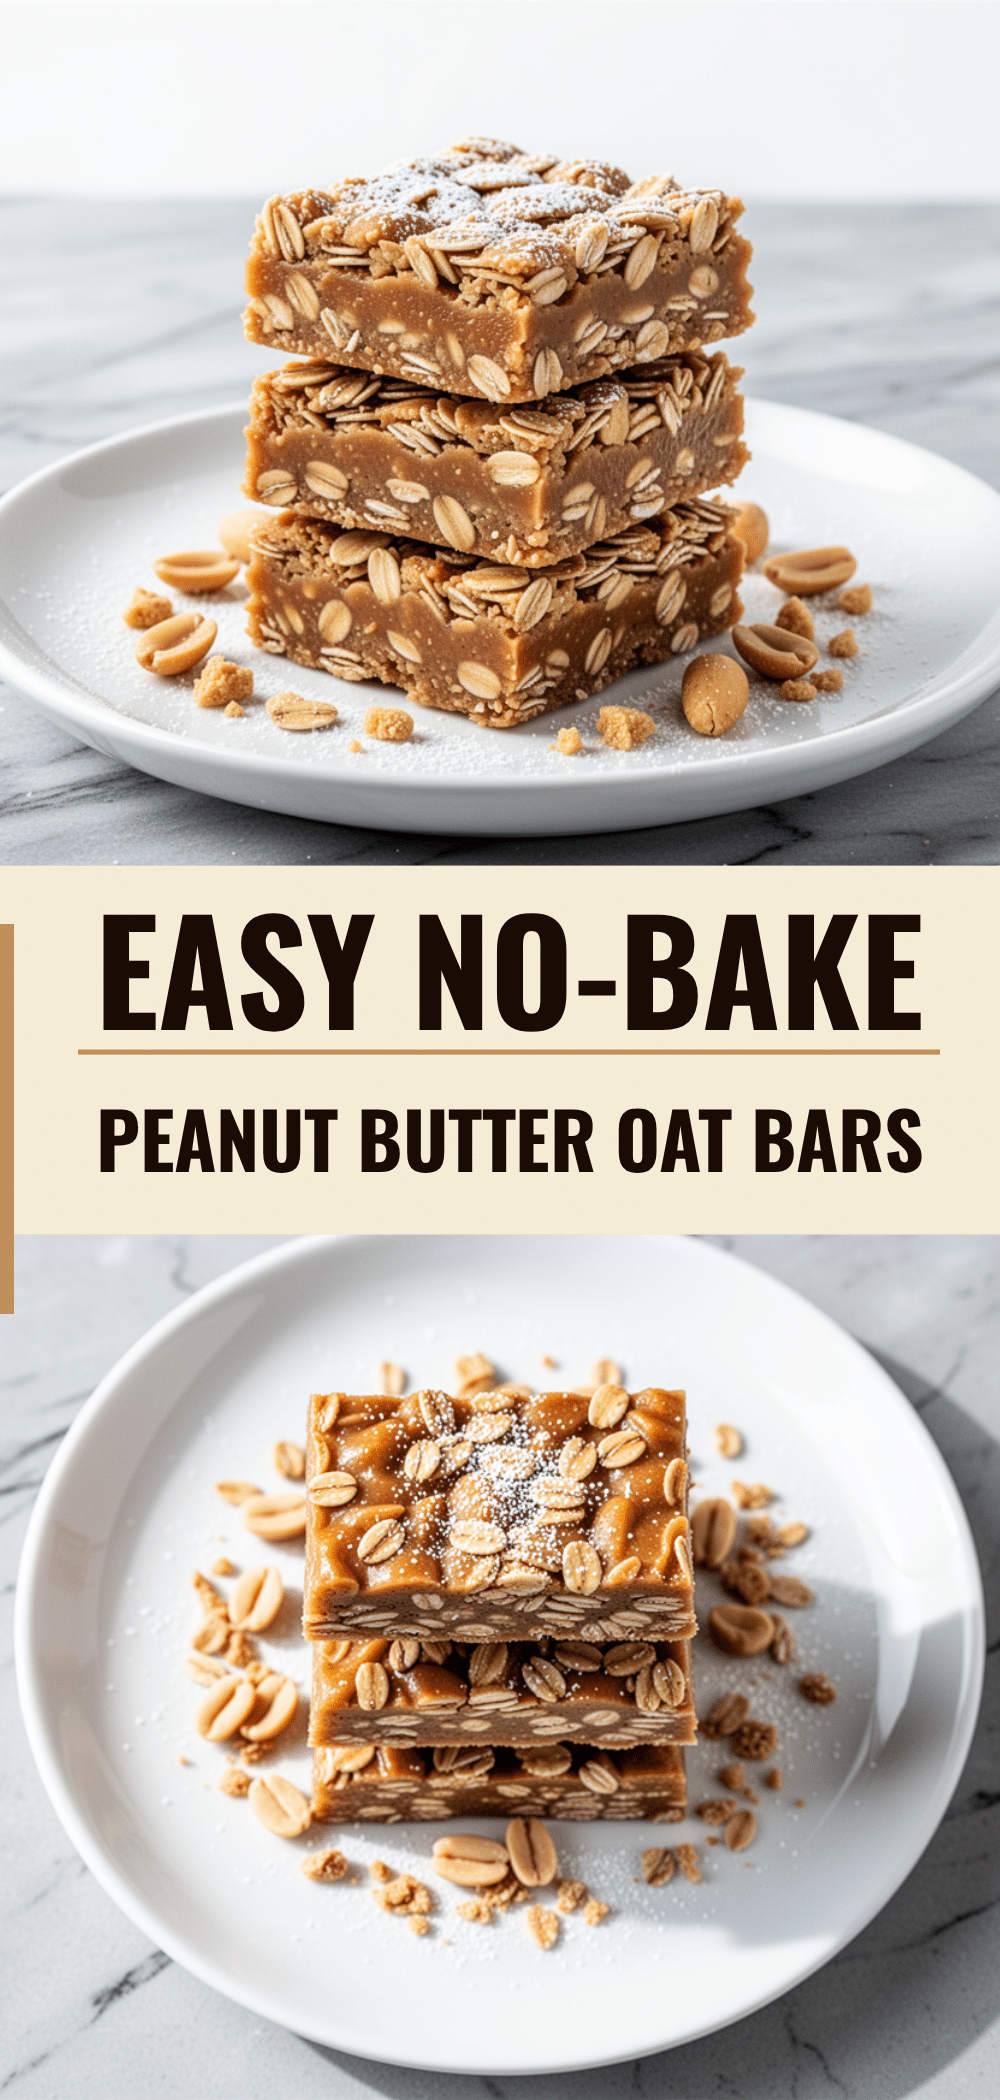
No-Bake Peanut Butter Oat Bars
- Total Time: 1 hour 10 minutes
- Yield: 12 servings 1x
Description
Chewy, sweet, and salty no-bake bars made with oats, peanut butter, and honey. Perfect for lunchboxes, snacks, or breakfast on the go.
Ingredients
- 3 cups old-fashioned rolled oats
- 1 cup crunchy peanut butter
- 1/2 cup unsalted butter
- 1/2 cup honey
- 1 teaspoon vanilla extract
- 1/2 cup dark chocolate chips (optional)
- 1/2 cup raisins or dried cranberries (optional)
- 1/2 cup mini M&Ms (optional)
- 1/2 cup chopped nuts (optional)
Instructions
- Line an 8×8 inch baking pan with parchment paper, leaving an overhang on the sides for easy removal.
- In a large saucepan over medium-low heat, combine butter, honey, and peanut butter. Stir constantly until melted and smooth (about 3-4 minutes). Do not let it boil.
- Remove the saucepan from heat immediately.
- Pour the warm mixture over the rolled oats in a large mixing bowl. Add any mix-ins (chocolate chips, nuts, etc.) now.
- Stir vigorously until every oat is coated and the mixture is uniform.
- Transfer the mixture to the prepared pan. Press down firmly and evenly using a spatula or lightly greased hands to compact the bars.
- Refrigerate for at least 1 hour, or until firm (2-3 hours is best).
- Lift the bars out of the pan using the parchment sling.
- Cut into 12-16 squares or rectangles with a sharp knife.
- Serve immediately or store in an airtight container.
Notes
Do not use instant oats as they will turn mushy. Crunchy peanut butter is preferred for structure. If using natural peanut butter, ensure it is well-mixed. Bars can be frozen for up to 3 months.
- Prep Time: 5 minutes
- Cook Time: 5 minutes
- Category: Snack
- Cuisine: American
Nutrition
- Serving Size: 1 bar
- Calories: 220
- Sugar: 14
- Sodium: 15
- Fat: 10
- Saturated Fat: 4
- Carbohydrates: 28
- Fiber: 3
- Protein: 7
Keywords: no-bake, peanut butter, oat bars, healthy snacks, lunchbox ideas, kid-friendly, gluten-free option, meal prep



