It was 11 PM on a Tuesday, and I was staring at a bag of peanut butter that had separated into two distinct layers. The oil had risen to the top, looking like a sad, yellow tide, while the solids sat at the bottom like dry earth. I was tired. I was stressed. And I really, really wanted something sweet that wasn’t chocolate chip. So, I did what any sleep-deprived adult would do: I threw together a batch of peanut butter cookies with zero planning and zero expectations.
I wasn’t aiming for perfection. I was aiming for survival. But when I pulled that baking sheet out of the oven twenty minutes later, the smell hit me first. It wasn’t just the nutty aroma of toasted peanuts; it was that deep, caramelized scent that usually only comes from a high-end bakery window. I took one bite. Then another. Then I sat on my kitchen floor and ate half the batch because my husband was asleep and I didn’t want to share.
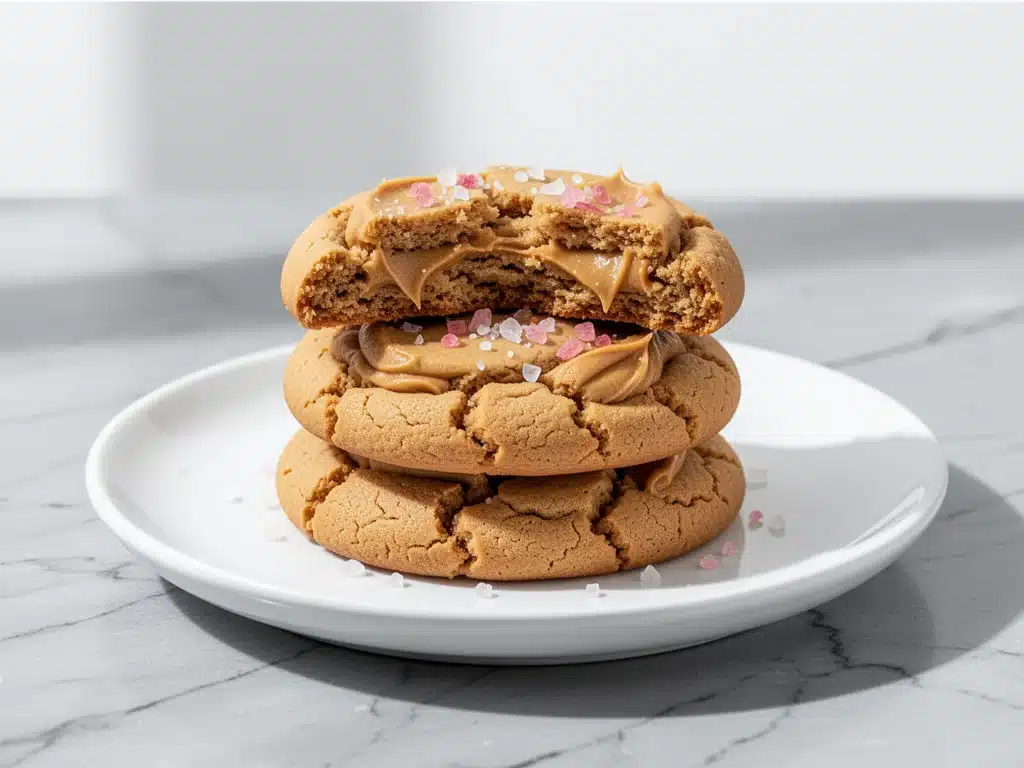
That accident became the “Bakery-Style Peanut Butter Cookies with Flaky Sea Salt you’ll make on repeat.” I’ve since made them maybe forty times. I’ve tested different flours, different sugars, different peanut butters, and different baking times. I’ve burned them. I’ve undercooked them. I’ve tried using crunchy peanut butter (spoiler: it’s too dry). Through all the failures, I’ve landed on a formula that is reliably soft, chewy, and impossibly rich. It’s the kind of cookie that looks like it belongs in a $4 artisanal bakery but tastes like your childhood summer vacation.
What makes these special isn’t just the flavor—it’s the texture. Most peanut butter cookies are dry. They crumble. They stick to the roof of your mouth. These? They’re dense but tender, with a crisp edge that shatters when you bite into a soft, gooey center. And then there’s the finish. That final sprinkle of Maldon sea salt isn’t just for show. It cuts through the sweetness and amplifies the peanut flavor in a way that feels sophisticated but is incredibly easy to pull off.
If you’ve ever bought those overpriced cookies from a fancy shop and thought, “I could totally make this at home,” this is your sign. It’s easier than you think, and the results are genuinely better. Let’s get baking.
Why You’ll Love This Recipe
There are about a dozen reasons I keep coming back to this specific peanut butter cookie recipe, but honestly, it usually boils down to three things. It’s foolproof, it’s flavorful, and it’s the ultimate crowd-pleaser.
They’re Actually Soft — Seriously. Most peanut butter cookie recipes yield a dry, cake-like result. This one uses a specific ratio of brown sugar to butter that keeps the center moist for days. I’ve eaten these four days after baking, and they still felt fresh. No cardboard texture here.
Zero Chill Time — I know, I know. Some recipes demand you chill the dough for 24 hours. This one doesn’t. You can mix it and bake it in under 30 minutes. Perfect for those “I need sugar now” moments or when guests show up unexpectedly. I’ve made these on a whim after dinner, and they came together in the time it took to watch one episode of a show.
The Salt Factor — Adding flaky sea salt on top isn’t just an aesthetic choice (though they look gorgeous). It’s a flavor hack. The salt balances the intense sweetness of the peanut butter and brown sugar, making the cookies taste complex rather than cloying. My kids think it’s “fancy,” but they finish every crumb.
Pantry Staples — You don’t need fancy ingredients. No almond flour, no exotic spices, no special equipment. Just butter, sugar, eggs, flour, baking soda, and peanut butter. If you have peanut butter in your pantry, you’re halfway to dinner—or dessert. I always keep a jar of creamy peanut butter stocked specifically for these.
Freezes Like a Dream — I bake a double batch, freeze half the raw dough balls, and bake them fresh whenever I need a pick-me-up. They thaw and bake up just like new. It’s my secret weapon for busy weeks.
So basically, these cookies are the answer to “what’s for dessert?” when you want something special but don’t want to put in the effort. They’re reliable, delicious, and always a hit.
Ingredients You’ll Need
Here’s the best part: you probably have most of this already. This recipe relies on simple, accessible ingredients, but the quality of the peanut butter matters more than you’d think. I’m not being snobby—I’m being practical. Bad peanut butter makes bad cookies.
For the Dough
Unsalted Butter (1 cup / 226g, softened) — This is your fat source. It needs to be softened to room temperature. Not melted! Melted butter makes flat, greasy cookies. Softened butter creates that tender crumb. If you’re in a rush, cut it into cubes and microwave for 10-second bursts.
Granulated White Sugar (1 cup / 200g) — This helps create the crisp edges. It’s what gives the cookie that slight crunch on the outside while keeping the inside soft.
Packed Brown Sugar (1 cup / 220g) — Light or dark brown sugar both work. Dark adds a deeper molasses flavor, which I love, but light is milder. The moisture in the brown sugar is key for chewiness.
Creamy Peanut Butter (1 cup / 250g) — This is the star. Use standard commercial brands like Jif or Skippy. Natural peanut butter (the kind that separates) can work, but it’s oilier and can change the texture. I stick to the standard stuff for consistency. Avoid “no-stir” varieties if they have extra hydrogenated oils, as they can sometimes make the dough dry.
Eggs (2 large, room temperature) — Room temp eggs emulsify better into the butter and sugar, creating a smoother dough. Cold eggs can cause the mixture to break. Don’t skip this step if you have time.
Vanilla Extract (2 teaspoons) — Pure vanilla, please. I use the cheap imitation stuff sometimes when I’m lazy, but it doesn’t have the same depth. Good vanilla rounds out the peanut flavor.
All-Purpose Flour (2 cups / 250g) — Don’t overmeasure! Spoon it into the cup and level it off. Too much flour makes dry cookies. Too little makes spreaders. I use Gold Medal all-purpose flour; it’s reliable.
Baking Soda (1 teaspoon) — This is the leavening agent. It helps the cookies spread and brown. Make sure yours isn’t expired. Old baking soda makes flat, dense cookies.
Salt (½ teaspoon) — Just a pinch to balance the sweetness. Since we’re using unsalted butter, this is necessary.
For the Finish
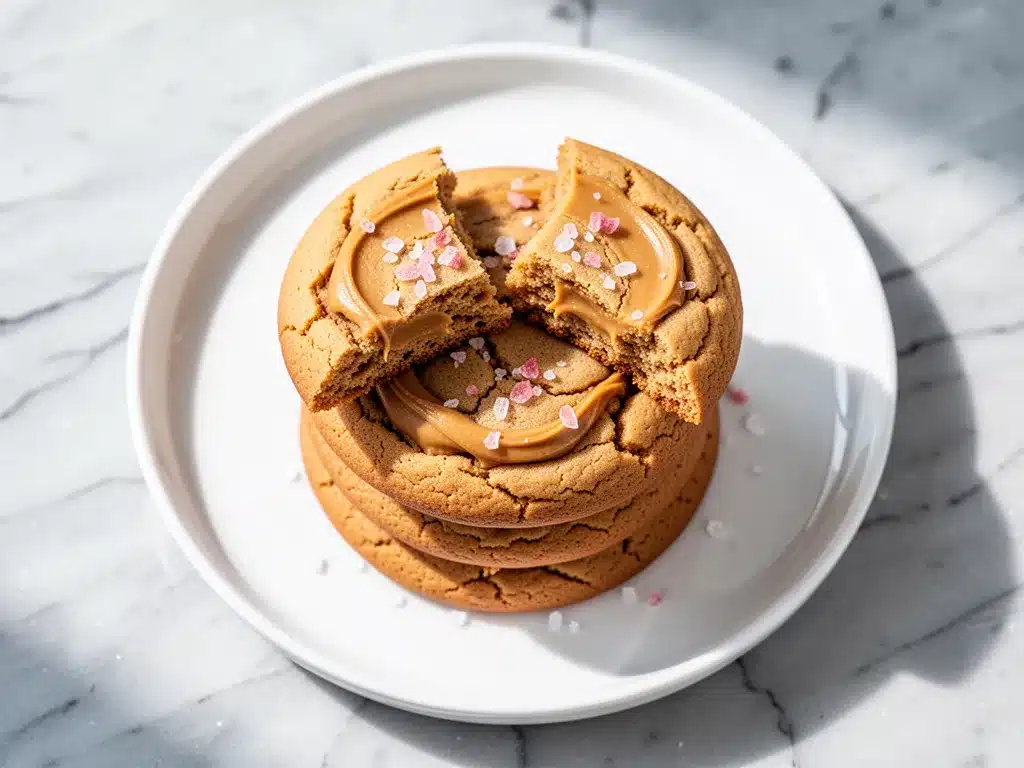
Flaky Sea Salt (like Maldon) — This is non-negotiable for the “bakery-style” look and taste. Regular table salt won’t give you that satisfying crunch or visual appeal. Sprinkle it on immediately after baking while the cookies are still hot.
Equipment Needed
You don’t need fancy gadgets for this. Here’s what I actually use in my kitchen:
Large Mixing Bowl — I use a 5-quart stainless steel bowl. It’s big enough to mix everything without making a mess. Glass works too, but I prefer metal for easy cleaning.
Electric Hand Mixer or Stand Mixer — You can do this by hand, but it takes effort. A mixer creaming the butter and sugars takes about 2 minutes. I use my KitchenAid for this, but a hand mixer is fine. Just make sure it’s powerful enough to handle the peanut butter.
Measuring Cups and Spoons — Standard stuff. I have a set from Target that’s cheap and works perfectly. Don’t eyeball the flour; use cups for accuracy.
Baking Sheets — I use half-sheet pans (18×13 inches). If you’re using smaller quarter sheets, you’ll need to bake in more batches. Dark-colored pans bake faster, so keep an eye on them.
Parchment Paper — Line your baking sheets. This prevents sticking and makes cleanup a breeze. I never bake directly on the pan anymore; it’s just too much scrubbing.
Cooling Rack — Essential. Letting cookies cool on the hot pan continues the cooking process, making them dry. A rack lets air circulate and stops the cooking instantly.
How to Make It: Step-by-Step
Alright, let’s make these! I’m walking you through exactly how I do it, including the little tricks I’ve picked up over the years.
Step 1: Prep Your Oven and Pans (5 minutes)
Preheat your oven to 350°F (175°C). Line two large baking sheets with parchment paper. This is crucial. If you skip the parchment, the cookies will stick, and you’ll be scraping burnt bits off your pan for days. I keep a stack of parchment squares ready to go.
Step 2: Cream the Butter and Sugars (3 minutes)
In your large bowl, beat the softened unsalted butter, granulated sugar, and brown sugar together until light and fluffy. This takes about 2-3 minutes with a mixer. You want the mixture to look pale and airy. This step incorporates air, which helps the cookies rise slightly. If you’re doing this by hand, it’ll take about 5 minutes of arm workout, but it’s doable.
Step 3: Add Wet Ingredients (2 minutes)
Add the creamy peanut butter, eggs, and vanilla extract to the butter mixture. Beat on medium speed until fully combined. The mixture might look a little curdled at first—that’s normal. Keep mixing until it’s smooth and uniform. Scrape down the sides of the bowl with a spatula to make sure everything is incorporated.
Step 4: Mix in Dry Ingredients (2 minutes)
In a separate small bowl, whisk together the flour, baking soda, and salt. Now, add the dry ingredients to the wet ingredients. Mix on low speed just until the flour disappears. Do not overmix! Overmixing develops gluten, which makes cookies tough. Stop as soon as you don’t see streaks of flour. The dough will be thick and sticky.
Step 5: Roll and Chill (Optional but Recommended)
Here’s a pro tip: If you have time, chill the dough balls for 30 minutes. This prevents excessive spreading and gives you a thicker, chewier cookie. But if you’re like me and don’t have time, just roll them immediately. Scoop about 2 tablespoons of dough per cookie. Roll them into balls between your palms. Place them on the prepared baking sheets, about 2 inches apart. They will spread.
Step 6: Bake (10-12 minutes)
Bake for 10-12 minutes. The edges should be set and lightly golden, but the centers should still look slightly soft and underdone. This is key. They will firm up as they cool. If you wait until they look fully done in the oven, they’ll be dry. I pull mine out when they still look a bit shiny in the middle.
Step 7: The Salt Finish (1 minute)
Immediately upon removing the cookies from the oven, sprinkle a pinch of flaky sea salt on top of each one. The heat will melt the salt slightly, adhering it to the cookie. This step transforms them from “good” to “bakery-quality.”
Step 8: Cool Completely
Let the cookies cool on the baking sheet for 5 minutes, then transfer them to a wire rack to cool completely. This takes about 20 minutes. Resist the urge to eat them hot—they’re soft and might break. But I won’t blame you if you do.
Expert Tips & Tricks
Here’s everything I’ve learned from making this dozens of times. These tips will save you from my mistakes.
Don’t Overbake — This is the #1 mistake. Peanut butter cookies continue to cook on the hot pan after you take them out. Pull them when they look slightly underdone. The edges should be golden, but the center should still look soft.
Room Temp Butter is Key — If your butter is too cold, it won’t cream properly. If it’s melted, your cookies will spread into flat discs. Aim for butter that leaves a slight indent when you press it.
Use Standard Peanut Butter — Natural peanut butter has different oil content. It can make the dough greasy. Stick to Jif or Skippy for consistent results. If you must use natural, drain off some of the excess oil.
Chill for Thicker Cookies — If you want tall, bakery-style cookies, chill the dough balls for at least 30 minutes. Cold dough spreads less. This is especially important if your kitchen is warm.
Salt Timing Matters — Don’t add the flaky salt before baking. It will dissolve into the dough. Add it immediately after baking for that crunchy, salty finish.
Double the Batch — These freeze beautifully. Bake a double batch, freeze half the raw dough balls on a tray, then transfer to a bag. Bake straight from frozen, adding 1-2 minutes to the bake time.
Don’t Skip the Parchment — I’ve tried greasing the pan with butter, and it doesn’t work as well. Parchment ensures even baking and easy removal. It’s worth the small cost.
Variations & Substitutions
Once you’ve nailed the basic version, here’s how you can mix it up. I’ve tried all of these.
Chocolate Chip Peanut Butter Cookies — Fold in 1 cup of semi-sweet chocolate chips after mixing the dough. The combo of peanut butter and chocolate is classic. I add these during the last minute of mixing.
Crunchy Peanut Butter Version — Use crunchy peanut butter instead of creamy. It adds texture and nutty bits. Note: The dough will be thicker, so you might need to roll the balls more firmly.
Peanut Butter Swirl Brownies — Take your favorite brownie batter, swirl in dollops of this cookie dough, and bake. It’s decadent and fun.
Gluten-Free Option — Swap the all-purpose flour for a 1:1 gluten-free flour blend (like Bob’s Red Mill). The texture will be slightly more crumbly but still delicious.
Vegan Version — Use vegan butter and a flax egg (1 tbsp ground flax + 3 tbsp water per egg). Use vegan peanut butter and chocolate chips if adding them. The texture will be slightly different but still tasty.
Mini Cookies — Roll the dough into 1-inch balls instead of 2-inch balls. Bake for 8-9 minutes. These are perfect for parties and gift boxes.
Serving & Storage
How to Serve:
I usually serve these plain, but they’re also great with a glass of cold milk or a cup of black coffee. The saltiness pairs well with coffee. I often serve them at potlucks because they travel well and are easy to eat.
Storage:
Store in an airtight container at room temperature for up to 5 days. They stay soft for days! If your kitchen is humid, add a piece of bread to the container to keep them moist.
Freezing Dough:
As mentioned, freeze the raw dough balls on a baking sheet, then transfer to a bag. Bake from frozen, adding 1-2 minutes to the time.
Freezing Baked Cookies:
Once completely cooled, freeze in a single layer, then transfer to a bag. They’ll last for 3 months. Thaw at room temperature before eating.
Pro Tip:
If the cookies seem a bit dry after a few days, microwave one for 10 seconds. It’ll soften them up instantly.
Nutrition Information
I’m not a nutritionist, but here’s the breakdown if you’re tracking. Keep in mind, these are rich cookies, so moderation is key.
Per Cookie (makes approx. 24 cookies):
– Calories: 180
– Protein: 4g
– Carbs: 22g
– Fiber: 1g
– Sugar: 14g
– Fat: 10g
– Saturated Fat: 4g
– Cholesterol: 15mg
– Sodium: 120mg
What’s Good:
– Moderate protein from the peanut butter
– No artificial preservatives
– Simple ingredients
What to Know:
– High in sugar and fat (it’s a cookie, after all)
– Contains gluten and dairy
– Can be modified for dietary restrictions
My Take:
Look, this is a treat. It’s not a health food. But it’s way better than store-bought cookies because you control the ingredients. I enjoy one or two with my morning coffee, and it satisfies the sweet tooth without leaving me feeling guilty for hours.
Final Thoughts
So that’s my go-to Bakery-Style Peanut Butter Cookies with Flaky Sea Salt recipe! I’ve probably talked your ear off at this point, but when you make a recipe this often, you have a lot to say about it.
These cookies have saved me more times than I can count. They’re my answer to “what’s for dessert?” when I’m tired, don’t want to bake a cake, and still want something that tastes really good. My kids are happy, my husband’s happy, and I’m happy because I’m not stressed about cooking.
Make it yours! Try different add-ins, swap in your favorite chocolate, or adjust the salt to your liking. The best recipes are the ones you adapt to your family’s tastes.
If you make this, drop a comment and let me know what you think! I love hearing how recipes turn out in your kitchen. And if something doesn’t work, tell me that too—I’m here to help troubleshoot.
Happy baking! And I hope your kitchen smells half as good as mine does right now.
Frequently Asked Questions
Can I use natural peanut butter?
You can, but it changes the texture. Natural peanut butter is oilier, which can make the dough greasy and the cookies spread more. If you use it, drain off some of the excess oil. I recommend standard creamy peanut butter for the best texture.
Why did my cookies spread too much?
This usually happens if the butter was too warm or if the dough wasn’t chilled. Make sure your butter is softened, not melted. Also, chill the dough balls for 30 minutes before baking to prevent excessive spreading.
Can I freeze the cookie dough?
Yes! Scoop the dough into balls, freeze them on a baking sheet, then transfer to a bag. Bake from frozen, adding 1-2 minutes to the bake time. They freeze beautifully.
How do I keep the cookies soft?
Don’t overbake them! Pull them out when the edges are golden but the centers still look soft. Store them in an airtight container with a piece of bread to maintain moisture.
Can I make these gluten-free?
Yes, swap the all-purpose flour for a 1:1 gluten-free flour blend. The texture will be slightly more crumbly but still delicious.
Why is my dough too dry?
You might have used too much flour. Measure it correctly (spoon and level), or add a tablespoon of milk or extra peanut butter to bring it together. Peanut butter brands vary in moisture content.
Can I add chocolate chips?
Absolutely! Fold in 1 cup of semi-sweet chocolate chips after mixing the dough. It’s a classic combination and always a hit.
Pin This Recipe!
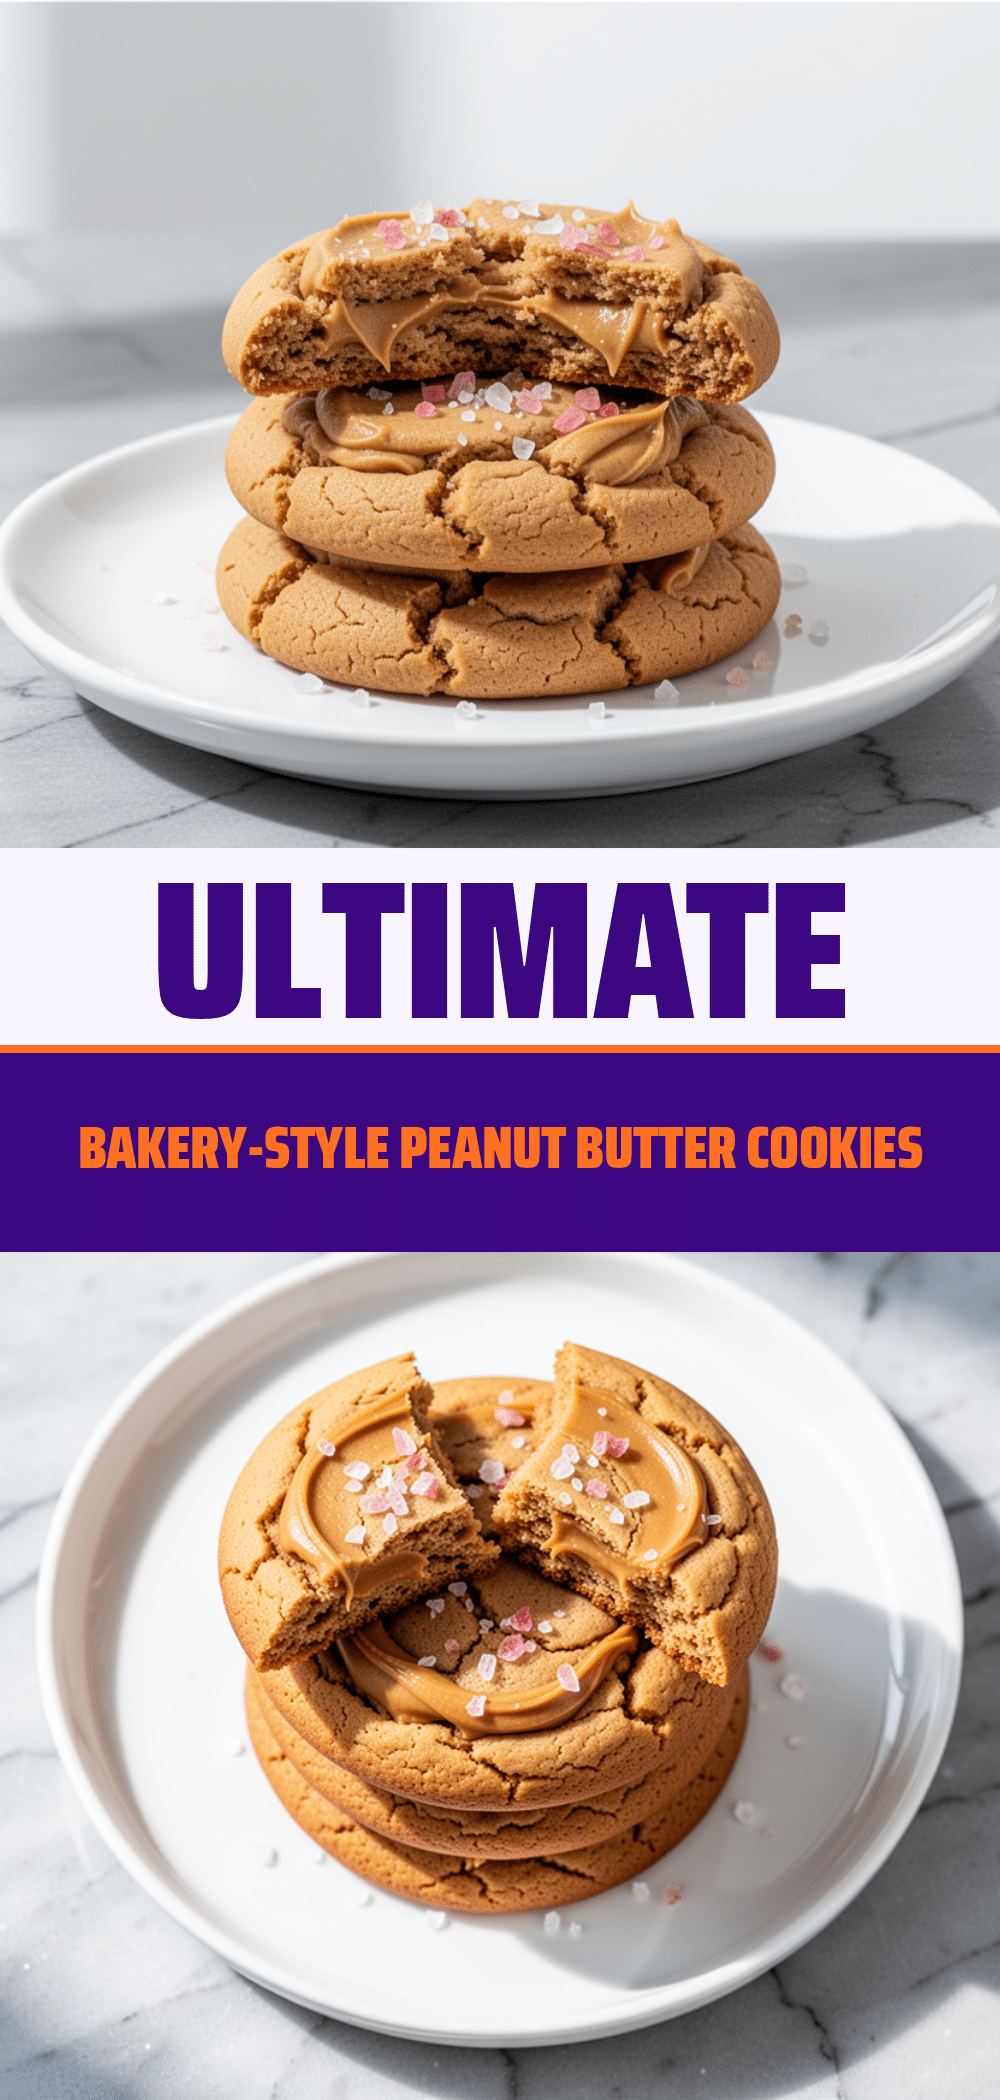
Bakery-Style Peanut Butter Cookies with Flaky Sea Salt
- Total Time: 22 minutes
- Yield: 24 cookies 1x
Description
Soft, chewy, and rich peanut butter cookies with crisp edges and a sophisticated finish of flaky sea salt. Made with pantry staples and ready in under 30 minutes.
Ingredients
- 1 cup (226g) unsalted butter, softened to room temperature
- 1 cup (200g) granulated white sugar
- 1 cup (220g) packed brown sugar (light or dark)
- 1 cup (250g) creamy peanut butter (standard commercial brand like Jif or Skippy)
- 2 large eggs, room temperature
- 2 teaspoons pure vanilla extract
- 2 cups (250g) all-purpose flour
- 1 teaspoon baking soda
- 1/2 teaspoon salt
- Flaky sea salt (like Maldon) for topping
Instructions
- Preheat oven to 350°F (175°C). Line two large baking sheets with parchment paper.
- In a large mixing bowl, beat the softened butter, granulated sugar, and brown sugar together until light and fluffy (about 2-3 minutes with a mixer).
- Add the creamy peanut butter, eggs, and vanilla extract to the butter mixture. Beat on medium speed until fully combined and smooth.
- In a separate small bowl, whisk together the flour, baking soda, and salt.
- Add the dry ingredients to the wet ingredients and mix on low speed just until the flour disappears. Do not overmix.
- Scoop about 2 tablespoons of dough per cookie and roll into balls. Place on prepared baking sheets, about 2 inches apart. (Optional: Chill dough for 30 minutes for thicker cookies).
- Bake for 10-12 minutes. The edges should be set and lightly golden, but the centers should still look slightly soft.
- Immediately upon removing from the oven, sprinkle a pinch of flaky sea salt on top of each cookie.
- Let cookies cool on the baking sheet for 5 minutes, then transfer to a wire rack to cool completely.
Notes
Use softened butter, not melted, for the best texture. Standard creamy peanut butter is recommended over natural peanut butter to avoid greasy dough. Do not overbake; cookies continue to cook on the hot pan. Store in an airtight container with a piece of bread to keep soft.
- Prep Time: 10 minutes
- Cook Time: 12 minutes
- Category: Dessert
- Cuisine: American
Nutrition
- Serving Size: 1 cookie
- Calories: 180
- Sugar: 14
- Sodium: 120
- Fat: 10
- Saturated Fat: 4
- Carbohydrates: 22
- Fiber: 1
- Protein: 4
Keywords: peanut butter cookies, bakery style, soft cookies, chewy cookies, flaky sea salt, easy dessert, no chill time, peanut butter treats



