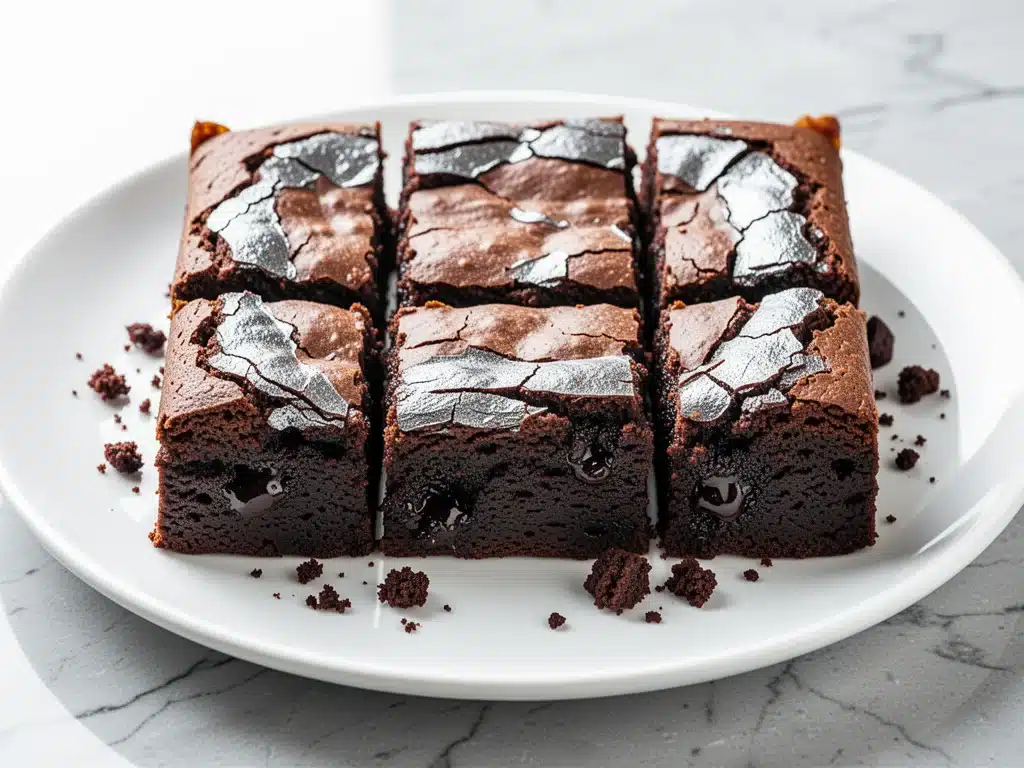
Last Tuesday, I was standing in my kitchen at 10:30 PM, staring into the oven like it owed me money. I had just pulled a batch of brownies out, and the smell was so intense it felt like it physically pulled me toward the counter. I didn’t wait for them to cool. I didn’t wait for a plate. I just grabbed a warm, jagged edge straight from the pan, bit into it, and immediately hissed through my teeth because the center was basically lava.
It was worth it. It was absolutely, undeniably worth it.
That moment was the turning point for my relationship with baking. I used to be one of those people who measured everything to the gram, who worried about overmixing, who checked the oven temperature with a separate thermometer. I treated baking like a chemistry experiment where one wrong variable meant disaster. But these fudgy one-bowl brownies with crackly crinkle tops? They don’t care about your anxiety. They don’t care if you used the cheap chocolate or the fancy stuff (though I have opinions on that). They just want to be made, and they want to be eaten.
I’ve made this recipe probably twenty times in the last six months. I’ve made them for book club, for my boss when I forgot my birthday gift, for my kids when they had a bad day, and for myself when I had a good day. (Yes, I am that person.) And every single time, the result is the same: a dense, chocolatey, fudgy square with that satisfyingly thin, paper-thin crackly top that shatters when you touch it.
The best part? You really only need one bowl. I know, I know. “One bowl” sounds like a compromise. Like, “Oh, you don’t have enough dishes, so here’s a sad, mediocre brownie.” But that is a lie. These are not mediocre. They are the gold standard. They are the brownie you make when you want to impress someone but also want to spend your evening watching Netflix instead of scrubbing pots.
If you’ve ever struggled with brownies that are cakey, dry, or lack that coveted shiny crust, this is the recipe you’ve been waiting for. I’ve cracked the code. And honestly? It’s simpler than you think.
Why You’ll Love This One-Bowl Brownie Recipe
There are a million brownie recipes out there. Why this one? Why this specific version with the crackly tops and the fudgy center? Here’s the real talk on why this has become my go-to, repeated recipe.
- Zero Dishwashing Drama — Seriously. One bowl, one spoon (or a whisk), and one 9×13 pan. That’s it. If you can stir, you can make these. I’ve made these while holding a toddler, and I’ve made them at 2 AM when I was too tired to stand at the sink. The cleanup is a rinse-and-dry.
- That Crackly Top Magic — You know that thin, shiny, crinkly layer on top of a professional brownie? The kind that sounds like cellophane when you break it? Most home recipes give you a matte, cakey top. This recipe uses a specific technique (more on that below) to guarantee that bakery-style crust. It’s not magic; it’s science, but it feels like magic.
- True Fudgy Texture — I hate cakey brownies. If I wanted a cake, I’d bake a cake. These are dense. They’re moist. They’re almost like a chocolate truffle in square form. If you pull one apart, it should stretch slightly, not crumble.
- Pantry Staples Only — You probably have almost everything you need right now. Butter, sugar, eggs, flour, cocoa powder, salt, vanilla. No weird ingredients you have to drive to three different stores to find. This is the ultimate “I need chocolate NOW” recipe.
- Make-Ahead Friendly — These actually taste better the next day. The flavors meld, the fudginess intensifies, and they keep well in the fridge for up to a week. I make a batch on Sunday and eat them throughout the week. It’s my secret snack stash.
This is the recipe I reach for when I need comfort. It’s reliable, it’s delicious, and it makes your whole house smell like a chocolate factory. Let’s get into the details.
Ingredients You’ll Need
Here’s the thing about brownies: the ingredient list is short, which means every single item has to do heavy lifting. You can’t hide bad ingredients. You have to use good quality basics. I’m particular about a few of these, so pay attention.
The Chocolate Base
Unsweetened Baking Chocolate (4 ounces / 113g) — This is non-negotiable. Do not use chocolate chips. Chocolate chips have stabilizers that keep them from melting completely, which gives you a waxy texture. You need bars of pure baking chocolate (like Ghirardelli or Lindt) for that smooth, dense melt. Chop them roughly before melting.
Butter (½ cup / 113g, unsalted) — I use unsalted so I can control the salt content. If you only have salted, reduce the added salt in the recipe by half. The butter adds richness and structure. Don’t skimp on the amount; fat is what makes them fudgy.
The Sweet & Crust Builders
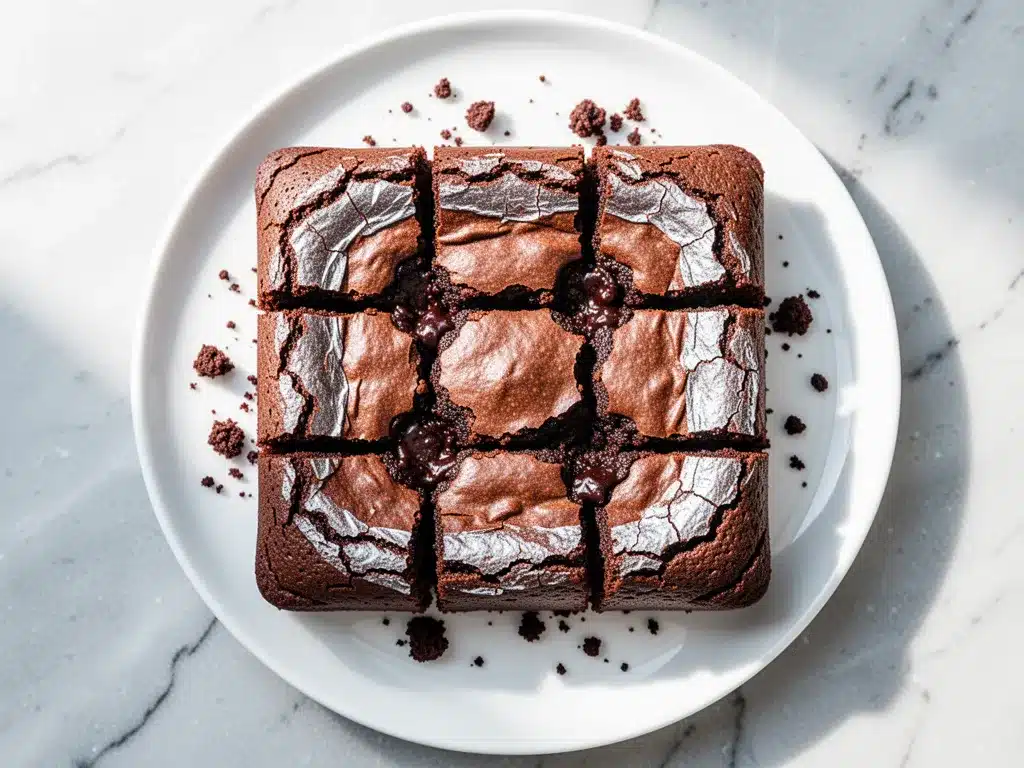
Granulated Sugar (1 ½ cups / 300g) — This seems like a lot, but it’s necessary for the crackly top. The sugar dissolves into the butter and eggs, creating that shiny crust. If you reduce the sugar, you lose the crust. I know, I tried. Don’t do it.
Eggs (2 large, room temperature) — Room temperature eggs incorporate better into the batter. If your eggs are cold, just run them under warm water for a minute. They provide structure and moisture. Two eggs is the sweet spot for fudgy brownies. Three eggs would make them cakier.
Vanilla Extract (1 teaspoon) — Pure vanilla, please. The imitation stuff tastes chemical and clashes with the deep chocolate flavor. A little bit goes a long way here.
The Dry Stuff
All-Purpose Flour (¾ cup / 95g) — Just regular flour. Don’t use cake flour or pastry flour. You want a little bit of structure to hold the fudginess together, but not so much that it becomes a sponge. Spoon and level this, don’t scoop, or you’ll end up with dry brownies.
Cocoa Powder (¼ cup / 20g, unsweetened) — This boosts the chocolate flavor. Use a good quality cocoa powder. Hershey’s is fine, but if you can find Dutch-processed cocoa (like Rodelle or Guittard), it adds a deeper, more complex chocolate taste. Natural cocoa is more acidic; Dutch-processed is milder. Both work, but Dutch-processed tastes richer.
Salt (½ teaspoon) — Salt is not just for flavor; it enhances the chocolate. Without salt, these brownies taste flat. If you’re using salted butter, keep this at ½ teaspoon. If unsalted, you’re good.
The Secret Weapon
Instant Espresso Powder (1 teaspoon) — I know, you’re not going to taste coffee. Trust me. This doesn’t make them taste like coffee; it amplifies the chocolate flavor. It’s like a flavor booster. If you don’t have espresso powder, you can skip it, but I highly recommend getting a jar. It lasts forever and changes everything.
Equipment Needed
You don’t need a fancy kitchen for this. Here’s what I actually use, and what works.
Medium-Sized Mixing Bowl — Any bowl that’s big enough to hold all the ingredients without spilling when you stir. Glass or ceramic is nice because you can see what’s happening, but plastic works fine.
Whisk — You need a whisk to incorporate air into the sugar and eggs. This is crucial for the crackly top. A spoon works in a pinch, but a whisk is much better for getting that glossy, shiny surface.
9×13 Inch Baking Pan — Standard size. I use a metal pan. Glass pans heat differently and can sometimes make the edges too crispy or the center too dense. If you only have glass, lower the oven temperature by 25°F.
Parchment Paper — This is the game-changer for cleanup. Line your pan with parchment, leaving an overhang on the sides. This creates a “sling” so you can lift the brownies out easily after baking. No more digging them out with a spatula.
Microplane or Fine Grater — Optional, but nice for grating the chocolate if you’re melting it in the microwave. If you’re melting on the stove, a heatproof spatula is all you need.
Spatula — A silicone spatula is best for scraping the bowl clean. You want every bit of that chocolate batter.
How to Make It: Step-by-Step
Alright, let’s make these. I’m walking you through exactly how I do it, including the little tricks that make the difference between “okay” and “addictive.”
Step 1: Prep Your Pan and Oven (5 minutes)
Preheat your oven to 350°F (175°C). This needs to be fully hot before the brownies go in. Line your 9×13 pan with parchment paper. I like to do an L-shape: one strip down the length, one across the width, overlapping in the middle. Grease the parchment lightly with butter or cooking spray so it sticks. This ensures your brownies don’t stick and makes removal super easy.
Step 2: Melt the Butter and Chocolate (2 minutes)
Chop your baking chocolate into rough chunks. In a microwave-safe bowl, combine the chopped chocolate and the butter. Microwave in 30-second intervals, stirring well between each interval. Start checking at 30 seconds—microwaves vary. You want it melted and smooth. If there are still chunks, keep microwaving in 15-second bursts. Do not burn it! Burnt chocolate tastes bitter. Stir until glossy and smooth. Set aside to cool slightly.
Step 3: Whisk the Sugar and Eggs (3 minutes)
In your medium mixing bowl, add the granulated sugar and the eggs. This is the most important step for the crackly top. Whisk vigorously for about 2-3 minutes. You’re not just mixing; you’re aerating. The mixture should look pale, glossy, and slightly thickened. It should leave a trail when you lift the whisk. This incorporates air bubbles that expand in the oven, creating that shiny, crinkly crust. Don’t skip the whisking. I know it feels like extra work, but it’s the secret.
Step 4: Combine Wet Ingredients (1 minute)
Pour the melted chocolate and butter mixture into the sugar-egg mixture. Add the vanilla extract and the instant espresso powder. Whisk again until just combined. The batter should be dark, glossy, and look like melted fudge. It might look a bit separated at first, but keep whisking. It will come together.
Step 5: Add the Dry Ingredients (2 minutes)
Sift the flour, cocoa powder, and salt directly into the wet mixture. Sifting prevents lumps of cocoa powder, which is crucial because nobody wants a gritty brownie. Use your spatula to gently fold the dry ingredients into the wet. Stop as soon as you no longer see streaks of flour. Overmixing develops gluten, which makes brownies tough and cakey. You want to stop while the batter still looks a little thick and dense. It’s okay if it’s not perfectly smooth.
Step 6: Bake (25-30 minutes)
Pour the batter into your prepared pan. Spread it out evenly with your spatula. Put it in the center of the preheated oven. Bake for 25-30 minutes. Here’s the tricky part: you want to underbake them slightly. The edges should be set and pulling away from the sides of the pan, but the center should still look slightly soft and jiggly. If you bake them until the center is firm, they will be dry. They continue to cook on the hot pan as they cool.
Step 7: Cool Completely (1 hour)
This is the hardest part. You have to wait. Let the brownies cool in the pan on a wire rack for at least 30 minutes, but ideally 1 hour. If you cut them hot, they will be mushy and fall apart. If you wait, they set up into perfect, fudgy squares. Use the parchment sling to lift the entire block out of the pan, then slice into 12 or 16 squares.
Expert Tips & Tricks
Here’s everything I’ve learned from making these dozens of times. These tips will save you from my mistakes.
Don’t Overmix the Batter
I can’t stress this enough. Once you add the flour, mix until it’s just combined. If you keep stirring, you’re developing gluten, and your brownies will be chewy and cakey instead of fudgy and dense. Think of it like muffin batter—mix until no dry spots remain, then stop.
Room Temperature Eggs Matter
Cold eggs can cause the melted chocolate to seize up and become grainy when you add them. Room temperature eggs blend seamlessly. If you forget, just soak them in warm water for 5-10 minutes before cracking them.
The Whisking Step is Non-Negotiable
I’ve tried rushing this step, and the tops are matte, not shiny. The vigorous whisking of the sugar and eggs creates the “crinkle” effect. It creates a syrupy emulsion that expands and cracks as it bakes. Take your time here.
Underbake for Fudginess
The “toothpick test” is tricky for fudgy brownies. If you insert a toothpick and it comes out clean, they are overbaked. You want a few moist crumbs to stick to the toothpick. If it’s wet batter, they need more time. If it’s just crumbs, pull them out. They will firm up as they cool.
Use Good Chocolate
Since there’s so little flour, the chocolate flavor is front and center. Cheap, waxy chocolate will taste like it. Spend the extra dollar on a good bar of baking chocolate. It makes a world of difference.
Common Mistakes (and how to avoid them)
- Mistake: Brownies are dry. Fix: You baked them too long. Next time, take them out 2-3 minutes earlier. Also, make sure you measured your flour correctly (spoon and level, don’t scoop).
- Mistake: Top isn’t crackly. Fix: You didn’t whisk the eggs and sugar enough. Or you used brown sugar instead of white. Stick to granulated white sugar for the crust.
- Mistake: Brownies stuck to the pan. Fix: You didn’t use parchment paper, or you didn’t grease the parchment. Parchment is your friend. Use it.
Variations & Substitutions
Once you’ve nailed the basic version, here’s how you can mix it up. I’ve tried all of these.
Nutty Brownies
Stir in 1 cup of chopped walnuts or pecans after adding the flour. I love the crunch against the soft fudgy center. Toast the nuts first for extra flavor.
White Chocolate Chip
Swap the chocolate chips for white chocolate chips. Add them at the end, folded in gently. Sweet and rich.
Espresso Boost
If you love coffee, add an extra teaspoon of espresso powder, or dissolve 1 tablespoon of instant coffee in 1 teaspoon of hot water and add it with the vanilla. It makes the chocolate flavor incredibly deep.
Peanut Butter Swirl
After pouring the batter into the pan, dollop tablespoons of peanut butter on top. Use a knife to swirl it into the batter. Don’t over-swirl; you want ribbons, not a uniform mix.
Gluten-Free
Use a 1:1 gluten-free flour blend (like Bob’s Red Mill or King Arthur). Make sure it contains xanthan gum, or add ½ teaspoon. The texture will be slightly more delicate, but still fudgy.
Dairy-Free
Substitute the butter with a high-quality vegan butter stick (not margarine). Use dairy-free chocolate chips or bars. The texture might be slightly less rich, but still good.
Vegan
Replace eggs with 2 flax eggs (2 tablespoons ground flaxseed + 6 tablespoons water, rested for 5 minutes). Use vegan butter and dairy-free chocolate. Note: Vegan brownies tend to be cakier, so don’t expect the exact same fudgy texture, but they are still delicious.
Serving & Storage
How to Serve
I usually serve these straight from the pan, cut into squares. They’re perfect with a glass of cold milk. If I’m feeling fancy, I’ll serve them with a dollop of whipped cream and a sprinkle of flaky sea salt. The salt on top really pops the chocolate flavor.
Side Dishes
These are a dessert on their own, but they pair well with:
- Fresh berries (raspberries or strawberries cut the richness)
- Vanilla ice cream (classic)
- Cold brew coffee
Storage Instructions
Room Temperature: Store in an airtight container for up to 3 days. They stay fudgy at room temperature.
Refrigerator: Store for up to 1 week. The cold makes them denser and more like a truffle. Let them sit out for 10 minutes before eating to soften slightly.
Freezer: Yes, you can freeze these! Cut them into squares, wrap them tightly in plastic wrap, then put them in a freezer bag. They last for 3 months. Thaw at room temperature. They taste almost as good as fresh.
Reheating
If you want a warm brownie, microwave a square for 15-20 seconds. It becomes gooey and delicious. Don’t overheat it, or it will become dry.
Nutrition Information
I’m not a nutritionist, but here’s the breakdown if you’re tracking. Keep in mind, these are rich, dense brownies, so portion control is key.
Per Serving (based on 12 squares):
- Calories: 320
- Protein: 4g
- Carbs: 42g
- Fiber: 2g
- Sugar: 32g
- Fat: 16g
- Saturated Fat: 9g
- Cholesterol: 55mg
- Sodium: 180mg
What’s Good:
Decent amount of iron from the cocoa. It’s a single-serving treat, so it fits into a balanced diet if you’re mindful.
What to Know:
High in sugar and saturated fat. This is a dessert, not a health food. Enjoy it as such.
Final Thoughts
So that’s my go-to fudgy one-bowl brownie recipe! I’ve probably talked your ear off at this point, but when you make a recipe this often, you have a lot to say about it.
This has saved my life on busy weeknights. It’s my answer to “I need something sweet, but I don’t want to bake a cake” or “I need to bring something to a potluck that looks impressive but is actually easy.” My kids are happy, my husband’s happy, and I’m happy because I’m not stressed about cooking.
Make it yours! Try different add-ins, swap in your favorite nuts, or just enjoy them plain. The best recipes are the ones you adapt to your family’s tastes. And seriously, don’t skip the whisking step. It’s the difference between good and great.
If you make this, drop a comment and let me know what you think! I love hearing how recipes turn out in your kitchen. And if something doesn’t work, tell me that too—I’m here to help troubleshoot.
Happy baking! And I hope your kitchen smells half as good as mine does right now.
Frequently Asked Questions
Can I use chocolate chips instead of baking chocolate?
I really don’t recommend it. Chocolate chips contain stabilizers that prevent them from melting completely, which results in a waxy, less fudgy texture. For true fudgy brownies, you need bars of pure baking chocolate that melt smoothly. If you absolutely must, you can melt the chips, but the texture won’t be as silky.
Why didn’t my brownies get a crackly top?
There are usually two reasons: 1) You didn’t whisk the eggs and sugar vigorously enough. The crackly top comes from the sugar dissolving into the eggs and creating a syrupy emulsion. If the mixture isn’t glossy and thick before you add the chocolate, the crust won’t form. 2) You used brown sugar. The recipe calls for granulated white sugar. Brown sugar has molasses, which changes the chemistry and prevents the shiny crust.
Can I make these ahead of time?
Yes! In fact, they taste better the next day. You can bake them up to 2 days in advance. Store them in an airtight container at room temperature. If you need to store them longer, freeze them. Just let them come to room temperature before eating for the best texture.
Why are my brownies cakey instead of fudgy?
This usually happens for one of three reasons: 1) You overmixed the batter after adding the flour, which developed gluten. 2) You used too much flour (scooping instead of spooning and leveling). 3) You baked them too long. For fudgy brownies, you want to underbake them slightly. The center should still be soft when you take them out.
Can I double this recipe?
Yes, but you’ll need a larger pan. Double the ingredients and use a 9×13 pan (this recipe is already for a 9×13). If you want to double it for a bigger crowd, use two 9×13 pans and bake for the same amount of time, or use a 9×13 and a smaller 8×8 pan. Keep an eye on the baking time, as smaller pans bake faster.
Can I add nuts?
Absolutely. 1 cup of chopped walnuts or pecans is a classic addition. Fold them in after the flour is mixed. If you like your nuts toasty, toast them in a dry pan over medium heat for 3-5 minutes before adding them to the batter.
How do I know when they are done baking?
Look for the edges to be set and pulling away from the sides of the pan. The center should still look slightly soft and jiggly. Insert a toothpick into the center; it should come out with a few moist crumbs attached, not wet batter, but definitely not clean. If the toothpick is clean, they are overbaked.
Pin This Recipe!
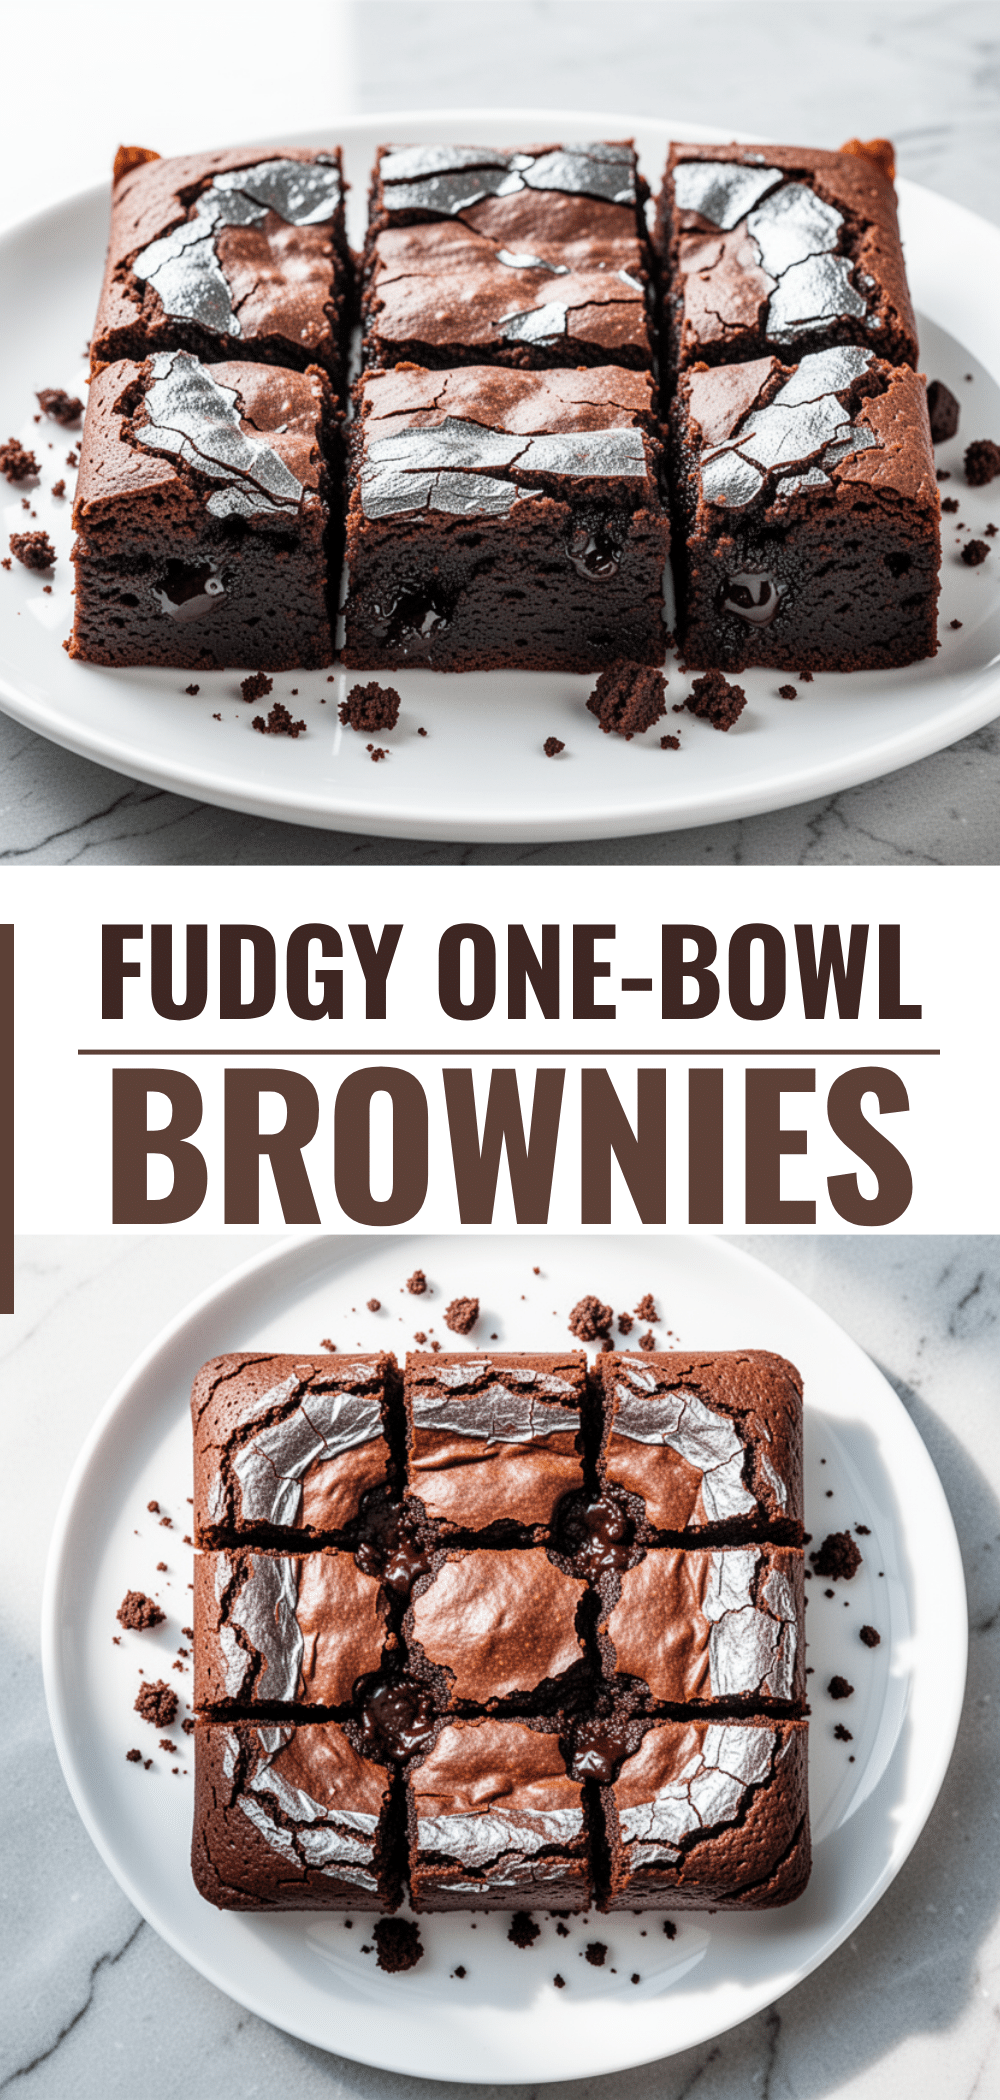
Fudgy One-Bowl Brownies: Easy Crackly Crinkle Tops
- Total Time: 1 hour 30 minutes
- Yield: 12 servings 1x
Description
These fudgy one-bowl brownies feature a dense, chocolatey center and a satisfyingly thin, crackly crinkle top. Made with pantry staples and requiring only one bowl for mixing, they are the ultimate easy dessert for any occasion.
Ingredients
- 4 ounces (113g) unsweetened baking chocolate, chopped
- ½ cup (113g) unsalted butter
- 1 ½ cups (300g) granulated sugar
- 2 large eggs, room temperature
- 1 teaspoon vanilla extract
- ¾ cup (95g) all-purpose flour
- ¼ cup (20g) unsweetened cocoa powder
- ½ teaspoon salt
- 1 teaspoon instant espresso powder
Instructions
- Preheat oven to 350°F (175°C). Line a 9×13 inch baking pan with parchment paper, leaving an overhang on the sides, and grease lightly.
- In a microwave-safe bowl, combine chopped chocolate and butter. Microwave in 30-second intervals, stirring between each, until melted and smooth. Set aside to cool slightly.
- In a medium mixing bowl, whisk granulated sugar and eggs vigorously for 2-3 minutes until the mixture is pale, glossy, and thickened.
- Pour the melted chocolate and butter mixture into the sugar-egg mixture. Add vanilla extract and instant espresso powder. Whisk until just combined.
- Sift flour, cocoa powder, and salt into the wet ingredients. Gently fold with a spatula until just combined; do not overmix.
- Pour batter into the prepared pan and spread evenly.
- Bake for 25-30 minutes. The edges should be set and pulling away from the sides, but the center should still look slightly soft and jiggly.
- Cool completely in the pan on a wire rack for at least 1 hour before lifting out using the parchment sling and slicing into squares.
Notes
Do not use chocolate chips as they contain stabilizers that prevent a smooth melt. Whisking the sugar and eggs vigorously is crucial for the crackly top. Underbake slightly for a fudgy texture; they will firm up as they cool. For gluten-free, use a 1:1 gluten-free flour blend. For dairy-free, use vegan butter and dairy-free chocolate.
- Prep Time: 5 minutes
- Cook Time: 25-30 minutes
- Category: Dessert
- Cuisine: American
Nutrition
- Serving Size: 1 square
- Calories: 320
- Sugar: 32
- Sodium: 180
- Fat: 16
- Saturated Fat: 9
- Carbohydrates: 42
- Fiber: 2
- Protein: 4
Keywords: brownies, fudgy brownies, one bowl brownies, crackly top brownies, easy dessert, chocolate brownies, baking



