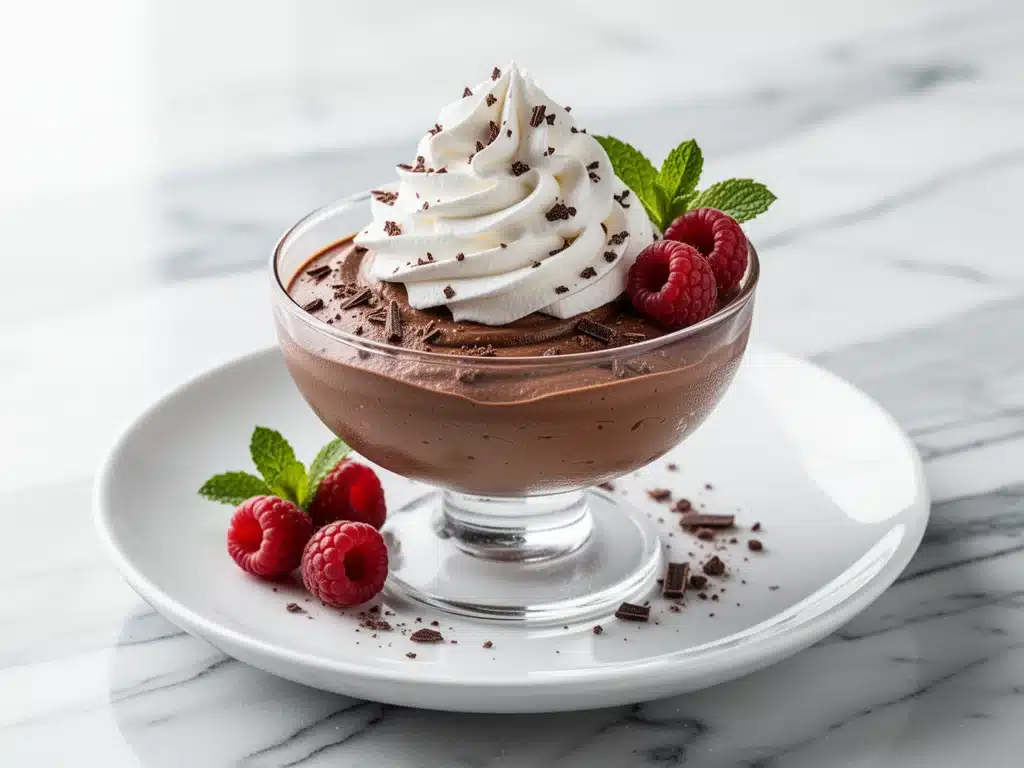
I still remember the exact moment I realized I had been making chocolate mousse wrong my entire life. It was three years ago, sitting at a tiny bistro in Lyon, France. I had just finished a heavy, greasy lunch, and my friend pointed to a small white ramekin on the table. “Just one spoonful,” she said. “It’s lighter than air.”
I looked at that mousse. It wasn’t a dense, fudgy block like the ones I’d been whipping up in my own kitchen using a food processor and a blender. It looked delicate. Pale. Almost alive. I took a bite, and it literally melted on my tongue before I even swallowed. No grit. No separated cocoa butter. Just pure, unadulterated chocolate silk.
I went home and spent the next six months failing. I tried yolks. I tried egg whites. I tried gelatin. I tried whipping cream until my arm fell off. Most of them were either too dense (like pudding) or too airy (like foam). They tasted good, sure, but they lacked that magical texture I’d experienced in France. It was frustrating. I was ready to give up and just eat chocolate cake.
Then, I found the trick. It’s not about the equipment. It’s not about fancy chocolate. It’s about temperature and patience. Specifically, it’s about letting the chocolate cool slightly before folding in the whipped cream, and doing it gently, like you’re handling a baby bird. When you get that ratio right—rich chocolate base meeting stiff, cold cream—the result is what I can only describe as edible velvet.
This silky chocolate mousse with fresh whipped cream is the dessert I make when I want to impress guests without spending hours in the kitchen. It’s also the dessert I make on rainy Sundays when I just need a hug in a bowl. It uses only five ingredients. Yes, five. And if you follow the steps exactly, it will be the best thing you’ve ever eaten. I’ve made it 20 times since that trip to Lyon, and it’s never failed me. Here’s how you can do it too.
Why You’ll Love This Recipe
There are a dozen reasons why this chocolate mousse has taken over my kitchen routine, but let’s be real: you don’t need another complicated dessert that requires seven types of flour and a thermometer. You need something that works, tastes incredible, and makes you feel like a genius chef.
- Five Ingredients, Maximum Impact — Seriously. Dark chocolate, eggs, sugar, vanilla, and heavy cream. That’s it. I don’t use cocoa powder (it’s gritty), and I don’t use gelatin (it’s rubbery). Just pure, simple ingredients that you probably already have in your pantry or fridge.
- Texture That Changes Everything — Most home-made mousses are dense. This one is airy. The key is in the folding technique. Once you get the hang of it, you’ll be obsessed with how light it is. It’s not just “good for homemade”; it’s genuinely restaurant-quality.
- Make-Ahead Friendly — This is the ultimate stress-buster. You can make this mousse two days in advance. In fact, I prefer making it the night before. The flavors meld together overnight, and the texture sets up perfectly in the fridge. You just whip the cream and assemble when guests arrive.
- Gluten-Free Naturally — Because it’s just eggs, chocolate, and cream, this is naturally gluten-free. No need to swap out flours or worry about cross-contamination. My celiac friend requests this specifically because it’s the only mousse she trusts.
- Feels Fancy, Actually Simple — It looks elegant in little glass cups or ramekins. It pairs beautifully with fresh berries or just a dollop of whipped cream. But the work? About 15 minutes of active time. The rest is waiting.
This is my go-to when I need a dessert that feels special but doesn’t demand my full attention. It’s reliable, it’s delicious, and it’s going to become a staple in your rotation too.
Ingredients You’ll Need
Here’s the thing about this recipe: the quality of your ingredients matters more than anything else. Since there are only five items, each one carries a lot of weight. You can’t hide behind spices or extracts. If your chocolate is bad, the mousse will be bad. Simple as that.
For the Chocolate Base
Dark Chocolate (8 ounces / 225g) — This is the star. Use high-quality baking chocolate, not chocolate chips. Chips have stabilizers that prevent them from melting smoothly. I recommend Lindt 70% or Ghirardelli 60%. You want a balance of sweetness and bitterness. If you use something too sweet, the mousse will be cloying. If it’s too dark, it might be bitter. 60-70% is the sweet spot.
Unsalted Butter (2 tablespoons / 30g) — This adds richness and helps create that glossy, silky texture. Don’t skip it. It’s not about fat content; it’s about mouthfeel. Salted butter works too, but reduce any added salt in the recipe (though we don’t add much salt here anyway).
Vanilla Extract (1 teaspoon / 5ml) — Pure vanilla, please. I’ve used imitation before, and it tastes like chemicals. Pure vanilla adds a warm, floral note that cuts through the intensity of the dark chocolate. It’s subtle, but you’ll notice it.
For the Structure
Egg Yolks (4 large / approx. 70g) — These provide the emulsion that binds the chocolate and cream together. They add richness and a custard-like depth. Make sure they are room temperature. Cold yolks can seize the chocolate if you’re not careful.
Egg Whites (4 large / approx. 120g) — These are what make it a *mousse* and not a pudding. The air trapped in the whites creates that light, fluffy texture. They must be completely free of yolk. Even a tiny drop of yolk will stop them from whipping up properly. This is non-negotiable.
For the Sweetener
Granulated Sugar (2 tablespoons / 25g) — You might think this is low, but dark chocolate is already sweet. Two tablespoons is enough to balance the bitterness without making it a sugar bomb. If you prefer sweeter mousse, bump it up to 3 tablespoons. But I suggest starting low.
For the Topping
Heavy Cream (1 cup / 240ml, cold) — For the whipped cream topping. It needs to be cold. Very cold. If your cream is warm, it won’t whip. Also, use 35% fat content or higher. Light cream won’t hold peaks.
Confectioners’ Sugar (1 tablespoon / 8g) — Just a touch to sweeten the whipped cream. Optional, but it balances the bitterness of the dark chocolate in the mousse below.
Pure Vanilla Extract (½ teaspoon / 2.5ml) — To flavor the whipped cream. Keeps it simple and elegant.
Substitutions & Tips
Chocolate Swap: Can’t find good bars? Use high-quality couverture chocolate chips, but check the ingredients. Avoid ones with soy lecithin if possible. They melt differently. If you use cocoa powder, this recipe won’t work—it’s designed for melted chocolate. You’d need a different technique entirely.
Egg Safety: If you’re worried about raw eggs, use pasteurized eggs. They are safer and behave the same way. I usually just buy the carton of pasteurized eggs from the dairy section.
Butter Alternative: You can omit the butter for a dairy-free chocolate base (but the topping will need to be coconut cream). The texture will be slightly less glossy, but still delicious.
Equipment Needed
You don’t need a fancy kitchen to make this. Here’s what I actually use, and what you can skip.
Double Boiler or Heatproof Bowl — You need a way to melt the chocolate gently. I use a glass Pyrex bowl set over a saucepan of simmering water. Don’t let the bowl touch the water. If you don’t have a double boiler, just use a microwave in 30-second bursts, stirring in between. But the double boiler is better for control.
Electric Hand Mixer or Stand Mixer — You *can* whisk egg whites by hand, but it takes 10-15 minutes of arm work and you might not get stiff peaks. An electric mixer is a game-changer. It takes 3 minutes. I use my KitchenAid, but a cheap hand mixer from Target works just as well.
Spatula — A large, flexible silicone spatula is essential for folding. You need to scrape the sides of the bowl and gently turn the mixture over to keep the air in. A wooden spoon is too rigid and will deflate the whites. I have a red silicone spatula that I use for everything.
Mixing Bowls — Two large bowls. One for the chocolate mixture, one for the egg whites. Make sure both are completely clean and dry. Any grease in the egg white bowl will ruin your whites.
Ramekins or Serving Glasses — Small glass cups look beautiful and let people see the layers. I use 6-ounce ramekins. You can also use mason jars or even just eat it straight from the bowl (I won’t judge).
Whisk — For beating the egg whites. Or just use your electric mixer’s whisk attachment.
How to Make It: Step-by-Step
Alright, let’s make this! I’m walking you through exactly how I do it, including the little tricks I’ve picked up over years of trial and error. The key here is patience. Rushing this recipe is the fastest way to get a dense, sad mess.
Step 1: Melt the Chocolate (5 minutes)
Break your 8 ounces of dark chocolate into small pieces. This helps it melt evenly. Place the chocolate in a heatproof bowl over a pot of barely simmering water. The water shouldn’t be boiling vigorously—just a gentle simmer. Stir occasionally until the chocolate is completely smooth. If you’re using a microwave, heat in 30-second intervals, stirring well between each. Once melted, remove from heat and stir in the butter and vanilla extract. Let it cool for about 10 minutes. It should be warm to the touch, not hot. If it’s hot, it will cook the egg yolks when you add them. We don’t want scrambled eggs in our mousse.
Step 2: Separate the Eggs (2 minutes)
Separate your four eggs. Put the yolks in one bowl and the whites in another. Be meticulous. If any yolk breaks into the whites, start over with those whites. Fat prevents egg whites from whipping. Once separated, beat the egg yolks with the sugar until they are pale yellow and slightly thickened. This takes about 1-2 minutes with an electric mixer. Stir this yolk mixture into the cooled chocolate mixture until fully combined. The result should be a smooth, glossy, dark brown paste.
Step 3: Whip the Egg Whites (3-4 minutes)
This is the most critical step. Using a clean, dry bowl and clean beaters, whip the egg whites on medium-high speed. Start slowly to create bubbles, then increase to high. Whip until you form stiff peaks. What does that look like? Lift the beaters out of the bowl. The egg whites should stand up straight, like a sharp peak, without drooping. If they droop, they’re under-whipped. If they look dry and crumbly, you’ve over-whipped them. Stop right at the stiff peak stage. This usually takes 2-3 minutes with an electric mixer.
Step 4: The Fold (3-5 minutes)
Now, the magic happens. You need to combine the airy egg whites with the dense chocolate mixture without deflating the air. Here’s how I do it: Take about one-third of the egg whites and stir them vigorously into the chocolate mixture. This “loosens” the chocolate, making it easier to mix. Then, add the remaining whites. Using your silicone spatula, cut down through the center of the mixture, scrape along the bottom, and fold over the top. Rotate the bowl and repeat. You’re looking for a uniform color with just a few streaks of white left. Don’t overmix. If you mix too much, you lose the air. If you mix too little, you get streaks. Aim for “mostly combined but still airy.” It should look like a marbled, fluffy cloud.
Step 5: Chill (At least 2 hours)
Divide the mousse into your ramekins or serving glasses. Cover them with plastic wrap or lids. Place them in the refrigerator. They need to set for at least 2 hours, but 4 hours is better. Overnight is best. This chilling time allows the chocolate to firm up slightly and the flavors to meld. If you eat it immediately, it will be too soft and the texture won’t be right. Patience pays off.
Step 6: Whip the Cream (2 minutes)
Just before serving, whip your heavy cream. Combine the cold heavy cream, confectioners’ sugar, and vanilla in a bowl. Whip on medium-high speed until you form soft peaks. You want it creamy and spreadable, not stiff and butter-like. Soft peaks mean the cream holds its shape but the tip droops slightly. If you whip it too stiff, it won’t be as light and fluffy on top of the mousse.
Step 7: Serve
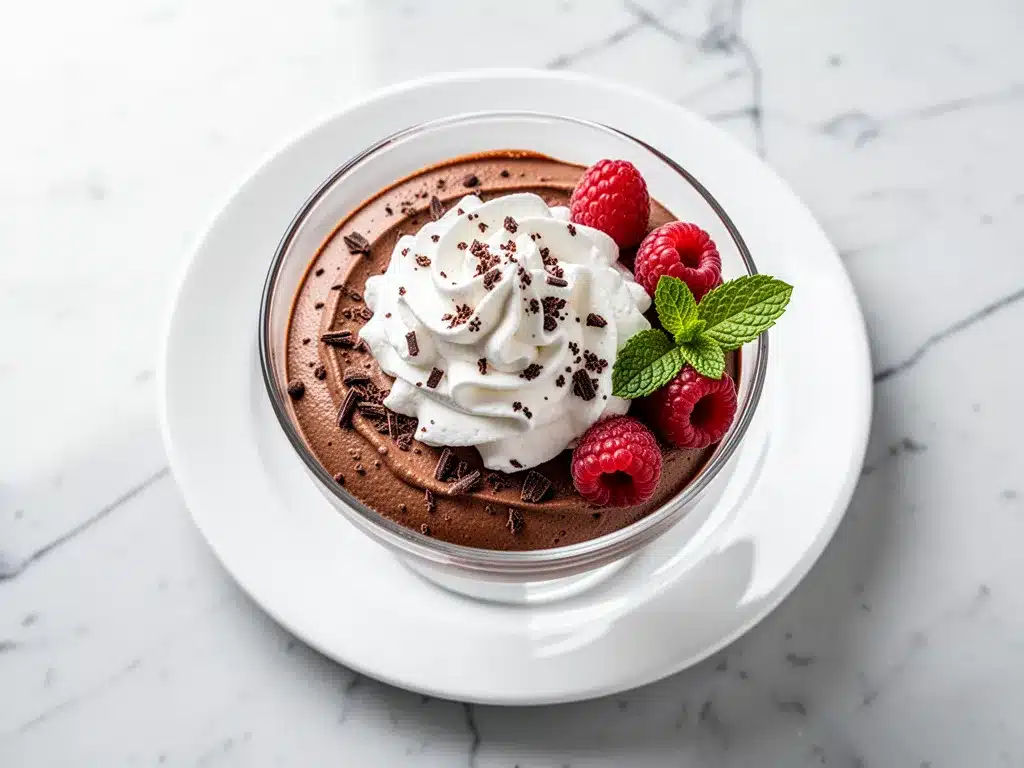
Spoon a generous dollop of whipped cream onto each mousse. Garnish with a few fresh raspberries, a sprinkle of sea salt, or shaved chocolate. Serve immediately. The contrast between the cold, airy mousse and the cool, creamy whipped cream is pure bliss.
Expert Tips & Tricks
Here’s everything I’ve learned from making this dozens of times. These tips will save you from my mistakes.
The Chocolate Temperature is Key
I cannot stress this enough. If your melted chocolate is too hot, it will cook the egg yolks when you mix them, and it will melt the egg whites when you fold them in. The result is a soup. Let the chocolate cool until it’s just warm to the touch. If you’re unsure, touch the side of the bowl. If it feels like a warm bath, it’s ready. If it feels like a hot tub, wait.
Clean Bowls, Clean Beaters
Any trace of oil, yolk, or water in the egg white bowl will prevent them from whipping. Wipe your bowl with a bit of vinegar or lemon juice before starting. It removes any hidden grease. I learned this the hard way when my whites stayed flat for 10 minutes. I was about to throw them out, but a quick wipe saved the day.
Don’t Over-Fold
When folding the whites into the chocolate, stop when you see just a few streaks of white. The residual mixing from carrying the batter to the ramekins will finish the job. Over-mixing is the most common mistake. It turns your fluffy mousse into a dense brownie batter.
Use Cold Cream
For the whipped cream topping, keep your bowl and beaters in the fridge for 15 minutes before whipping. Cold cream whips faster and holds its shape better. If your kitchen is hot, this is even more important.
Chill the Glasses
If you want an extra-special touch, chill your serving glasses in the freezer for 10 minutes before filling them. The cold glass keeps the mousse colder for longer, enhancing the texture.
Troubleshooting
If your mousse is too runny after chilling, it probably wasn’t chilled long enough or the chocolate wasn’t cooled enough. Next time, chill for 4+ hours. If it’s too stiff, you over-whipped the egg whites or used too much chocolate. Next time, whip the whites to soft peaks instead of stiff, or use slightly less chocolate.
Variations & Substitutions
Once you’ve nailed the basic version, here’s how you can mix it up. I’ve tried all of these.
Mocha Mousse
Add 1 tablespoon of instant espresso powder to the melted chocolate. It intensifies the chocolate flavor without making it taste like coffee. It’s a classic combination.
Orange Chocolate Mousse
Add the zest of one orange to the egg whites before whipping. The citrus pairs beautifully with dark chocolate. It’s fresh and bright.
Sea Salt Caramel
Drizzle salted caramel sauce over the top before adding the whipped cream. Use a high-quality caramel, not the syrup from a bottle. It adds a salty-sweet crunch.
White Chocolate Mousse
Swap the dark chocolate for white chocolate. Use 10 ounces instead of 8, as white chocolate is sweeter. Reduce the sugar to 1 tablespoon. Note: White chocolate is more sensitive to heat, so be extra careful with the cooling step.
Vegan Version
This is trickier. You can use aquafaba (the liquid from a can of chickpeas) instead of egg whites. Whip it with cream of tartar until stiff. Use vegan dark chocolate and coconut cream for the topping. It’s not exactly the same, but it’s surprisingly close.
Gluten-Free
This recipe is naturally gluten-free. Just ensure your chocolate and vanilla extract are certified gluten-free if you have celiac disease.
Serving & Storage
I usually serve this straight from the fridge. It’s best cold. Here’s how to store and reheat if needed.
How to Serve
I love serving this in individual glass cups so you can see the layers. Top with fresh berries—raspberries and strawberries are classic. A few mint leaves add a pop of color. A light dusting of powdered sugar or cocoa powder also looks elegant. I often serve it with a side of hot coffee or tea to cut through the richness.
Refrigerator
Store covered in the fridge for up to 3 days. The mousse will keep its texture well. If you notice condensation on the lid, blot it dry to prevent water droplets from falling into the mousse.
Freezing
You can freeze this mousse, but the texture might change slightly. The egg whites can become a bit watery upon thawing. If you must freeze, do it for up to 1 month. Thaw in the fridge overnight. I prefer making it fresh, but freezing is an option for meal prep.
Reheating
Do not reheat this. It’s a cold dessert. Eating it warm defeats the purpose of the airy texture.
Nutrition Information
I’m not a nutritionist, but here’s the breakdown if you’re tracking. Keep in mind that this is a rich, indulgent dessert, so portions matter.
Per Serving (based on 6 servings, with whipped cream):
- Calories: 380
- Protein: 6g
- Carbs: 22g
- Fiber: 2g
- Sugar: 18g
- Fat: 30g
- Saturated Fat: 18g
- Cholesterol: 140mg
- Sodium: 45mg
What’s Good:
It’s naturally gluten-free and uses high-quality dark chocolate, which has antioxidants. The portion size is small, so it’s easy to control intake.
What to Know:
It’s high in saturated fat due to the chocolate, butter, and cream. It’s also high in sugar. Enjoy it as a special treat, not a daily snack. If you’re watching sugar, reduce the sugar in the mousse to 1 tablespoon and use unsweetened whipped cream.
Final Thoughts
So that’s my go-to silky chocolate mousse! I’ve probably talked your ear off at this point, but when you make a recipe this often, you have a lot to say about it.
This has saved dinner parties more times than I can count. It’s my answer to “what’s for dessert” when I want to impress but don’t have time. My friends ask for the recipe constantly. My kids beg for it on weekends. And I’m happy because it’s simple, reliable, and delicious.
Make it yours! Try different chocolates, add different toppings, swap in your favorite berries. The best recipes are the ones you adapt to your tastes. I hope this becomes a staple in your kitchen too.
If you make this, drop a comment and let me know what you think! I love hearing how recipes turn out in your kitchen. And if something doesn’t work, tell me that too—I’m here to help troubleshoot.
Happy cooking! And I hope your kitchen smells half as good as mine does right now.
Frequently Asked Questions
Can I use milk chocolate instead of dark chocolate?
You can, but the mousse will be much sweeter and less rich. Dark chocolate (60-70%) provides the best balance. If you use milk chocolate, reduce the added sugar to zero. I don’t recommend using white chocolate unless you’re making a specific variation, as it behaves differently.
Why did my mousse turn out runny?
Usually, this means the chocolate was too hot when you added the yolks, or you didn’t chill it long enough. Another common cause is under-whipping the egg whites. Make sure you get stiff peaks. If it’s still runny after 4 hours in the fridge, it might be the chocolate ratio. Next time, use slightly more chocolate or chill for longer.
Can I make this ahead for a dinner party?
Yes! This is actually better made ahead. Make it 1-2 days in advance. The flavors meld and the texture sets up perfectly. Just whip the cream right before serving. This takes the stress out of hosting.
Why did my egg whites not whip up?
There’s likely a trace of egg yolk or oil in the bowl. Fat prevents whipping. Wipe your bowl with vinegar or lemon juice. Also, make sure your beaters are clean. If the whites are under-whipped, they won’t hold their shape when folded into the chocolate.
Can I use a microwave to melt the chocolate?
Yes, but be careful. Microwave in 30-second bursts, stirring well between each. Chocolate burns easily in the microwave. If it gets too hot, it will ruin the mousse. A double boiler is safer and more even.
How long does the whipped cream last?
Homemade whipped cream is best fresh. It will start to deflate after a few hours in the fridge. I recommend whipping it just before serving. If you must make it ahead, store it covered in the fridge for up to 4 hours, but it won’t be as fluffy.
Is this mousse safe for pregnant women?
Traditional mousse contains raw eggs, which pose a risk of salmonella. If you are pregnant or immunocompromised, use pasteurized eggs. They are safe to eat raw and behave the same way. You can also find pasteurized eggs in the dairy section of most grocery stores.
Pin This Recipe!
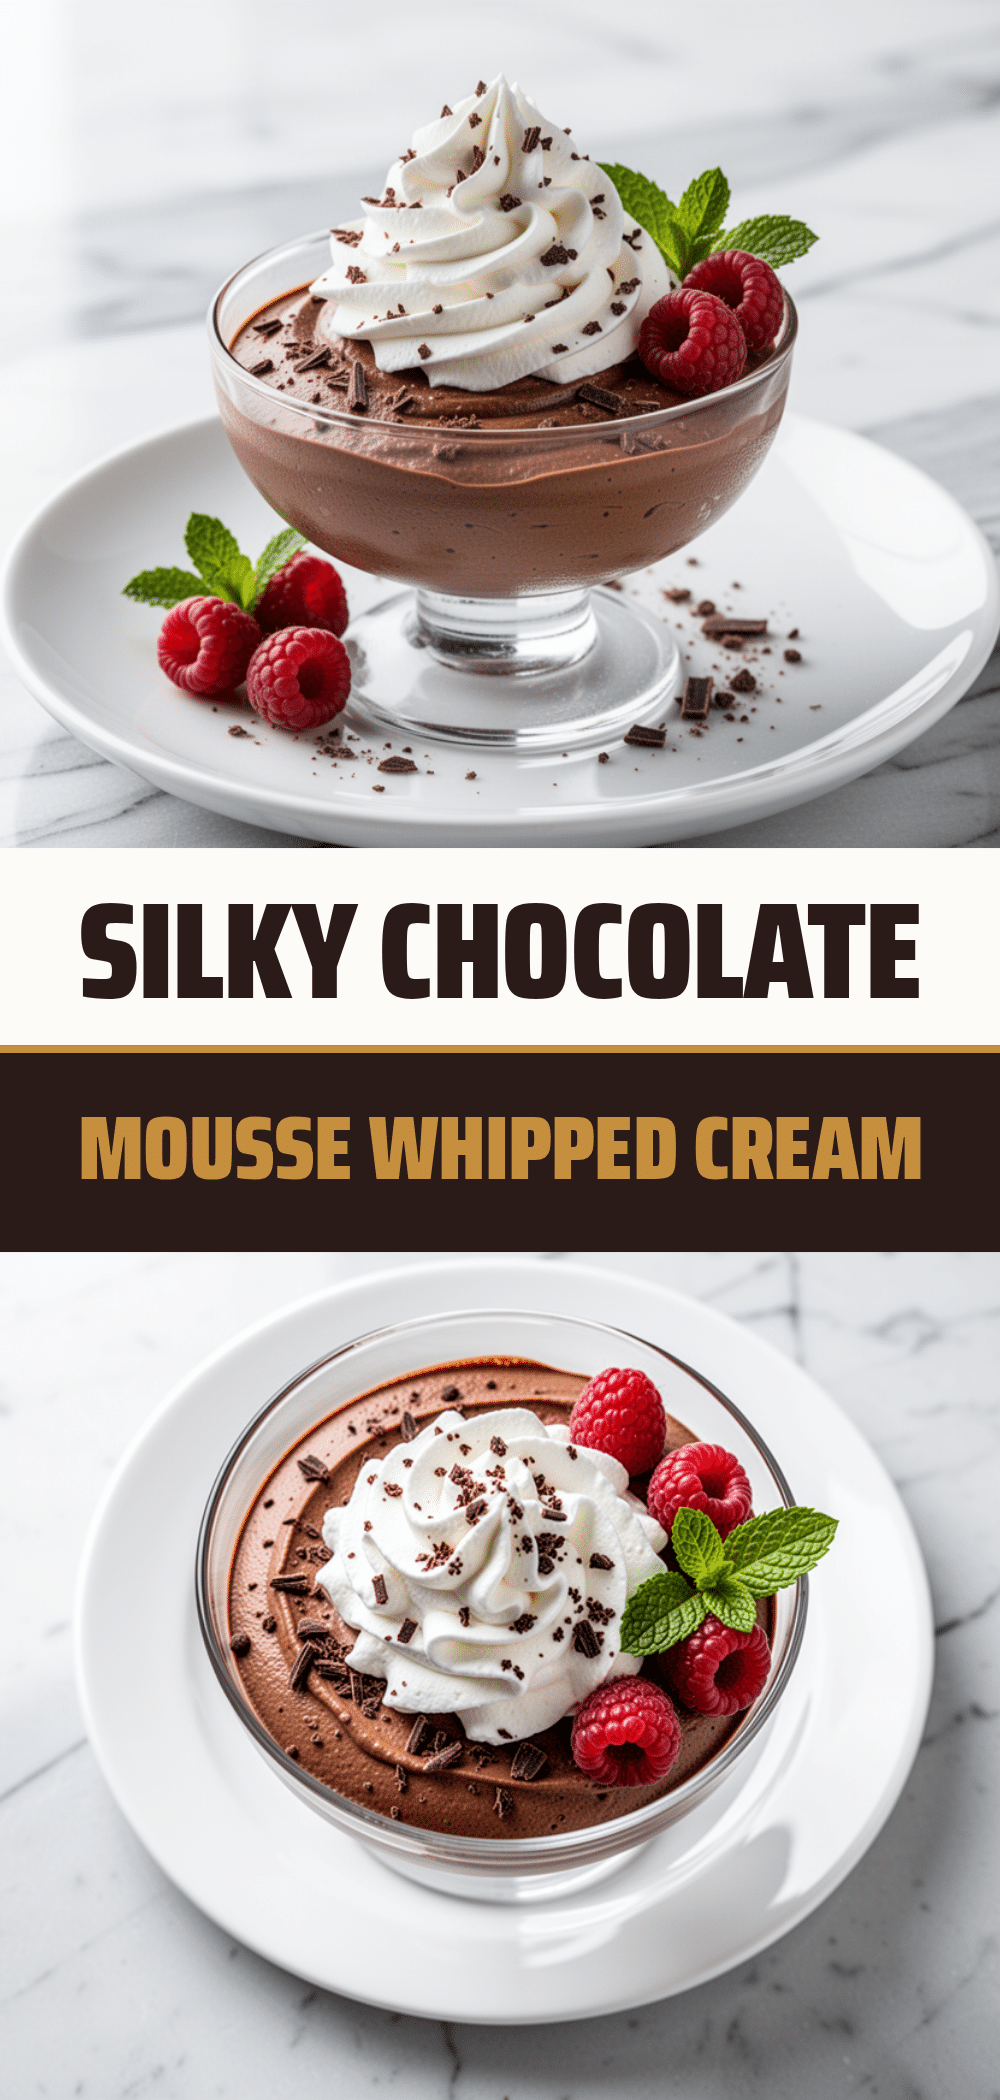
Silky Chocolate Mousse with Fresh Whipped Cream: 5-Ingredient Easy Dessert
- Total Time: 2 hours 15 minutes
- Yield: 6 servings 1x
Description
A light, airy, and restaurant-quality chocolate mousse made with just five simple ingredients. This gluten-free dessert relies on temperature control and gentle folding techniques to achieve a silky, melt-in-your-mouth texture.
Ingredients
- 8 ounces (225g) high-quality dark chocolate (60-70% cocoa), broken into pieces
- 2 tablespoons (30g) unsalted butter
- 1 teaspoon pure vanilla extract
- 4 large egg yolks, room temperature
- 2 tablespoons (25g) granulated sugar
- 4 large egg whites, room temperature
- 1 cup (240ml) heavy cream, very cold
- 1 tablespoon (8g) confectioners’ sugar
- 1/2 teaspoon pure vanilla extract
Instructions
- Melt the dark chocolate in a heatproof bowl over a pot of barely simmering water (or in microwave bursts), stirring until smooth. Remove from heat and stir in the butter and 1 teaspoon vanilla. Let cool for 10 minutes until warm to the touch.
- Separate the eggs, ensuring no yolk gets into the whites. Beat the egg yolks with the granulated sugar until pale and thickened (1-2 minutes). Stir this mixture into the cooled chocolate until fully combined.
- In a clean, dry bowl, whip the egg whites on medium-high speed until stiff peaks form (2-3 minutes).
- Stir one-third of the egg whites into the chocolate mixture to loosen it. Gently fold in the remaining whites using a silicone spatula, cutting down through the center and folding over until mostly combined but still airy.
- Divide the mousse into ramekins or serving glasses. Cover and refrigerate for at least 2 hours, preferably 4 hours or overnight, to set.
- Just before serving, whip the cold heavy cream with confectioners’ sugar and 1/2 teaspoon vanilla until soft peaks form.
- Spoon whipped cream onto the chilled mousse and garnish with fresh berries or shaved chocolate. Serve immediately.
Notes
Ensure the chocolate is cooled to warm, not hot, to avoid cooking the egg yolks. Egg whites must be free of any yolk or grease to whip properly. For egg safety, use pasteurized eggs if concerned about raw eggs. The mousse is best made 1-2 days in advance to allow flavors to meld.
- Prep Time: 15 minutes
- Cook Time: 0 minutes
- Category: Dessert
- Cuisine: French
Nutrition
- Serving Size: 1 ramekin with whipp
- Calories: 380
- Sugar: 18
- Sodium: 45
- Fat: 30
- Saturated Fat: 18
- Carbohydrates: 22
- Fiber: 2
- Protein: 6
Keywords: chocolate mousse, easy dessert, gluten-free dessert, silky mousse, 5-ingredient dessert, make-ahead dessert, French dessert



