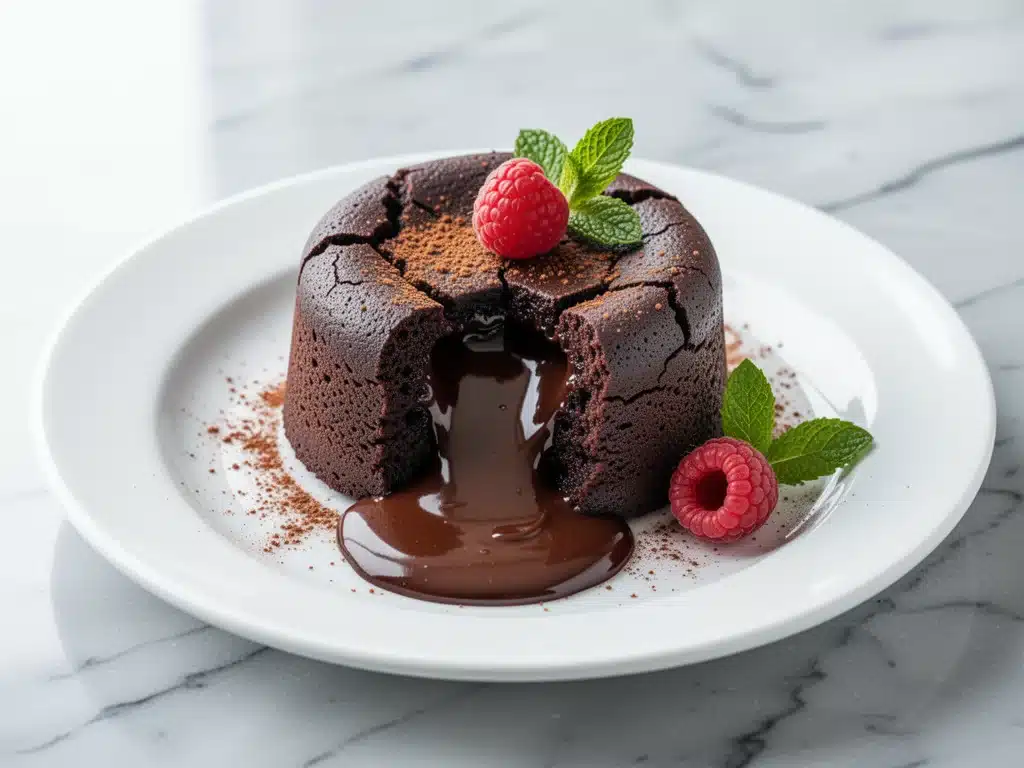
Last Valentine’s Day, I tried to be romantic. You know how it goes—dim lights, candlelight, maybe a glass of something red that costs more than my hourly wage. I decided to make chocolate lava cakes from scratch. I’d seen them on cooking shows, looked so easy, just molten chocolate oozing out when you cut into them. How hard could it be?
Disaster. Absolute disaster. I pulled them out of the oven, and they were… well, they were just chocolate cakes. Dense, dry, and utterly lacking in that gooey center magic everyone talks about. My date’s face didn’t change, which I’m pretty sure is worse than if he’d said, “This is inedible.”
So I kept trying. And failing. And burning. And overmixing. And underbaking. By the fourth attempt, I was ready to throw my apron in the trash and order pizza. But then, I figured it out. It’s not about the recipe—it’s about the timing. It’s about trusting your eyes, not your timer. And once I cracked it, these decadent chocolate lava cakes became our go-to for any special night in.
There’s something deeply satisfying about serving a dessert that looks like it came from a fancy Parisian bistro but was made in your own kitchen. The contrast of the warm, soft cake and the liquid chocolate center is pure magic. Plus, they’re surprisingly simple once you know the trick. No fancy equipment, no rare ingredients. Just chocolate, butter, eggs, sugar, and a little bit of patience.
These lava cakes are perfect for romantic dinners, date nights, or just treating yourself because you deserve it. I’ve made them for friends, family, and solo Sunday nights when I need a little comfort. Each time, the result is the same: that first bite where the chocolate spills out, and you feel like you’ve accomplished something extraordinary.
So let’s talk about how to make these decadent chocolate lava cakes without the heartbreak. I’ll walk you through the steps, share my hard-won tips, and help you avoid the mistakes I made so you can enjoy that molten chocolate glory from the very first try.
Why You’ll Love This Chocolate Lava Cake Recipe
There are plenty of chocolate desserts out there, but few deliver that specific thrill of the molten center. Here’s why this recipe has earned a permanent spot in my dessert rotation:
- Impressively Simple — Seriously, if you can melt chocolate and whisk eggs, you can make this. I’ve walked my teenage niece through it over video call. She was nervous, but she nailed it.
- Quick and Foolproof — From start to finish, it takes about 25 minutes. Most of that is baking time. The active work is less than 10 minutes. I make these on weeknights when I want something special but don’t have hours to spend.
- Perfect for Two — The recipe naturally yields two servings, making it ideal for intimate dinners. No leftovers to worry about, no reheating. Just two perfect portions.
- Restaurant Quality — These taste like they came from a high-end dessert menu. The rich chocolate flavor and the gooey center are unmatched. My friends always ask for the recipe when I serve them.
- Make-Ahead Friendly — You can prep the batter ahead and bake it right before serving. This is a lifesaver when you’re hosting and want to spend time with your guests, not the kitchen.
- Customizable — Add a pinch of espresso powder to intensify the chocolate, or swap in dark chocolate for a more sophisticated flavor. The possibilities are endless.
These decadent chocolate lava cakes have saved so many romantic evenings. They’re my answer to “let’s have a fancy dinner at home” when I’m tired, don’t want to cook a full meal, and still want something that feels celebratory. My partner loves them, my friends request them, and I love making them because they’re reliable, delicious, and always a hit.
Ingredients You’ll Need
Here’s the best part: you probably have most of these ingredients already. This recipe relies on high-quality chocolate and butter, so don’t skimp on those. Everything else is pantry staples.
For the Lava Cakes
Semi-sweet chocolate (4 ounces / 113g) — I use Ghirardelli 60% cacao. It has a nice balance of sweetness and bitterness. Dark chocolate (70%) works too, but it’s less sweet. Milk chocolate will make it too sweet and less intense.
Unsalted butter (¼ cup / 57g) — Room temperature is best for creaming with the eggs. I take mine out of the fridge about 15 minutes before starting. Salted butter can work, but reduce any added salt in the recipe.
Large eggs (2 whole + 2 yolks) — The extra yolks add richness and help create that gooey center. I always use large eggs, but if you’re in a pinch, jumbo works. Room temperature eggs blend more smoothly.
Granulated sugar (¼ cup / 50g) — Don’t substitute with brown sugar—it adds moisture that can throw off the texture. White sugar keeps the center liquid.
All-purpose flour (2 tablespoons / 16g) — Just a little goes a long way. It provides structure without making the cake dense. Sift it if you have lumps.
Cocoa powder (1 tablespoon / 5g) — Unsweetened cocoa powder adds depth. I use Dutch-processed for a richer flavor, but natural works too.
Salt (¼ teaspoon) — Enhances the chocolate flavor. Don’t skip it.
Vanilla extract (½ teaspoon) — Pure vanilla, not imitation. It rounds out the flavors.
For Preparing the Ramekins
Butter (1 tablespoon) — For greasing the ramekins. Use room temperature for easier spreading.
Cocoa powder (1 tablespoon) — For dusting the ramekins. This prevents sticking and adds a nice chocolatey crust.
Optional Add-ins
Espresso powder (½ teaspoon) — Intensifies the chocolate flavor. I add this for a more sophisticated taste.
Chopped nuts (2 tablespoons) — Walnuts or pecans add crunch. Sprinkle on top before baking.
Fresh berries (¼ cup) — Raspberries or strawberries add a tart contrast to the sweet chocolate.
Whipped cream — For serving. I make mine with heavy cream and a touch of vanilla.
Ice cream — Vanilla bean ice cream is classic. It contrasts beautifully with the hot lava cake.
Equipment Needed
You don’t need fancy equipment for this. Here’s what I actually use:
2 ramekins (6-ounce / 180ml each) — Ceramic ramekins are ideal. They distribute heat evenly. I use Pyrex or similar brands. Make sure they’re oven-safe.
Small saucepan — For melting the chocolate and butter. A heatproof bowl over a pot of simmering water works too (bain-marie method).
Mixing bowls — Two medium bowls. One for melting, one for whisking eggs and sugar.
Whisk — For blending the eggs and sugar until light and fluffy. A balloon whisk works best.
Spatula — Silicone spatula for folding in the flour and scraping the bowl. Essential for gentle mixing.
Measuring cups and spoons — Standard stuff. Accurate measurements are key for this recipe.
Pastry brush — Optional, but helpful for greasing the ramekins evenly.
Oven — Preheated to 425°F (220°C). Make sure your oven is properly calibrated. An oven thermometer helps.
Baking sheet — Place the ramekins on a baking sheet for easy handling and to catch any drips.
Tool Tips
Don’t have ramekins? You can use small oven-safe cups or even a muffin tin, but the timing may vary. Stick with ramekins for best results.
Preheating is crucial — Make sure your oven is fully preheated before baking. An underheated oven will result in undercooked centers.
How to Make It: Step-by-Step
Alright, let’s make these decadent chocolate lava cakes! I’m walking you through exactly how I do it, including the little tricks I’ve picked up.
Step 1: Prep Your Ramekins (5 minutes)
Butter the inside of two 6-ounce ramekins thoroughly. Use your fingers or a pastry brush to coat every surface, including the rim. This prevents sticking. Then, dust each ramekin with cocoa powder. Tap out the excess. This creates a non-stick layer and adds a nice chocolatey crust.
Step 2: Melt the Chocolate and Butter (5 minutes)
Chop the semi-sweet chocolate into small pieces. This helps it melt evenly. In a small saucepan over low heat, combine the chopped chocolate and butter. Stir constantly until melted and smooth. Alternatively, melt in a heatproof bowl over a pot of simmering water (bain-marie). Be careful not to let the bowl touch the water. Remove from heat and set aside to cool slightly.
Step 3: Whisk Eggs and Sugar (3 minutes)
In a medium mixing bowl, whisk together the whole eggs, egg yolks, and granulated sugar. Whisk vigorously for 2-3 minutes until the mixture is light, fluffy, and pale in color. This step is crucial for creating the right texture. It should triple in volume slightly.
Step 4: Combine Wet and Dry Ingredients (3 minutes)
Gradually stir the melted chocolate and butter mixture into the egg mixture. Use a spatula to fold gently, ensuring everything is well combined. Then, sift in the all-purpose flour, cocoa powder, and salt. Fold in the flour mixture until just combined. Do not overmix—stop as soon as no dry flour remains. Add the vanilla extract and espresso powder (if using) and fold once more.
Step 5: Fill the Ramekins (2 minutes)
Divide the batter evenly between the two prepared ramekins. Use a spatula to smooth the tops. The batter should fill each ramekin about ¾ full. This leaves room for the cakes to rise.
Step 6: Bake (12-14 minutes)
Place the ramekins on a baking sheet and put them in the preheated oven. Bake for 12-14 minutes. The edges should be set and firm, but the center should still be soft and jiggly. This is the critical step—overbaking will result in a fully cooked cake, not a lava cake. Underbaking will result in a raw center. Trust your eyes, not the timer.
Step 7: Cool and Serve (2 minutes)
Remove the ramekins from the oven and let them cool for 1 minute. This allows the cakes to set slightly. Then, run a knife around the edges to loosen. Invert each ramekin onto a plate. The cake should slide out easily. If it doesn’t, gently shake the ramekin or tap the bottom.
Step 8: Garnish and Enjoy
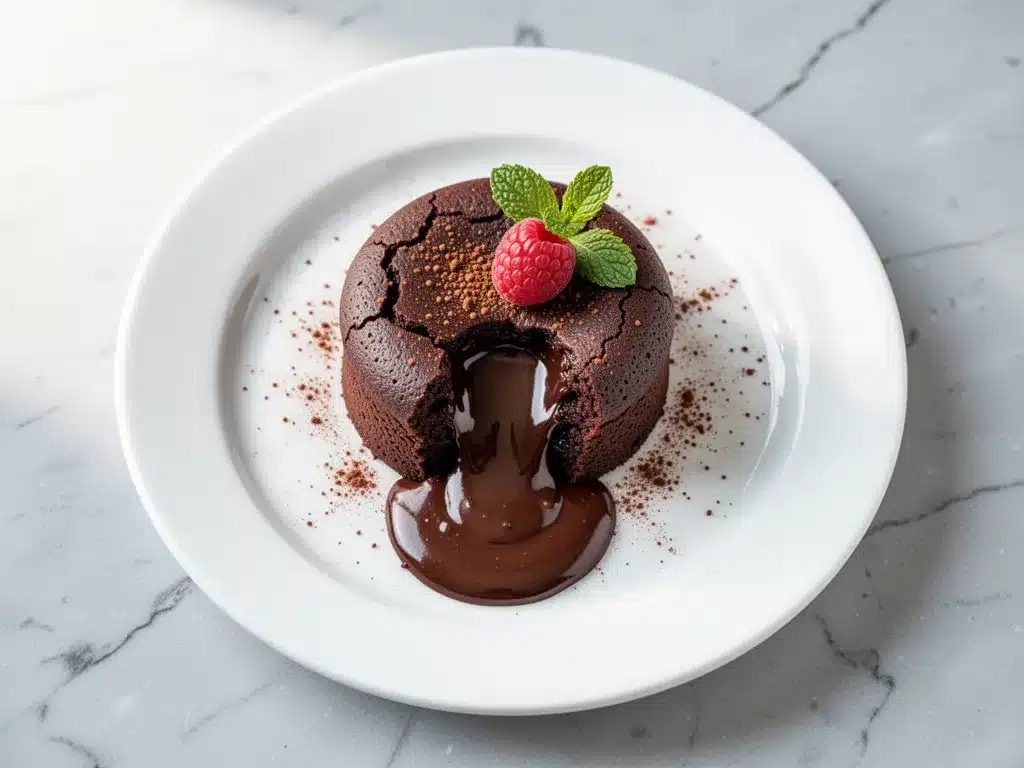
Serve immediately. Garnish with a dusting of powdered sugar, fresh berries, or a dollop of whipped cream. For an extra touch, add a scoop of vanilla bean ice cream. Cut into the cake to reveal the molten chocolate center. Enjoy while it’s hot!
Total Time: About 25 minutes (10 minutes active, 15 minutes baking)
Troubleshooting:
- Center is raw: Bake for 1-2 minutes longer. Check at 12 minutes.
- Center is fully set: Bake for 1-2 minutes less next time. The edges should be set, but the center should jiggle slightly.
- Cake sticks to ramekin: Ensure you buttered and dusted thoroughly. Let the cake cool for 1 minute before inverting.
Expert Tips & Tricks
Here’s everything I’ve learned from making these dozens of times. These tips will save you from my mistakes.
Use High-Quality Chocolate
This is the #1 tip. The chocolate is the star of the show. Use good semi-sweet or dark chocolate. Cheap chocolate has fillers that affect the texture and flavor. I always use Ghirardelli or Lindt. It makes a huge difference.
Don’t Overmix the Flour
Overmixing develops gluten, which makes the cake dense. Fold the flour in gently and stop as soon as it’s incorporated. The batter should be smooth but not overworked.
Room Temperature Ingredients
Use room temperature eggs and butter. They blend more smoothly and create a better emulsion. Cold ingredients can cause the batter to seize or not mix evenly.
Preheat Your Oven
Make sure your oven is fully preheated to 425°F (220°C). An underheated oven will result in uneven baking. Use an oven thermometer to check the temperature.
Timing is Everything
The baking time is critical. Check the cakes at 12 minutes. The edges should be set, but the center should still be soft. If the center is liquid, bake for 1-2 minutes longer. If it’s set, they’re done. Trust your eyes.
Make-Ahead Strategy
You can prepare the batter ahead and refrigerate it for up to 24 hours. When ready to serve, let the ramekins sit at room temperature for 10 minutes before baking. This helps them bake evenly. I do this all the time when hosting.
Pro Tricks I’ve Learned
Add Espresso Powder: A pinch of espresso powder intensifies the chocolate flavor without making it taste like coffee. It’s a game-changer.
Dust with Cocoa Powder: Dusting the ramekins with cocoa powder instead of flour prevents a white residue on the cake and adds a nice chocolatey crust.
Serve Immediately: Lava cakes are best served right out of the oven. They lose their molten center if they sit too long. Plan your timing accordingly.
Variations & Substitutions
Once you’ve nailed the basic version, here’s how you can mix it up. I’ve tried all of these.
Dark Chocolate Version
Use 70% dark chocolate for a more intense, less sweet flavor. This is perfect for chocolate purists. I add a little extra sugar to balance the bitterness.
Milk Chocolate Version
Use milk chocolate for a sweeter, creamier cake. This is great for kids or those who prefer less bitter chocolate. Reduce the sugar slightly.
White Chocolate Version
Use white chocolate for a different flavor profile. Add a tablespoon of cocoa powder to the batter to prevent it from being too sweet. It’s rich and vanilla-forward.
Nutty Variation
Add ¼ cup chopped walnuts or pecans to the batter. This adds crunch and flavor. I love the combination of chocolate and walnuts.
Espresso Lava Cake
Add 1 teaspoon espresso powder to the batter. This intensifies the chocolate flavor. It’s perfect for coffee lovers.
Vegan Version
Replace butter with coconut oil and eggs with flax eggs (1 tablespoon ground flaxseed mixed with 3 tablespoons water per egg). Use vegan chocolate. It’s different but still delicious.
Gluten-Free Version
Use gluten-free flour blend. The recipe works well with a 1:1 gluten-free flour. I’ve used Bob’s Red Mill and it works great.
Alcohol-Infused
Add 1 tablespoon of rum, bourbon, or Grand Marnier to the batter. This adds a sophisticated flavor. Perfect for adult dinner parties.
Serving & Storage
How to Serve: I usually serve these immediately after inverting onto plates. They’re best hot, with the molten center still flowing. Garnish with powdered sugar, fresh berries, or whipped cream. A scoop of vanilla bean ice cream is classic.
Side Dishes: Fresh berries (raspberries, strawberries) add a tart contrast. Mint leaves add a fresh touch. A simple green salad can balance the richness if you’re serving a full meal.
Wine Pairing: Not a wine expert, but my wine-snob friend says a Port or a bold red like Cabernet Sauvignon works great with chocolate. For a lighter option, a Moscato d’Asti is sweet and refreshing.
Storage Instructions:
Refrigerator: Store leftover batter in an airtight container in the fridge for up to 24 hours. Bake when ready to serve. Do not store baked lava cakes—they lose their molten center.
Reheating: If you have leftover baked lava cakes, reheat in the microwave for 10-15 seconds. This may restore some of the molten texture, but it won’t be the same as fresh.
Freezing: Freeze the batter in the ramekins for up to 1 month. Thaw in the fridge overnight and bake as directed. Add 2-3 minutes to the baking time if baking from frozen.
Pro tip: If you’re hosting, prepare the batter ahead and refrigerate. Bake just before serving. This way, you can spend time with your guests and not be stuck in the kitchen.
Nutrition Information
I’m not a nutritionist, but here’s the breakdown if you’re tracking. Note that these are estimates and can vary based on ingredients used.
Per Serving (based on 2 servings):
- Calories: 450
- Protein: 8g
- Carbs: 40g
- Fiber: 3g
- Sugar: 30g
- Fat: 30g
- Saturated Fat: 18g
- Cholesterol: 180mg
- Sodium: 120mg
- Calcium: 80mg
What’s Good:
- Rich in antioxidants from dark chocolate
- Good source of iron
- Satisfying, so you may need less
What to Know:
- High in calories and sugar due to chocolate and butter
- Contains dairy and eggs
- Not suitable for vegans or those with dairy/egg allergies (without modifications)
My Take: Look, this is a decadent dessert. It’s not a health food. But it’s way better than store-bought, costs less, and you control the ingredients. When I want to make it lighter, I use dark chocolate and reduce the sugar. But usually? I just enjoy a small portion and savor every bite.
Final Thoughts
So that’s my decadent chocolate lava cake! I’ve probably talked your ear off at this point, but when you make a recipe this often, you have a lot to say about it.
These lava cakes have saved so many romantic evenings. They’re my answer to “let’s have a fancy dinner at home” when I’m tired, don’t want to cook a full meal, and still want something that feels celebratory. My partner loves them, my friends request them, and I love making them because they’re reliable, delicious, and always a hit.
Make it yours! Try different chocolates, add nuts, or infuse with alcohol. The best recipes are the ones you adapt to your tastes. If you make this, drop a comment and let me know what you think! I love hearing how recipes turn out in your kitchen. And if something doesn’t work, tell me that too—I’m here to help troubleshoot.
Happy baking! And I hope your kitchen smells half as good as mine does right now.
Frequently Asked Questions
Can I use milk chocolate instead of semi-sweet?
Yes, but the cake will be sweeter and less intense. I recommend reducing the sugar by 1 tablespoon to balance the sweetness. Milk chocolate also has a higher milk content, which can affect the texture. For a richer flavor, stick with semi-sweet or dark chocolate.
Why did my lava cakes turn out fully baked?
This usually means they were baked too long. Check them at 12 minutes. The edges should be set, but the center should still be soft and jiggly. If the center is firm, they’re done. Overbaking is the most common mistake. Trust your eyes, not the timer.
Can I make the batter ahead of time?
Absolutely! Prepare the batter and fill the ramekins. Cover and refrigerate for up to 24 hours. When ready to serve, let them sit at room temperature for 10 minutes before baking. This helps them bake evenly. I do this all the time when hosting.
Can I freeze the lava cakes?
You can freeze the batter in the ramekins for up to 1 month. Thaw in the fridge overnight and bake as directed. Add 2-3 minutes to the baking time if baking from frozen. Do not freeze baked lava cakes—they lose their molten center.
Can I use a different type of chocolate?
Yes, you can use dark chocolate (70% or higher) for a less sweet, more intense flavor. White chocolate can also be used, but add a tablespoon of cocoa powder to prevent it from being too sweet. Experiment with different chocolates to find your favorite.
Why did my lava cakes stick to the ramekins?
This usually means the ramekins weren’t buttered and dusted thoroughly. Make sure to coat every surface, including the rim, with butter. Then dust with cocoa powder, tapping out the excess. Let the cakes cool for 1 minute before inverting to help them release.
Can I make this recipe vegan?
Yes, replace butter with coconut oil and eggs with flax eggs (1 tablespoon ground flaxseed mixed with 3 tablespoons water per egg). Use vegan chocolate. The texture will be slightly different, but it’s still delicious. I’ve made this for vegan friends, and they loved it.
Pin This Recipe!
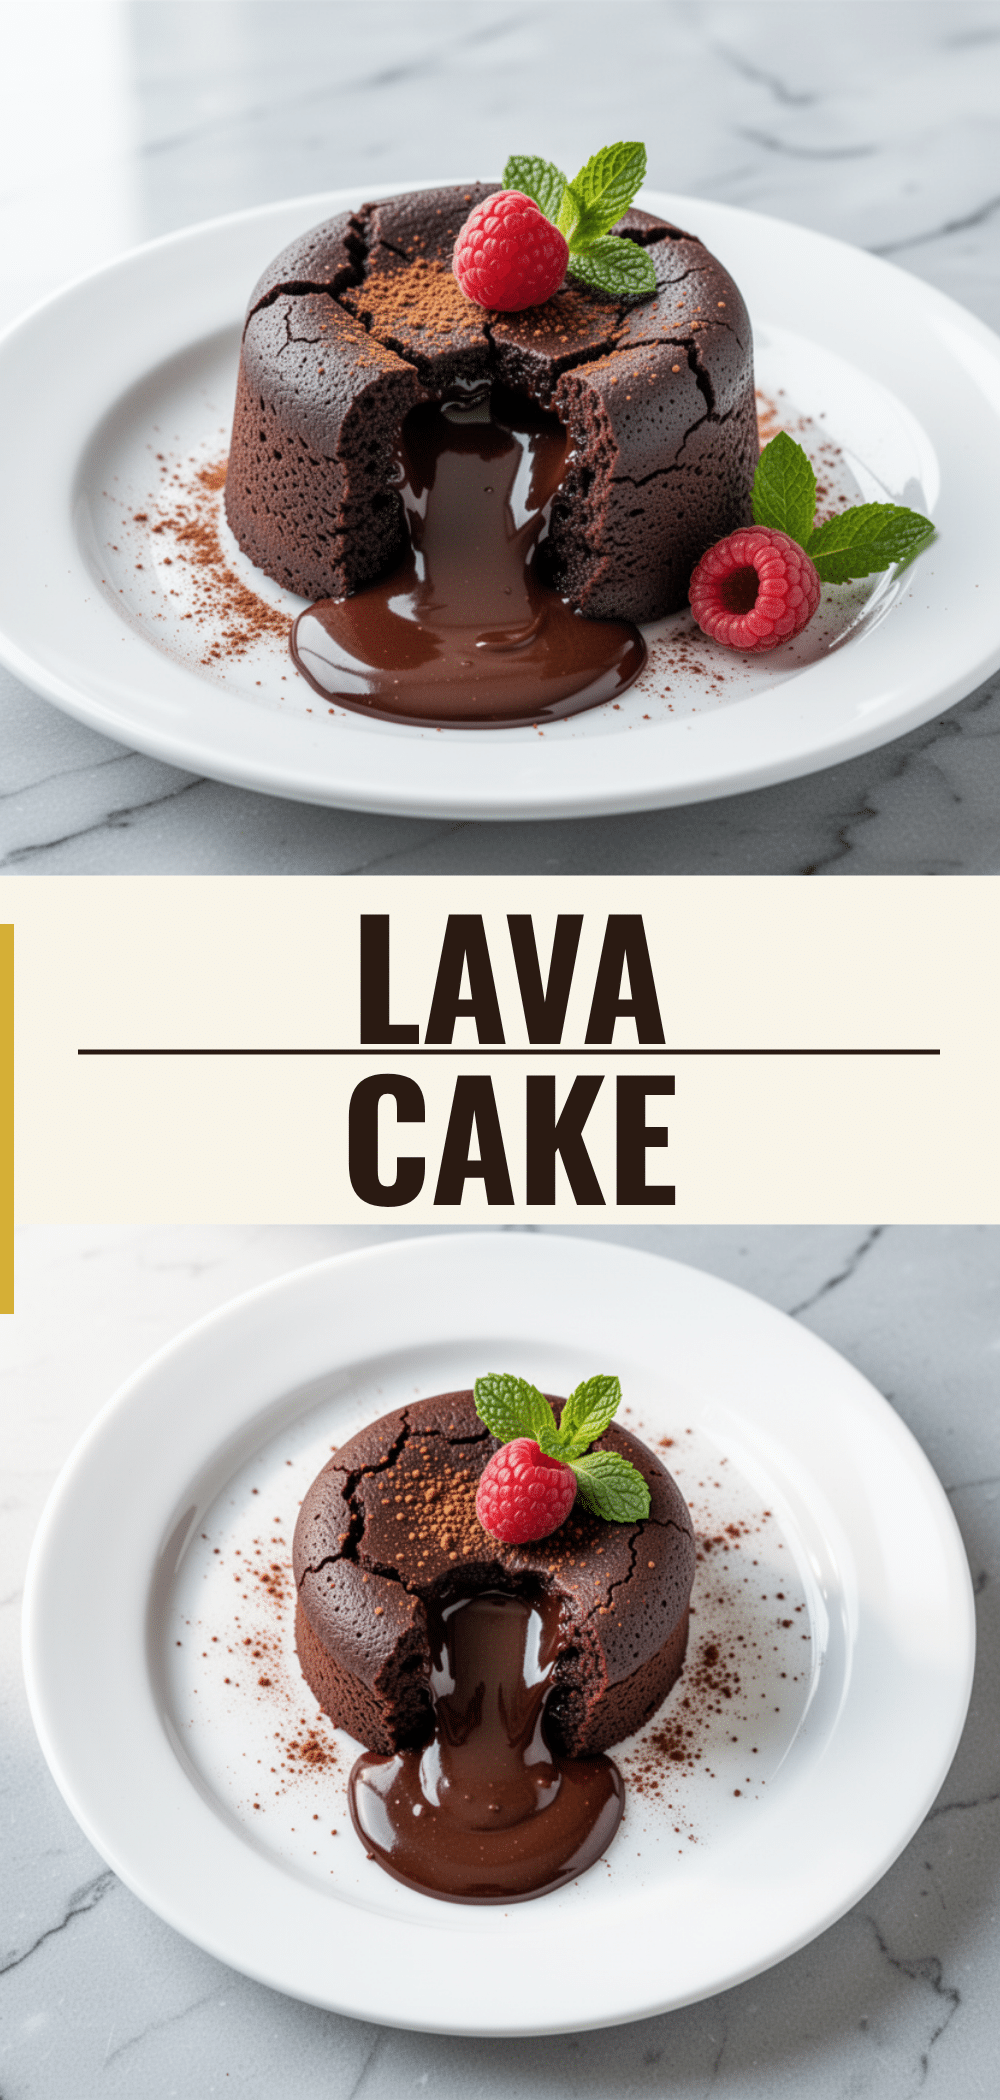
Decadent Chocolate Lava Cake: Best Romantic Dinner Recipe
- Total Time: 25 minutes
- Yield: 2 servings 1x
Description
Rich, gooey chocolate lava cakes with a molten center, perfect for romantic dinners or special occasions. This foolproof recipe ensures a restaurant-quality dessert with simple ingredients and quick preparation.
Ingredients
- 4 ounces semi-sweet chocolate (chopped)
- ¼ cup unsalted butter (room temperature)
- 2 large eggs
- 2 large egg yolks
- ¼ cup granulated sugar
- 2 tablespoons all-purpose flour
- 1 tablespoon unsweetened cocoa powder
- ¼ teaspoon salt
- ½ teaspoon vanilla extract
- 1 tablespoon butter (for greasing ramekins)
- 1 tablespoon cocoa powder (for dusting ramekins)
- Optional: ½ teaspoon espresso powder
- Optional: 2 tablespoons chopped nuts
- Optional: Fresh berries for garnish
- Optional: Whipped cream or vanilla ice cream for serving
Instructions
- Preheat oven to 425°F (220°C). Butter two 6-ounce ramekins thoroughly, including the rims, and dust with cocoa powder, tapping out excess.
- In a small saucepan over low heat (or using a bain-marie), melt the chopped chocolate and butter together until smooth. Remove from heat and let cool slightly.
- In a medium mixing bowl, whisk the whole eggs, egg yolks, and granulated sugar vigorously for 2-3 minutes until light, fluffy, and pale.
- Gradually stir the melted chocolate mixture into the egg mixture using a spatula.
- Sift in the flour, cocoa powder, and salt. Fold gently until just combined. Do not overmix.
- Stir in the vanilla extract and espresso powder (if using).
- Divide the batter evenly between the prepared ramekins, filling them about ¾ full.
- Place ramekins on a baking sheet and bake for 12-14 minutes. The edges should be set, but the center must remain soft and jiggly.
- Remove from oven and let cool for 1 minute.
- Run a knife around the edges to loosen, then invert each ramekin onto a plate.
- Serve immediately, garnished with powdered sugar, berries, whipped cream, or ice cream.
Notes
Timing is critical; trust your eyes rather than the timer. The center should be soft and jiggly when removed from the oven. You can prepare the batter ahead and refrigerate for up to 24 hours. If baking from frozen batter, add 2-3 minutes to the baking time.
- Prep Time: 10 minutes
- Cook Time: 15 minutes
- Category: Dessert
- Cuisine: French
Nutrition
- Serving Size: 1 cake per serving
- Calories: 450
- Sugar: 30
- Sodium: 120
- Fat: 30
- Saturated Fat: 18
- Carbohydrates: 40
- Fiber: 3
- Protein: 8
Keywords: chocolate lava cake, molten chocolate cake, romantic dinner, dessert recipe, easy baking, Valentine's Day dessert, chocolate dessert



