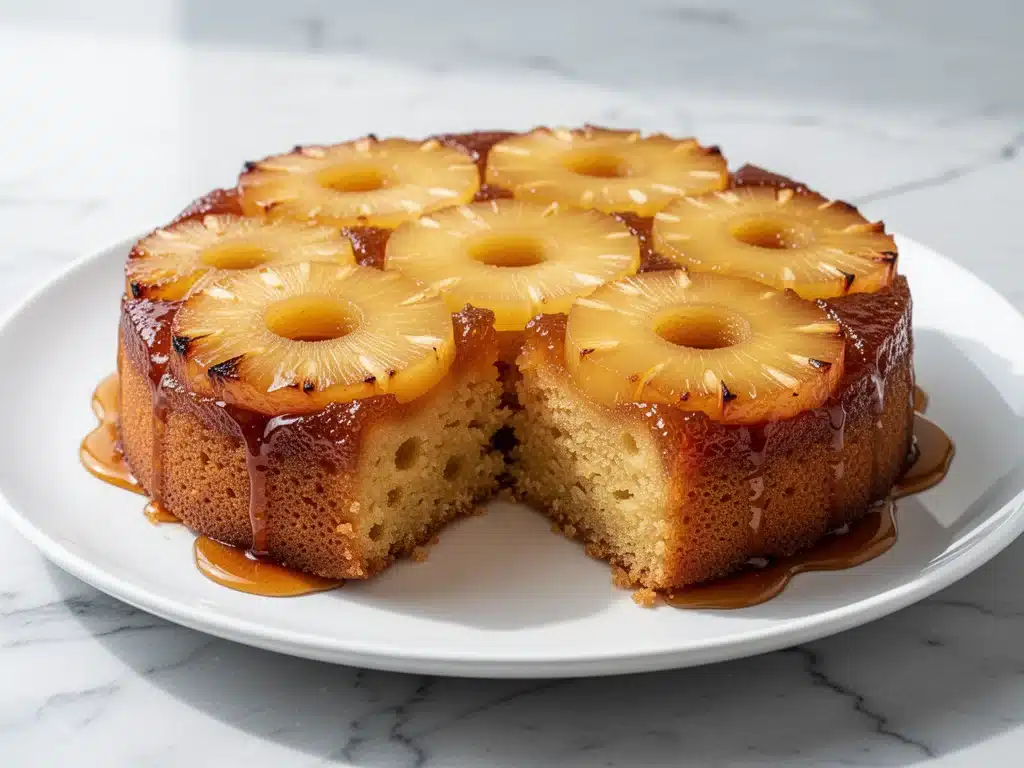
I still remember the first time I made a pineapple upside-down cake. I was twenty-two, living in a tiny apartment with a stove that clicked but didn’t always ignite, and I was trying to impress a date who I was pretty sure was going to break up with me. I wanted something that looked fancy, smelled incredible, and didn’t require skills I didn’t have. I chose this cake because every recipe book seemed to swear by it. The result? A disaster. The caramel burned, the cake stuck to the pan, and the whole thing looked more like a charcoal briquette than a dessert. My date ate a piece politely, but I could tell he was wondering if I could boil water.
Fast forward twenty years, and that same cake is now the centerpiece of almost every family gathering. I’ve made it dozens of times—some perfectly, some with a little less drama than last time. I’ve learned that the secret isn’t in complicated techniques or expensive ingredients. It’s in patience, temperature control, and knowing exactly when to flip that pan without losing your mind (and the cake). This classic pineapple upside-down cake with caramelized topping has survived my kitchen disasters, my kids’ picky eating phases, and even the occasional power outage. It’s reliable. It’s nostalgic. And honestly? It’s the easiest dessert you’ll ever make if you follow my method.
There’s something magical about this dessert. It’s not just the sweetness or the tender crumb. It’s the ritual. The smell of brown sugar and butter melting in the oven, the sizzle of the pineapple caramelizing, and that heart-stopping moment when you flip the pan and see the golden, glossy topping sitting proudly on top. It’s a cake that tastes like Sunday dinners, like summer picnics, and like someone actually cared enough to bake something special. I’ve tested this recipe with different brands of pineapple, different types of brown sugar, and even different pans, and I’ve honed it down to the perfect balance. This isn’t just a recipe; it’s a tradition I’m passing on to you.
Why You’ll Love This Pineapple Upside-Down Cake
Let’s be real. There are a thousand cake recipes out there. Why this one? Because it checks every box that matters to a home cook who wants to look like a pro without actually being one. This pineapple upside-down cake has become my go-to for everything from casual Tuesday nights to holiday dinners. Here’s why it keeps me coming back:
- Zero Fuss, Maximum Impact — Seriously, if you can melt butter and arrange fruit, you can make this. I’ve walked my teenage nephew through it over the phone while he was sitting in a dorm room kitchen. He didn’t even burn the caramel. That’s how simple it is.
- It Smells Like Heaven — I’m not exaggerating. The moment that butter and brown sugar hit the hot pan, the whole house smells like a candy store. My neighbors have actually knocked on my door asking what I’m baking. It’s that good.
- Make-Ahead Friendly — This cake tastes even better the next day. The caramel softens slightly, and the flavors meld together. I often make it the night before a party so I’m not stressed on the day of. Just wrap it tightly in plastic wrap.
- Gluten-Free Option — I’ve swapped the all-purpose flour for a 1:1 gluten-free blend, and nobody can tell the difference. The texture stays tender, and the caramel still shines. Perfect for my celiac friend who always brings this to potlucks.
- Budget-Smart — You don’t need fancy ingredients. Canned pineapple, basic pantry staples, and a stick of butter. It feeds 8-10 people for under $10. That’s cheaper than a slice of cake at a fancy bakery, and it tastes way better.
- Visually Stunning — Let’s face it, we eat with our eyes first. This cake looks like it came from a high-end patisserie. The glossy, caramelized pineapple rings are Instagram gold. I’ve gotten more compliments on this simple cake than any elaborate mousse I’ve ever attempted.
This is my answer to “what’s for dessert?” when I want something special but don’t want to spend hours in the kitchen. It’s reliable, delicious, and makes everyone happy. Even my picky eater dad, who claims he “doesn’t like sweet things,” asks for seconds. That’s the power of this cake.
Ingredients You’ll Need
Here’s the best part: you probably have most of this already in your pantry. I’m particular about a few things, but for the most part, this is simple, accessible food. Let’s break it down so you know exactly what you’re getting into.
For the Caramel Topping
Unsalted butter (½ cup / 113g) — I use unsalted so I can control the saltiness. If you only have salted, reduce the added salt in the cake batter by half. Use high-quality butter if you can—it makes a difference in flavor.
Brown sugar (1 cup / 200g) — Light or dark? I prefer dark brown for that deeper, molasses-rich flavor. It gives the caramel a more complex taste. Light brown works too, but it’s a bit milder.
Pineapple rings (1 can / 20 oz) — Look for slices in juice, not syrup. Syrup is too sweet and can make the topping watery. Drain them well! I keep a can of these in my pantry specifically for this recipe.
Maraschino cherries (12-15 cherries) — Yes, they’re bright red. No, they’re not essential, but they add that classic look and a burst of tartness. I use the ones with stems if I can find them—it looks fancier. If you can’t find them, skip them. The cake is still good.
For the Cake Batter
All-purpose flour (1 ½ cups / 190g) — Spoon and level, don’t scoop! Scooping packs the flour and makes the cake dense. I use Gold Medal flour because it’s consistent.
Baking powder (1 teaspoon) — Make sure it’s fresh! Old baking powder won’t make the cake rise properly. If it’s been in your cabinet for more than six months, toss it and buy new.
Salt (½ teaspoon) — Just a pinch to balance the sweetness. Don’t skip it.
Unsalted butter (½ cup / 113g, softened) — Softened means you can press a finger into it and leave an indent. Not melted! Melted butter changes the texture.
Granulated sugar (1 cup / 200g) — Standard white sugar. Nothing fancy here.
Eggs (2 large, room temperature) — Room temp eggs mix better and create a smoother batter. I take them out of the fridge 30 minutes before baking. If I forget, I soak them in warm water for 5 minutes.
Vanilla extract (1 teaspoon) — Pure vanilla, not imitation. I use McCormick because it’s reliable and affordable.
Milk (½ cup / 120ml) — Whole milk is best for richness. Buttermilk works too and adds a nice tang, but I usually stick to whole milk for this classic version.
Optional Add-ins — I’ve tried adding chopped pecans or walnuts on top of the pineapple before pouring the batter. It adds crunch and pairs beautifully with the caramel. If you’re a nut lover, definitely try it.
Equipment Needed
You don’t need fancy equipment for this. Here’s what I actually use in my kitchen:
9-inch round cake pan — I use a heavy-bottomed metal pan. Glass pans heat differently and can make the bottom burn. Avoid non-stick if you can help it—the caramel sticks less to bare metal, but you need to grease it well.
Mixing bowls — One large for the wet ingredients, one medium for the dry. I use stainless steel because they’re durable and easy to clean.
Electric mixer — Handheld or stand mixer. You can do this by hand, but it takes longer and your arms get tired. I use my KitchenAid because it’s faster and gives a more consistent mix.
Whisk — For mixing the dry ingredients. A simple wire whisk works fine.
Spatula — Silicone spatula for scraping the bowl. Essential for getting every bit of batter out.
Measuring cups and spoons — Standard stuff. Dollar store versions work fine.
Knife — For slicing the pineapple if needed. Most canned rings are already sliced, but sometimes they’re too big for your pan. I trim them if they’re larger than the pan.
Parchment paper — Optional, but I line the bottom of the pan with parchment after greasing it. This is my insurance policy against sticking. It makes cleanup easier and ensures the cake slides out cleanly.
Cooling rack — For cooling the cake after baking. Don’t skip this step! Putting a hot cake on a plate can make the bottom soggy.
How to Make It: Step-by-Step
Alright, let’s make this! I’m walking you through exactly how I do it, including the little tricks I’ve picked up over the years. This process is straightforward, but timing is everything.
Step 1: Prep Your Pan and Oven (5 minutes)
Preheat your oven to 350°F (175°C). Grease your 9-inch round cake pan generously with butter. I use a pastry brush or my fingers to get butter into every nook and cranny. If you’re using parchment paper, cut a circle to fit the bottom and place it in the greased pan. This is your safety net. Trust me, you’ll thank me later.
Step 2: Make the Caramel (5 minutes)
In a small saucepan over medium heat, melt the ½ cup of butter with the 1 cup of brown sugar. Stir constantly until the sugar dissolves and the mixture bubbles. It should look like thick, glossy syrup. This takes about 3-4 minutes. Don’t walk away! I learned this the hard way when I left to answer the phone and came back to a burnt mess.
Pour the caramel into the prepared pan. Tilt the pan to spread it evenly to the edges. It will cool and harden slightly as you work. This is okay. Just make sure every corner is covered.
Step 3: Arrange the Pineapple (5 minutes)
Drain the pineapple rings well. I pat them dry with paper towels to remove excess moisture. Too much water will make the caramel runny. Arrange the pineapple rings in a single layer on top of the caramel. If you’re using cherries, place one in the center of each ring. It’s like making a little fruit flower. It takes a minute, but it’s therapeutic.
Step 4: Mix the Batter (10 minutes)
In a large bowl, beat the softened butter and granulated sugar together until light and fluffy. This takes about 3-4 minutes with a mixer. It’s called creaming, and it’s what makes the cake tender. If you’re doing it by hand, it’ll take 5-6 minutes of elbow grease.
Add the eggs one at a time, beating well after each addition. Mix in the vanilla extract. In a separate bowl, whisk together the flour, baking powder, and salt. Gradually add the dry ingredients to the butter mixture, alternating with the milk. Start and end with the dry ingredients. Mix just until combined—don’t overmix! Overmixing makes the cake tough. I know it’s tempting, but stop as soon as you see no more streaks of flour.
Step 5: Pour and Bake (40-45 minutes)
Pour the batter over the pineapple rings. Use a spatula to spread it evenly. It might look like a lot, but it’ll settle. Bake for 40-45 minutes. The cake is done when a toothpick inserted into the center comes out clean. If it has wet batter on it, give it 5 more minutes. If it has moist crumbs, it’s ready. Don’t overbake, or it’ll be dry.
Step 6: The Flip (5 minutes)
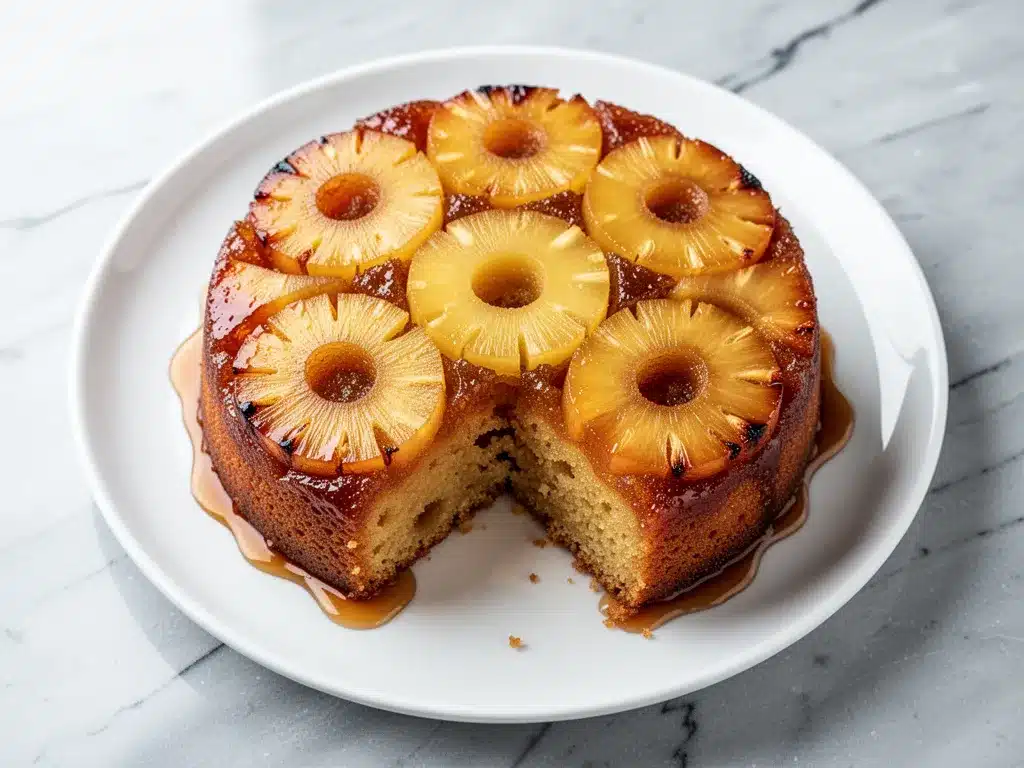
This is the moment of truth. Remove the cake from the oven and let it cool in the pan for 10 minutes. Not longer! If you wait too long, the caramel hardens and the cake sticks. After 10 minutes, place a large serving plate upside down over the pan. Holding the plate and pan firmly together, flip them over in one confident motion. Lift the pan off. If some pineapple sticks, just push it back into place with your fingers. It’s not a big deal. The cake is still delicious.
Let the cake cool completely on a wire rack before slicing. This allows the caramel to set and the cake to firm up. I know it’s hard to wait, but patience pays off.
Expert Tips & Tricks
Here’s everything I’ve learned from making this dozens of times. These tips will save you from my mistakes.
Don’t Skip the Parchment — I know it’s an extra step, but lining the pan with parchment paper after greasing it is the best insurance policy I’ve found. Even with a well-greased pan, caramel can stick. Parchment ensures a clean release every time.
Drain the Pineapple Well — Excess moisture is the enemy of a good caramel. I pat the rings dry with paper towels. If you skip this, the caramel might become soupy and run off the sides.
Room Temperature Ingredients — Cold eggs and butter don’t mix well. They can curdle the batter, leading to a dense cake. Take your eggs and butter out of the fridge 30 minutes before you start. If you’re short on time, warm the eggs in a bowl of warm water for 5 minutes.
Flip While Warm — This is critical. If the cake cools completely in the pan, the caramel will harden like glue, and you’ll lose part of your cake. Set a timer for 10 minutes after taking it out of the oven. Do not ignore it.
Use a Heavy Pan — Thin pans can cause the bottom to burn. A heavy-bottomed metal pan distributes heat evenly. If you only have a glass pan, reduce the oven temperature by 25°F to prevent burning.
Common Mistakes (and how to avoid them)
- Mistake: Cake sticks to the pan Fix: Grease well, use parchment, and flip while warm.
- Mistake: Caramel is burnt Fix: Watch the butter and sugar closely. Medium heat, constant stirring. It goes from perfect to burnt in seconds.
- Mistake: Cake is dense Fix: Don’t overmix the batter. Stop as soon as the flour is incorporated.
- Mistake: Topping is runny Fix: Drain the pineapple thoroughly. Pat dry with paper towels.
Variations & Substitutions
Once you’ve nailed the basic version, here’s how you can mix it up. I’ve tried all of these, and they all work.
Cherry Upside-Down Cake — Skip the pineapple. Use maraschino cherries and a bit of cherry juice instead of milk. It’s a classic variation that’s just as good.
Apple Cinnamon — Thinly sliced apples instead of pineapple. Add a pinch of cinnamon to the batter. Great for fall.
Banana Walnut — Sliced bananas and chopped walnuts. Add a splash of rum to the caramel for a tropical twist.
Gluten-Free — Use a 1:1 gluten-free flour blend. The texture is identical. I’ve tested this with several brands, and King Arthur works best.
Dairy-Free — Use coconut oil instead of butter. Use coconut milk instead of dairy milk. The flavor changes slightly, but it’s still delicious.
Vegan — Use flax eggs (1 tbsp ground flaxseed + 3 tbsp water per egg). Use coconut oil and maple syrup instead of brown sugar. It’s a bit different, but my vegan friends love it.
Serving & Storage
How to Serve: I usually serve this straight from the plate, warm or at room temperature. It’s best with a dollop of whipped cream or a scoop of vanilla ice cream. The contrast of cold ice cream and warm cake is amazing. I also like it with a cup of black coffee or tea.
Side Dishes: This cake is rich, so I don’t usually serve it with a full meal. It’s a dessert. But if you’re having a potluck, it pairs well with light fruit salads or a simple green salad.
Storage: Store leftovers in an airtight container at room temperature for up to 3 days. The caramel keeps the cake moist. Do not refrigerate—it makes the cake stale faster. If you need to keep it longer, freeze it for up to 2 months. Wrap tightly in plastic wrap and then foil. Thaw at room temperature before serving.
Reheating: To reheat, microwave a slice for 10-15 seconds. It brings back the warmth and softness. Don’t overheat, or the caramel will melt too much.
Nutrition Information
I’m not a nutritionist, but here’s the breakdown if you’re tracking. This is a rich dessert, so enjoy in moderation.
Per Serving (based on 8 servings):
Calories: 420
Protein: 5g
Carbs: 65g
Fiber: 1g
Sugar: 45g
Fat: 16g
Saturated Fat: 9g
Cholesterol: 65mg
Sodium: 280mg
What’s Good: It provides some energy from the carbs, and the pineapple adds a bit of vitamin C. The cherries add antioxidants.
What to Know: It’s high in sugar and saturated fat due to the butter, sugar, and cream. If you’re watching your sugar intake, consider cutting the sugar in the batter by ¼ cup. It’s still sweet enough.
My Take: Look, this is a classic dessert. It’s meant to be indulgent. It’s not a health food. But it’s better than store-bought cake, and you know exactly what’s in it. When I want to make it lighter, I use less butter and add more fruit. But usually? I just enjoy a slice and savor the nostalgia.
Final Thoughts
So that’s my classic pineapple upside-down cake! I’ve probably talked your ear off at this point, but when you make a recipe this often, you have a lot to say about it. This cake has been my comfort food for decades. It’s my answer to “what’s for dessert?” when I want something special but don’t want to stress. It’s reliable, delicious, and makes everyone happy.
Make it yours! Try different fruits, add nuts, or experiment with spices. The best recipes are the ones you adapt to your family’s tastes. If you make this, drop a comment and let me know what you think! I love hearing how recipes turn out in your kitchen. And if something doesn’t work, tell me that too—I’m here to help troubleshoot.
Happy baking! And I hope your kitchen smells half as good as mine does right now.
Frequently Asked Questions
Can I use fresh pineapple instead of canned? Yes, but you’ll need to slice and core it yourself. It’s more work, and the texture is different. Canned pineapple is softer and sweeter, which works better with the caramel. If you use fresh, pat it very dry and consider adding a bit more sugar to the caramel.
Why did my cake stick to the pan? This usually happens if the pan wasn’t greased well enough, if you waited too long to flip it, or if you used a non-stick pan without greasing it. Always grease well, use parchment paper, and flip while the cake is warm.
Can I make this ahead of time? Yes! This cake actually tastes better the next day. Make it the night before, let it cool completely, and wrap it tightly in plastic wrap. Bring it to room temperature before serving. You can also freeze it for up to 2 months.
Why did my caramel burn? Brown sugar and butter burn quickly. If you left the pan unattended, that’s likely why. Always stir constantly over medium heat. If you see it getting too dark, remove it from the heat immediately.
Can I double this recipe? Yes, but you’ll need a larger pan (like a 10-inch or two 8-inch pans). Adjust the baking time accordingly—it might take a few minutes longer. Keep an eye on it.
Is there a way to make it less sweet? You can reduce the granulated sugar in the batter by ¼ cup. The caramel will still be sweet enough. Also, use unsweetened pineapple if you can find it, though it’s harder to find.
Can I use a different type of fruit? Absolutely. Cherries, apples, peaches, and even strawberries work well. Just adjust the baking time based on the fruit’s moisture content.
Pin This Recipe!
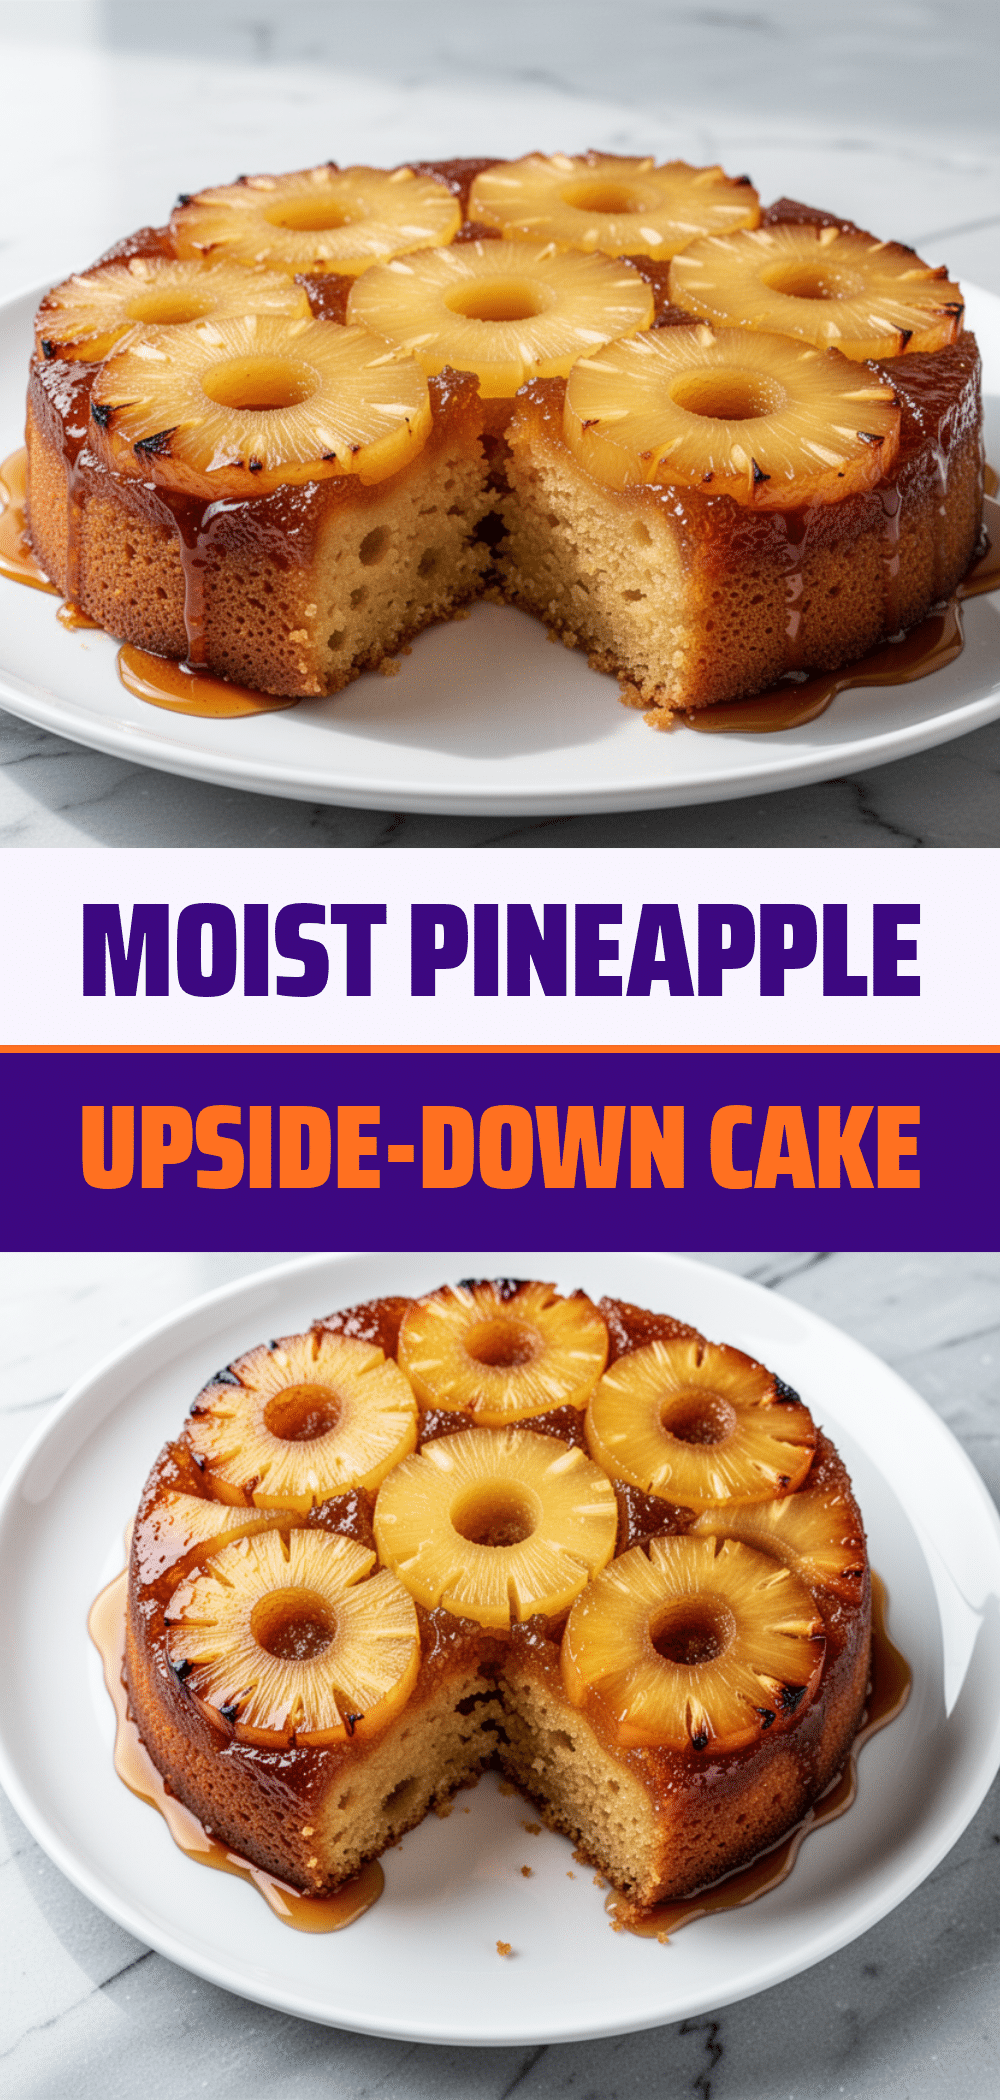
Classic Pineapple Upside-Down Cake: Best Easy Recipe
- Total Time: 65 minutes
- Yield: 8 servings 1x
Description
A nostalgic, reliable, and easy-to-make classic pineapple upside-down cake with a rich caramel topping. This recipe ensures a tender crumb and glossy finish with simple techniques and accessible ingredients.
Ingredients
- 1/2 cup (113g) unsalted butter (for caramel)
- 1 cup (200g) dark brown sugar
- 1 can (20 oz) pineapple rings in juice, drained and patted dry
- 12–15 maraschino cherries
- 1 1/2 cups (190g) all-purpose flour
- 1 teaspoon baking powder
- 1/2 teaspoon salt
- 1/2 cup (113g) unsalted butter, softened (for batter)
- 1 cup (200g) granulated sugar
- 2 large eggs, room temperature
- 1 teaspoon pure vanilla extract
- 1/2 cup (120ml) whole milk
- Optional: Chopped pecans or walnuts
Instructions
- Preheat oven to 350°F (175°C). Grease a 9-inch round cake pan generously with butter and line the bottom with parchment paper.
- In a small saucepan over medium heat, melt 1/2 cup butter with brown sugar. Stir constantly until dissolved and bubbly (3-4 minutes). Pour into the prepared pan and tilt to coat the bottom evenly.
- Arrange drained pineapple rings in a single layer on the caramel. Place a cherry in the center of each ring.
- In a large bowl, beat softened butter and granulated sugar until light and fluffy (3-4 minutes). Add eggs one at a time, beating well after each. Mix in vanilla.
- In a separate bowl, whisk flour, baking powder, and salt. Gradually add dry ingredients to the butter mixture, alternating with milk, starting and ending with dry ingredients. Mix just until combined.
- Pour batter over pineapple. Bake for 40-45 minutes until a toothpick inserted in the center comes out clean.
- Cool in the pan for exactly 10 minutes. Place a serving plate over the pan and flip confidently. Lift pan off. Cool completely on a wire rack before slicing.
Notes
Ensure pineapple is well-drained to prevent runny caramel. Flip the cake while it is still warm (after 10 minutes) to prevent sticking. Room temperature ingredients help create a smoother batter. For a gluten-free version, use a 1:1 gluten-free flour blend.
- Prep Time: 20 minutes
- Cook Time: 45 minutes
- Category: Dessert
- Cuisine: American
Nutrition
- Serving Size: 1 slice
- Calories: 420
- Sugar: 45
- Sodium: 280
- Fat: 16
- Saturated Fat: 9
- Carbohydrates: 65
- Fiber: 1
- Protein: 5
Keywords: pineapple upside-down cake, caramel cake, easy dessert, classic cake, family gathering dessert, gluten-free option



