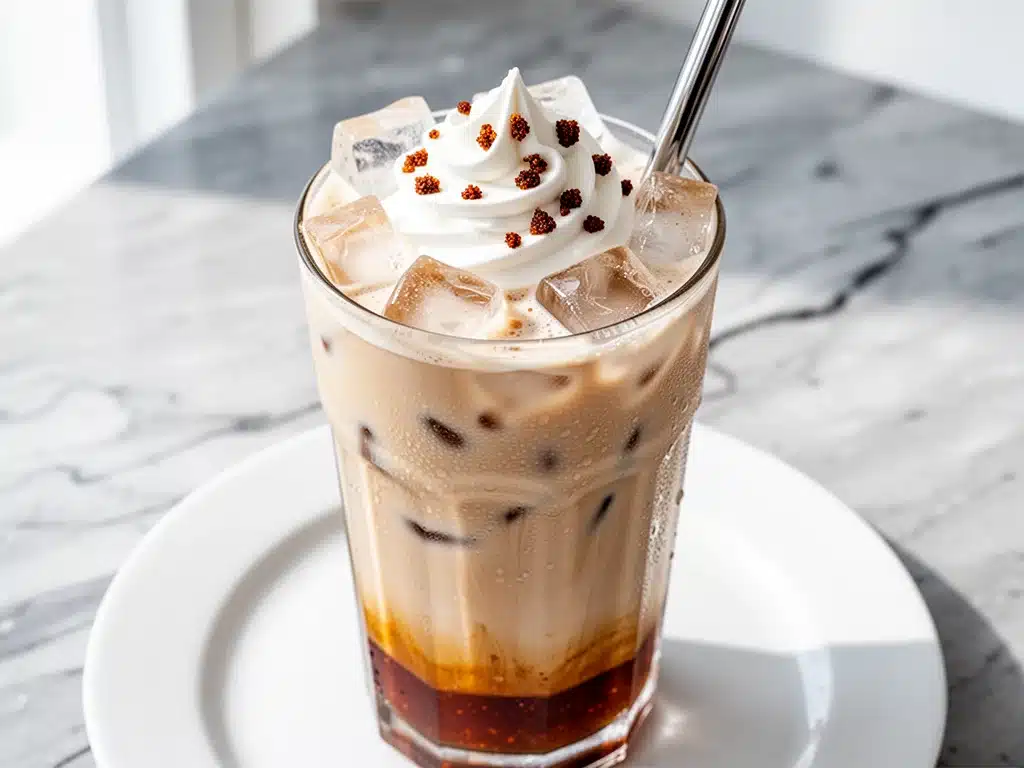
It was a Sunday morning, and I was stuck in that specific kind of morning fog where the coffee shop line looks like a viable option despite the $12 price tag for a drink that’s mostly ice and foam. I’d spent the previous week burning through my savings on iced lattes because, let’s be honest, I was too tired to deal with the morning routine. I wanted something creamy, something sweet, but something that didn’t make my stomach feel like a war zone after the sugar crash hit at 10 AM.
So I did what I always do when I’m desperate: I raided my pantry. I had oat milk, I had brown sugar, and I had a bag of coffee beans that were slightly past their prime but still smelled amazing. I threw together what I thought would be a mediocre iced coffee. Ten minutes later, I took my first sip, and I literally stopped breathing for a second. It was rich, velvety, and had that deep, molasses sweetness that I’ve been chasing since I first tried a caramel macchiato at a fancy café. I drank the whole thing in one go, stared at the empty glass, and made a promise to myself: I was never paying $8 for this again.
That was three months ago. Since then, I’ve made this creamy iced brown sugar oat milk latte at least once a week. It’s become my morning ritual, my afternoon pick-me-up, and occasionally, my late-night wind-down drink (don’t judge me). The best part? It takes less time than it takes to walk to the drive-thru. I’ve tested this recipe with different brands of oat milk, different roasts of coffee, and even different types of brown sugar to get the balance just right. And I’m here to tell you that once you taste this homemade version, you’ll never want to go back to the big chains. It’s better than takeout because it’s made with ingredients you trust, and it’s infinitely customizable to your exact taste buds.
Why You’ll Love This Iced Brown Sugar Latte
There are about ten reasons I keep making this drink, but here are the big ones that have converted me from a café regular to a home barista.
It’s Actually Creamy Without the Dairy — I was skeptical about oat milk in coffee. I thought it would be thin or separate. But this creamy iced brown sugar oat milk latte uses the right technique to create a texture that rivals whole milk. The oats provide a natural creaminess that feels luxurious in your mouth.
Zero Afternoon Crash — The secret is the brown sugar. Unlike the refined white sugar syrups at coffee shops, the molasses in brown sugar gives a deeper flavor that satisfies your sweet tooth without the spike-and-crash cycle. I feel energized, not jittery.
Lightning Fast — From grinding the beans to pouring the ice, this drink takes 5 minutes. That is 4 minutes faster than waiting in line for a 20-minute car ride. On busy mornings, this speed is everything.
Costs Pennies — A single serving costs me about $0.75 to make. If you buy one of these at a coffee shop, that’s 10 servings right there. Over a month, that’s nearly $200 saved. I’m not a math person, but even I know that’s a win.
Customizable to Perfection — Coffee shops make one version for everyone. You can make yours sweeter, stronger, or less icy. Want it extra creamy? Add more oat milk. Want it bold? Use a double shot. It’s your kitchen, your rules.
This drink has completely changed my mornings. It’s my go-to when I want to treat myself but also stay sane and budget-friendly. No complicated equipment, no weird ingredients, just reliable, delicious coffee that makes everyone happy.
Ingredients You’ll Need
Here’s the best part: you probably have most of this already. I’m particular about three ingredients here, and I’ll tell you exactly why.
Strong Brewed Coffee (2 cups / 480ml, cooled) — You need a strong base because the ice will dilute it. I use a French press or pour-over. If you’re in a rush, cold brew concentrate works great, just dilute it with a little water. Avoid drip coffee from the bottom of a pot—it tastes burnt.
Oat Milk (1 cup / 240ml) — This is non-negotiable. Not all oat milks are created equal. I use Oatly Barista Edition or Califia Farms. These are formulated to foam and stay creamy. Regular oat milk can be too watery. If you can’t find barista blends, shake the carton vigorously and let it sit for a minute to separate, then use the creamy top.
Dark Brown Sugar (2 tablespoons / 30g) — Light brown sugar is too mild. You need dark brown sugar for that deep molasses flavor that pairs with the coffee. It should be moist and clumpy. If yours is hard as a rock, microwave it for 10 seconds with a tablespoon of water.
Water (2 tablespoons / 30ml) — Just plain old water to dissolve the sugar. Don’t skip this step, or you’ll get gritty sugar crystals in your drink.
Ice Cubes (1 cup / 150g) — Large ice cubes are better because they melt slower. If you use small cubes, your drink will get watery fast. I use a mix of regular and coffee ice cubes (frozen leftover coffee) to keep it strong.
Optional: Vanilla Extract (½ teaspoon) — I add this if the coffee tastes a bit flat. It enhances the sweetness without adding more sugar. Pure vanilla is best—no imitation stuff.
Optional: Whipped Cream — For the ultimate treat, top it with a dollop of whipped cream. I use homemade, but store-bought works in a pinch.
Pro Tip: I always keep a jar of brown sugar syrup in the fridge. If I’m making this daily, I make a batch of syrup ahead of time. It saves 2 minutes in the morning. But the fresh dissolved sugar method tastes fresher.
Equipment Needed
You don’t need fancy equipment for this. Here’s what I actually use.
Mason Jar or Shaker — I use a 16oz mason jar to mix the brown sugar and water. It’s easy to stir and clean. A small shaker bottle works too, but you need to be gentle so you don’t aerate the sugar water too much.
Large Glass or Tumbler — A 24oz glass is perfect. It holds the ice, the coffee, and the milk. I like clear glass so I can see the beautiful layers before I stir.
Measuring Spoons — Standard stuff. Dollar store versions work fine. Precision matters with the sugar to get the sweetness right.
Stirring Spoon — A long spoon works best. A whisk is overkill for this.
Coffee Maker — Drip, French press, or espresso machine. Whatever you have. If you use an espresso machine, you’ll need to adjust the liquid ratios slightly.
Ice Cube Tray — Obviously. But try to make coffee ice cubes too. It’s a game-changer.
Tool Tip: I’m obsessed with my mason jar lids. They make it easy to shake things up if I want a frothy top. But for this latte, a simple stir is enough.
How to Make It: Step-by-Step
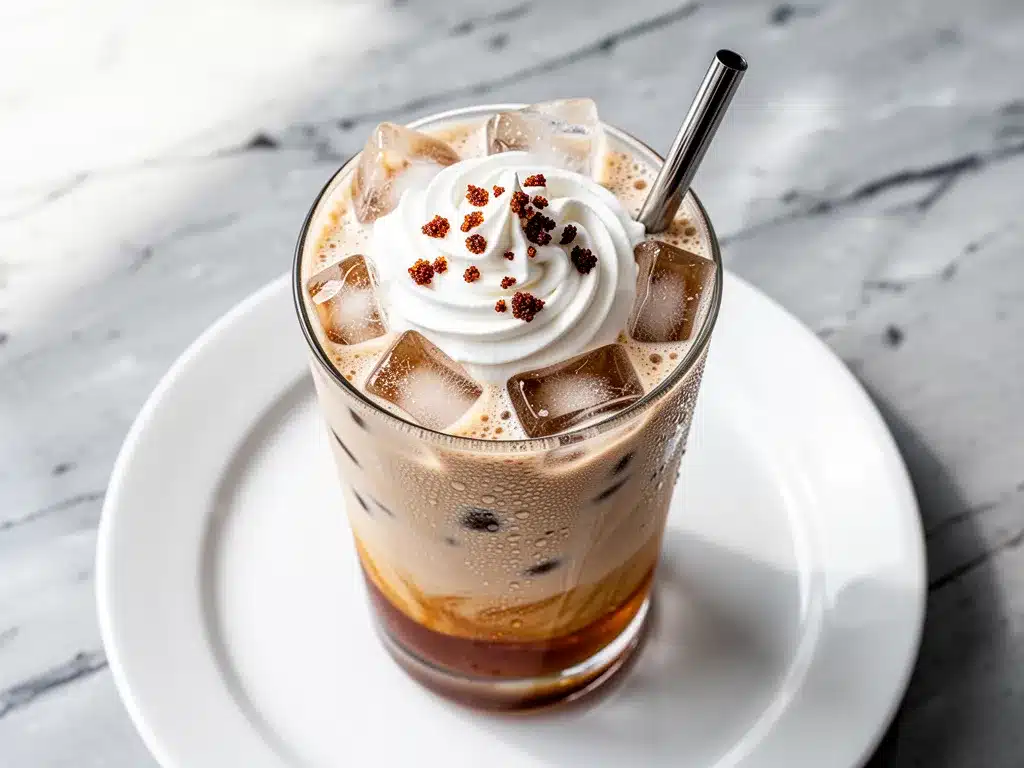
Alright, let’s make this! I’m walking you through exactly how I do it, including the little tricks I’ve picked up.
Step 1: Brew Your Coffee (10-15 minutes)
Start by brewing a strong cup of coffee. Use twice the amount of coffee grounds you normally would. For example, if you usually use 2 tablespoons of grounds for a cup, use 4. This ensures the coffee is strong enough to stand up to the milk and ice. Let it cool to room temperature. You can speed this up by pouring it over ice immediately after brewing, but be careful not to burn yourself.
Step 2: Dissolve the Brown Sugar (2 minutes)
In your mason jar, combine the dark brown sugar and water. Stir vigorously until the sugar is completely dissolved. If there are still granules, add a splash of warm water (not hot) and stir again. You want a smooth syrup. This step is crucial because undissolved sugar will settle at the bottom of your glass.
Step 3: Prepare the Glass (1 minute)
Fill your large glass to the top with ice cubes. Pack them in tight. The more ice, the colder the drink, and the slower it melts. If you’re using coffee ice cubes, use them now. They’ll keep the latte strong as they melt.
Step 4: Combine Coffee and Sugar (1 minute)
Pour the cooled coffee over the ice. Then, pour in the brown sugar syrup. Stir gently to combine. You should see a beautiful swirl of amber color in the dark coffee. Taste it now. Is it sweet enough? Add more syrup if needed. Remember, the milk will dilute the sweetness slightly.
Step 5: Add the Oat Milk (1 minute)
Pour the oat milk slowly over the back of a spoon to create a layered effect. This looks pretty and keeps the flavors distinct until you stir. Use the barista blend for the best texture. If you’re using regular oat milk, pour it gently to avoid separation.
Step 6: Stir and Serve
Give it a good stir before drinking. The layers will merge into a creamy, light brown latte. Add a straw and enjoy immediately. If you want to top it with whipped cream, do it now. Garnish with a sprinkle of cinnamon or nutmeg for extra aroma.
Total Time: About 15 minutes (mostly cooling time). Active time is just 5 minutes.
Built-in Troubleshooting
Coffee too weak? Use more grounds or use cold brew concentrate.
Sugar not dissolving? Use warm water to dissolve it first.
Drink too watery? Use larger ice cubes or coffee ice cubes.
Expert Tips & Tricks
Here’s everything I’ve learned from making this dozens of times. These tips will save you from my mistakes.
Cool Your Coffee Fast
Hot coffee melts ice instantly, watering down your drink. After brewing, pour the coffee into a separate container and place it in the fridge for 10 minutes. Or, pour it over a few ice cubes in a separate jar to cool it down rapidly. This is the #1 mistake people make—using hot coffee.
Don’t Skimp on the Oat Milk Quality
I’ve tried cheap brands, and the result is a thin, watery latte. Spend the extra dollar on barista-style oat milk. The difference in texture and flavor is night and day. It’s worth it for the creaminess alone.
Make Brown Sugar Syrup Ahead
Mix 1 cup brown sugar with 1 cup water. Heat until dissolved, let cool, and store in the fridge for up to 2 weeks. This makes morning lattes even faster. Just shake the jar and pour.
Use a Double Shot
If you’re a coffee lover, one shot isn’t enough. Use a double shot of espresso or strong brewed coffee. The brown sugar complements the boldness of the coffee.
Customize the Sweetness
Start with 1 tablespoon of sugar and add more to taste. Everyone’s sweetness tooth is different. I like it medium-sweet, but my husband likes it extra sweet.
Common Mistakes (and how to avoid them)
Mistake: Gritty sugar — Fix: Dissolve sugar in warm water first.
Mistake: Separated milk — Fix: Use barista blend oat milk and stir gently.
Mistake: Too weak — Fix: Use more coffee grounds.
Pro Tricks I’ve Learned:
For Extra Creaminess
Add a splash of heavy cream or coconut cream on top. It makes it feel like a dessert.
For Extra Flavor
Add a pinch of cinnamon or cardamom to the coffee grounds before brewing. It adds a warm spice note.
For Better Texture
Shake the oat milk before pouring. It aerates it slightly and makes it frothier.
Variations & Substitutions
Once you’ve nailed the basic version, here’s how you can mix it up. I’ve tried all of these.
Vanilla Brown Sugar Latte
Add ½ teaspoon vanilla extract to the sugar syrup. My favorite for winter mornings.
Caramel Oat Latte
Drizzle caramel sauce on the inside of the glass before adding ice. It creates a sticky, sweet layer that mixes with the coffee.
Mocha Brown Sugar Latte
Add 1 tablespoon chocolate syrup to the coffee. For chocolate lovers.
Spiced Latte
Add a pinch of cinnamon, nutmeg, and ginger to the sugar syrup. Perfect for fall.
Lighter Version
Use less brown sugar (1 tablespoon) and skim oat milk. It’s thinner but still tasty.
Dairy-Free
This recipe is already dairy-free! Just ensure your oat milk is dairy-free and use vegan sugar if needed (some brown sugars are processed with bone char).
Gluten-Free
Oat milk is naturally gluten-free, but check the label to ensure it’s certified GF. Coffee is always GF.
Other Proteins:
Almond milk (thinner), Soy milk (creamier), Coconut milk (tropical flavor).
Serving & Storage
How to Serve:
I usually serve this straight up in a tall glass with a straw. It looks rustic and refreshing. But here are other ways I’ve enjoyed it:
Side Dishes:
– Toast with almond butter
– Banana bread
– Yogurt parfait
– Croissant
Toppings Bar:
When I have guests, I put out: whipped cream, cinnamon, nutmeg, caramel drizzle, chocolate syrup. Everyone customizes their drink.
Storage Instructions:
Coffee Base:
Store brewed coffee in an airtight container in the fridge for up to 3 days. It will taste slightly different but is still good.
Sugar Syrup:
Store in the fridge for up to 2 weeks.
Assembled Drink:
Do not store assembled. The ice will melt, and the oat milk will separate. Make it fresh every time.
Pro tip: If you’re meal-prepping, brew coffee and make syrup on Sunday. Assemble individual drinks in jars for the week. Just add ice when ready to drink.
Nutrition Information
I’m not a nutritionist, but here’s the breakdown if you’re tracking.
Per Serving (based on 1 serving):
- Calories: 120
- Protein: 2g
- Carbs: 22g
- Fiber: 0g
- Sugar: 18g
- Fat: 2g
- Saturated Fat: 0g
- Cholesterol: 0mg
- Sodium: 50mg
- Calcium: 80mg
What’s Good:
– Dairy-free
– Vegan (if sugar is certified)
– Good source of calcium from oat milk
– Lower calorie than café lattes
What to Know:
– Higher in sugar from brown sugar
– Contains no protein (add protein powder if needed)
– Moderate calories
My Take:
Look, this is a treat. It has sugar and calories. But it’s way better than takeout, costs less, and I know exactly what’s in it. When I want to make it lighter, I use less sugar and skim oat milk. But usually? I just enjoy it as a morning indulgence.
Final Thoughts
So that’s my creamy iced brown sugar oat milk latte! I’ve probably talked your ear off at this point, but when you make a recipe this often, you have a lot to say about it.
This has saved my mornings more times than I can count. It’s my answer to “I need coffee” when I’m tired, don’t want to drive anywhere, and still want something that tastes really good. My taste buds are happy, my wallet is happy, and I’m happy because I’m not stressed about making coffee.
Make it yours! Try different sweeteners, swap in your favorite milk, adjust the coffee strength. The best recipes are the ones you adapt to your tastes.
If you make this, drop a comment and let me know what you think! I love hearing how recipes turn out in your kitchen. And if something doesn’t work, tell me that too—I’m here to help troubleshoot.
Happy brewing! And I hope your kitchen smells half as good as mine does right now.
Frequently Asked Questions
Can I use almond milk instead of oat milk?
You can, but the texture will be thinner and less creamy. Oat milk has a natural sweetness and creaminess that almond milk lacks. If you use almond milk, consider adding a splash of heavy cream or coconut cream to compensate.
Why did my latte separate?
This usually happens if the oat milk is too cold or if the coffee is too hot. Acidity and temperature changes can cause separation. To prevent this, ensure your coffee is cooled and use barista-style oat milk. Stir gently.
Can I make this ahead for a party?
Sort of. Brew the coffee and make the syrup ahead. Store them separately. Assemble drinks right before serving. If you pre-mix them, the ice will melt and dilute the drink. I make the base components in advance to save time.
Why did my sugar not dissolve?
Water temperature is key. Use warm water to dissolve the brown sugar. Cold water won’t dissolve it as effectively. If you’re in a rush, microwave the sugar and water for 15 seconds.
Can I use white sugar instead?
You can, but you’ll lose the deep molasses flavor that defines this latte. Brown sugar is essential for the taste profile. If you must use white sugar, add a teaspoon of molasses to mimic the flavor.
How do I store leftover coffee?
Store brewed coffee in an airtight container in the fridge for up to 3 days. It will taste slightly stale but is still usable. For best flavor, brew fresh coffee daily.
Can I double this recipe?
Absolutely! Double everything and use a larger pitcher. The ratios stay the same. I do this when I’m hosting brunch or meal-prepping for the week.
Pin This Recipe!
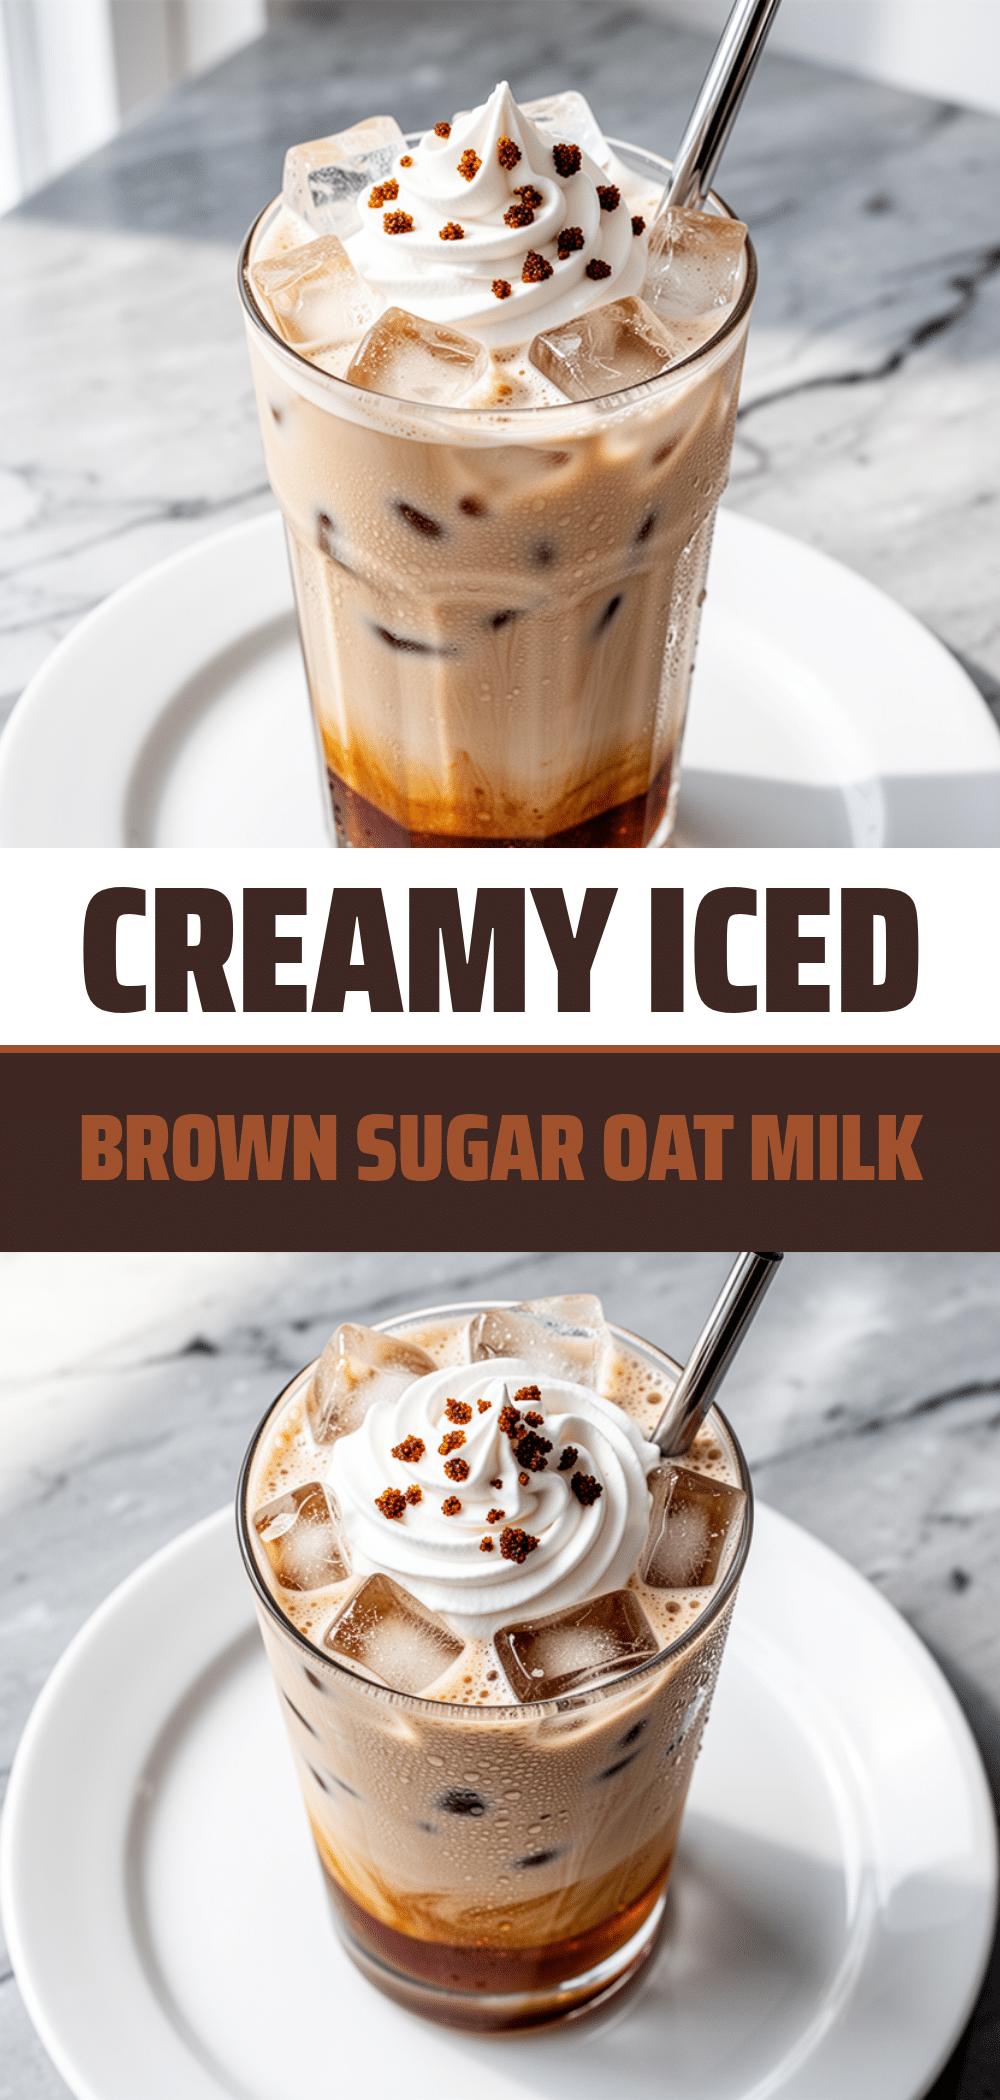

Creamy Iced Brown Sugar Oat Milk Latte
- Total Time: 15 minutes
- Yield: 1 serving 1x
Description
A rich, velvety homemade iced latte made with oat milk and dark brown sugar that rivals coffee shop versions. It is dairy-free, customizable, and takes only 5 minutes of active time to prepare.
Ingredients
- 2 cups (480ml) strong brewed coffee, cooled
- 1 cup (240ml) oat milk (barista blend recommended)
- 2 tablespoons (30g) dark brown sugar
- 2 tablespoons (30ml) water
- 1 cup (150g) ice cubes
- Optional: ½ teaspoon vanilla extract
- Optional: Whipped cream for topping
Instructions
- Brew strong coffee using twice the normal amount of grounds. Let it cool to room temperature or chill quickly.
- In a mason jar or small bowl, combine the dark brown sugar and water. Stir vigorously until the sugar is completely dissolved into a smooth syrup.
- Fill a large glass (24oz) to the top with ice cubes.
- Pour the cooled coffee over the ice, then add the brown sugar syrup. Stir gently to combine.
- Pour the oat milk slowly over the back of a spoon to create a layered effect, or pour directly and stir.
- Stir well before drinking to merge the layers. Add vanilla extract if desired, and top with whipped cream or a sprinkle of cinnamon if preferred.
Notes
Use barista-style oat milk for the best creamy texture. Ensure brown sugar is fully dissolved to avoid grittiness. For a stronger drink, use coffee ice cubes or a double shot of espresso. Store brewed coffee in the fridge for up to 3 days and brown sugar syrup for up to 2 weeks.
- Prep Time: 5 minutes
- Cook Time: 10-15 minutes
- Category: Beverage
- Cuisine: American
Nutrition
- Serving Size: 1 tall glass
- Calories: 120
- Sugar: 18
- Sodium: 50
- Fat: 2
- Carbohydrates: 22
- Protein: 2
Keywords: iced latte, brown sugar latte, oat milk coffee, dairy-free coffee, homemade coffee, vegan latte, iced coffee recipe



