Last Tuesday, I was standing in my kitchen at 9 PM, staring into the fridge with that specific kind of hunger that only hits right before bed. You know the one. It’s not a dinner hunger. It’s a “I need something sweet, but I also want to feel like I’m not ruining my life” hunger. I had half an avocado, a bag of cocoa powder that was slowly turning into dust on the top shelf, and a desperate need for comfort.
I didn’t feel like cooking. I didn’t feel like baking. I definitely didn’t feel like turning on the oven. So, I did what any self-respecting food-obsessed person would do: I threw everything in the blender and hit pulse. I expected a green sludge. I expected to regret it immediately. I expected to eat it out of spite.
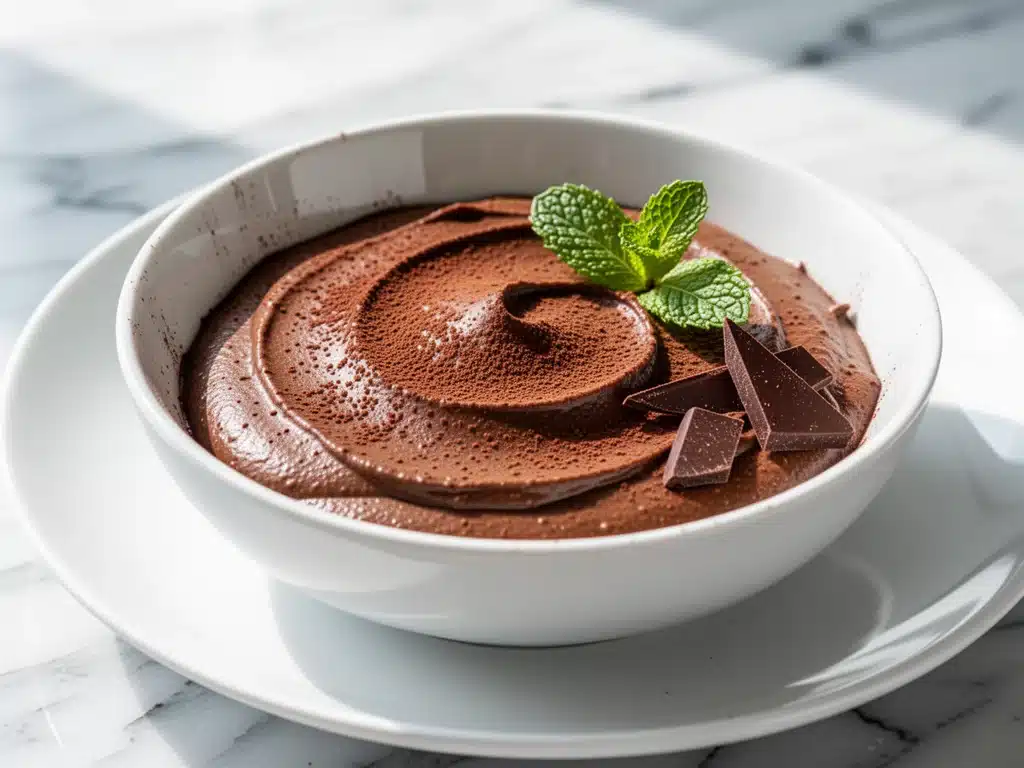
Instead, I got this. This ridiculously creamy, rich, deep chocolate mousse that tasted like it had been whipped by a French pastry chef, not blended by a tired human in pajamas. I took one bite and stopped. Then another. Then I scraped the sides of the blender bowl because I couldn’t stop myself. That was the moment I realized I had found the holy grail of late-night desserts. This vegan creamy chocolate avocado mousse with cocoa is the recipe I make on repeat, not because I’m obsessed with avocados, but because it is the only dessert that actually satisfies my chocolate craving without leaving me feeling heavy, sluggish, or guilty.
I’ve tested this thing dozens of times. I’ve made it for picky eaters who swear they hate avocado. I’ve made it for dinner parties where people couldn’t believe it wasn’t dairy-based. I’ve made it for myself when I was trying to cut back on sugar but couldn’t give up chocolate. And every single time, the result is the same: velvety, dreamy, and absolutely addictive. If you’re skeptical, I get it. The idea of eating avocado in your dessert sounds weird until you actually taste it. Trust me. Once you try this, you’ll never go back to store-bought chocolate pudding again.
Why You’ll Love This Vegan Creamy Chocolate Avocado Mousse
There are about ten reasons I keep coming back to this recipe, but here are the big ones that have completely changed how I handle dessert. This isn’t just a “healthy” alternative that tastes like compromise. It’s genuinely delicious on its own merits.
It’s Actually Creamy — Seriously, if you’ve tried avocado desserts before and ended up with a grainy, green mess, you did it wrong. The secret is using a perfectly ripe Hass avocado and blending it long enough. When you do it right, the texture is indistinguishable from heavy cream. I’ve blindfolded my husband with this, and he genuinely asked if I’d added mascarpone cheese. He was so shocked he didn’t ask for the recipe for a week.
Five Minutes or Less — I’m not exaggerating. From grab-to-blend to plate-to-eat, this takes less time than it takes to boil water for tea. I make this on weeknights when I get home exhausted and just want to relax. No chopping, no melting chocolate over a double boiler, no waiting for things to chill. Just blend and eat. It’s the ultimate low-effort, high-reward dessert.
Pantry-Friendly Ingredients — You probably have everything you need right now. Avocados, cocoa powder, a sweetener, a splash of milk, and vanilla. That’s it. No weird superfood powders you have to order online. No fancy syrups. Just simple, whole food ingredients that come together to create something luxurious. I keep frozen ripe avocados in my freezer specifically for this recipe because sometimes I can’t find a good fresh one at the store.
Gluten-Free and Dairy-Free by Default — I have friends with multiple allergies, and this is one of the few desserts everyone can eat together. No separate batches, no cross-contamination worries. It just works. Whether you’re vegan, dairy-free, or just trying to eat cleaner, this fits seamlessly into your diet without feeling restrictive.
Makes Amazing Leftovers — Actually, this tastes better the next day. The flavors meld together overnight, and the texture gets even thicker and richer. I deliberately make extra for lunch or a mid-afternoon snack. I keep it in little jars in the fridge, and it’s my go-to pick-me-up when 3 PM hits and I need a sugar fix that doesn’t crash me an hour later.
This is my go-to when I need dessert to just work. No complicated techniques, no weird ingredients, just reliable, delicious food that makes everyone happy. It’s proof that healthy food doesn’t have to be boring.
Ingredients You’ll Need
Here’s the best part: you probably have most of this already. This vegan creamy chocolate avocado mousse with cocoa relies on simple, high-quality ingredients. The fewer ingredients, the more important each one becomes, so I’m particular about three of them.
Ripe Hass Avocados (2 medium, about 1 cup mashed / 200g) — This is the base. You need Hass avocados, not the large green ones that are mostly water. Hass avocados are creamy and rich. They must be ripe. Press them gently; they should yield slightly to pressure but not feel mushy. If they’re hard, they won’t blend smooth. If they’re brown inside, toss them. I sometimes buy avocados that are slightly underripe and let them sit on the counter for two days, or I freeze ripe ones for later use. Frozen avocado works surprisingly well here—just thaw it slightly before blending.
Unsweetened Cocoa Powder (¼ cup / 25g) — This is where the chocolate flavor lives. Use good-quality cocoa powder. I prefer Dutch-processed cocoa because it’s darker and has a smoother, less acidic taste. Natural cocoa powder works too, but the flavor will be slightly brighter and tangier. Avoid “sweetened” or “loaded” cocoa mixes—they have sugar and dairy in them and will throw off the balance. Look for brands like Guittard, Droste, or Valrhona. It makes a huge difference.
Natural Sweetener (¼ to ½ cup / 50-100g) — This is personal preference. I use maple syrup because it adds a subtle caramel note that pairs beautifully with chocolate. Coconut sugar works well too and keeps it refined-sugar-free. If you prefer liquid sweeteners, agave nectar is neutral and blends easily. If you use granulated sugar, you’ll need to blend it longer to dissolve it, or it might feel gritty. I start with ¼ cup and taste. You can always add more, but you can’t take it away. For a lower-sugar option, you can use a zero-calorie sweetener like monk fruit, but you may need to adjust the liquid content slightly.
Plant-Based Milk (2-3 tablespoons / 30-45ml) — I use oat milk because it’s creamy and neutral. Almond milk works too, but it’s thinner, so you might need a bit more. Coconut milk adds a slight coconut flavor, which is nice if you like that, but it can overpower the chocolate if you’re not careful. You just need enough to help the blender blades move and create a smooth emulsion. Don’t add too much, or it’ll be soupy.
Vanilla Extract (1 teaspoon / 5ml) — Pure vanilla extract is non-negotiable. It rounds out the chocolate flavor and adds warmth. Fake vanilla will taste chemical and bitter. I keep a bottle of Nielsen-Massey or similar high-quality extract on hand. It’s worth the extra few dollars.
Pin of Salt — This is the secret weapon. Salt enhances chocolate flavor. Without it, the mousse tastes flat. I use a pinch of sea salt or kosher salt. Don’t skip it.
Optional Add-ins:
Dark Chocolate Chips (2 tablespoons, melted) — For extra richness. I drizzle this in at the end for a fudgy texture.
Instant Coffee Powder (½ teaspoon) — If you like mocha flavors, a tiny bit of espresso powder deepens the chocolate taste without making it taste like coffee.
Fresh Berries — For serving. Raspberries or strawberries add acidity that cuts through the richness.
Equipment Needed
You don’t need fancy equipment for this. Here’s what I actually use.
High-Speed Blender or Food Processor — I use a Vitamix, but a standard blender or food processor works fine. The key is that it needs to be powerful enough to break down the avocado fibers completely. If your blender is weak, you might end up with small green chunks. I blend mine for a full 2-3 minutes to ensure it’s silky smooth. If you’re using a hand mixer, you’ll need to mash the avocado very thoroughly first, then whip it, but it’s more work.
Measuring Cups and Spoons — Pretty standard stuff. Dollar store versions work fine for dry ingredients. For liquids, a small liquid measuring cup is helpful.
Spatula — For scraping down the sides of the blender. You want every bit of that creamy goodness. I use a silicone spatula because it’s flexible and gets into the corners.
Serving Bowls or Glasses — I like to serve this in little ramekins or small glass cups. It looks elegant and portion-controlled. But honestly, I often just eat it straight from the blender jar if I’m being lazy. No judgment here.
Optional but nice:
Mini Whisk — If you want to add air to the mousse, a quick whisk at the end makes it lighter.
Piping Bag — If you’re serving guests, piping this into glasses makes it look professional. I’m too lazy for this, but it’s a nice touch.
How to Make It: Step-by-Step
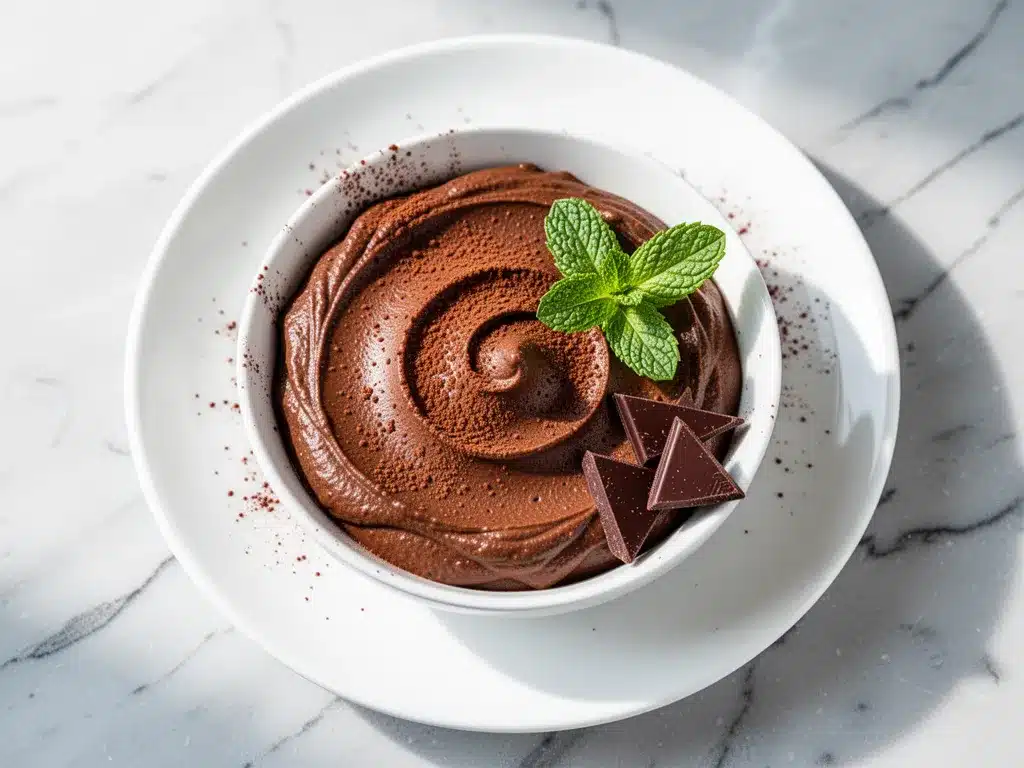
Alright, let’s make this! I’m walking you through exactly how I do it, including the little tricks I’ve picked up.
Step 1: Prep the Avocados (2 minutes)
Cut your avocados in half, remove the pits, and scoop the flesh into the blender. Discard the pits (or save them for other uses, like keeping your blender clean or your guacamole green). Make sure you get all the flesh out. If there are any green bits near the skin, scrape them out. You want 100% avocado, no waste. Taste a small piece to ensure it’s ripe and sweet-smelling, not bitter or fibrous.
Step 2: Add the Wet Ingredients (1 minute)
Pour in your sweetener, plant-based milk, and vanilla extract. Add the pinch of salt. I usually add the cocoa powder last so I can see how much liquid I’m working with. If you’re using maple syrup, it might take a second to get it out of the bottle—warm the bottle slightly under hot water if it’s thick. This step is about combining everything so the blender has something to work with.
Step 3: Blend Until Silky (2-3 minutes)
This is the most important step. Put the lid on tight and start blending on low, then gradually increase to high. Blend for a full 2-3 minutes. I know it seems long, but you need to break down the avocado completely. Stop halfway to scrape down the sides with a spatula. You’re looking for a texture that is completely smooth, with no visible green specks. It should look like thick chocolate pudding. If it’s too thick, add another tablespoon of milk. If it’s too thin, you’ve added too much liquid—try adding a bit more cocoa powder or freezing it for 15 minutes to set.
Step 4: Taste and Adjust (1 minute)
Taste the mousse. Does it need more sweetness? Add a little more maple syrup. Does it need more chocolate? Add another tablespoon of cocoa. Does it taste flat? Add a tiny pinch more salt. This is where you make it yours. I usually add a bit more cocoa because I love it dark and intense. Record your adjustments so you can replicate it next time.
Step 5: Chill and Serve (Optional but Recommended)
While you can eat it immediately, I recommend chilling it for at least 30 minutes. This firms up the texture and intensifies the flavor. Spoon it into serving bowls or glasses. Top with fresh berries, a sprinkle of sea salt, or a dollop of coconut whipped cream. I keep it simple with just a few raspberries and a dusting of cocoa powder. It’s beautiful and inviting.
Total Time: About 5-10 minutes (active time is just 5 minutes).
Built-in Troubleshooting:
Too thick? Add milk, one teaspoon at a time.
Too thin? Freeze for 20 minutes or add more cocoa.
Green specks? Blend longer. It happens if the avocado wasn’t ripe enough or the blender isn’t powerful enough.
Not sweet enough? Add more sweetener. Remember, cocoa is bitter, so you might need more than you think.
Expert Tips & Tricks
Here’s everything I’ve learned from making this dozens of times. These tips will save you from my mistakes.
Use Ripe Avocados
This is the #1 tip. If your avocado is underripe, the mousse will be fibrous and taste grassy. It won’t be creamy. I test ripeness by gently pressing the skin—it should give slightly. If you’re unsure, err on the side of slightly overripe. Brown spots are okay as long as it’s not mushy and smells sweet.
Blend Longer Than You Think
I used to blend mine for 30 seconds and wonder why it was chunky. Now I blend for 2-3 minutes. It’s worth the wait. The longer you blend, the smoother it gets. Think of it like making mayonnaise—the emulsion needs time to form. If you’re in a rush, mash the avocado thoroughly with a fork before blending to break up the fibers.
Don’t Skimp on Salt
Your mousse should have a hint of salt. It’s not supposed to taste salty, but the salt makes the chocolate pop. Without it, the flavor is one-dimensional. I use a fine sea salt so it dissolves easily. If you’re using a coarse salt, crush it first.
Cold Avocado Blends Better
If you have time, chill your avocados in the fridge for an hour before blending. Cold ingredients blend more smoothly and result in a thicker mousse. I sometimes freeze ripe avocados (peeled and pitted) in a bag for future use. They thaw quickly and work perfectly.
Common Mistakes (and how to avoid them):
Mistake: Sauce is too watery
Fix: You added too much milk. Add more cocoa powder or freeze it.
Mistake: Mousse is grainy
Fix: Blend longer or use a more powerful blender. Or, use frozen avocado which breaks down easier.
Mistake: Flavor is bland
Fix: Add more cocoa, sweetener, or salt. Taste and adjust.
Pro Tricks I’ve Learned:
For Extra Richness
Add a tablespoon of nut butter (like almond or cashew) to the blender. It adds healthy fats and makes it even creamier.
For a Mocha Twist
Add a teaspoon of instant espresso powder. It enhances the chocolate flavor without making it taste like coffee.
For Better Texture
Strain the mousse through a fine-mesh sieve after blending. It removes any remaining fibers and guarantees a silk-smooth texture. It’s extra work, but worth it for dinner parties.
Variations & Substitutions
Once you’ve nailed the basic version, here’s how you can mix it up. I’ve tried all of these.
White Chocolate Avocado Mousse
Replace cocoa powder with white chocolate chips (dairy-free if needed). Melt the chips slightly before blending. Add a bit more vanilla. It’s sweet, tangy, and surprisingly good.
Peanut Butter Chocolate Mousse
Add 2 tablespoons of creamy peanut butter to the blender. It creates a Reese’s-like flavor. My kids love this version. It’s richer and more protein-packed.
Mint Chocolate Mousse
Add ½ teaspoon of peppermint extract instead of vanilla. Top with crushed peppermint candies. It’s like a mint brownie in mousse form. Great for holidays.
Cherry Avocado Mousse
Add ½ cup of pitted cherries to the blender. It adds a fruity tartness that pairs well with the chocolate. Use fresh or frozen cherries. It’s a bit more like a fruit dip.
Coconut Chocolate Mousse
Use full-fat coconut milk instead of regular plant milk. Add a teaspoon of coconut extract. It tastes like a tropical chocolate truffle. I make this when I want something extra indulgent.
Dietary Modifications:
Sugar-Free
Use monk fruit or stevia instead of maple syrup. Adjust to taste. It might be less sweet, so add a bit more vanilla to compensate.
Low-Fat
This recipe is naturally high in healthy fats from the avocado. If you’re tracking fat, you can reduce the avocado to 1 and add more milk, but it won’t be as creamy.
Protein-Packed
Add a scoop of chocolate protein powder. It will thicken the mousse, so add more milk. It’s a great post-workout snack.
Serving & Storage
I usually serve this straight from the fridge in small glass cups—it looks rustic and stays cool. But here are other ways I’ve enjoyed it:
How to Serve:
Top with fresh raspberries, sliced strawberries, or banana slices. A sprinkle of sea salt or cocoa powder adds visual appeal. Coconut whipped cream is a luxurious addition. I also love it layered with granola and fruit in a parfait glass.
Side Dishes:
It’s a standalone dessert, so you don’t need sides. But if you’re serving it at a party, pair it with fruit skewers, dark chocolate squares, or almond cookies.
Toppings Bar:
When I have guests, I put out: fresh berries, coconut whipped cream, crushed nuts, chocolate shavings, and a drizzle of caramel. Everyone customizes their bowl.
Storage Instructions:
Refrigerator:
Store in an airtight container for up to 3 days. The avocado will oxidize slightly, turning brown on the surface, but the inside will stay green. To prevent this, press plastic wrap directly onto the surface of the mousse before sealing the container. It’s safe to eat, just not pretty.
Freezing:
You can freeze this mousse for up to 1 month. Thaw it in the fridge overnight. It might separate slightly, so blend it again to restore the texture. It’s not quite as good as fresh, but it’s still delicious.
Meal Prep:
Make it on Sunday and store in individual jars. It’s perfect for grab-and-go snacks. Just shake or stir before eating.
Pro tip: If the mousse looks a bit separated after storage, just give it a good stir or blend it briefly. It comes back to life.
Nutrition Information
I’m not a nutritionist, but here’s the breakdown if you’re tracking. This is per serving (based on 4 servings).
Per Serving:
Calories: 220
Protein: 4g
Carbs: 28g
Fiber: 8g
Sugar: 18g (natural from fruit and maple syrup)
Fat: 12g (mostly healthy monounsaturated fats)
Sodium: 50mg
Calcium: 40mg
What’s Good:
High in healthy fats from avocado
Good source of fiber
Rich in antioxidants from cocoa
Dairy-free and gluten-free
No refined sugar (if using maple syrup)
What to Know:
Calorie-dense due to avocado and cocoa
Contains natural sugars
Moderate in sodium
My Take:
Look, this is a dessert. It’s not a salad. But it’s way better than a slice of cake, costs less, and I know exactly what’s in it. It’s rich, satisfying, and actually good for you. When I want to make it lighter, I use less sweetener and add more berries. But usually? I just enjoy a small portion and savor it.
Final Thoughts
So that’s my go-to vegan creamy chocolate avocado mousse with cocoa! I’ve probably talked your ear off at this point, but when you make a recipe this often, you have a lot to say about it.
This has saved late-night cravings more times than I can count. It’s my answer to “what’s for dessert” when I’m tired, don’t want takeout, and still want something that tastes really good. My kids are happy, my friends are shocked, and I’m happy because I’m not stressed about cooking.
Make it yours! Try different add-ins, swap in your favorite sweeteners, adjust the cocoa. The best recipes are the ones you adapt to your family’s tastes. If you make this, drop a comment and let me know what you think! I love hearing how recipes turn out in your kitchen. And if something doesn’t work, tell me that too—I’m here to help troubleshoot.
Happy cooking! And I hope your kitchen smells half as good as mine does right now.
Frequently Asked Questions
Q: Can I use frozen avocado?
A: Yes! Frozen avocado works surprisingly well. Just thaw it slightly before blending. It actually blends smoother because the cold temperature helps create a thicker texture. I keep a stash of frozen ripe avocados specifically for this recipe.
Q: Why did my mousse turn out green?
A: It’s supposed to be green! The avocado gives it a subtle green tint, but the cocoa powder masks it. If it’s still very green, you can add a bit more cocoa powder. It won’t taste like avocado—it will taste like chocolate.
Q: Can I make this ahead for a dinner party?
A: Absolutely! Make it up to 2 days ahead and store in the fridge. It actually tastes better after chilling. Just give it a stir before serving. I make it the night before to save time.
Q: Why did my mousse get watery?
A: You probably added too much milk. Avocado is thick, so you only need a splash of liquid to help it blend. Add more cocoa powder or freeze it for 20 minutes to thicken it up.
Q: Can I use sugar-free sweetener?
A: Yes, use monk fruit or stevia. Adjust to taste. Keep in mind that sugar adds bulk and texture, so the mousse might be slightly thinner. You can add a bit more cocoa or chill it longer to compensate.
Q: How do I store leftovers?
A: Store in an airtight container in the fridge for up to 3 days. Press plastic wrap directly onto the surface to prevent browning. It’s safe to eat even if the top turns brown, but it’s not pretty.
Q: Can I double this recipe?
A: Yes! Double everything and use a larger blender or food processor. The blending time might need to be slightly longer. I do this when I’m meal-prepping or feeding a crowd.
Pin This Recipe!
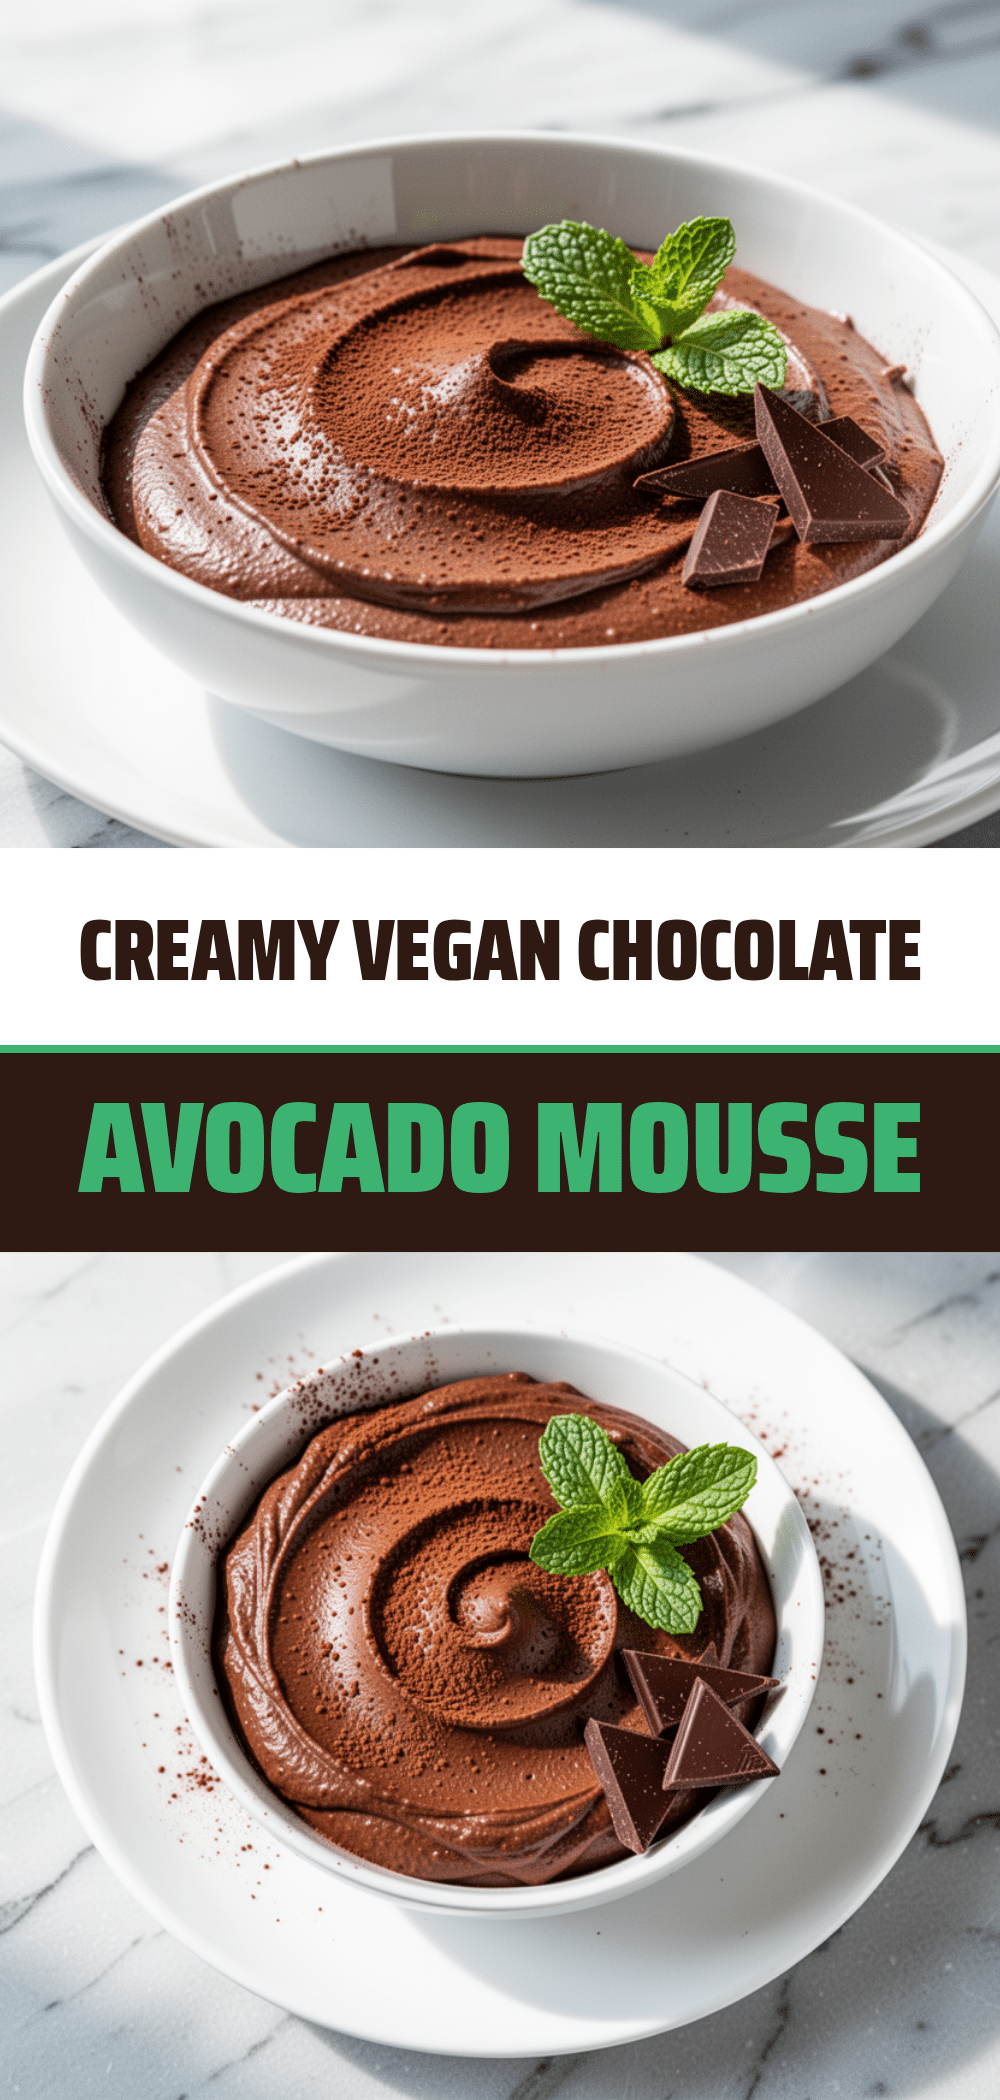
Vegan Creamy Chocolate Avocado Mousse
- Total Time: 35 minutes
- Yield: 4 servings 1x
Description
A rich, velvety, and dairy-free chocolate mousse made in just 5 minutes using ripe avocados, cocoa powder, and simple pantry ingredients. It is naturally gluten-free and satisfies sweet cravings without the guilt.
Ingredients
- 2 medium ripe Hass avocados (about 1 cup mashed / 200g)
- ¼ cup (25g) unsweetened cocoa powder (Dutch-processed preferred)
- ¼ to ½ cup (50-100g) natural sweetener (maple syrup, agave, or coconut sugar)
- 2–3 tablespoons (30-45ml) plant-based milk (oat or almond milk)
- 1 teaspoon pure vanilla extract
- 1 pinch sea salt or kosher salt
- Optional: 2 tablespoons melted dark chocolate chips, ½ teaspoon instant coffee powder, or fresh berries for serving
Instructions
- Cut avocados in half, remove pits, and scoop the flesh into a high-speed blender or food processor.
- Add the sweetener, plant-based milk, vanilla extract, and pinch of salt to the blender.
- Blend on low, gradually increasing to high, for 2-3 minutes until the mixture is completely smooth and silky with no visible green specks. Stop halfway to scrape down the sides.
- Taste the mousse and adjust sweetness, chocolate intensity, or salt as needed.
- Chill in the refrigerator for at least 30 minutes to firm up the texture and intensify flavor.
- Serve in bowls or glasses topped with fresh berries, a sprinkle of sea salt, or cocoa powder.
Notes
Ensure avocados are perfectly ripe (yielding slightly to pressure) for the smoothest texture. Cold avocados blend better and result in a thicker mousse. If the mixture is too thick, add milk one teaspoon at a time. If too thin, freeze for 15-20 minutes or add more cocoa powder. Store in an airtight container with plastic wrap pressed directly onto the surface to prevent browning.
- Prep Time: 5 minutes
- Cook Time: 0 minutes
- Category: Dessert
- Cuisine: American
Nutrition
- Serving Size: 1/4 of the recipe
- Calories: 220
- Sugar: 18
- Sodium: 50
- Fat: 12
- Saturated Fat: 2
- Carbohydrates: 28
- Fiber: 8
- Protein: 4
Keywords: vegan, gluten-free, dairy-free, chocolate mousse, avocado dessert, healthy dessert, 5-minute recipe, no-bake, paleo-friendly



