It was 7:30 PM on a Tuesday, and I was standing in the dark kitchen, staring into the open fridge like it held the secrets to the universe. I was hungry. Not “I’ll wait until breakfast” hungry. I was “I will eat this counter if it’s edible” hungry. The kids were asleep, the house was quiet, and my willpower was nonexistent. I wanted something sweet, something salty, and something that required zero effort. No baking. No preheating an oven. No waiting for dough to rise.
Then I saw them: a bag of broken pretzel rods I’d bought for a craft project three months ago and never used, a bag of semi-sweet chocolate chips, and a shaker of flaky sea salt. It was the saddest trio of ingredients I’d ever seen, and also the most promising.
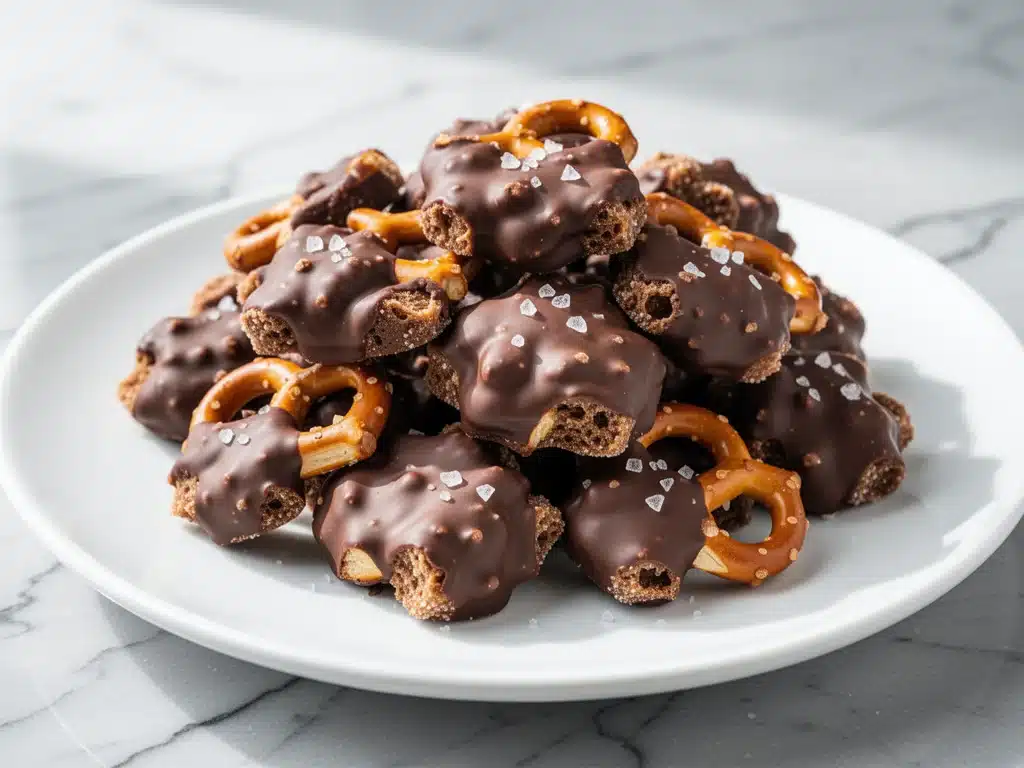
I melted the chocolate in the microwave (yes, microwave. Don’t judge me), tossed the pretzels in, and drizzled them onto parchment paper. I sprinkled on the salt while it was still wet. I waited ten minutes. I ate one. Then another. Then I had to hide the rest in the back of the fridge so my husband wouldn’t find them before I was ready to share.
That was six months ago. Since then, I’ve made these chocolate pretzel clusters at least forty times. They’re my secret weapon. I’ve brought them to PTA meetings and watched empty boxes appear within minutes. I’ve given them to neighbors with little notes attached. I’ve used them as hostess gifts that actually get used. And honestly? They’re easier to make than my chewy oatmeal raisin cookies, which is saying something because I usually burn those.
Here’s the thing about these clusters: they’re not just a snack. They’re a mood. They’re for late-night cravings, for when you need a quick pick-me-up, or for when you want to look like you put in actual effort for a party but really just spent twelve minutes in your kitchen. If you’ve ever wanted to impress people with something that tastes like it came from a fancy chocolatier but costs pennies to make, this is your recipe.
Why You’ll Love This 3-Ingredient Treat
I know what you’re thinking. “Three ingredients? Really?” Yes. Really. But don’t let the simplicity fool you. This isn’t a shortcut recipe because you’re lazy (though, let’s be honest, sometimes you are). It’s a shortcut because it’s brilliant. Here’s why these chocolate pretzel clusters have taken over my pantry and my heart:
- Actually Three Ingredients — Pretzels, chocolate, salt. That’s it. No fancy cocoa powder, no butter, no vanilla extract, no nuts you have to chop. I’ve tried adding nuts once, and they got soggy. Stick to the basics. The crunch of the pretzel is the star.
- Five Minutes Active Time — Seriously. Melt chocolate, toss pretzels, scoop onto paper, sprinkle salt, wait. That’s it. I’ve made these while on a phone call. I’ve made these while watching TV. It’s the ultimate low-stakes cooking project.
- Perfect Sweet and Salty Balance — The pretzels are salty and crunchy. The chocolate is sweet and rich. The flaky salt on top? That’s the magic. It hits your tongue and makes your brain go “wow.” It’s the same principle as those fancy sea salt caramels, but way easier.
- Impressive Presentation — When you plate these up on a nice platter or in a tin, they look like you spent hours tempering chocolate and drizzling patterns. You didn’t. You just scooped them. But no one will know. And that’s part of the fun.
- Great for Gifts — I package these in small cellophane bags with a ribbon and give them to teachers, coworkers, and friends. They always ask for the recipe. It’s my go-to “I care about you but don’t want to spend $30” gift.
- Gluten-Free Option Available — If you’re hosting someone with celiac or gluten sensitivity, just swap in gluten-free pretzels. The technique is identical. I’ve made this for my gluten-free sister, and she says they’re indistinguishable from the regular ones.
Look, I’m not going to sit here and tell you these are gourmet. They’re not. But they are delicious, they are satisfying, and they require almost zero skill. In a world where we’re all stressed and tired, sometimes the best thing you can do for yourself is make a simple treat that just works.
Ingredients You’ll Need
This is a short list, which is half the appeal. But because there are only three ingredients, the quality of each one matters more than usual. You can’t hide behind complex flavors here. Here’s what you need and why I’m picky about it.
For the Clusters
Pretzel rods or twists (10 ounces / 280g) — I use standard pretzel rods, broken into 1-inch pieces. Twists work too, but they’re harder to break evenly. Look for sturdy pretzels. If they’re stale or soft, skip them. You need crunch. I usually buy the big bags of “pretzel rods” from the baking aisle, not the snack aisle, because they’re longer and easier to break into clusters.
Semi-sweet chocolate chips (12 ounces / 340g) — This is my one non-negotiable. Do not use baking chips that are meant for cookies. Use actual chocolate chips. I prefer Ghirardelli or Guittard because they have a nice snap when they set. Dark chocolate chips (60% cocoa) work too if you want it less sweet. Milk chocolate is too sweet for my taste, but if you like that, go for it. Just know it will be very sweet.
Flaky sea salt (like Maldon) — This is the other non-negotiable. Do not use table salt. Do not use kosher salt. You need flaky salt. The flakes sit on top of the chocolate and provide that satisfying crunch and burst of saltiness. If you can’t find flaky salt, you can crush coarse sea salt in a mortar and pestle, but it won’t be the same. I keep a box of Maldon in my pantry specifically for this and for finishing steak.
Optional Add-Ins (If You Want to Get Fancy)
Peanut butter chips (4 ounces / 115g) — Melt these with the chocolate chips for a salty-sweet peanut butter twist. My kids love this version. It’s basically a homemade Reese’s cup in cluster form.
White chocolate chips (4 ounces / 115g) — Drizzle melted white chocolate over the set clusters for a pretty marbled effect. It’s festive and looks great for holidays.
Crushed toffee bits (½ cup) — Sprinkle on top before the chocolate sets for extra crunch and a buttery flavor. This makes it feel like a candy bar.
Mini marshmallows (¼ cup) — Toss these in with the pretzels before dipping for a s’mores vibe. The chocolate melts slightly and holds them in place.
Chopped peanuts (¼ cup) — If you’re a fan of salted peanuts, toss them in. It’s like a chocolate-covered peanut cluster but with pretzels.
Real talk: I usually stick to the three ingredients. The optional stuff is fun for holidays or special occasions, but the basic version is so good that I rarely feel the need to complicate it. Less is more here.
Equipment Needed
You don’t need any fancy gadgets for this. In fact, the less equipment you use, the better. Here’s what I actually use:
Microwave-safe bowl — A large glass or ceramic bowl works best. I use a 3-cup bowl. If your bowl is too small, the chocolate will clump up. You need room to stir.
Microwave — Yes, really. I know some people insist on double boilers. A double boiler is great if you have time and patience. But for these clusters? Microwave is faster, easier, and just as good. You’re not making chocolate ganache for a mousse. You’re making a snack. Use the microwave.
Parchment paper or silicone baking mat — This is crucial. Do not use wax paper. Wax paper can stick if the chocolate is warm. Parchment paper is non-stick and handles the residual heat fine. I line two baking sheets with parchment so I can work in batches if needed.
Silicone spatula — For stirring the chocolate. A rubber spatula works too, but silicone is more durable. You’ll use this to fold the pretzels into the chocolate.
Small spoon or fork — For scooping the clusters onto the parchment. I use a regular teaspoon. It’s the right size for individual clusters.
Sheet pans — Two standard 13×18 inch sheet pans. This lets you make a big batch at once. If you don’t have two, one is fine, but it’ll take longer.
Ziplock bags or gift boxes — For storage or gifting. I use small cellophane bags with twist ties for gifts. For storage, an airtight container is best.
Honest opinion: I’m not going to lie, I’ve bought a specific “chocolate dipping” set from the dollar store that has little molds. I used it once. The clusters stuck to the molds and broke when I tried to remove them. Just use parchment paper. It’s foolproof.
How to Make It: Step-by-Step
Alright, let’s make these. It’s so simple that you might feel like you’re cheating. But trust me, the result is worth it. Here’s exactly how I do it, including the tricks that keep the chocolate smooth and the clusters crunchy.
Step 1: Prep Your Workspace (2 minutes)
Line two baking sheets with parchment paper. Make sure the paper is flat and smooth. If it’s curled up, press it down. You want a flat surface for the clusters to set. Break the pretzel rods into rough 1-inch pieces. You don’t need them to be perfect. Rough breaks give a more rustic, homemade look. If you’re using twists, pull them apart at the junctions.
Step 2: Melt the Chocolate (3-4 minutes)
Place the chocolate chips in your microwave-safe bowl. Microwave on high for 30 seconds. Remove and stir. The chocolate should be mostly melted but still have some lumps. Microwave for another 15-20 seconds. Stir again. The residual heat will melt the remaining lumps. If there are still big lumps, do another 10 seconds. Important: Do not overheat the chocolate. If it gets too hot, it will seize up and become grainy. You want it smooth and fluid, not hot. If you’re using a double boiler, melt over simmering water, stirring constantly, until smooth. This takes longer but gives you more control.
Step 3: Fold in the Pretzels (2 minutes)
Add the broken pretzel pieces to the melted chocolate. Use your spatula to gently fold the pretzels into the chocolate. You want every piece coated, but don’t over-stir. You’re not making a batter. Just toss until coated. If you’re adding optional mix-ins like peanut butter chips or toffee bits, add them now and fold them in.
Step 4: Scoop the Clusters (5 minutes)
Using a teaspoon, scoop heaping teaspoons of the chocolate-pretzel mixture onto the parchment-lined sheets. Don’t flatten them. Just drop them. Space them about 1 inch apart because they’ll spread slightly as they settle. Aim for about 20-25 clusters per sheet, depending on the size of your spoon. If you’re making a big batch, you can do two sheets at once.
Step 5: Add the Salt (1 minute)
Immediately after scooping, sprinkle a pinch of flaky sea salt on top of each cluster. Do this while the chocolate is still wet. If you wait too long, the salt won’t stick. You don’t need much—just a light sprinkle. The salt should be visible but not overwhelming. If you miss a spot, don’t worry. It’ll still taste good.
Step 6: Set the Chocolate (20-30 minutes)
Let the clusters sit at room temperature until the chocolate is fully set. This usually takes 20-30 minutes. You can speed this up by putting them in the fridge for 10 minutes, but be careful: condensation can form if you take them out of the cold too quickly, which makes the chocolate sweaty. I usually just let them sit on the counter. If your kitchen is hot, the fridge is your friend.
Step 7: Store and Serve
Once set, the clusters are ready to eat. Store them in an airtight container at room temperature for up to two weeks. If your kitchen is warm, store them in the fridge. Bring them to room temperature before serving for the best texture. They’re best eaten within the first week for maximum crunch.
Troubleshooting: If the chocolate seizes (becomes grainy and thick), it’s because water got in. Make sure your bowl is completely dry. If it happens, add a teaspoon of warm milk or cream and stir vigorously. It might save it. If the clusters are too soft, you didn’t let them set long enough. If they’re too hard, you used chocolate with too much cocoa butter. Stick to standard chips.
Expert Tips & Tricks
I’ve made these enough times that I’ve learned a few things the hard way. Here’s how to avoid my mistakes and get perfect clusters every time.
Don’t Over-Melt the Chocolate — This is the #1 mistake. Chocolate burns easily. If it looks slightly unmelted, it’s done. The residual heat will finish the job. Overheated chocolate seizes and becomes unusable. If you’re nervous, use a double boiler. It’s slower but foolproof.
Use Sturdy Pretzels — If your pretzels are stale or soft, they’ll absorb moisture from the chocolate and get soggy. Use fresh, crunchy pretzels. If you’re unsure, break one. It should snap cleanly. If it bends, it’s too soft. Toss it.
Work in Batches — The chocolate starts to thicken as it cools. If you’re making a large batch, melt the chocolate in two or three batches. Keep the rest warm in a bowl over hot water (if using a double boiler) or just work quickly. You want the chocolate fluid enough to coat the pretzels easily.
Flaky Salt is Non-Negotiable — I know it’s expensive. But regular salt tastes metallic and dissolves into the chocolate. Flaky salt stays on top and provides that textural contrast. It’s worth the few extra dollars. I buy a box every few months. It lasts forever.
Don’t Crowd the Sheet — Give each cluster space. If they’re too close, they’ll stick together when you try to separate them. 1 inch apart is perfect. If you’re in a hurry, you can place them closer, but you’ll need to let them set longer.
Store Properly — Keep them in an airtight container. Humidity is the enemy. If your kitchen is humid, store them in the fridge. But let them come to room temperature before eating. Cold chocolate doesn’t taste as good.
For Gifts — Place each cluster in a small cupcake liner before packing them in a box. It keeps them from sticking together and looks professional. Tie the box with a ribbon and add a tag. It’s a gift that says “I put thought into this” without actually putting much thought into it.
Variations & Substitutions
Once you’ve mastered the basic version, here are some fun ways to mix it up. I’ve tried all of these, and they’re all good in their own way.
Peanut Butter Pretzel Clusters — Melt 4 ounces of peanut butter chips with the chocolate chips. The result is a salty-sweet peanut butter pretzel cluster. It’s like a homemade Reese’s. My kids beg for this version.
White Chocolate & Pretzel — Use white chocolate chips instead of semi-sweet. It’s sweeter and milder. Great for holidays. Sprinkle with red and green sprinkles for Christmas, or pastel sprinkles for Easter.
Dark Chocolate & Pretzel — Use 70% dark chocolate chips. It’s less sweet and more sophisticated. Great for adults. Pair with a glass of red wine. I love this version when I want something less sugary.
S’mores Clusters — Add mini marshmallows to the pretzels before dipping. The chocolate holds them in place. It’s like a campfire treat in cluster form. Fun for summer gatherings.
Cookie Crumble Clusters — Crush up some Oreos or chocolate chip cookies and mix them with the pretzels. It’s like a dessert salad. I made this for a potluck and it disappeared instantly.
Gluten-Free Version — Use gluten-free pretzel rods. The technique is identical. I’ve used brands like Enjoy Life and Udi’s. They work great. Just make sure the chocolate chips are also certified gluten-free if you’re serving someone with celiac.
Dairy-Free Version — Use dairy-free chocolate chips (like Enjoy Life or Larabar). The pretzels are usually dairy-free, but check the label. Some pretzels contain milk solids. This version is great for vegans or those with dairy allergies.
Serving & Storage
These are versatile treats. Here’s how I serve and store them.
How to Serve
I usually serve these on a platter with napkins. They’re finger food, so no plates needed. Great for parties, movie nights, or just a late-night snack. I also put them in small bags for lunchboxes. They’re a hit with kids and adults alike.
Storage Instructions
Room Temperature: Store in an airtight container for up to two weeks. Keep them in a cool, dry place. If your kitchen is warm, the chocolate might soften, so the fridge is better.
Refrigerator: Store in an airtight container for up to one month. Let them come to room temperature before eating. Cold chocolate doesn’t have the same snap.
Freezer: Yes, you can freeze these. Place them in a single layer on a baking sheet, freeze until solid, then transfer to a freezer bag. They’ll last for three months. Thaw at room temperature. The texture might be slightly softer, but they’re still good.
What to Serve With
These are sweet and salty, so they pair well with savory snacks. I serve them with cheese boards, crackers, or even alongside my cheesy garlic pull-apart bread for a party platter. They also go great with coffee or tea. I like them with a strong black coffee to cut the sweetness.
Nutrition Information
I’m not a nutritionist, but here’s the breakdown if you’re tracking. Keep in mind that these are treats, so they’re high in sugar and fat.
Per Cluster (approx. 15 clusters per batch):
| Nutrient | Amount |
|---|---|
| Calories | 90 |
| Total Fat | 5g |
| Saturated Fat | 3g |
| Cholesterol | 0mg |
| Sodium | 65mg |
| Total Carbs | 10g |
| Fiber | 1g |
| Sugars | 7g |
| Protein | 1g |
What to Know: These are not health food. They’re a treat. But they’re better than store-bought candy because you control the ingredients. If you want to make them lighter, use dark chocolate and less salt. But honestly? That’s not the point. These are for indulgence.
Final Thoughts
So that’s my sweet and salty chocolate pretzel clusters! I know I’ve talked your ear off at this point, but when you make a recipe this often, you have a lot to say about it. These clusters have saved me more times than I can count. They’re my answer to “what do I bring to the party?” or “what do I eat when I’m tired and hungry?”
They’re simple, they’re delicious, and they’re impressive. You don’t need to be a chef to make them. You just need chocolate, pretzels, and salt. And maybe a little patience while they set.
Make them yours! Try different chocolates, add mix-ins, or just stick to the classics. The best recipes are the ones you adapt to your tastes. And if you make these, drop a comment and let me know what you think! I love hearing how recipes turn out in your kitchen.
Happy snacking! And I hope your kitchen smells as good as mine does right now.
Frequently Asked Questions
Q: Can I use milk chocolate instead of semi-sweet?
A: You can, but it will be much sweeter. Semi-sweet or dark chocolate balances the saltiness of the pretzels better. If you use milk chocolate, reduce the amount of salt you sprinkle on top. I prefer semi-sweet because it’s not too sweet.
Q: Why did my chocolate seize up?
A: Water got into the chocolate. Even a drop of water can cause chocolate to seize and become grainy. Make sure your bowl and utensils are completely dry. If it happens, add a teaspoon of warm milk or cream and stir vigorously. It might save it, but the texture won’t be as smooth.
Q: Can I make these ahead of time?
A: Yes! These actually taste better after a day or two because the chocolate has fully set and the flavors have melded. Make them up to two weeks ahead and store in an airtight container. They’re great for meal prep or gift giving.
Q: How do I store them?
A: Store in an airtight container at room temperature for up to two weeks. If your kitchen is warm, store them in the fridge. Let them come to room temperature before eating for the best texture. They can also be frozen for up to three months.
Q: Can I use gluten-free pretzels?
A: Yes! Just make sure the pretzels are certified gluten-free. The technique is identical. I’ve used brands like Enjoy Life and Udi’s, and they work great. Just check the chocolate chips too, as some contain cross-contamination.
Q: Why did my clusters stick to the parchment paper?
A: The chocolate wasn’t fully set, or the parchment paper was too warm. Make sure the clusters are completely cool and firm before trying to move them. If they stick, you can gently warm the bottom of the parchment with a hairdryer to loosen them, but it’s tricky. Just let them set longer next time.
Q: Can I add nuts?
A: You can, but nuts can get soggy if they’re not roasted. If you add nuts, toast them first and let them cool completely. Then fold them in with the pretzels. Chopped peanuts or pecans work well. Just know they’ll change the texture.
Pin This Recipe!
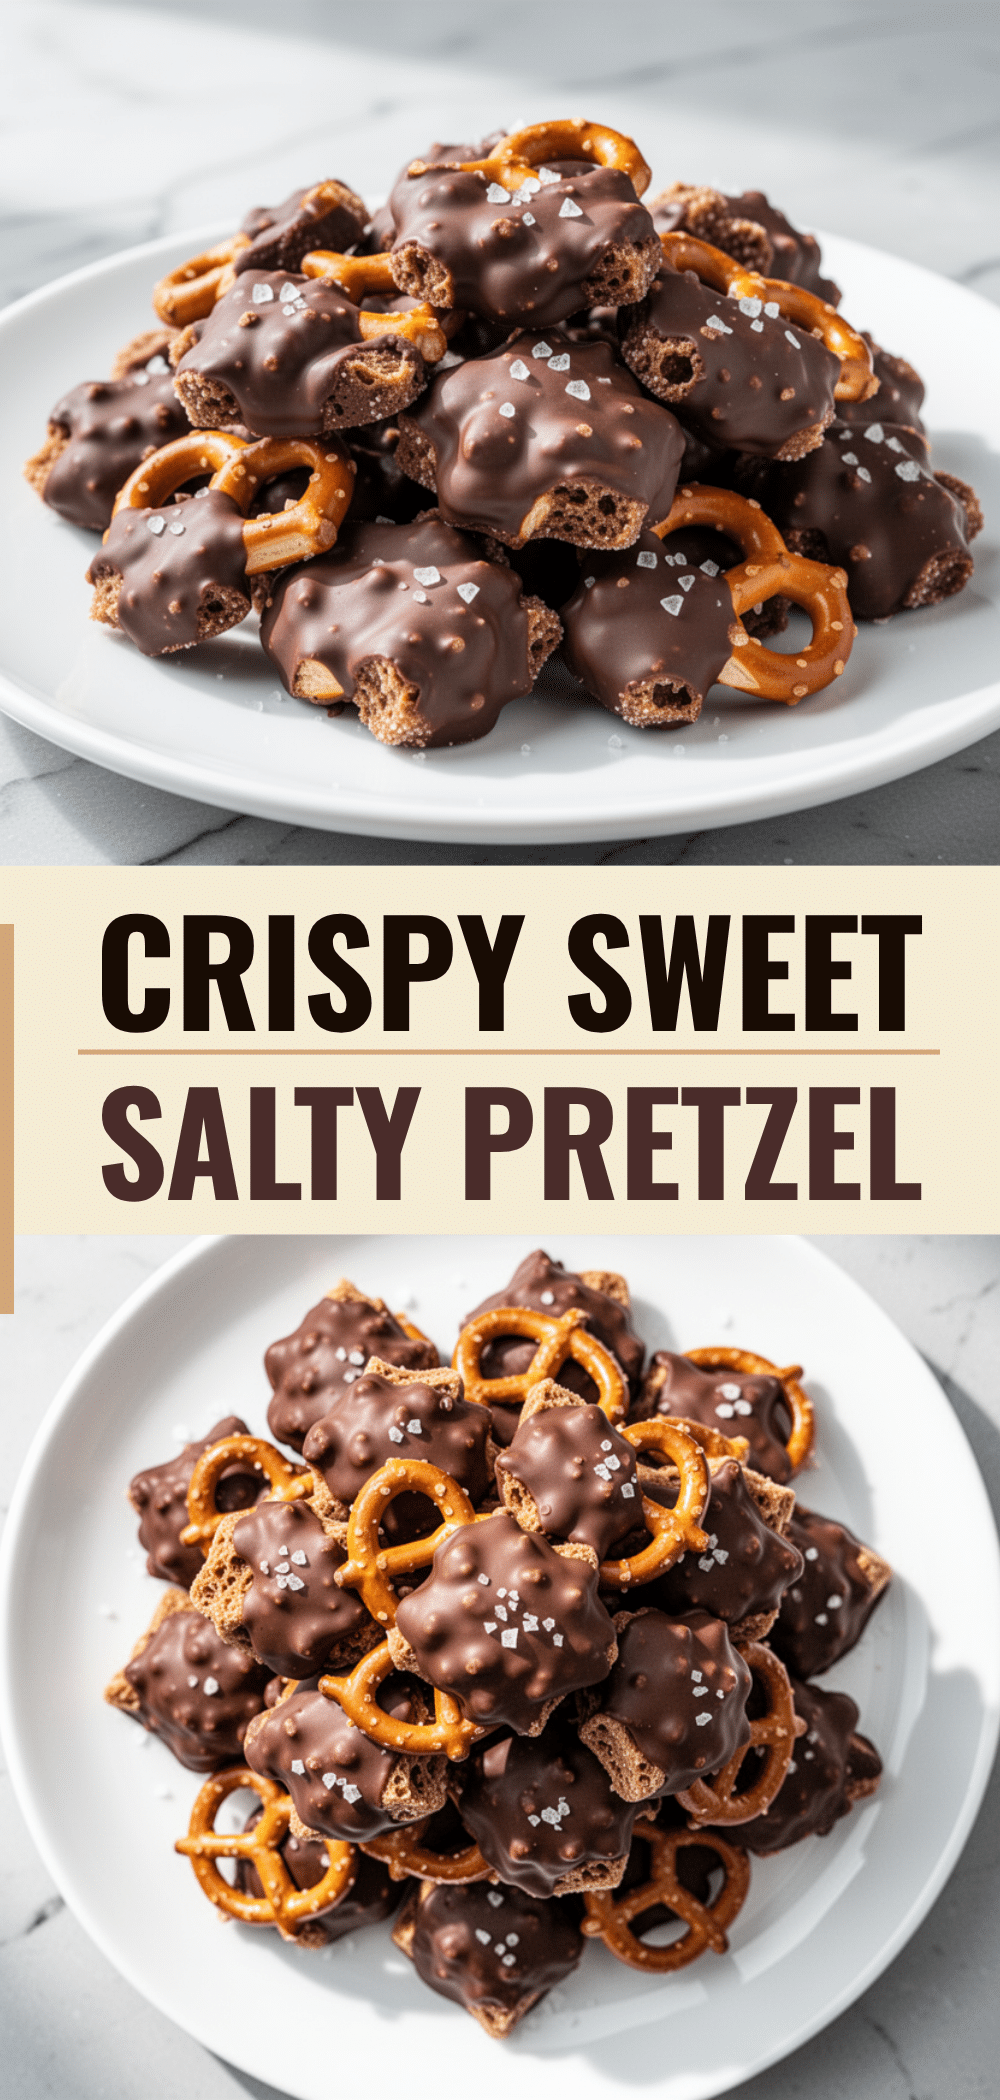
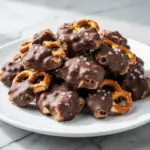
Sweet and Salty Chocolate Pretzel Clusters: Easy 3-Ingredient Treat
- Total Time: 35 minutes
- Yield: 15 servings 1x
Description
A simple, no-bake snack made with just three ingredients: pretzels, chocolate chips, and flaky sea salt. Perfect for late-night cravings, gifts, or quick entertaining.
Ingredients
- 10 ounces (280g) pretzel rods or twists, broken into 1-inch pieces
- 12 ounces (340g) semi-sweet chocolate chips
- Flaky sea salt (like Maldon), for sprinkling
Instructions
- Line two baking sheets with parchment paper and break pretzel rods into rough 1-inch pieces.
- Place chocolate chips in a microwave-safe bowl. Microwave on high for 30 seconds, stir, then microwave for another 15-20 seconds. Stir until smooth, using residual heat to melt remaining lumps. Do not overheat.
- Gently fold the broken pretzels into the melted chocolate until every piece is coated.
- Scoop heaping teaspoons of the mixture onto the parchment-lined sheets, spacing them about 1 inch apart.
- Immediately sprinkle a pinch of flaky sea salt on top of each cluster while the chocolate is still wet.
- Let the clusters sit at room temperature for 20-30 minutes until the chocolate is fully set. Alternatively, refrigerate for 10 minutes.
- Store in an airtight container at room temperature for up to two weeks.
Notes
Ensure your bowl is completely dry to prevent the chocolate from seizing. Use sturdy, fresh pretzels for the best crunch. Flaky sea salt is essential for texture and flavor balance. If your kitchen is hot, refrigerate to help the chocolate set faster.
- Prep Time: 5 minutes
- Cook Time: 30 minutes
- Category: Dessert
- Cuisine: American
Nutrition
- Serving Size: 1 cluster
- Calories: 90
- Sugar: 7
- Sodium: 65
- Fat: 5
- Saturated Fat: 3
- Carbohydrates: 10
- Fiber: 1
- Protein: 1
Keywords: chocolate pretzel clusters, 3 ingredient recipe, no bake dessert, sweet and salty snack, easy treats, gift ideas, gluten-free option