Last Tuesday, I was standing in my kitchen at 9 PM, staring into the open refrigerator like it held the secrets to the universe. I had just finished dinner, I was still full, but my brain was screaming for something salty, crunchy, and slightly indulgent. The usual suspects were gone: no chips left in the pantry, no leftover cookies (I ate those for breakfast, don’t judge me), and definitely no time to order delivery.
I saw a can of chickpeas in the back. Just one can. The kind you buy for hummus and then forget about until it’s been sitting there for three weeks. I remembered a tip from a cooking show years ago about roasting chickpeas, so I grabbed the can, drained it, and threw them in the oven with some garlic powder, olive oil, and a generous amount of parmesan cheese. I honestly didn’t expect much. I expected something like dry, salty beans. Maybe a little chewy.
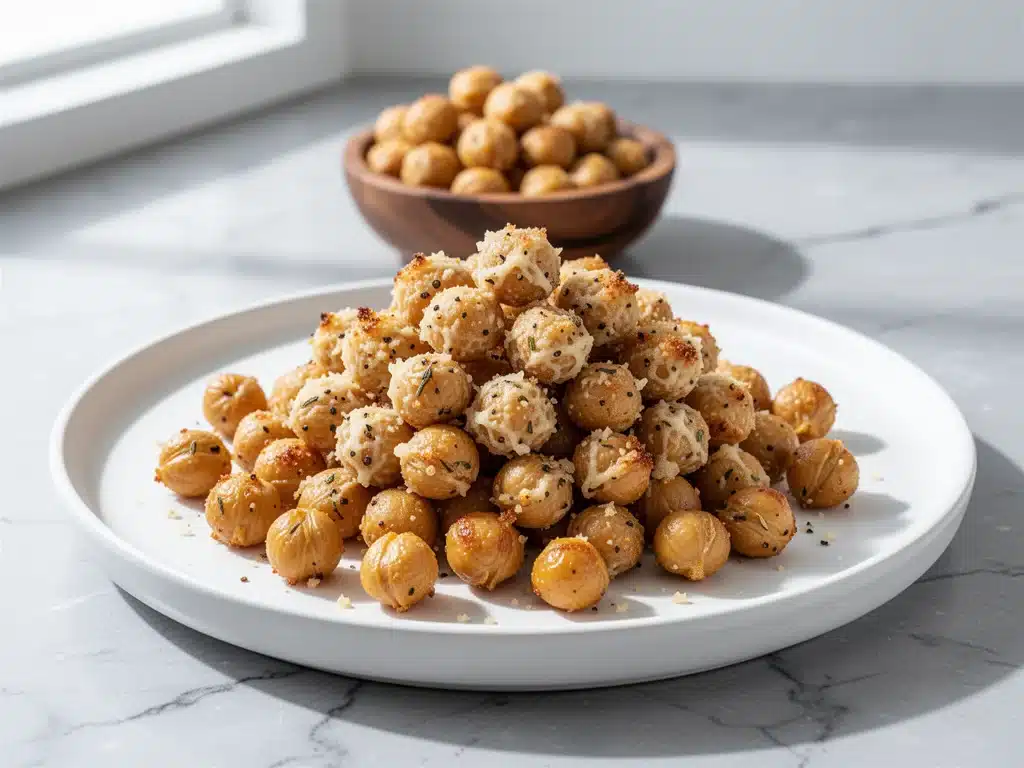
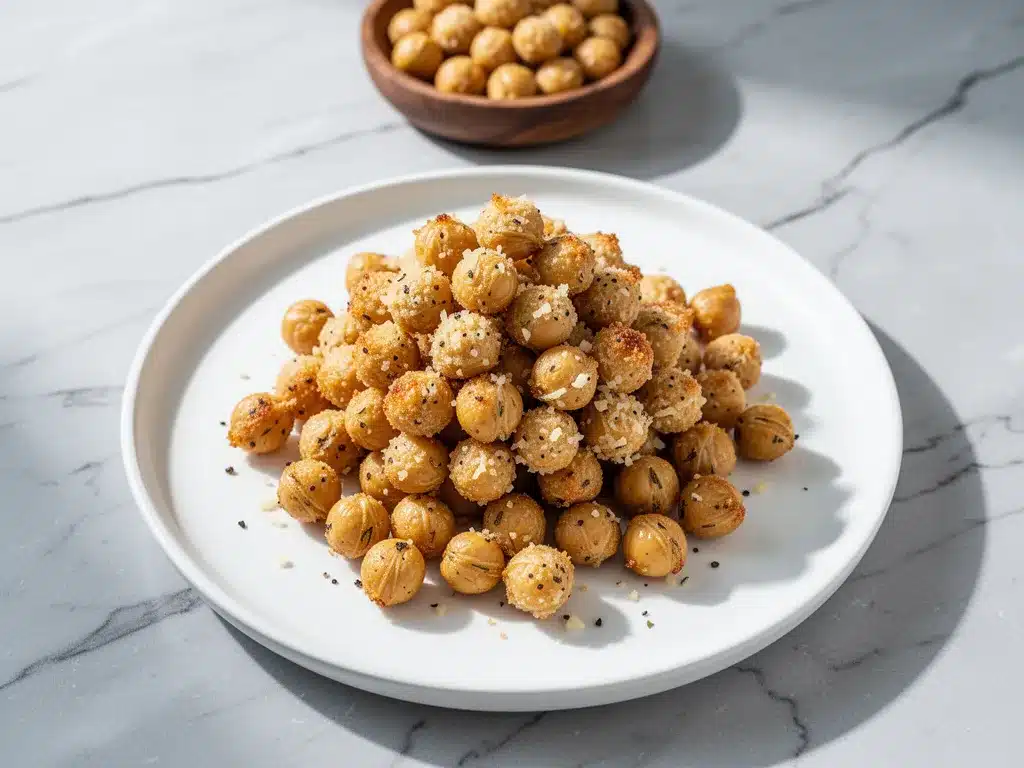
What came out of the oven was shocking. These crispy baked parmesan garlic chickpeas were crunchy like nuts, savory like a bar snack, and addictive in a way I didn’t think legumes could be. I ate them straight from the baking sheet while waiting for the oven to cool down. My husband walked in, asked what smelled amazing, and when I told him, he took one bite and immediately asked for the recipe. That was three weeks ago. We have made this snack at least six times since. It’s become our go-to for movie nights, post-work wind-downs, and those moments when you just need a little crunch to keep you sane.
Here’s the thing about healthy snacks: they’re usually boring. They’re like eating air with a side of guilt. But these crispy baked parmesan garlic chickpeas are different. They satisfy that deep, primal craving for something salty and textured without leaving you feeling sluggish or heavy. They’re basically the edible equivalent of a warm hug, but crunchy. And because they’re baked, not fried, you can feel pretty good about eating a whole bowl of them (though I won’t tell if you eat half the batch in one sitting).
I’ve tested this recipe dozens of times—sometimes with different spices, sometimes with different cheeses, sometimes with wet chickpeas and sometimes dry ones. Through all the experimentation, one truth has emerged: if you want true crunch, you have to get the moisture out. And if you want flavor that sticks, you have to use the right coating technique. I’m sharing exactly how I do it, so you can stop buying overpriced, weirdly flavored nuts and start making these instead.
Why You’ll Love This Recipe
There are a lot of snack options out there, but this crispy baked parmesan garlic chickpeas recipe has completely changed our evening routine. I’ve made this for everyone from my picky nine-year-old nephew to my friend who claims she “doesn’t like snacks,” and everyone comes back for seconds. Here’s why this specific combination works so well, and why it’s going to become a staple in your pantry.
Incredibly Crunchy — Seriously, if you’ve ever tried roasted chickpeas that are soggy in the middle, you know the disappointment. I’ve cracked the code on getting them uniformly crunchy. The trick is thorough drying and a good roast. These are crisp all the way through, not just on the surface. My kids literally crunch on them while doing homework.
High Protein Powerhouse — One cup of these packs about 7-8 grams of protein. That’s huge for a snack. Most crackers or chips give you empty carbs. These give you sustained energy. I make a batch on Sunday and it lasts me through the week as a steady fuel source between meals.
Ready in 30 Minutes — From drain to crunch, it takes about 30 minutes. That’s faster than waiting for a pizza delivery, cheaper than a bag of trail mix, and infinitely tastier than plain popcorn. I make these on weeknights when I’m tired and don’t want to think about cooking a real meal.
Pantry-Friendly Ingredients — You probably have everything you need right now. Chickpeas, olive oil, garlic powder, onion powder, parmesan cheese, salt, and pepper. No weird specialty ingredients you have to hunt down at three different stores. It’s simple, honest food.
Customizable Flavor — While the parmesan garlic version is my absolute favorite (and the one I make on repeat), the base recipe is a blank canvas. You can swap the cheese, change the spices, or add heat. It’s versatile enough for any mood.
Budget-Smart — A can of chickpeas costs about $1.50. That makes enough snack for 3-4 people. Compare that to a $6 bag of roasted nuts or gourmet popcorn, and this is a no-brainer. I keep cans stocked specifically for this.
This is my go-to when I need a snack that feels indulgent but isn’t. No complicated techniques, no weird ingredients, just reliable, delicious food that makes everyone happy. It’s the kind of recipe that makes you feel like a culinary genius with minimal effort.
Ingredients You’ll Need
Here’s the best part: you probably have most of this already in your kitchen. This crispy baked parmesan garlic chickpeas recipe relies on simple, high-quality basics. The magic isn’t in exotic spices; it’s in the technique and the ratio of coating to chickpea. I’m particular about a few things here, and I’ll tell you exactly why.
Canned Chickpeas (2 cans, 15 oz each / 425g each) — This is your base. I prefer organic, low-sodium canned chickpeas because you can control the salt. You can use dried chickpeas, but you’d need to soak and boil them first, which takes hours. For a quick snack, canned is the way to go. Rinse and drain them thoroughly.
Extra Virgin Olive Oil (3 tablespoons / 45ml) — Use good quality here. It coats the chickpeas and helps the seasoning stick while adding that rich, fruity flavor. I don’t skimp on the oil here; if they’re too dry, they won’t crisp up. I keep a bottle of decent extra virgin olive oil just for roasting.
Garlic Powder (1 tablespoon / 10g) — Not fresh garlic. Fresh garlic will burn in the oven and taste bitter. Garlic powder gives you that intense, savory garlic flavor without the risk of burning. I use a generous amount because chickpeas are mild and can handle it.
Onion Powder (1 teaspoon / 2g) — This adds depth and a subtle sweetness that complements the garlic. It’s a classic savory combo. If you’re out, you can skip it, but it really rounds out the flavor profile.
Grated Parmesan Cheese (½ cup / 50g) — This is the secret weapon. The parmesan melts slightly in the oven, creating a savory, crispy crust around each chickpea. Buy a block of parmesan and grate it yourself. Pre-grated cheese has anti-caking agents that prevent it from melting properly, and you’ll end up with dusty, unmelted bits instead of a crunchy coating. It takes 2 minutes to grate, and it makes a huge difference.
Smoked Paprika (½ teaspoon / 1g) — Optional, but I highly recommend it. It adds a subtle smokiness that makes the chickpeas taste like they were roasted over an open fire. It’s not spicy, just smoky. If you don’t have it, regular paprika works, but smoked is better.
Salt (½ teaspoon / 3g) — Adjust to taste. Since you’re using low-sodium chickpeas and parmesan (which is salty), start with less and add more after baking if needed.
Black Pepper (½ teaspoon / 1g) — Freshly cracked is best. It adds a little bite to balance the savory flavors.
Optional Add-ins:
- Red Pepper Flakes (¼ teaspoon) — If you like a little heat, toss these in at the end.
- Fresh Parsley (1 tablespoon, chopped) — Sprinkle on right after baking for a fresh pop of color and flavor.
- Lemon Zest — A little zest brightens up the richness of the cheese.
Shopping Tips:
- I always buy the organic cans if they’re on sale. The chickpeas tend to be firmer and hold their shape better during roasting.
- For the parmesan, look for the wedge in the cheese section, not the shaker can. The flavor is infinitely better, and it melts correctly.
- If you’re making these ahead, buy a larger block of parmesan and grate it all at once. It keeps well in the fridge for a few weeks.
Equipment Needed
You don’t need fancy equipment for this. Here’s what I actually use in my home kitchen. Most of this stuff is probably already in your drawers.
Baking Sheets — I use two standard half-sheet pans. If you only have one, you can do two batches, but two is better so the chickpeas aren’t overcrowded. Crowding leads to steaming, not roasting. I prefer non-stick or silicone-lined sheets for easy cleanup.
Clean Kitchen Towels or Paper Towels — This is crucial. You need something absorbent to dry the chickpeas. I use a large, lint-free kitchen towel. Paper towels work too, but they can stick to the wet chickpeas. A towel is more reusable and less wasteful.
Large Mixing Bowl — Something big enough to toss the chickpeas with oil and spices without splashing everywhere. I use a 4-quart stainless steel bowl.
Measuring Spoons — Standard stuff. Dollar store versions work fine. Accuracy helps, but eyeballing it is okay for this recipe.
Whisk or Fork — For mixing the dry spices with the cheese if you want an even coating. Or you can just dump it all in and toss.
Spatula — For stirring the chickpeas halfway through baking. I use a silicone spatula so I don’t scratch my pans.
Optional but nice:
- Air Fryer — If you have an air fryer, you can cook these in 10-12 minutes instead of 20-25. The results are even crunchier. I’ll include instructions for that in the tips section.
- Colander — For rinsing the chickpeas. Or just use the sink and your hands.
Tool Tips:
- Don’t have a baking sheet? A large, rimmed skillet works too, but you’ll need to stir more frequently.
- I’m obsessed with my silicone baking mats—they make cleanup a breeze and help the chickpeas brown evenly.
How to Make It: Step-by-Step
Alright, let’s make this! I’m walking you through exactly how I do it, including the little tricks I’ve picked up over time. The process is simple, but the details matter.
Step 1: Drain and Rinse (5 minutes)
Open your cans of chickpeas and pour them into a colander. Rinse them thoroughly under cold water. This removes the starchy liquid they’re packed in (aquafaba) and any excess sodium. Shake the colander to remove as much water as possible. This step is important because you want the chickpeas clean and ready for drying.
Step 2: Dry Them Thoroughly (5 minutes)
This is the most critical step for crunch. Spread the rinsed chickpeas out on a clean kitchen towel or several layers of paper towels. Pat them dry, and then roll them around in the towel to absorb every bit of moisture. You want them as dry as possible. If they’re wet, they’ll steam in the oven and be soggy. I usually spend about 5 minutes doing this, and it’s worth it. Discard any chickpeas that are split open or mushy—they won’t crisp up well.
Step 3: Preheat the Oven
Preheat your oven to 400°F (200°C). Make sure it’s fully heated before you put the chickpeas in. A hot oven is key to getting that initial crisp.
Step 4: Toss with Oil and Spices
Place the dried chickpeas in your large mixing bowl. Drizzle with the olive oil. Toss them well until every single chickpea is lightly coated in oil. Next, add the garlic powder, onion powder, smoked paprika, salt, and pepper. Toss again. Now, add the grated parmesan cheese. Toss gently but thoroughly. You want the cheese to adhere to the oily surface. If some chickpeas look bare, add a tiny bit more oil.
Step 5: Spread on Baking Sheet
Line your baking sheets with parchment paper or a silicone mat. Spread the chickpeas out in a single layer. Do not crowd them! If they’re touching, they’ll stick together and steam. Give them space. If you’re using one pan, do two batches. This step takes patience, but it ensures even cooking.
Step 6: Bake
Place the baking sheets in the oven. Bake for 20-25 minutes. Halfway through (around the 10-12 minute mark), pull the pan out and give the chickpeas a good stir or shake. This ensures they brown evenly on all sides. You’ll start to smell the garlic and cheese toasting. That’s a good sign.
Step 7: Cool and Crisp
Remove the pan from the oven when the chickpeas are golden brown and the cheese is bubbly and crisp. They will still feel slightly soft when hot. This is normal. Transfer them to a clean bowl or plate and let them cool completely. As they cool, they will harden and become crunchy. This cooling step is essential. If you eat them hot, they’ll be chewy. Wait 10-15 minutes.
Step 8: Taste and Adjust
Once cooled, taste one. If you want more salt or spice, sprinkle a little extra on now. Store in an airtight container.
Total Time: About 30 minutes (5 minutes prep, 25 minutes cook time)
Built-in Troubleshooting:
- Chickpeas are still soft? They might not be dry enough, or they’re overcrowded. Next time, dry them longer and use less per batch.
- Garlic burned? Your oven might run hot. Check them at 15 minutes. Or use less garlic powder next time.
- Cheese clumped? Make sure the cheese is finely grated. Large shreds won’t coat evenly.
Expert Tips & Tricks
Here’s everything I’ve learned from making this dozens of times. These tips will save you from my mistakes and guarantee maximum crunch.
The Drying Game
This is the #1 tip. I cannot stress this enough. Wet chickpeas = soggy snacks. I’ve made the mistake of rushing this step before, and the result was disappointing. Now, I pat them dry, then let them sit on the towel for 10 extra minutes before tossing with oil. It’s an extra 10 minutes, but it makes the difference between chewy and crunchy.
Don’t Crowd the Pan
Air circulation is your friend. If the chickpeas are touching, they steam. If they’re spaced out, they roast. I always use two pans or do two batches. It’s worth the extra effort.
Fine Grate Cheese
Use a microplane or the smallest holes on your box grater for the parmesan. Fine shreds melt into a crisp shell. Large chunks just sit on top and burn.
Cool Completely
I know it’s hard to wait, but eating them hot defeats the purpose. They crisp up as they cool. Set a timer for 15 minutes and resist the urge.
Air Fryer Option
If you have an air fryer, cook at 375°F (190°C) for 10-12 minutes, shaking the basket every 3 minutes. They come out incredibly crunchy and faster. Just watch them closely—they burn quickly in an air fryer.
Common Mistakes:
- Too much oil? Chickpeas will get greasy, not crisp. Use just enough to coat.
- Wrong cheese? Pre-grated won’t melt right. Always grate your own.
- Under-seasoned? Chickpeas are bland. Don’t be shy with the garlic powder and salt.
Variations & Substitutions
Once you’ve nailed the basic version, here’s how you can mix it up. I’ve tried all of these, and they’re all winners.
Spicy Sriracha
Skip the parmesan and garlic. Toss with sesame oil, soy sauce, and sriracha. Bake as directed. Sprinkle with sesame seeds after baking. Great for an Asian-inspired snack.
Rosemary Sea Salt
Skip the garlic and parmesan. Toss with olive oil, fresh chopped rosemary, and coarse sea salt. Roast until fragrant. Tastes like fancy pub nuts.
Cajun Kick
Add 1 teaspoon Cajun seasoning and ½ teaspoon cayenne pepper. Skip the parmesan. These are fiery and flavorful.
Honey Mustard
Toss with olive oil, dijon mustard, and a drizzle of honey. Sprinkle with parmesan. Bake until sticky and crisp. Sweet and savory perfection.
Dietary Modifications:
- Vegan: Skip the parmesan. Use nutritional yeast (2 tablespoons) instead for a cheesy flavor. Use olive oil as usual.
- Gluten-Free: Naturally gluten-free. Just check your spice blends for hidden gluten.
- Low-Carb: Chickpeas have carbs, but they’re complex carbs. For a lower-carb version, try roasting edamame or chickpea pasta shapes, but chickpeas are the best crunch source.
Serving & Storage
How to Serve:
I serve these straight from the bowl, usually while watching TV or working on a project. They’re perfect for pairing with a glass of wine or a cold beer. They also go great in salads for added crunch—I throw them on top of my chicken piccata salad sometimes for extra texture.
Storage Instructions:
Store in an airtight container at room temperature for up to 5 days. They stay crunchy if kept dry. If they get soft, pop them in the oven at 350°F for 5 minutes to refresh them.
Reheating:
Oven or air fryer is best. Microwave will make them soft. Never microwave crunchy snacks.
Freezing:
I don’t recommend freezing these. The texture changes, and they can become chewy. Make fresh batches instead.
Meal Prep:
I make a big batch on Sunday, store in containers, and grab a handful each day. It’s the perfect grab-and-go snack for busy afternoons.
Nutrition Information
I’m not a nutritionist, but here’s the breakdown if you’re tracking. This is per serving (about ½ cup), based on 6 servings from one can.
| Nutrient | Amount |
|---|---|
| Calories | 140 |
| Protein | 7g |
| Carbs | 18g |
| Fiber | 5g |
| Fat | 5g |
| Sodium | 280mg |
These are packed with protein and fiber, making them much more satiating than chips or crackers. The parmesan adds calcium and healthy fats. It’s a nutrient-dense snack that keeps you full longer.
Final Thoughts
So that’s my crispy baked parmesan garlic chickpeas recipe! I’ve probably talked your ear off at this point, but when you find a snack this good, you have to share it. These have saved my evenings more times than I can count. They’re my answer to “what’s for a snack?” when I’m tired, don’t want junk food, and still want something that tastes amazing.
Make it yours! Try different spices, swap in your favorite cheese, or add some heat. The best recipes are the ones you adapt to your tastes. If you make this, drop a comment and let me know what you think! I love hearing how recipes turn out in your kitchen.
Happy snacking! And I hope your kitchen smells half as good as mine does right now.
Frequently Asked Questions
Can I use dried chickpeas?
Yes, but you need to soak them overnight and boil them until tender first, which takes about an hour. Then drain and dry them. It’s more work, but you can control the texture. Canned is faster and easier for most people.
Why are my chickpeas still soft?
Usually, this means they weren’t dry enough before baking, or the pan was overcrowded. Make sure to pat them dry thoroughly and give them space on the baking sheet. Also, let them cool completely—they crisp up as they cool.
Can I make these in the air fryer?
Absolutely. Cook at 375°F (190°C) for 10-12 minutes, shaking the basket every 3 minutes. They get very crunchy. Just watch them closely so the cheese doesn’t burn.
How long do they last?
In an airtight container at room temperature, they stay crunchy for up to 5 days. If they get soft, reheat in the oven for 5 minutes to crisp them back up.
Can I make them vegan?
Yes! Skip the parmesan and use nutritional yeast (2 tablespoons) instead. It gives a similar cheesy, savory flavor. Toss with olive oil and spices as usual.
Are these healthy?
Yes! They’re high in protein and fiber, low in saturated fat (unless you use lots of cheese), and free of refined sugars. They’re a much better alternative to chips or crackers.
Can I double the recipe?
Yes! Just use two baking sheets or do two batches. Don’t overcrowd the pan. The cooking time stays the same.
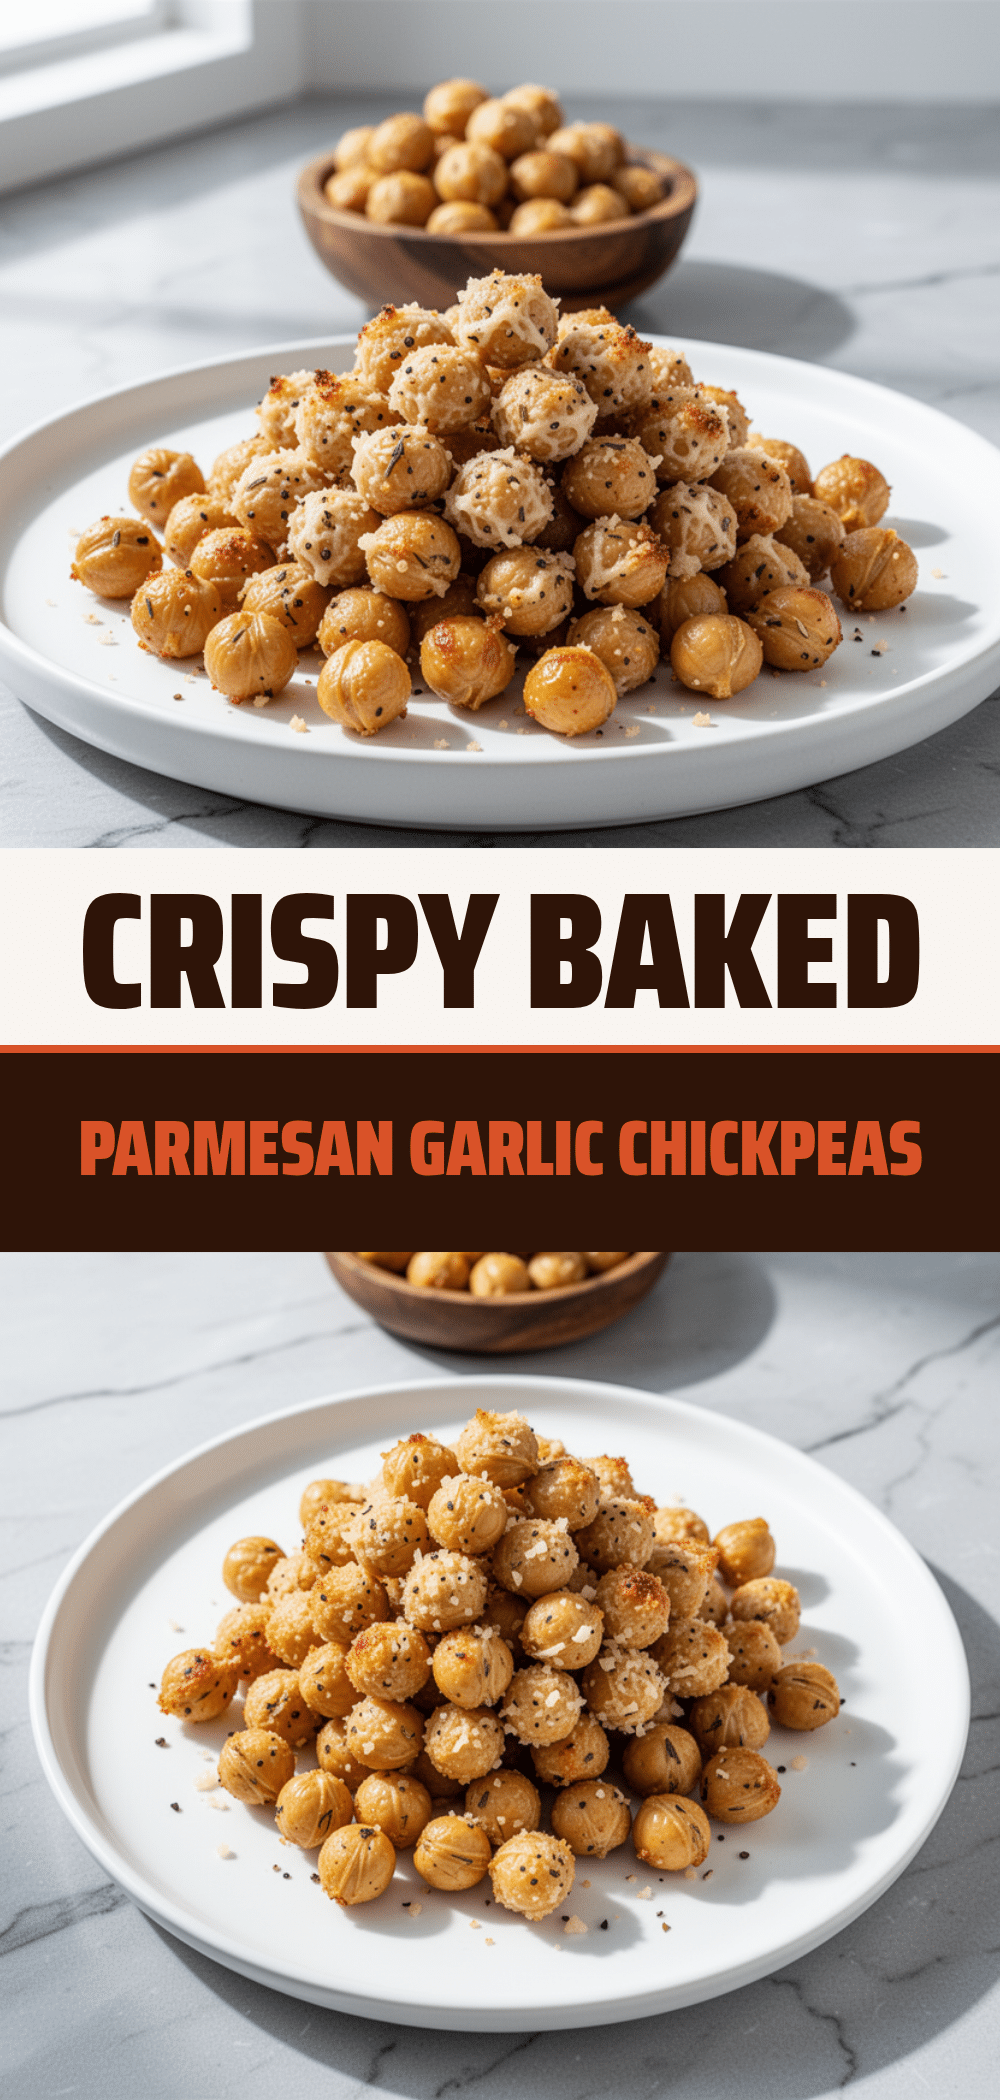
Pin This Recipe!
Crispy Baked Parmesan Garlic Chickpeas
- Total Time: 30 minutes
- Yield: 6 servings 1x
Description
A healthy, crunchy, and savory snack made from roasted chickpeas coated in olive oil, garlic powder, and parmesan cheese. These baked chickpeas are high in protein, easy to make, and perfect for satisfying salty cravings.
Ingredients
- 2 cans (15 oz each) chickpeas, rinsed and drained
- 3 tablespoons extra virgin olive oil
- 1 tablespoon garlic powder
- 1 teaspoon onion powder
- 1/2 cup grated parmesan cheese
- 1/2 teaspoon smoked paprika
- 1/2 teaspoon salt
- 1/2 teaspoon black pepper
Instructions
- Preheat oven to 400°F (200°C).
- Drain and rinse the chickpeas thoroughly in a colander.
- Pat the chickpeas completely dry using a clean kitchen towel or paper towels to remove all moisture.
- In a large mixing bowl, toss the dried chickpeas with olive oil until evenly coated.
- Add garlic powder, onion powder, smoked paprika, salt, and pepper. Toss to combine.
- Add the grated parmesan cheese and toss gently until the cheese adheres to the chickpeas.
- Spread the chickpeas in a single layer on baking sheets lined with parchment paper or silicone mats. Do not crowd the pan.
- Bake for 20-25 minutes, stirring or shaking the pan halfway through, until golden brown and crisp.
- Remove from oven and let cool completely on the pan for 10-15 minutes to allow them to crisp up further.
- Taste and adjust seasoning if needed before serving or storing.
Notes
Ensure chickpeas are thoroughly dried before baking to achieve maximum crunch. Do not overcrowd the baking sheet, as this causes steaming instead of roasting. Let the chickpeas cool completely after baking to harden. For a vegan version, substitute parmesan with nutritional yeast.
- Prep Time: 5 minutes
- Cook Time: 25 minutes
- Category: Snack
- Cuisine: American
Nutrition
- Serving Size: 1/2 cup
- Calories: 140
- Sugar: 2
- Sodium: 280
- Fat: 5
- Saturated Fat: 2
- Carbohydrates: 18
- Fiber: 5
- Protein: 7
Keywords: chickpeas, healthy snack, parmesan, garlic, baked, crunchy, high protein, vegetarian, gluten-free, easy recipe