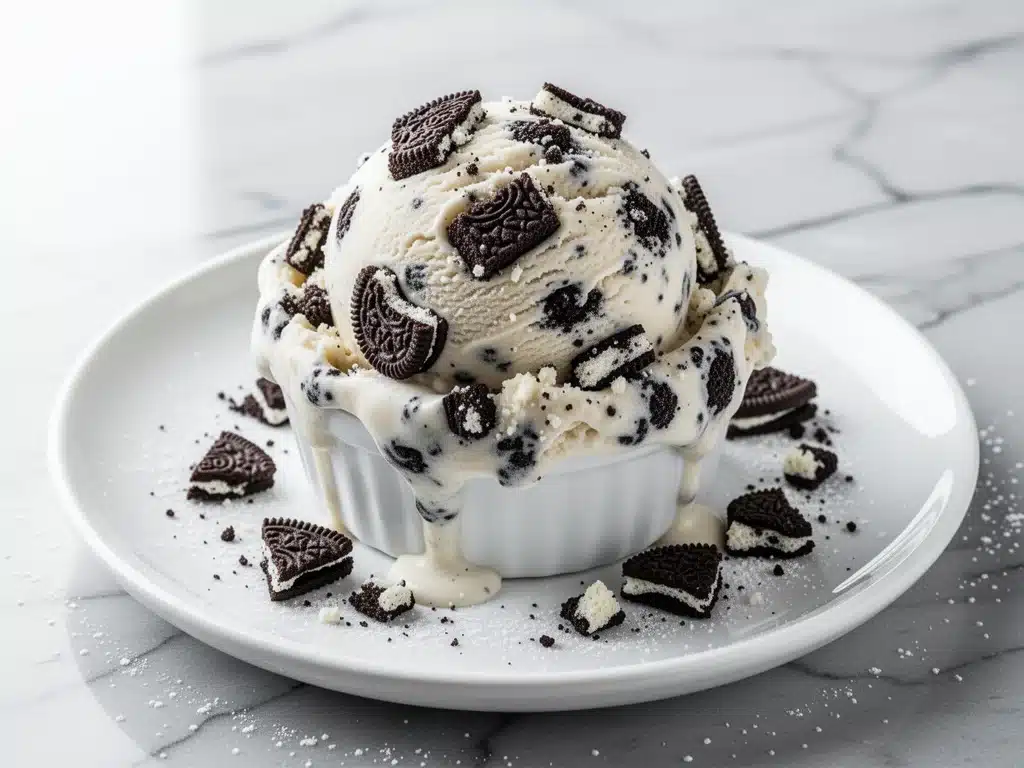
It’s 9:30 PM on a Tuesday. The house is finally quiet. The dishes are done. And I’m standing in front of my open freezer, staring at a metal loaf pan like it holds the secrets to the universe.
Inside that pan is something magical. It’s cold, it’s sweet, and it smells like childhood memories mixed with pure comfort. I just scooped a heaping spoonful of my no-churn cookies and cream ice cream, and honestly? It’s better than anything from a pint container at the store. And better than the fancy artisanal stuff from the grocery store freezer aisle, too.
Here’s the thing about summer (or really, any time of year when you’re craving something cold and sweet): you don’t always have the energy to manage an ice cream maker. You don’t want to buy a bulky appliance that’s going to sit in a cabinet for eleven months of the year. You just want ice cream. Rich, creamy, cookie-studded ice cream. Now.
That’s why I fell in love with this no-churn cookies and cream ice cream recipe. It’s stupidly simple. It uses three main ingredients. And once you make it, you’ll be making it on repeat. I’ve made this batch at least six times in the last month alone. My kids think I’m a wizard. My husband has started hiding the loaf pan in the back of the fridge just to save it for himself. (Don’t tell him I told you.)
This isn’t just a recipe. It’s a life hack for dessert lovers. It’s creamy without being heavy. It’s sweet without being cloying. And the cookies? They stay crunchy. I know, I know—it sounds too good to be true. But I’ve tested this method so many times that I can promise you: it works. Every single time.
I remember the first time I made this. I was trying to use up a tub of heavy cream that was about to expire. I didn’t have an ice cream maker. I had Oreos and a whisk. I threw it together while watching TV, half-expecting it to turn into a block of ice or a soupy mess. Instead, I got this dreamy, scoopable, incredible dessert. That was three years ago. I haven’t bought store-bought ice cream since.
If you’ve been looking for an easy dessert to wow your guests, or just a way to treat yourself after a long week, this is it. It’s the kind of recipe that makes you feel like a pro chef, even though you barely lifted a finger. So grab a spoon. Let’s make some magic.
Why You’ll Love This No-Churn Cookies and Cream Recipe
There are a million reasons to love ice cream, but this specific version? It hits different. It’s not just about the taste; it’s about the ease, the texture, and the sheer joy of eating something you made with your own two hands. Here’s why this no-churn cookies and cream ice cream is taking over my kitchen:
- Zero Special Equipment Needed — Seriously. If you have a mixing bowl and a whisk (or an electric mixer), you’re good to go. No ice cream maker? No problem. No electric mixer? You can still do this by hand, though it’ll take a little elbow grease. I’ve made this with a balloon whisk while waiting for my coffee to brew. It works.
- Three Core Ingredients — Heavy cream, sweetened condensed milk, and Oreos. That’s it. You don’t need vanilla extract (though you can add it if you want). You don’t need eggs. You don’t need a candy thermometer. Just three things you probably already have in your kitchen. Or can grab on the way home from the store.
- Perfect Texture Every Time — The secret is the ratio. The heavy cream provides the fat for creaminess, and the condensed milk provides the sugar and solids to prevent large ice crystals from forming. The result? Smooth, scoopable ice cream that doesn’t turn into a rock-hard brick in the freezer. I’ve tried adding too much cream or too little condensed milk, and it never works. Stick to the ratio, and it’s perfect.
- Customizable to the Moon — Yes, this is classic cookies and cream, but the sky’s the limit. Swap Oreos for chocolate chip cookies? Go for it. Add brownie pieces? Yes. Drizzle in peanut butter? Absolutely. This base recipe is a canvas. I once made a version with crushed peppermint patties for Christmas, and it was incredible.
- Ready in 15 Minutes of Active Time — The rest is just waiting. You mix it up, pour it in, and freeze it. While you’re sleeping. Or working. Or binge-watching your favorite show. It does the work for you. This is the ultimate low-effort, high-reward dessert.
- Impressively Fancy — When I serve this to friends, they always ask what’s in it. They assume it’s complicated. They assume it took hours. When I tell them it’s just three ingredients and fifteen minutes of prep, their minds are blown. It’s a great party trick, and a great way to feel like a dessert genius.
This is my go-to when I need to bring a dessert to a potluck, or when I want to surprise my kids after school. It’s reliable. It’s delicious. And it’s so easy that you’ll forget how good it is until you take that first bite.
Ingredients You’ll Need
Before we dive into the “how,” let’s talk about the “what.” I’m particular about a few things here, mostly because I’ve learned the hard way what works and what doesn’t. You don’t need fancy ingredients, but you do need good quality ones. Here’s what you’ll need:
For the Base
Heavy whipping cream (2 cups / 480ml) — This is non-negotiable. Do not use half-and-half, do not use milk, do not use “light” cream. You need the full fat content (35% or higher) to whip it into stiff peaks. If you use low-fat cream, you’ll end up with icy, watery sludge. I buy the carton that says “Ultra-Pasteurized” because it whips faster and holds its shape better. Cold cream is key. Make sure it’s been in the fridge for at least 24 hours before you start.
Sweetened condensed milk (1 can / 14 oz / 397g) — This is the magic ingredient. It’s thick, sweet, and stabilizes the ice cream so it doesn’t freeze into a solid block. Use the canned stuff, not evaporated milk. They are very different. Condensed milk has sugar added; evaporated milk does not. If you use evaporated milk, your ice cream will taste like salty milkshake slush. Trust me on this. I’ve made that mistake. (It was not pretty.)
Vanilla extract (1 teaspoon / 5ml) — Optional, but recommended. I like to use pure vanilla extract here because it adds a depth of flavor that balances the sweetness of the condensed milk. If you don’t have vanilla, skip it. The cookies will provide enough flavor. But if you do have it, use it.
For the Cookies
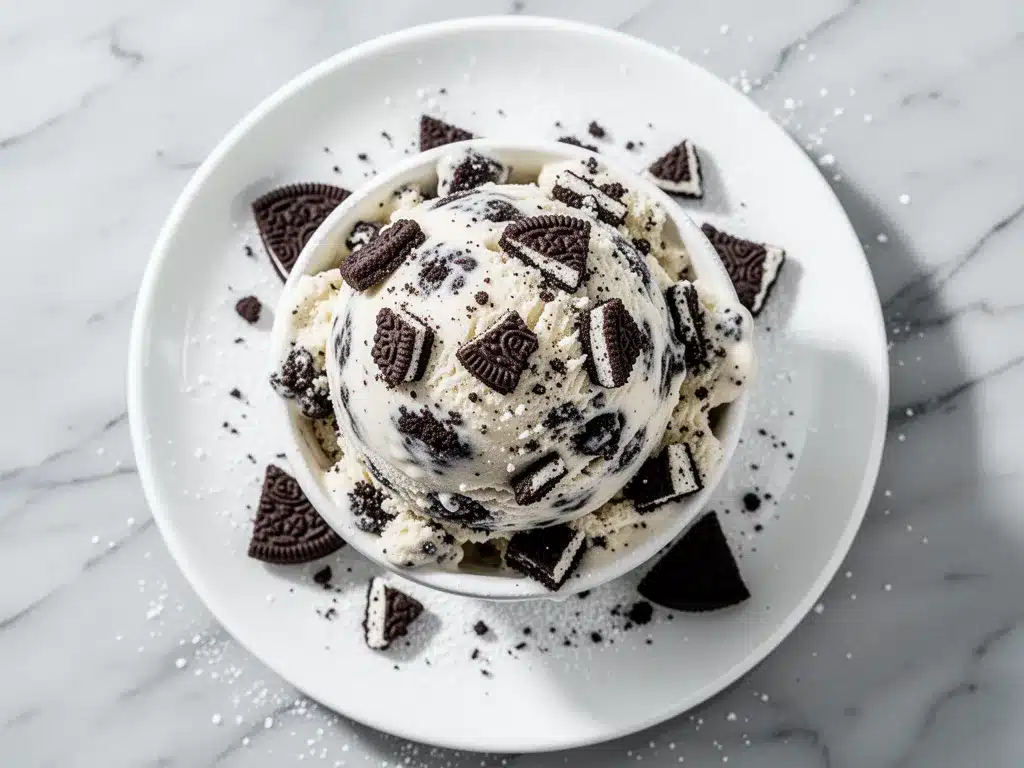
Oreo cookies (1 package / 15 cookies) — The classic chocolate sandwich cookies. I use the regular ones, not the Double Stuf (unless you want extra sweet). I’ve tried using homemade chocolate sandwich cookies, and they work, but they’re not as consistent. For this recipe, store-bought Oreos are the way to go. They have the right amount of crunch and the right amount of cream filling.
Extra Oreos for garnish (2-3 cookies) — I like to crush a few extra cookies to sprinkle on top before serving. It looks pretty and gives you those big, crunchy chunks in every bite.
Optional Add-Ins
White chocolate chips (½ cup / 85g) — If you want to amp up the “cream” part of cookies and cream, stir in some white chocolate chips. They melt slightly and create little pockets of sweetness.
Chocolate syrup (2 tablespoons) — For those who love the marbled look, drizzle some chocolate syrup over the top before freezing. It creates those beautiful swirls.
Shopping Tips
Make sure your heavy cream is cold. If you’re in a rush, you can put the bowl and the cream in the freezer for 10 minutes before whipping. Also, buy the Oreos a day ahead if you can. They stay fresher and crunchier that way. I once bought them the morning of and they were a little stale, which made the texture a bit off. Fresh cookies = better ice cream.
Equipment Needed
You don’t need fancy gadgets for this. Here’s what I actually use, and what you can substitute if you don’t have it.
Large mixing bowl — I use a 4-quart stainless steel bowl. Glass works too, but metal stays colder, which helps the cream whip up faster. If you don’t have a large bowl, you can use two smaller ones, but it’s more work.
Electric hand mixer or stand mixer — This is highly recommended. Whipping heavy cream by hand takes about 10-15 minutes of arm workout. With a mixer, it takes 3-4 minutes. I use my hand mixer because it’s easier to clean. If you only have a whisk, you can do it, but be prepared for some biceps.
Spatula — A rubber spatula is essential for folding the cookies into the cream without deflating it. Use a gentle hand. You want to keep those air bubbles in there for a light texture.
Loaf pan — A 9×5 inch loaf pan is perfect. It fits nicely in most freezers. I line mine with parchment paper or plastic wrap, leaving an overhang on the sides. This makes it super easy to lift the ice cream out later for scooping. If you don’t have a loaf pan, a square baking pan or even a large Tupperware container works fine.
Zester or grater — Optional, but nice if you want to add some orange zest or lemon zest to brighten up the flavor. I sometimes add a little zest to cut through the sweetness.
Freezer space — Make sure you have room in your freezer for the loaf pan. I keep a dedicated spot in the back for my homemade desserts. It’s like my secret stash.
How to Make It: Step-by-Step
Alright, let’s make this! It’s easier than you think. I’m walking you through exactly how I do it, including the little tricks I’ve picked up over the years.
Step 1: Prep Your Pan and Cookies
Line your 9×5 inch loaf pan with parchment paper or plastic wrap. Leave a few inches of overhang on the long sides—this is your handle for lifting the ice cream out later. Set it aside in the freezer to chill while you prep. While that’s happening, take your Oreos and crush them. I like a mix of fine crumbs and chunky pieces. Put them in a ziplock bag and smash them with a rolling pin, or pulse them in a food processor. Don’t turn them into dust; you want texture. Set aside.
Step 2: Whip the Heavy Cream
Take your cold heavy cream and pour it into your large mixing bowl. Using an electric mixer on medium-high speed, whip the cream until it forms stiff peaks. This usually takes 3-5 minutes. To test if it’s ready, lift the beaters. The cream should hold its shape firmly and not droop. If it’s still soft and droopy, keep whipping. Over-whipping isn’t a huge deal with heavy cream, but under-whipping will result in a runny ice cream. Be patient here.
Step 3: Fold in the Condensed Milk
Once the cream is whipped, pour in the entire can of sweetened condensed milk. Add the vanilla extract if you’re using it. Using your spatula, gently fold the milk into the cream. Do not stir vigorously! You want to keep the air you just whipped into the cream. Use a gentle folding motion, scraping the bottom and sides of the bowl. Continue until the mixture is uniform and no streaks of condensed milk remain. It should look smooth and fluffy.
Step 4: Add the Cookies
Gently fold in the crushed Oreos. Reserve about 2 tablespoons of the crumbs for topping. Fold just until the cookies are distributed. Don’t overmix, or the cookie crumbs will bleed into the cream and turn it gray. You want distinct white and dark specks.
Step 5: Freeze
Pour the mixture into your prepared loaf pan. Smooth the top with your spatula. Sprinkle the reserved cookie crumbs on top. Cover tightly with plastic wrap or aluminum foil. Place in the freezer for at least 6 hours, but overnight is best. I usually make it the night before I want to eat it. This gives it time to set completely and develop that smooth, creamy texture.
Step 6: Serve
When you’re ready to serve, lift the ice cream out of the pan using the parchment paper overhang. Let it sit at room temperature for 5-10 minutes to soften slightly for easier scooping. Scoop into bowls or cones. Enjoy immediately!
Expert Tips & Tricks
Here’s everything I’ve learned from making this dozens of times. These tips will save you from my mistakes.
Cold Cream is King
I cannot stress this enough. If your cream is warm, it will not whip. If your bowl is warm, it will not whip. I keep my mixing bowl in the freezer for 15 minutes before I start. If you’re using a stand mixer, make sure the bowl is cold too. This is the #1 reason people fail at no-churn ice cream.
Don’t Over-Fold
When you’re mixing the condensed milk and the cookies, be gentle. You’re trying to incorporate ingredients, not beat the air out of them. The air is what makes the ice cream light and scoopable. If you overmix, you’ll get dense, icy ice cream.
Cookie Size Matters
Don’t use huge chunks. If the pieces are too big, the ice cream might not freeze evenly around them, leading to icy bits. Aim for pieces the size of a pea or a small marble. You want flavor in every bite, not a giant rock of cookie.
Softening Before Serving
No-churn ice cream can get hard in the freezer. Always let it sit out for 5-10 minutes before scooping. If you try to scoop it straight from the freezer, you’ll break your spoon. And your arm. And possibly your dignity.
Flavor Variations
Once you master the base, try adding different mix-ins. Crushed candy bars, peanut butter cups, brownie bits, or even chopped nuts. The base recipe is incredibly versatile. I once made a version with crushed peppermint bark for the holidays, and it was a hit.
Variations & Substitutions
Once you’ve nailed the basic version, here’s how you can mix it up. I’ve tried all of these, and they’re all delicious.
Double Chocolate
Use chocolate Oreos (like Double Stuf or Double Chocolate) and add chocolate chips to the mix. For the ultimate chocoholic, add a swirl of chocolate syrup.
Vanilla Bean
Swap the Oreos for vanilla wafer cookies. Add a teaspoon of vanilla bean paste to the cream. This is a classic vanilla ice cream with a cookie crunch.
Strawberry Shortcake
Replace Oreos with crushed shortbread cookies. Fold in chopped fresh strawberries. It’s like a strawberry shortcake in ice cream form.
Gluten-Free
Use gluten-free Oreos (they exist now!) and make sure your condensed milk is certified gluten-free (most are, but check labels). Everything else is naturally gluten-free.
Dairy-Free
This is trickier. Use full-fat coconut cream (chilled overnight, scoop the solid part) instead of heavy cream, and use sweetened condensed coconut milk. Use dairy-free cookies. It won’t be exactly the same texture, but it’s creamy and delicious.
Alcohol-Infused
Add a tablespoon of bourbon or rum to the cream mixture. The alcohol lowers the freezing point, so it might stay softer. But it adds a nice adult kick.
Serving & Storage
How to serve and store your homemade masterpiece.
Serving Suggestions
I serve this straight from the loaf pan, scooped into simple white bowls. It looks rustic and homemade. Top with extra cookie crumbs, a drizzle of chocolate sauce, or a dollop of whipped cream. It’s great with hot fudge, caramel sauce, or just as is.
Storage
Store in an airtight container in the freezer for up to 2 weeks. After that, it might start to get icy or develop freezer burn. I usually eat it all within a week because it’s that good.
Reheating
You don’t need to reheat it, but if it’s too hard, let it sit at room temperature for 10 minutes. Do not microwave it! That will melt it into a soup.
Meal Prep
You can make this up to 3 days ahead. In fact, it tastes better on day 2 or 3 as the flavors meld together. I often make it on Sunday for the week.
Nutrition Information
I’m not a nutritionist, but here’s the breakdown if you’re tracking. Keep in mind that this is a rich, sweet dessert, so portions matter.
Per Serving (based on 8 servings from one loaf pan):
- Calories: 320
- Protein: 4g
- Carbs: 35g
- Fiber: 1g
- Sugar: 30g
- Fat: 18g
- Saturated Fat: 11g
- Cholesterol: 50mg
- Sodium: 180mg
What’s Good: It’s made with real ingredients, no artificial preservatives. The cream provides some calcium.
What to Know: It’s high in sugar and saturated fat. It’s a treat, not a health food. Enjoy in moderation.
Final Thoughts
So that’s my no-churn cookies and cream ice cream! It’s simple, it’s delicious, and it’s so easy that you’ll be making it again and again. I’ve probably talked your ear off at this point, but when you make a recipe this often, you have a lot to say about it.
This has saved summer evenings more times than I can count. It’s my answer to “what’s for dessert” when I want something special but don’t want to spend hours in the kitchen. My kids are happy, my husband’s happy, and I’m happy because I’m not stressed about cooking.
Make it yours! Try different cookies, add different mix-ins, adjust the sweetness. The best recipes are the ones you adapt to your family’s tastes. If you make this, drop a comment and let me know what you think! I love hearing how recipes turn out in your kitchen. And if something doesn’t work, tell me that too—I’m here to help troubleshoot.
Happy scooping! And I hope your kitchen smells half as good as mine does right now.
Frequently Asked Questions
Can I use milk instead of heavy cream?
No, you can’t. Heavy cream is essential for the structure and creaminess of no-churn ice cream. Milk doesn’t have enough fat to whip up and create the air pockets that make the ice cream light. If you use milk, you’ll end up with a frozen block of sweet milk. Stick to heavy cream.
Why did my ice cream turn out icy?
This usually happens if the cream wasn’t whipped enough, or if the ice cream wasn’t stored properly. Make sure you whip the cream to stiff peaks. Also, make sure your container is airtight to prevent freezer burn. If you leave it in the freezer for too long, it will get icy.
Can I make this ahead for a party?
Yes! This is actually best made ahead. Make it 1-2 days before the party. The flavors will meld, and it will taste even better. Just make sure it’s fully frozen before serving. Let it sit out for 10 minutes before scooping.
Why did my sauce get grainy? (Wait, this is ice cream…)
Okay, wrong recipe! But if your ice cream feels grainy, it’s usually because the sugar didn’t dissolve properly or the cream wasn’t cold enough. Make sure the condensed milk is well incorporated, and that your cream is very cold before whipping.
Can I use homemade Oreos?
You can, but they might be softer than store-bought ones, which can affect the texture. If you use homemade cookies, freeze them first to make them crispier before crushing. Store-bought Oreos are the most reliable for this recipe.
How long does this last in the freezer?
Up to 2 weeks. After that, it might lose its creamy texture and become icy. I usually eat it within a week because it’s just too good to keep around.
Can I double this recipe?
Absolutely! Just use a larger mixing bowl and a larger loaf pan (or two smaller ones). The cooking times stay the same. I do this when I’m feeding a crowd or meal-prepping for the week.
Pin This Recipe!
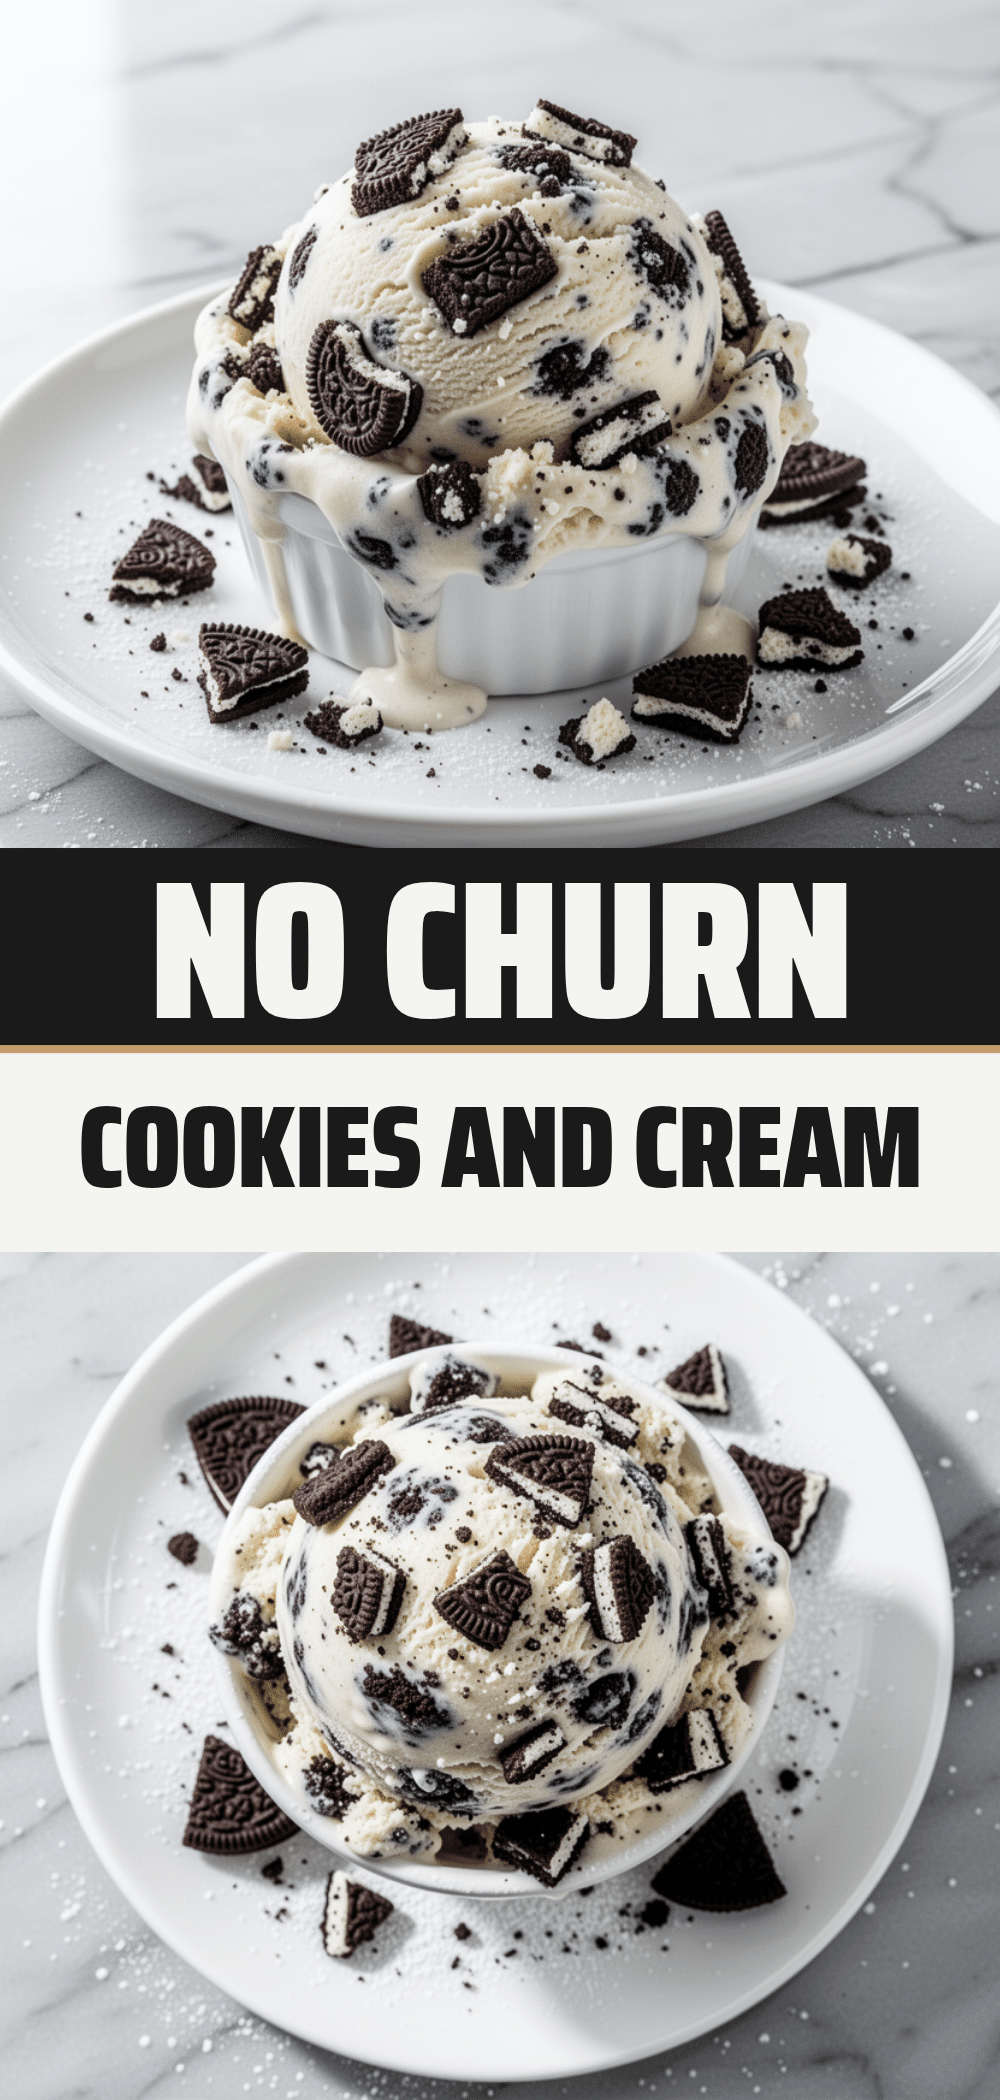
No-Churn Cookies and Cream Ice Cream: Easy 3-Ingredient Recipe
- Total Time: 6 hours 15 minutes
- Yield: 8 servings 1x
Description
A rich, creamy, and easy no-churn ice cream made with just three main ingredients: heavy cream, sweetened condensed milk, and Oreos. No ice cream machine required.
Ingredients
- 2 cups (480ml) heavy whipping cream, cold
- 1 can (14 oz / 397g) sweetened condensed milk
- 1 teaspoon vanilla extract (optional)
- 1 package (15 cookies) Oreo cookies, crushed
- 2–3 extra Oreos for garnish (optional)
- ½ cup white chocolate chips (optional)
- 2 tablespoons chocolate syrup (optional)
Instructions
- Line a 9×5 inch loaf pan with parchment paper or plastic wrap, leaving an overhang on the sides for easy removal. Place in the freezer to chill.
- Crush the Oreo cookies into a mix of fine crumbs and chunky pieces. Reserve about 2 tablespoons of crumbs for topping.
- In a large mixing bowl, whip the cold heavy cream using an electric mixer on medium-high speed until stiff peaks form (about 3-5 minutes).
- Pour in the sweetened condensed milk and vanilla extract (if using). Gently fold into the whipped cream using a spatula until uniform and no streaks remain.
- Gently fold in the crushed Oreos, being careful not to overmix to prevent the cream from turning gray.
- Pour the mixture into the prepared loaf pan and smooth the top. Sprinkle with the reserved cookie crumbs.
- Cover tightly with plastic wrap or foil and freeze for at least 6 hours, or overnight, until set.
- To serve, lift the ice cream out of the pan using the parchment overhang. Let sit at room temperature for 5-10 minutes to soften before scooping.
Notes
Ensure heavy cream is very cold (chill bowl and cream in freezer for 15-20 minutes prior) for best whipping results. Do not use milk or half-and-half as they lack the fat content needed for structure. If the ice cream is too hard to scoop, let it sit at room temperature for 5-10 minutes before serving. Store in an airtight container in the freezer for up to 2 weeks.
- Prep Time: 15 minutes
- Cook Time: 0 minutes
- Category: Dessert
- Cuisine: American
Nutrition
- Serving Size: 1 scoop
- Calories: 320
- Sugar: 30
- Sodium: 180
- Fat: 18
- Saturated Fat: 11
- Carbohydrates: 35
- Fiber: 1
- Protein: 4
Keywords: no-churn ice cream, cookies and cream, easy dessert, 3 ingredient recipe, homemade ice cream, summer dessert, gluten-free option