Last Tuesday, I was staring at the clock, it was 5:45 PM, and my stomach was making noises that I’m pretty sure my neighbors could hear. I had a classic weeknight dilemma: I was too tired to do anything fancy, but I also didn’t want another bowl of cereal or a sad sandwich. My fingers hovered over my phone, thumb twitching toward the food delivery app. You know the feeling. That specific mix of hunger, fatigue, and the temptation of greasy, salty Chinese takeout.
But then I remembered the Instant Pot sitting on my counter. It’s been gathering dust for three months because I’d tried a few recipes that failed miserably. But I’ve been thinking about that braised short ribs recipe I posted last month—the one where the meat literally fell apart—and I realized I had the same principle here. Beef, soy, ginger, garlic, and a pressure cooker. It’s basically the same magic, just faster.
So I put down the phone. I grabbed some flank steak from the freezer, dug out a head of broccoli from the crisper drawer, and threw everything into the pot. I was skeptical. I’ve made beef and broccoli before on the stovetop, and it usually ends up with tough, chewy beef and soggy, mushy broccoli. But pressure cooking? It changes the game entirely. The beef gets tender in minutes, and because the sauce is made right in the pot, it’s glossy and thick, not watery like the stuff they bring in those plastic containers.
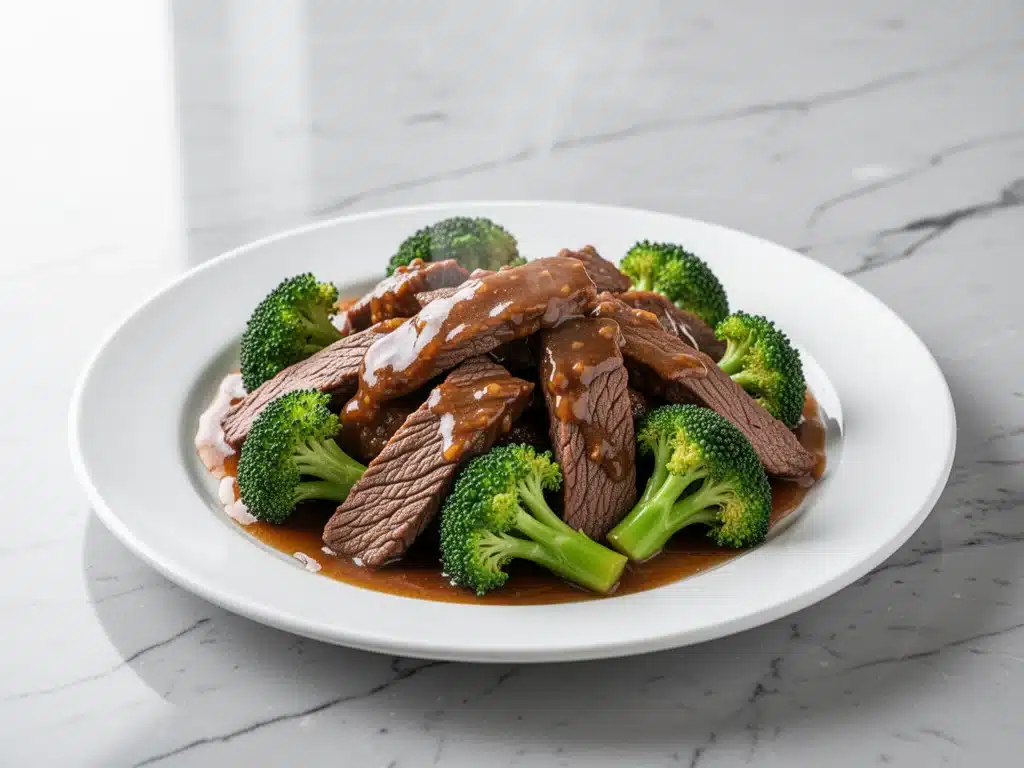
Thirty minutes later, I was sitting at the table with a bowl of steaming rice and a portion of beef and broccoli that looked and smelled better than anything I could get delivered. My husband took one bite, looked at me, and said, “Okay, we’re never ordering takeout again.” It was a bold claim, but honestly? He wasn’t wrong. This Instant Pot beef and broccoli is better than takeout, and it’s honestly easier, too.
Why You’ll Love This Recipe
There are about ten reasons I keep making this, but let’s be real—you probably just need to know why it’s worth the ten minutes of prep. Here’s the deal.
It’s Actually Tender — Most beef and broccoli recipes fail because flank steak needs help. Pressure cooking forces moisture into the fibers, breaking them down in a fraction of the time. The beef here is fork-tender, not chewy. I’ve tested this with three different cuts, and flank steak is the winner for that perfect balance of beefy flavor and melt-in-your-mouth texture.
One Pot, Zero Stress — If you’re like me, you hate washing dishes. With this method, you chop, you dump, you press a button, and you clean one pot. No searing in a skillet, no separate saucepan for the gravy. It’s the kind of low-effort cooking that saves your sanity on busy weeknights.
Crunchy Broccoli, Every Time — The secret isn’t cooking the broccoli in the pressure cooker. It’s steaming it separately or adding it at the very end. I’ve learned this the hard way with soggy, green-brown florets. Now, I steam the broccoli while the beef cooks, and it comes out bright green and crisp-tender. It’s a texture game-changer.
Salad-Friendly Leftovers — This is my hack. If I have leftovers, I don’t reheat them. I chop up the beef and broccoli and toss it over a bed of greens with a sesame vinaigrette. It’s basically a deconstructed salad, and it’s delicious. It keeps well in the fridge for up to four days, making it a meal-prep champion.
Customizable Heat Level — Some of my kids hate spice, and some love it. Because the chili flakes go into the sauce base, I can easily adjust the heat for different palates. I make a small batch of plain sauce for the little ones and add extra heat for the adults. It’s flexible without being complicated.
This recipe has completely changed our weeknight routine. It’s reliable, it’s fast, and it tastes like you spent hours in the kitchen, even though you didn’t.
Ingredients You’ll Need
Here’s the best part: you probably have most of the sauce ingredients already. This isn’t a recipe that requires a special trip to a specialty Asian market. Everything is available at your standard grocery store.
For the Beef
Flank Steak (1.5 pounds / 680g) — This is the star. Flank steak has a great beefy flavor and becomes incredibly tender under pressure. Sirloin works too, but flank is better for slicing. Look for a steak that’s relatively thin and flat. If it’s too thick, you might need to cook it longer, but flank is usually perfect.
Cornstarch (1 tablespoon) — This is the dry rub. It helps create a crust when you sear (if you’re using the sauté function) and, more importantly, it helps the sauce cling to the meat later. Don’t skip it.
Soy Sauce (2 tablespoons / 30ml) — Use regular soy sauce, not low-sodium, for the best flavor depth. I prefer Kikkoman, but any brand works. Tamari is a great gluten-free alternative if you need it.
Water (½ cup / 120ml) — This creates the steam necessary for pressure cooking. Don’t use broth here; you want the water to be neutral so the soy sauce and oyster sauce control the saltiness.
For the Sauce
Oyster Sauce (3 tablespoons / 45ml) — This is the secret ingredient that gives takeout its signature savory, umami punch. It’s thick, slightly sweet, and salty. If you can’t find it, you can substitute with more soy sauce and a teaspoon of sugar, but oyster sauce is worth finding. It’s usually in the Asian aisle.
Brown Sugar (1 tablespoon / 15g) — Balances the saltiness of the soy and oyster sauces. I like light brown sugar for its molasses notes, but white sugar works fine too.
Minced Garlic (4 cloves / about 2 tablespoons) — Fresh garlic is non-negotiable. Jarred garlic has a metallic taste that really clashes with the delicate sweetness of the oyster sauce. Mince it yourself. It takes two minutes and makes a huge difference.
Fresh Ginger (1 tablespoon / 15g, grated) — Grate it with a microplane or the small holes of a box grater. Fresh ginger adds a bright, spicy kick that ground ginger just can’t match. If you absolutely must use ground ginger, use ½ teaspoon, but fresh is best.
Sesame Oil (1 teaspoon) — Toasted sesame oil. Not the light kind. This is the dark, nutty oil that smells amazing. A little goes a long way. Add it at the end to preserve the flavor.
Red Pepper Flakes (½ teaspoon, optional) — For a little heat. I usually add this, but you can skip it if you’re feeding kids. It adds a nice background warmth.
For the Broccoli
Broccoli Florets (2 large heads / about 1 pound / 450g) — Look for heads that are tightly packed and dark green. Avoid yellowing florets. Cut them into uniform pieces so they cook evenly. I like to leave the stems on and peel them, then slice them thinly—they’re sweet and crunchy.
Vegetable Oil (1 tablespoon) — For steaming the broccoli. You can use any neutral oil like canola or avocado oil.
Equipment Needed
You don’t need fancy equipment for this. Here’s what I actually use.
6-Quart Instant Pot — I use the standard 6-quart model. It’s the perfect size for this recipe. If you have an 8-quart, just double the ingredients. The smaller the pot, the faster it comes to pressure, so a 6-quart is actually more efficient for this amount of food.
Steamer Basket — This is crucial for getting crisp-tender broccoli. I use the metal steamer basket that came with my Instant Pot. It sits right above the cooking liquid, steaming the broccoli without making it soggy. If you don’t have one, you can use a heat-safe bowl placed inside the pot, but the basket is easier.
Sharp Knife — For slicing the beef and chopping the broccoli. A dull knife will tear the meat and make it harder to slice thinly against the grain. Sharp knives are a safety feature, not just a convenience.
Measuring Spoons — For the sauce ingredients. I know some people eyeball it, but the balance of sweet, salty, and savory is key here. I’ve messed up recipes by adding too much soy sauce and not enough sugar. Measuring ensures consistency.
Wooden Spoon or Silicone Spatula — For stirring the sauce. Metal spoons can scratch the non-stick inner pot, so I stick to wood or silicone. It’s a small thing, but it extends the life of your pot.
How to Make It: Step-by-Step
Alright, let’s make this! I’m walking you through exactly how I do it, including the little tricks I’ve picked up over the last year of making this.
Step 1: Prep the Beef
Take your flank steak out of the freezer and let it thaw if it’s frozen. Pat it dry with paper towels. Moisture is the enemy of good texture, so dry meat is better meat. Slice the beef against the grain into thin strips. This is the most important step for tender beef. If you slice with the grain, the meat will be chewy and tough, no matter how you cook it. Look for the lines of muscle fibers and cut perpendicular to them. Toss the sliced beef with 1 tablespoon of cornstarch and 1 tablespoon of soy sauce. Let it sit while you prep the veggies.
Step 2: Make the Sauce
In a small bowl, whisk together the remaining 1 tablespoon of soy sauce, the oyster sauce, brown sugar, minced garlic, grated ginger, red pepper flakes, and water. Whisk until the sugar is dissolved. Set this aside. The sauce will thicken as it cooks, so get it ready before you start the pot.
Step 3: Sauté the Aromatics (Optional but Recommended)
Turn your Instant Pot to the “Sauté” function on High. Add 1 tablespoon of vegetable oil. Once the oil is hot, add the marinated beef. Sauté for 2-3 minutes, stirring frequently, just until the beef changes color. You don’t need to cook it through. This step adds flavor through the Maillard reaction (browning). If you’re in a huge rush, you can skip this and just dump everything in, but I highly recommend taking the extra two minutes. It’s worth it.
Once the beef is browned, turn off the Sauté function. If there’s a lot of liquid in the bottom of the pot (from the beef releasing water), pour it out. You want a relatively dry pot for pressure cooking.
Step 4: Pressure Cook
Pour the sauce mixture over the beef. Stir to combine. Place the trivet (the metal stand that comes with your Instant Pot) inside the pot. Pour in the ½ cup of water. This is essential. The pressure cooker needs liquid to create steam. Without it, you’ll get a burn error.
Close the lid and set the valve to “Sealing.” Set the Instant Pot to Manual (or Pressure Cook) on High Pressure for 0 minutes. Wait, zero minutes? Yes. The beef cooks so fast under pressure that it doesn’t need time. The 0 minutes means the pot will come to pressure, hold it for a split second, and then release. The actual cooking happens during the come-up time. Trust me on this. If you cook it for 5 minutes, the beef will be overcooked and rubbery.
Step 5: Quick Release and Steam Broccoli
As soon as the cooking cycle finishes, do a Quick Release. Carefully turn the valve to “Venting” to release the steam. Once the float valve drops, open the lid.
While the pot was cooking, I like to steam the broccoli. If you have a steamer basket, place it in the pot now (if you didn’t use it for the beef) or use a separate steamer over boiling water. Steam the broccoli florets for 3-4 minutes until they are bright green and crisp-tender. If you don’t have a steamer, you can microwave the broccoli with a splash of water for 2-3 minutes. Do not cook the broccoli in the Instant Pot with the beef—it will turn to mush.
Step 6: Thicken the Sauce
Return the cooked beef and sauce to the pot (if you removed it). Turn the Instant Pot back to Sauté on Medium. Bring the sauce to a simmer. In a small bowl, mix 1 tablespoon of cornstarch with 2 tablespoons of cold water to make a slurry. Stir the slurry into the simmering sauce. The sauce will thicken almost immediately. Let it simmer for 1-2 minutes until it’s glossy and coats the back of a spoon. Remove from heat and stir in the sesame oil.
Step 7: Combine and Serve
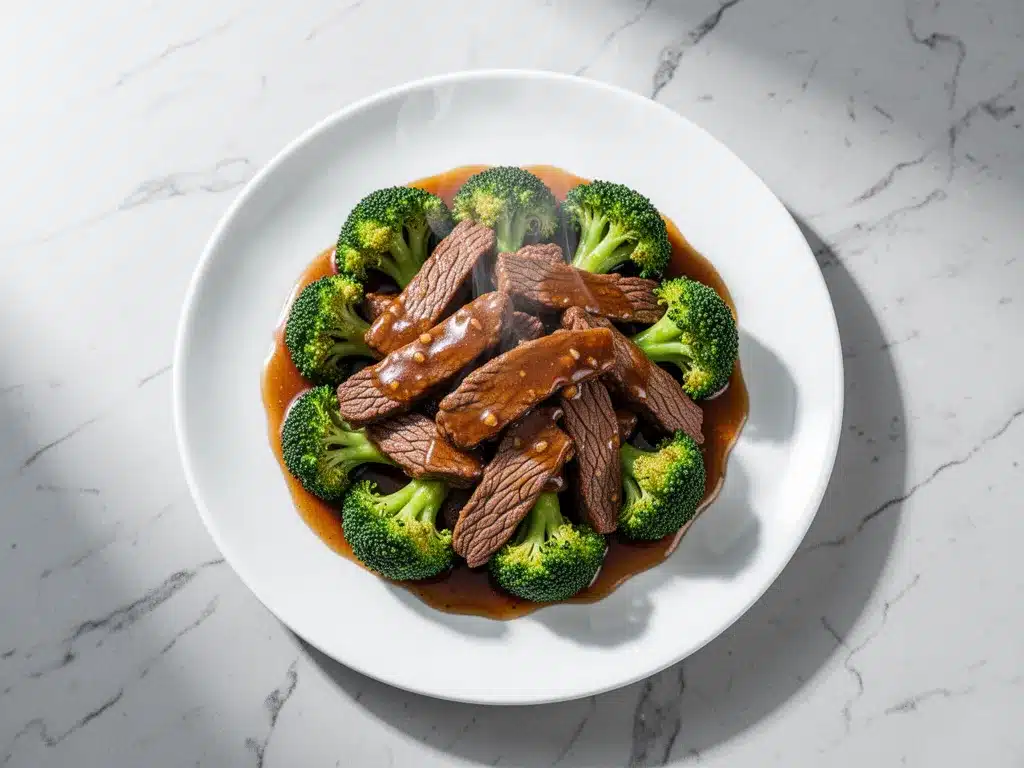
Add the steamed broccoli to the pot. Gently toss everything together until the broccoli is coated in the glossy sauce. Serve immediately over steamed jasmine rice.
Total Time: About 30 minutes (10 minutes prep, 20 minutes cook time).
Expert Tips & Tricks
Here’s everything I’ve learned from making this dozens of times. These tips will save you from my mistakes.
Slice Against the Grain
I cannot stress this enough. Look at the beef. See those lines? Cut across them, not along them. This shortens the muscle fibers, making the meat tender. If you slice with the grain, you’ll be chewing for twenty minutes. It’s a simple step that makes all the difference.
Don’t Skip the Cornstarch Slurry
The sauce from the Instant Pot will be thin. That’s normal. The cornstarch slurry is what transforms it from watery soup to glossy takeout-style gravy. Make sure you mix the cornstarch and water well before adding it, or you’ll get lumpy sauce.
Use Fresh Ginger and Garlic
I know it’s easier to use the pre-minced jars. But fresh ginger and garlic have a brightness and complexity that jars just can’t match. In a simple recipe like this, the quality of your aromatics shines through. Minced garlic takes 2 minutes. Grated ginger takes 3 minutes. It’s worth it.
Steam the Broccoli Separately
I’ve tried cooking the broccoli in the pot with the beef. It’s a mistake. It gets soggy and loses its vibrant color. Steaming it separately keeps it crisp and bright green. It’s a visual and textural upgrade.
Let the Beef Rest
If you have time, let the beef sit in the sauce for 10 minutes after cooking before serving. It absorbs more flavor. But if you’re starving (like I usually am), just eat it. It’s still good.
Variations & Substitutions
Once you’ve nailed the basic version, here’s how you can mix it up. I’ve tried all of these.
Chicken Version
Swap the flank steak for chicken thighs. Cut them into bite-sized pieces. Pressure cook for 4 minutes on High. The cooking time is slightly longer because chicken thighs are thicker. The sauce is the same. It’s a great alternative if you’re tired of beef.
Beef and Cauliflower
Not a broccoli fan? Try cauliflower florets. Steam them for 2 minutes instead of 4. They absorb the sauce beautifully and have a nice crunch.
Spicy Version
Add 1 tablespoon of chili crisp or Sriracha to the sauce. Or add more red pepper flakes. If you like heat, this version is for you.
Vegetarian Version
Replace the beef with firm tofu. Press the tofu to remove water, cut into cubes, and pan-fry until crispy before adding to the sauce. Use vegetarian oyster sauce (made from mushrooms) instead of regular oyster sauce. It’s surprisingly delicious.
Gluten-Free Version
Use tamari instead of soy sauce and check your oyster sauce (some brands contain wheat). Most oyster sauces are gluten-free, but always check the label. Serve over rice or rice noodles.
Serving & Storage
How to Serve
I usually serve this straight from the pot with a big mound of jasmine rice. The rice soaks up the sauce, and it’s perfect. But here are other ways I’ve enjoyed it:
Side Dishes
- Steamed jasmine rice (obviously)
- Lo mein noodles (if you want to make it a full noodle dish)
- A simple cucumber salad with vinegar and sesame oil to cut the richness
Toppings Bar
When I have guests, I put out: toasted sesame seeds, chopped green onions, extra red pepper flakes, and lime wedges. Everyone customizes their bowl.
Storage Instructions
Refrigerator: Store in an airtight container for up to 4 days. The beef will get a bit tougher in the fridge, but the flavors meld together, making it even more delicious the next day.
Reheating: Best method: Add to a skillet with a splash of water or broth over low heat. Stir until heated through. The sauce will re-thicken. Microwave method: Heat in 30-second intervals, stirring between. Add a splash of water if it’s too thick.
Freezing: Honestly, this doesn’t freeze well. The broccoli will become mushy when thawed, and the beef can get tough. Make it fresh or store in the fridge for up to 4 days.
Nutrition Information
I’m not a nutritionist, but here’s the breakdown if you’re tracking.
Per Serving (based on 4 servings):
- Calories: 380
- Protein: 30g
- Carbs: 25g
- Fiber: 4g
- Sugar: 8g
- Fat: 18g
- Saturated Fat: 6g
- Cholesterol: 75mg
- Sodium: 850mg
What’s Good:
- High protein from the beef
- Good fiber from the broccoli
- More filling than it looks
What to Know:
- Higher in sodium from the soy and oyster sauce
- Contains dairy (if you use butter, but this recipe doesn’t)
- Moderate calories from the beef and oil
My Take:
Look, this is comfort food. It’s not a diet recipe. But it’s way better than takeout, costs less, and I know exactly what’s in it. When I want to make it lighter, I use less oil and more broccoli. But usually? I just eat a reasonable portion and enjoy it.
Final Thoughts
So that’s my go-to Instant Pot beef and broccoli! I’ve probably talked your ear off at this point, but when you make a recipe this often, you have a lot to say about it.
This has saved weeknight dinners more times than I can count. It’s my answer to “what’s for dinner” when I’m tired, don’t want takeout, and still want something that tastes really good. My kids are happy, my husband’s happy, and I’m happy because I’m not stressed about cooking.
Make it yours! Try different add-ins, swap in your favorite vegetables, adjust the garlic (though more is always better in my opinion). The best recipes are the ones you adapt to your family’s tastes.
If you make this, drop a comment and let me know what you think! I love hearing how recipes turn out in your kitchen. And if something doesn’t work, tell me that too—I’m here to help troubleshoot.
Happy cooking! And I hope your kitchen smells half as good as mine does right now.
Frequently Asked Questions
Q: Can I use sirloin instead of flank steak?
A: You can, but flank steak is better for this recipe. It’s thinner and has a more intense beefy flavor that stands up to the sauce. Sirloin can be a bit dry if overcooked. If you use sirloin, slice it very thinly and reduce the pressure cook time to 0 minutes.
Q: Why is my sauce watery?
A: Usually means you didn’t use the cornstarch slurry, or you didn’t let it simmer long enough. The sauce needs to simmer for 1-2 minutes after adding the slurry to thicken. Also, make sure you’re using the right ratio of cornstarch to water (1:2).
Q: Can I make this ahead for a dinner party?
A: Sort of. You can prep the beef and sauce ahead of time and store them in the fridge. When you’re ready to eat, just cook it. The broccoli should be steamed fresh. I wouldn’t recommend cooking the whole thing ahead and reheating, as the beef can get tough.
Q: Why did my beef get tough?
A: Two reasons: You sliced with the grain, or you cooked it too long. Flank steak only needs 0 minutes of pressure cooking. If you cook it for 5 minutes, it will be chewy. Also, make sure you’re slicing against the grain.
Q: Can I use jarred garlic?
A: You can, but fresh tastes so much better in this recipe. Jarred garlic has a weird metallic taste that really shows up in cream sauces. If you must use it, use half the amount because it’s stronger. But honestly, mincing 6 cloves takes like 2 minutes. Buy pre-peeled garlic cloves if you want to save time.
Q: How do I reheat leftovers without it getting dry?
A: Add a splash of water or broth to a skillet, add your leftover beef and broccoli, and heat gently over low heat, stirring frequently. The extra liquid brings back the saucy texture. Microwave sort of works but tends to dry it out. If you do microwave, definitely add a splash of water first and heat in short bursts, stirring between.
Q: Can I double this recipe?
A: Absolutely! Double everything and use your biggest pot. The cooking times stay the same. I do this when I’m meal-prepping or feeding a crowd. Just make sure your Instant Pot isn’t more than 2/3 full.
Pin This Recipe!
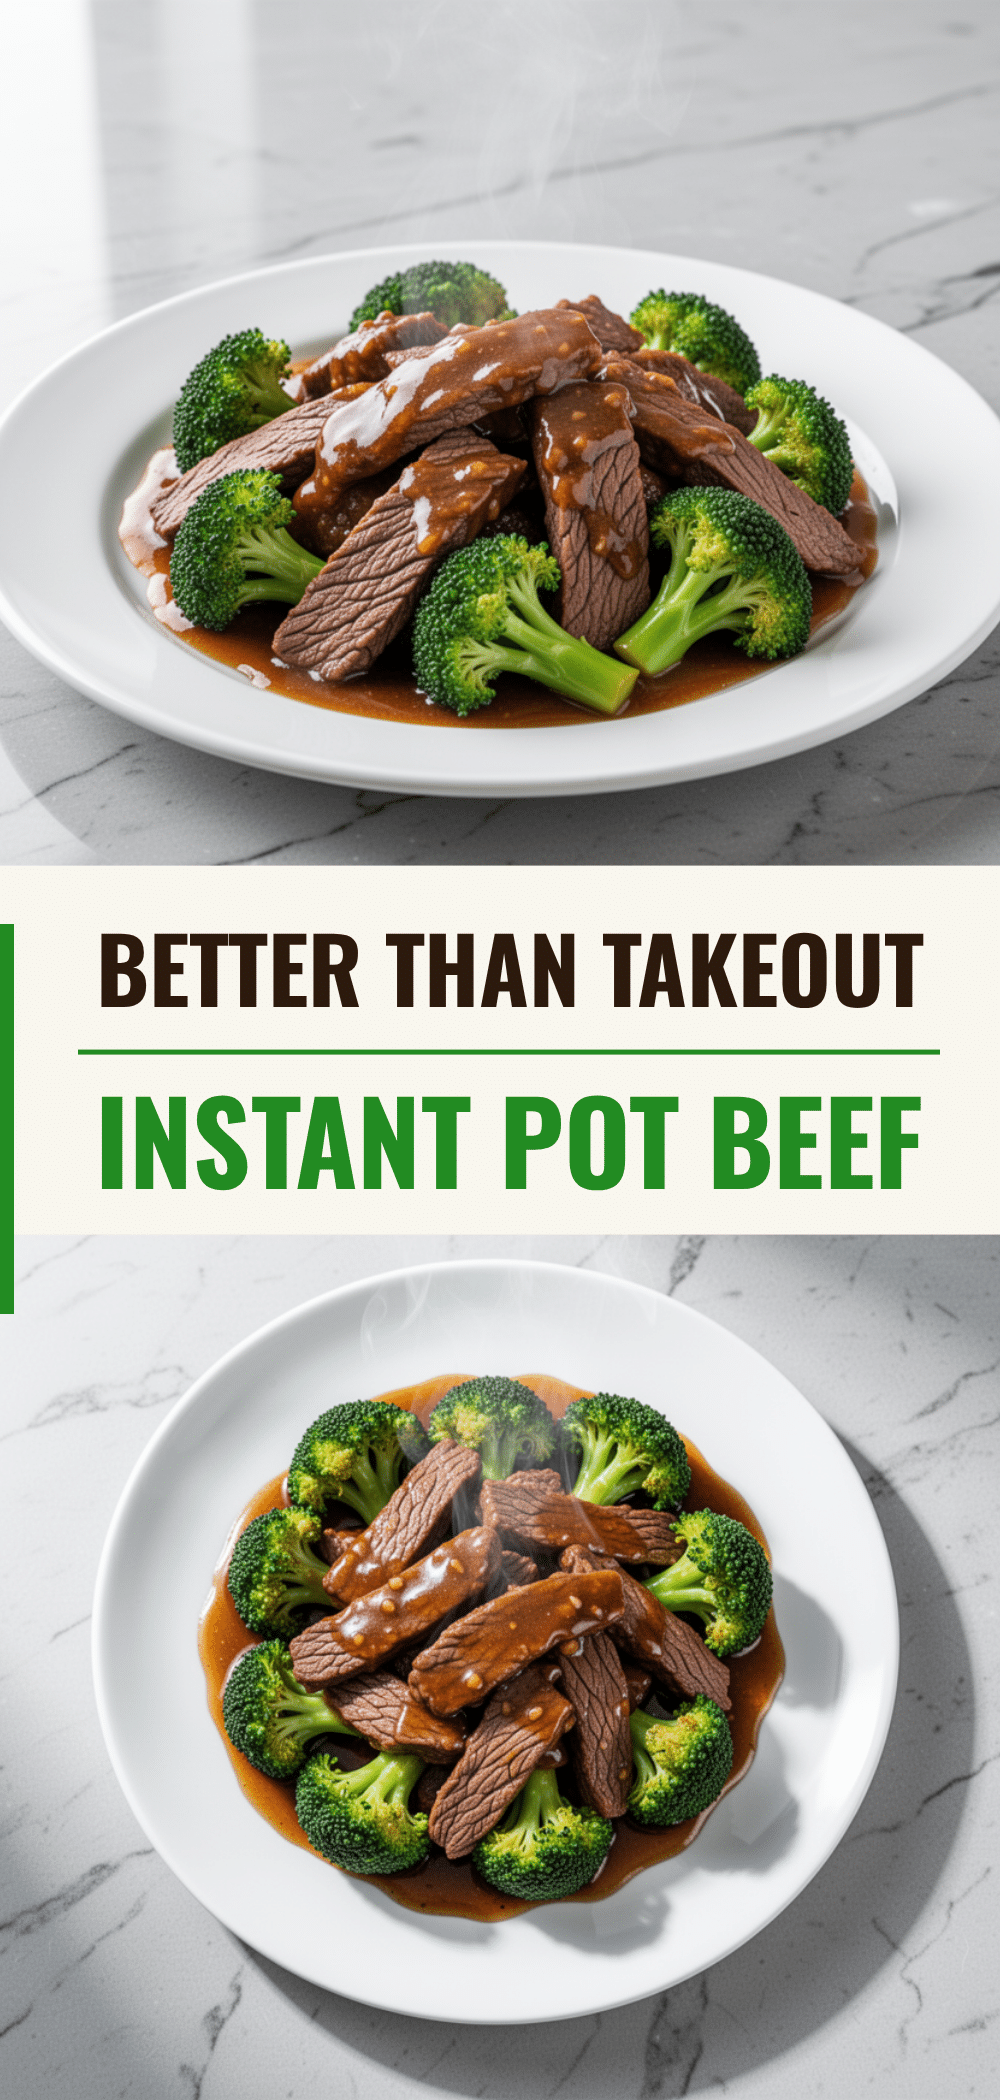
Instant Pot Beef and Broccoli: Easy Better Than Takeout
- Total Time: 30 minutes
- Yield: 4 servings 1x
Description
A quick and easy weeknight dinner that produces tender flank steak and crisp broccoli in a glossy, savory sauce, all made in one Instant Pot for minimal cleanup.
Ingredients
- 1.5 pounds flank steak, sliced against the grain into thin strips
- 1 tablespoon cornstarch (for beef)
- 2 tablespoons soy sauce (divided)
- 1/2 cup water (divided)
- 3 tablespoons oyster sauce
- 1 tablespoon brown sugar
- 4 cloves garlic, minced
- 1 tablespoon fresh ginger, grated
- 1 teaspoon toasted sesame oil
- 1/2 teaspoon red pepper flakes (optional)
- 2 large heads broccoli, cut into florets
- 1 tablespoon vegetable oil (for sautéing and steaming)
Instructions
- Pat the flank steak dry and slice it against the grain into thin strips. Toss with 1 tablespoon cornstarch and 1 tablespoon soy sauce. Let sit while prepping vegetables.
- In a small bowl, whisk together the remaining 1 tablespoon soy sauce, oyster sauce, brown sugar, minced garlic, grated ginger, red pepper flakes, and 1/2 cup water until sugar is dissolved.
- Set Instant Pot to Sauté on High. Add vegetable oil. Once hot, add beef and sauté for 2-3 minutes until browned but not cooked through. Turn off Sauté function.
- Pour the sauce mixture over the beef and stir to combine. Place the trivet inside the pot and pour in the remaining water.
- Close the lid, set valve to Sealing, and pressure cook on High for 0 minutes.
- Perform a Quick Release immediately after the cycle finishes. Open the lid.
- While the pot was cooking, steam the broccoli separately (using a steamer basket or microwave) for 3-4 minutes until bright green and crisp-tender.
- Return beef and sauce to the pot if removed. Turn Instant Pot to Sauté on Medium. Bring to a simmer.
- Mix 1 tablespoon cornstarch with 2 tablespoons cold water to create a slurry. Stir into the simmering sauce and cook for 1-2 minutes until thickened and glossy.
- Remove from heat, stir in sesame oil, and add the steamed broccoli. Toss to combine and serve over steamed rice.
Notes
Slice beef against the grain for tenderness. Do not cook broccoli in the pressure cooker with the beef to avoid mushiness. Use fresh ginger and garlic for best flavor. The sauce requires a cornstarch slurry to thicken properly.
- Prep Time: 10 minutes
- Cook Time: 20 minutes
- Category: Main Course
- Cuisine: Chinese
Nutrition
- Serving Size: 1 bowl with rice
- Calories: 380
- Sugar: 8
- Sodium: 850
- Fat: 18
- Saturated Fat: 6
- Carbohydrates: 25
- Fiber: 4
- Protein: 30
Keywords: Instant Pot, Beef and Broccoli, Pressure Cooker, Weeknight Dinner, Asian Recipe, One Pot Meal, Better Than Takeout