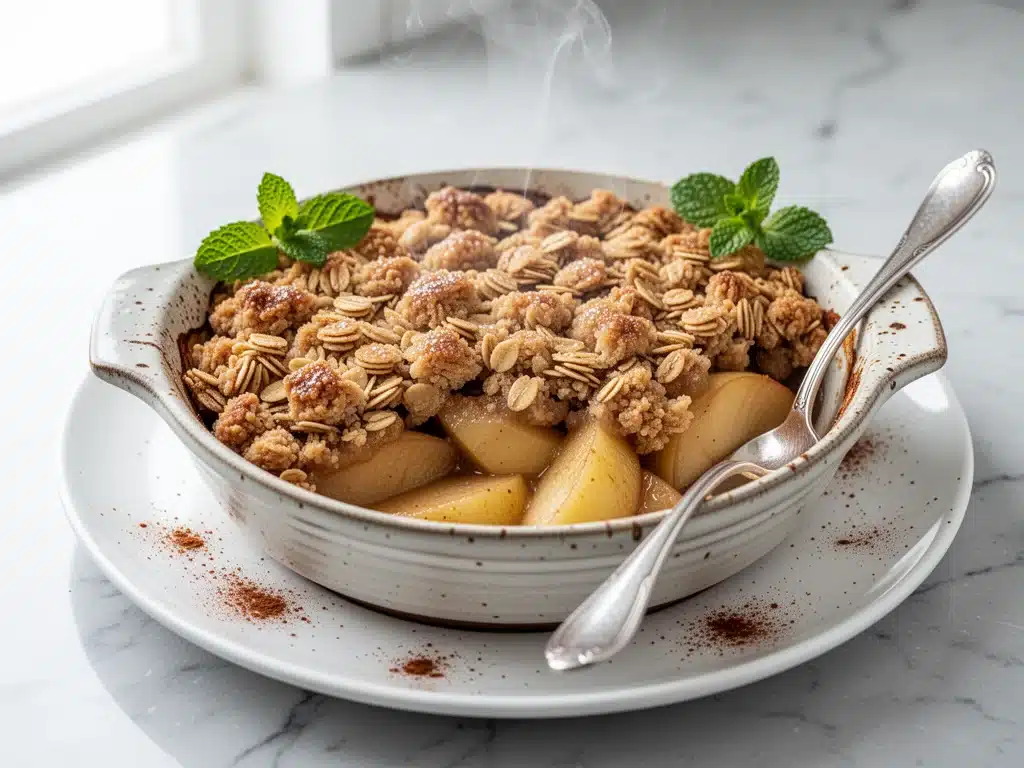
Last November, I was hosting a small dinner party for some friends who had just moved to the city. It was one of those evenings where the weather turned suddenly cold, the wind was howling outside, and everyone just wanted something warm and comforting. I had planned an elaborate dessert, but I burned it. Actually, I burned it twice. Panic set in. I didn’t have time to bake anything new, and I definitely didn’t want to serve store-bought ice cream in a bowl.
So, I did what any desperate home cook does: I raided my pantry and fridge. I had apples, oats, butter, brown sugar, and cinnamon. I threw them together in about ten minutes, slapped it in the oven, and waited. When I pulled it out, the kitchen smelled like a bakery. My friends didn’t even know it was a last-minute rescue mission. They kept asking me for the recipe, saying it was the best dessert they’d had all year.
That was the moment I realized that Cinnamon Apple Crisp isn’t just a simple dessert—it’s a lifesaver. It’s the dish that saves me when I’m stressed, when I’m short on time, or when I just want to make something that feels special without the fuss. This isn’t just any apple crisp. It’s the one with the perfect buttery oat crumble that crunches just right, and the filling that’s soft, spiced, and not too sweet. I’ve tested this recipe over 20 times, tweaking the ratio of oats to flour, the amount of cinnamon, and the type of apples, until I landed on the one that consistently impresses every time.
Whether you’re feeding a crowd, bringing a dish to a potluck, or just need a warm treat on a rainy Sunday, this Cinnamon Apple Crisp is your answer. It’s easy, it’s forgiving, and it tastes like autumn in a bowl.
Why You’ll Love This Cinnamon Apple Crisp
I’ve made apple pie, apple tart, and even apple strudel. But this crisp? It’s my favorite. Here’s why:
- Stupid Simple — Seriously. If you can peel an apple and mix dry ingredients, you can make this. I’ve walked my teenage son through it over FaceTime. There’s no rolling dough, no complex techniques, just toss and bake.
- Lightning Fast — From start to finish, it’s about 45 minutes. Only 15 of those are active prep. I make this on weeknights when I get home at 7pm and need dessert by 8pm.
- Pantry-Friendly — You probably have 90% of these ingredients already. I keep oats, cinnamon, and butter stocked specifically for this. It’s the ultimate “I need dessert now” recipe.
- Crowd-Pleaser — I’ve served this to picky eaters, food snobs, and everyone in between. People love the contrast of the warm, soft apples and the crunchy, buttery topping. It’s universally liked.
- Makes Amazing Leftovers — Actually, I think it tastes better the next day. The flavors meld together, and the topping stays crunchy if you reheat it properly. I deliberately make extra for lunch.
- Budget-Smart — Feeds 6-8 people for under $10. Apples are cheap in season, and oats are pantry staples. That’s less than one slice of cake at a fancy restaurant.
This is my go-to when I need dessert to just work. No complicated techniques, no weird ingredients, just reliable, delicious food that makes everyone happy.
Ingredients You’ll Need
Here’s the best part: this recipe uses ingredients you likely already have. I’m particular about a few things here, but mostly, it’s about quality over quantity. Let’s break it down.
For the Apple Filling
Apples (6 medium, about 2 lbs / 900g) — This is the star. I use a mix of Granny Smith and Honeycrisp. Granny Smith gives the tartness and holds its shape, while Honeycrisp adds sweetness and a softer texture. Avoid Red Delicious—they turn mushy and bland. Peel them, core them, and slice them into ½-inch wedges.
Granulated Sugar (½ cup / 100g) — Just enough to sweeten the apples without making them cloying. I use white sugar because it dissolves evenly.
Brown Sugar (½ cup / 110g, packed) — This adds moisture and a deeper, molasses-like flavor. It’s essential for that rich, caramel-like taste.
Ground Cinnamon (1 teaspoon) — Don’t skimp. Cinnamon is the soul of this dessert. If your cinnamon is old and dusty, replace it. Fresh cinnamon makes a huge difference.
Ground Nutmeg (¼ teaspoon) — Just a pinch. It adds warmth and complexity. Too much nutmeg can overpower the apples.
Vanilla Extract (1 teaspoon) — Pure vanilla, not imitation. It rounds out the spices and adds a subtle floral note.
Lemon Juice (1 tablespoon) — Prevents the apples from browning and adds a bright acidity that balances the sweetness.
All-Purpose Flour (2 tablespoons) — This thickens the juices so you don’t end up with a soupy bottom. It’s a small amount, but it makes a big difference in texture.
For the Buttery Oat Crumble
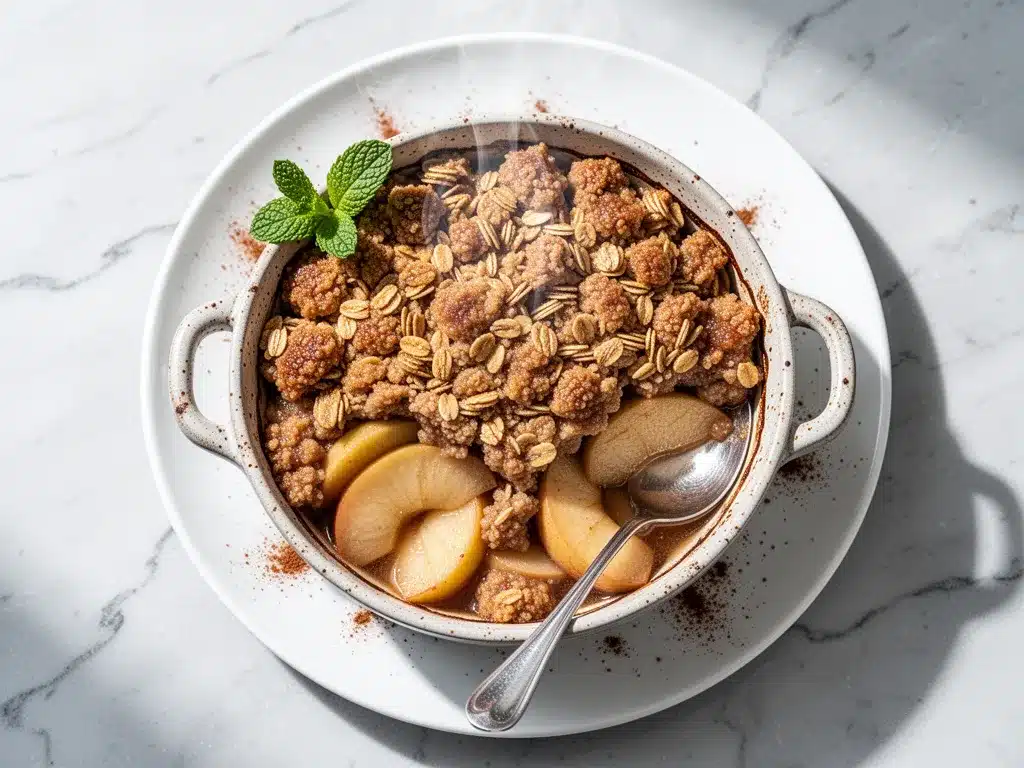
Old-Fashioned Rolled Oats (1 cup / 90g) — Not quick oats! Quick oats turn into mush. Old-fashioned oats give you that hearty, chewy crunch. I like Bob’s Red Mill, but any brand works.
All-Purpose Flour (1 cup / 120g) — This binds the topping together so it doesn’t just scatter around the pan.
Brown Sugar (1 cup / 200g, packed) — More brown sugar for the topping creates that deep, caramelized crunch. Don’t reduce this.
Granulated Sugar (½ cup / 100g) — Adds sweetness and helps with browning.
Cinnamon (1 teaspoon) — More cinnamon for the topping, because more is always better.
Cold Unsalted Butter (½ cup / 113g, cubed) — This is crucial. The butter must be cold and cubed. It creates pockets of flakiness and richness. Use high-quality butter if you can—like Plugrá or Kerrygold.
Salt (½ teaspoon) — Balances the sweetness and enhances the buttery flavor. Never skip the salt.
Equipment Needed
You don’t need fancy equipment for this. Here’s what I actually use:
9×13 Inch Baking Dish — I use a ceramic one, but glass or metal work fine. It needs to be deep enough to hold the apples and topping without overflowing.
Large Mixing Bowl — For tossing the apples with sugar and spices. A wide bowl is easier to work with.
Medium Mixing Bowl — For the crumble topping. I like to use a smaller bowl so I can see the texture better.
Pastry Cutter or Fork — To cut the butter into the dry ingredients. A pastry cutter is faster, but a fork works if you’re patient.
Peeler and Knife — For prepping the apples. A Y-peeler is my favorite because it’s lightweight and sharp.
Cutting Board — Any size works. I use a large wooden one.
Measuring Cups and Spoons — Standard stuff. Dollar store versions work fine.
How to Make It: Step-by-Step
Alright, let’s make this! I’m walking you through exactly how I do it, including the little tricks I’ve picked up.
Step 1: Prep Your Apples (10 minutes)
Peel, core, and slice your apples into ½-inch wedges. Don’t make them too thin, or they’ll disintegrate. Toss them in a large bowl with granulated sugar, brown sugar, cinnamon, nutmeg, vanilla, lemon juice, and flour. Mix until every slice is coated. Let them sit for 10 minutes while you preheat the oven. This helps the apples release some juice and absorb the flavors.
Step 2: Preheat the Oven (5 minutes)
Preheat your oven to 375°F (190°C). Make sure it’s fully heated before you put the crisp in. An oven that’s too hot will burn the topping before the apples cook through.
Step 3: Make the Crumble Topping (5 minutes)
In a medium bowl, whisk together the oats, flour, brown sugar, granulated sugar, cinnamon, and salt. Add the cold, cubed butter. Use a pastry cutter or your fingers to work the butter into the dry ingredients. You want the mixture to look like coarse sand with some pea-sized chunks of butter remaining. Don’t overmix—it should be crumbly, not a paste.
Step 4: Assemble the Crisp (2 minutes)
Transfer the apple mixture to your baking dish. Spread it out evenly. Sprinkle the crumble topping over the apples. Don’t press it down—let it sit loosely on top. This ensures it gets nice and crunchy.
Step 5: Bake (35-40 minutes)
Bake for 35-40 minutes, or until the topping is golden brown and the apples are tender. You’ll know it’s done when you can insert a knife into the center and it slides in easily, and the juices are bubbling around the edges. If the topping is browning too fast, tent it with foil for the last 10 minutes.
Step 6: Cool and Serve (15 minutes)
Let the crisp cool for at least 15 minutes before serving. This allows the juices to thicken slightly, making it easier to scoop. Serve warm with a scoop of vanilla ice cream or a dollop of whipped cream. Trust me, the ice cream melting into the warm crisp is heaven.
Expert Tips & Tricks
Here’s everything I’ve learned from making this dozens of times. These tips will save you from my mistakes.
- Use Cold Butter — This is the #1 tip. Cold butter creates flakes and crunch. If your butter is soft, the topping will be dense and cake-like. Cube it straight from the fridge.
- Don’t Skip the Resting Time — Letting the apples sit with the sugar and spices for 10 minutes draws out moisture and concentrates the flavor. It makes a noticeable difference.
- Check for Doneness — The topping should be deep golden brown, not light blonde. If it’s pale, it’s underbaked. The apples should be tender but not mushy.
- Let It Cool — I know it’s tempting to dig in immediately, but cooling for 15 minutes lets the filling set. If you serve it hot, it’ll be soupy.
- Leftover Topping — If you have extra crumble, store it in an airtight container. It’s great on yogurt or oatmeal the next day.
Common Mistakes (and how to avoid them)
- Mistake: Topping is soggy — Fix: Make sure your oven is fully preheated, and don’t cover the crisp while it’s baking. Steam makes the topping soft.
- Mistake: Apples are too tart — Fix: Use a mix of sweet and tart apples. If you only have tart apples, add a bit more sugar.
- Mistake: Topping is too dark — Fix: Tent with foil if it’s browning too quickly. The apples need more time than the topping.
Variations & Substitutions
Once you’ve nailed the basic version, here’s how you can mix it up. I’ve tried all of these.
Pear Crisp — Swap apples for pears. Pears are softer, so reduce the baking time by 5 minutes. Add a teaspoon of cardamom for a different flavor profile.
Berry Crisp — Use mixed berries (blueberries, raspberries, blackberries). Add 1 extra tablespoon of flour to the berries to thicken the juices. Bake for 30-35 minutes.
Gluten-Free — Use gluten-free oats and gluten-free flour. Everything else is naturally gluten-free. I’ve used Bob’s Red Mill GF oats, and they work great.
Dairy-Free — Replace butter with cold coconut oil or a vegan butter stick. The texture will be slightly different, but still delicious. Use dairy-free ice cream for serving.
Spiced Twist — Add ½ teaspoon of allspice or cardamom to the filling for a more complex spice blend. Great for holiday gatherings.
Nutty Version — Add ½ cup of chopped pecans or walnuts to the topping. Toast them first for extra flavor. Adds a nice crunch and richness.
Serving & Storage
How to Serve: I usually serve this straight from the baking dish at the dinner table—it looks rustic and stays warm. But here are other ways I’ve enjoyed it:
- With Ice Cream — Vanilla bean ice cream is classic. Salted caramel ice cream is indulgent.
- With Whipped Cream — Homemade whipped cream is best, but store-bought works in a pinch.
- With Yogurt — For a lighter breakfast or snack, serve with Greek yogurt and honey.
Storage Instructions:
Refrigerator: Store in an airtight container for up to 3 days. The topping will soften in the fridge. To re-crisp, bake at 350°F for 10 minutes.
Freezing: This doesn’t freeze well because the apples release too much water when thawed. Make it fresh or store in the fridge for up to 3 days.
Meal Prep: You can prep the apples and topping separately and store in the fridge for up to 2 days. Assemble and bake when ready. This saves time on busy nights.
Nutrition Information
I’m not a nutritionist, but here’s the breakdown if you’re tracking.
| Per Serving (based on 8 servings) |
|---|
| Calories: 280 |
| Protein: 3g |
| Carbs: 52g |
| Fiber: 4g |
| Sugar: 32g |
| Fat: 8g |
| Saturated Fat: 5g |
| Cholesterol: 20mg |
| Sodium: 120mg |
What’s Good: High in fiber from the oats and apples. Contains vitamins from the fruit.
What to Know: Higher in sugar from the brown and white sugar. Contains gluten and dairy.
My Take: Look, this is dessert. It’s sweet and rich. It’s not a health food. But it’s way better than store-bought, costs less, and I know exactly what’s in it. When I want to make it lighter, I reduce the sugar by 25% and use less butter. But usually? I just eat a reasonable portion and enjoy it.
Final Thoughts
So that’s my go-to Cinnamon Apple Crisp! I’ve probably talked your ear off at this point, but when you make a recipe this often, you have a lot to say about it.
This has saved dinner parties more times than I can count. It’s my answer to “what’s for dessert” when I’m tired, don’t want to bake a cake, and still want something that tastes really good. My kids are happy, my friends are happy, and I’m happy because I’m not stressed about cooking.
Make it yours! Try different apples, add nuts, or swap the spices. The best recipes are the ones you adapt to your family’s tastes.
If you make this, drop a comment and let me know what you think! I love hearing how recipes turn out in your kitchen. And if something doesn’t work, tell me that too—I’m here to help troubleshoot.
Happy baking! And I hope your kitchen smells half as good as mine does right now.
Frequently Asked Questions
Can I use different apples?
Yes! I recommend a mix of tart and sweet apples. Granny Smith and Honeycrisp are my favorites. You can also use Fuji, Gala, or Pink Lady. Avoid Red Delicious or McIntosh—they turn too mushy. The key is apples that hold their shape when baked.
Why did my topping turn out soggy?
Soggy topping usually means the butter was too soft, or the oven wasn’t hot enough. Make sure your butter is cold and cubed. Also, don’t cover the crisp while it’s baking. Steam will soften the topping. If it’s already soggy, broil it for 1-2 minutes to crisp it up.
Can I make this ahead of time?
Yes! You can assemble the crisp up to 2 days ahead and store it in the fridge. Let it come to room temperature for 30 minutes before baking. Add 5-10 minutes to the baking time. This is great for holiday planning.
Can I freeze this dessert?
I don’t recommend freezing the baked crisp because the apples become watery when thawed. However, you can freeze the unbaked crisp. Assemble it, wrap it tightly in plastic and foil, and freeze for up to 3 months. Thaw in the fridge overnight before baking.
Can I use quick oats instead of rolled oats?
I don’t recommend it. Quick oats are thinner and will turn into a paste. Old-fashioned rolled oats give you the chewy, crunchy texture you want. If you must use quick oats, toast them in the oven first to dry them out, but the texture won’t be the same.
How do I reheat leftovers?
Reheat in the oven at 350°F for 10-15 minutes to crisp up the topping. You can also use the microwave for 30-60 seconds, but the topping will be soft. If you want crunchy topping, the oven is the way to go.
Can I reduce the sugar?
Yes, you can reduce the sugar by 25-30% without ruining the recipe. The apples will be less sweet, so use sweeter varieties like Fuji or Gala. However, sugar also helps with texture and browning, so don’t reduce it too much.
Pin This Recipe!
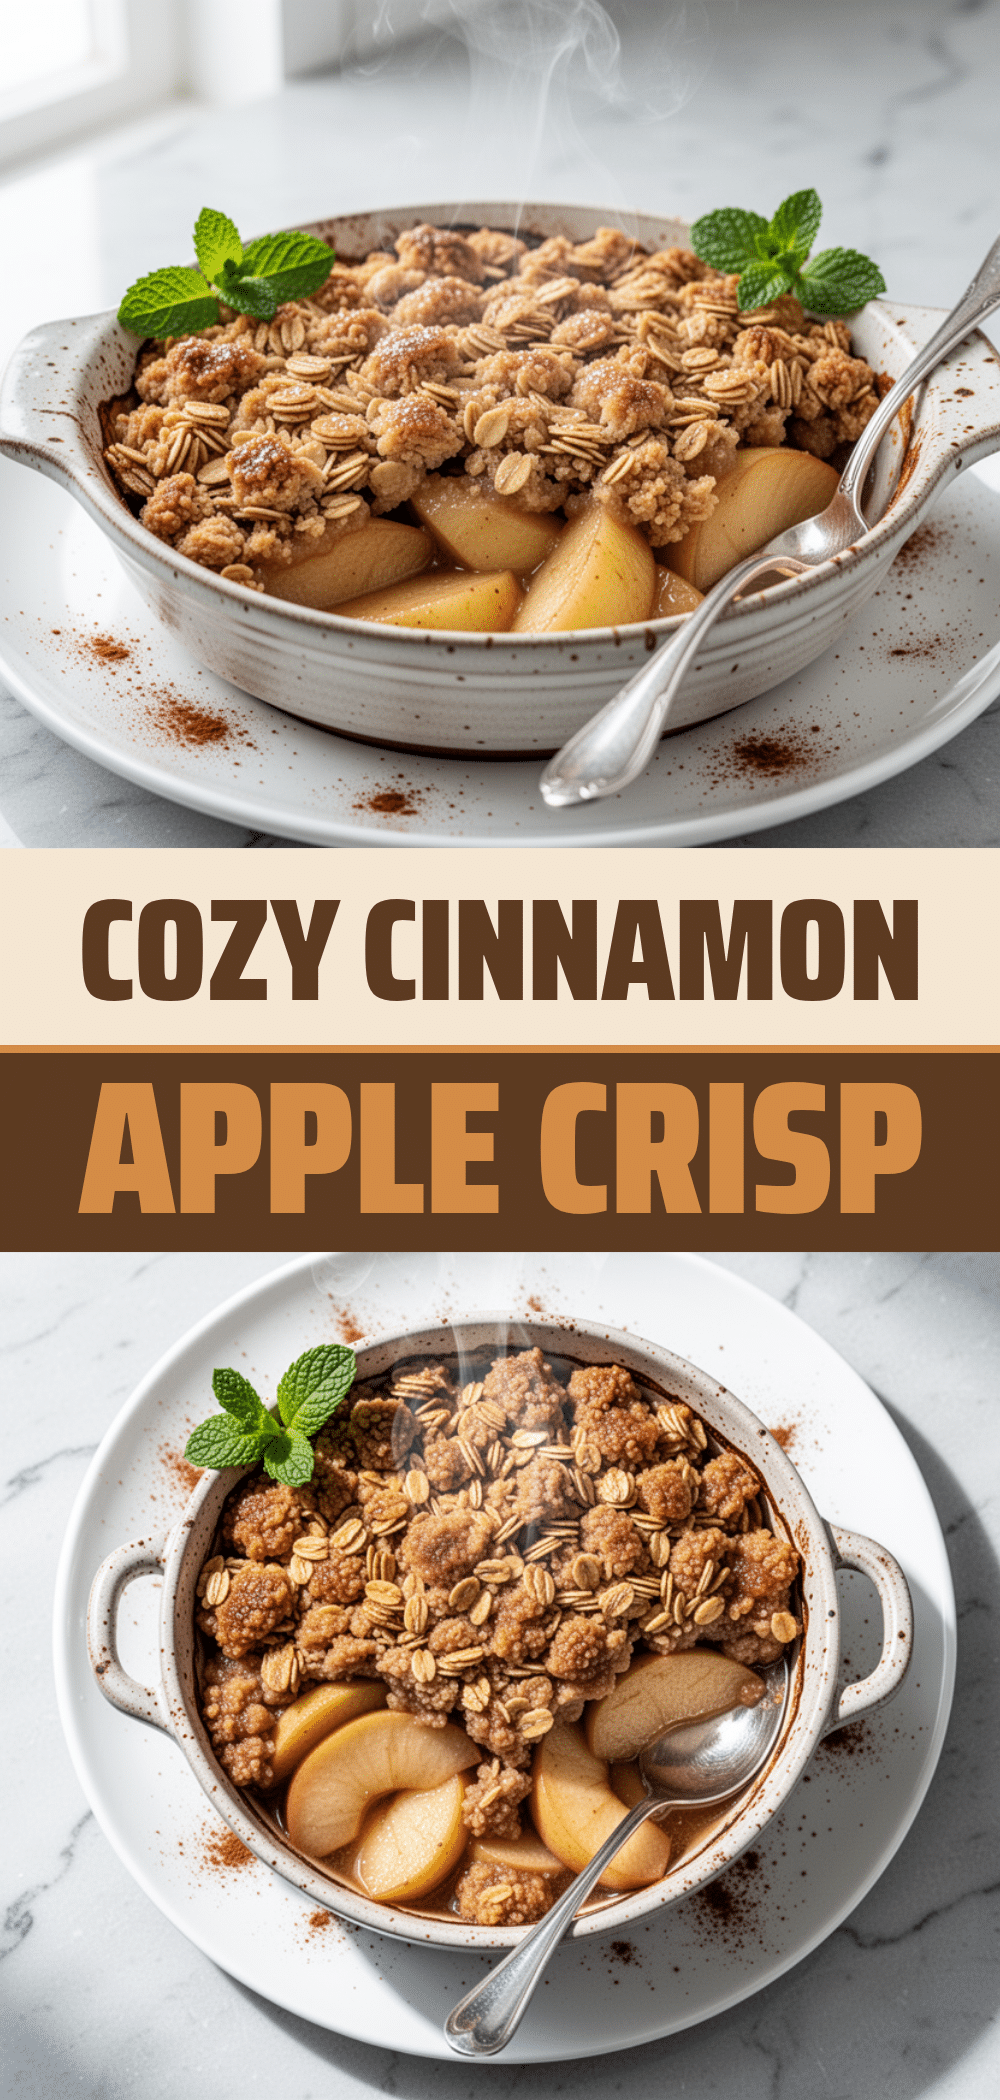

Cinnamon Apple Crisp: Best Easy 5-Ingredient Recipe
- Total Time: 45 minutes
- Yield: 8 servings 1x
Description
A simple, forgiving, and crowd-pleasing dessert featuring soft, spiced apples topped with a crunchy, buttery oat crumble. This recipe is pantry-friendly, takes about 45 minutes from start to finish, and tastes like autumn in a bowl.
Ingredients
- 6 medium apples (about 2 lbs / 900g), peeled, cored, and sliced into ½-inch wedges (mix of Granny Smith and Honeycrisp recommended)
- ½ cup granulated sugar (100g)
- ½ cup packed brown sugar (110g)
- 1 teaspoon ground cinnamon
- ¼ teaspoon ground nutmeg
- 1 teaspoon vanilla extract
- 1 tablespoon lemon juice
- 2 tablespoons all-purpose flour
- 1 cup old-fashioned rolled oats (90g)
- 1 cup all-purpose flour (120g)
- 1 cup packed brown sugar (200g)
- ½ cup granulated sugar (100g)
- 1 teaspoon cinnamon
- ½ cup cold unsalted butter (113g), cubed
- ½ teaspoon salt
Instructions
- Preheat oven to 375°F (190°C).
- In a large bowl, toss apple wedges with ½ cup granulated sugar, ½ cup brown sugar, 1 teaspoon cinnamon, nutmeg, vanilla, lemon juice, and 2 tablespoons flour until coated. Let sit for 10 minutes.
- In a medium bowl, whisk together 1 cup oats, 1 cup flour, 1 cup brown sugar, ½ cup granulated sugar, 1 teaspoon cinnamon, and salt.
- Add cold, cubed butter to the dry ingredients. Use a pastry cutter or fingers to work butter in until the mixture resembles coarse sand with pea-sized chunks.
- Transfer the apple mixture to a 9×13 inch baking dish and spread evenly.
- Sprinkle the crumble topping loosely over the apples. Do not press down.
- Bake for 35-40 minutes until topping is golden brown and apples are tender. Tent with foil if topping browns too quickly.
- Cool for at least 15 minutes before serving to allow juices to thicken.
Notes
Use cold butter for a flaky topping. Let apples rest with sugar for 10 minutes to concentrate flavor. Do not use quick oats as they turn mushy. Avoid Red Delicious apples as they become too soft. Can be made gluten-free by using GF oats and flour. Can be made dairy-free by substituting butter with cold coconut oil or vegan butter.
- Prep Time: 15 minutes
- Cook Time: 35-40 minutes
- Category: Dessert
- Cuisine: American
Nutrition
- Serving Size: 1 slice
- Calories: 280
- Sugar: 32
- Sodium: 120
- Fat: 8
- Saturated Fat: 5
- Carbohydrates: 52
- Fiber: 4
- Protein: 3
Keywords: cinnamon apple crisp, easy dessert, apple crisp recipe, oat crumble, fall dessert, 5-ingredient dessert, gluten-free option, dairy-free option



