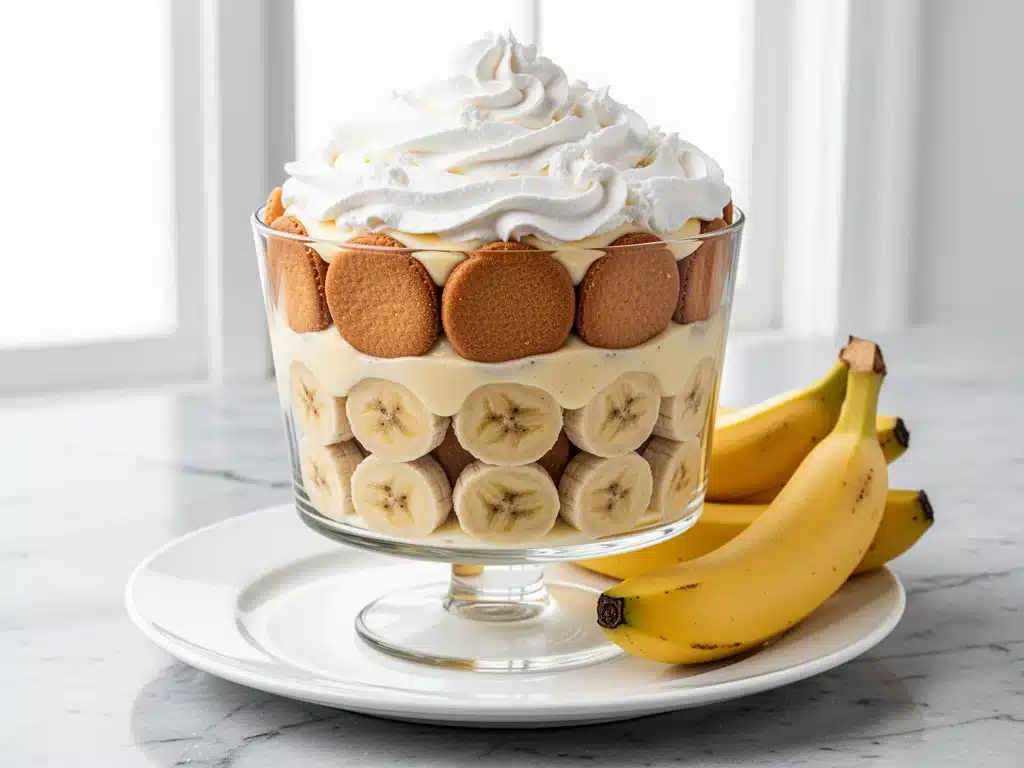
I still remember the exact smell of my Great-Aunt Clara’s kitchen. It was always warm, usually in the middle of July, and carried a faint, sweet scent of vanilla and ripe fruit. She wasn’t a fancy baker. She didn’t have marble countertops or a stand mixer that hummed like a jet engine. She had a chipped enamel stove, a wooden spoon that had seen better decades, and a recipe for banana pudding that could quiet a room of rowdy cousins in seconds. I watched her layer those vanilla wafers and sliced bananas with a rhythm that looked effortless but was actually precise. She’d say, “Don’t rush it, baby. Let the wafers get soft. That’s where the magic is.”
For years, I tried to recreate that magic. I bought fancy ceramic trifle bowls. I whipped cream until my arm fell off. I even tried using store-bought pudding mix because I was desperate and tired of failing. But every time, it tasted wrong. Too sweet. Too airy. The bananas would turn brown and mushy by noon. The wafers stayed crunchy like they were drowning in a dry desert. It wasn’t until I stopped trying to be clever and went back to Clara’s basics that everything clicked.
This Classic Southern Banana Pudding with Vanilla Wafers isn’t just a dessert; it’s a memory. It’s the kind of dish that brings people together. I’ve made this for birthday parties, potlucks, and late-night cravings when I just need something sweet and comforting. And here’s the honest truth: it’s easier than you think. You don’t need to be a professional pastry chef. You just need patience, good bananas, and the willingness to let the layers do their work. This is the easiest dessert recipe I swear by, and once you taste the way the vanilla wafers have softened into creamy, cake-like pockets, you’ll understand why my whole family craves it.
Why You’ll Love This Classic Southern Banana Pudding
There are a hundred reasons I keep making this, but let’s be real—there are three big ones that keep me coming back to the kitchen every weekend.
No-Bake Simplicity — Seriously, if you can slice a banana and scoop pudding, you can make this. I’ve made this while watching TV, while on a call, and while my kids were arguing over who got the last cookie. It’s zero baking, zero stress. Just assemble and chill.
The Texture Game-Changer — This is the big one. Most people get this wrong by serving it immediately. But if you wait, just wait, the vanilla wafers absorb the moisture from the pudding and cream. They transform. They become soft, almost like a cake layer. That contrast between the creamy custard and the soft, dissolving wafer is pure heaven. It’s the defining moment of this recipe.
Make-Ahead Magic — This is my secret weapon for hosting. I can make this two days before a gathering. It actually tastes better on day two because the flavors have melded together. I can focus on my main course or just relax, knowing the dessert is already done and looking beautiful in the fridge.
This is my go-to when I need a dessert that feels homemade but requires minimal effort. It’s nostalgic, it’s reliable, and it always gets asked for by name. “Did you make the banana pudding?” is the question I live for.
Ingredients You’ll Need for the Perfect Pudding
Here’s the best part: you probably have most of this already in your pantry and fridge. I’m particular about a few things, though, so pay attention to the details.
For the Pudding Base
Whole milk (4 cups / 960ml) — Don’t skimp on fat content. 2% works, but whole milk makes the pudding richer and creamier. I use whatever is fresh. If your milk is a few days old, it’s fine for cooking.
Granulated sugar (1 cup / 200g) — This recipe is sweet, but not cloying. If you prefer less sweet, you can drop to ¾ cup, but I recommend sticking with a cup for that classic Southern taste. It balances the tartness of the bananas.
All-purpose flour (½ cup / 60g) — This is the thickener. Some recipes use cornstarch, but flour gives it that old-school, comforting texture. Make sure it’s not clumpy before you add it.
Cornstarch (¼ cup / 30g) — A little cornstarch helps stabilize the pudding so it doesn’t get too runny as it cools. It’s the secret to holding those layers together.
Unsalted butter (2 tablespoons / 30g) — Adds richness and a silky mouthfeel. I cut it into small pieces so it melts evenly.
Vanilla extract (2 teaspoons / 10ml) — Use real vanilla. I know it’s pricier, but the flavor difference is night and day. Vanilla bean paste is even better if you want those little specks, but pure extract works perfectly.
Egg yolks (4 large) — We’re using only yolks for that rich, golden color and custard-like texture. Save the whites for an omelet or meringue later.
Heavy cream (2 cups / 480ml) — For folding in at the end. This lightens the pudding and makes it fluffy. Don’t use whipped topping; it’s not the same.
For the Layers
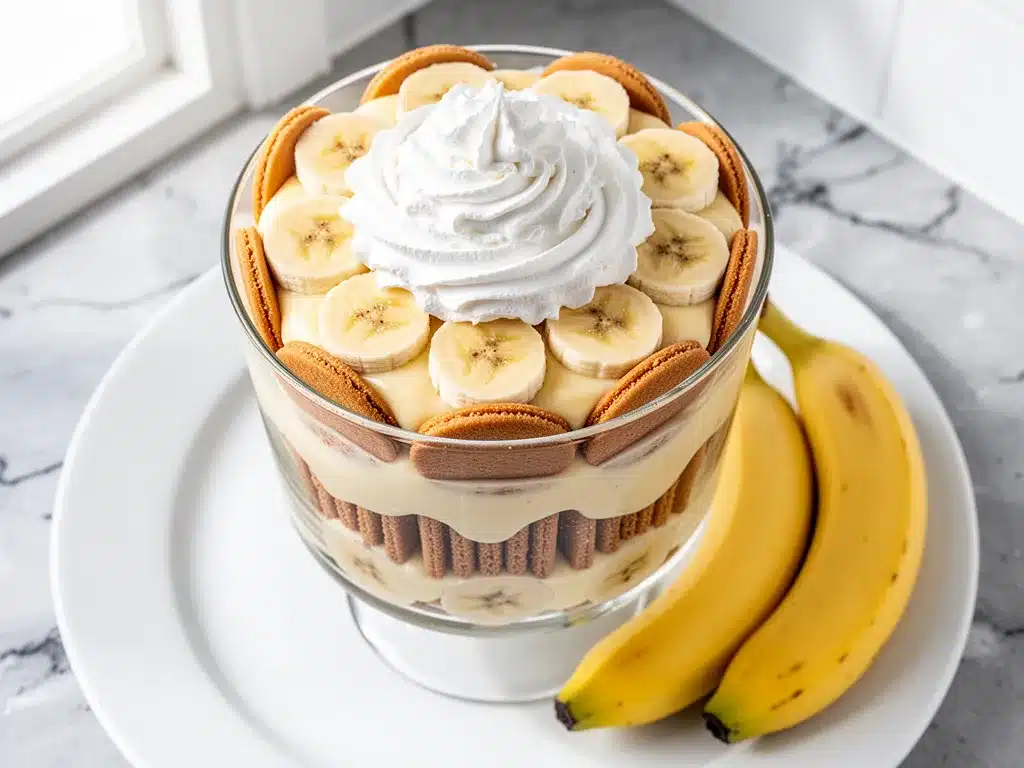
Ripe bananas (6-8 medium) — This is crucial. They need to be ripe but not brown and mushy. Yellow with a few brown spots is perfect. If they’re green, they’ll be starchy. If they’re black, they’ll turn the pudding gray. I test this by gently squeezing; they should yield slightly.
Vanilla wafers (1 package / about 40-50 cookies) — Nilla Wafers are the gold standard here. Don’t substitute chocolate wafers unless you want a completely different dessert. These are specific for a reason. Check the package for freshness; stale wafers won’t soften properly.
Pinch of salt — Always add a pinch to the pudding mixture. It enhances the vanilla flavor and cuts the sweetness slightly.
Equipment You’ll Actually Use
You don’t need fancy gadgets for this. Here’s what I actually use on my counter.
Large heavy-bottomed saucepan — I use a 4-quart pot. The heavy bottom prevents the pudding from scorching on the stove. Stainless steel or enamel-coated cast iron works great. Non-stick is fine too, but you need to watch the heat.
Whisk — A good silicone or wooden whisk. You’ll be whisking a lot to prevent lumps. A fork works in a pinch, but a whisk is faster and more effective.
Measuring cups and spoons — Standard stuff. I prefer metal measuring cups for dry ingredients and glass or plastic for liquids.
Sharp knife and cutting board — For slicing the bananas. A serrated knife works well for bananas to avoid crushing them.
Mixer (hand or stand) — To whip the heavy cream. I use a hand mixer because it’s faster for just whipping cream. If you’re doing it by hand, you’ll need strong arms and about 5-7 minutes of vigorous beating.
Serving dish — A 3-quart trifle bowl is traditional and looks beautiful. A 9×13 baking dish works too if you’re feeding a crowd. Glass is best so you can see the layers.
Spatula — For folding the whipped cream into the pudding. Silicone is best because it scrapes the bowl clean.
How to Make Classic Southern Banana Pudding
Alright, let’s make this! I’m walking you through exactly how I do it, including the little tricks I’ve picked up over the years. This process takes about 30 minutes of active work, plus chilling time.
Step 1: Prep Your Bananas
Peel your bananas and slice them into quarter-inch rounds. Don’t slice them too thin or they’ll disappear into the pudding. Don’t slice them too thick or you’ll get big chunks of banana in every bite. Toss them with a little lemon juice if you’re not assembling immediately to prevent browning, but for this recipe, we’ll assemble right away.
Step 2: Make the Pudding Base
In your large saucepan, whisk together the sugar, flour, and cornstarch. Add about 1 cup of the milk slowly, whisking constantly to create a smooth paste. This prevents lumps. Then, add the remaining milk and egg yolks. Whisk everything together until it’s smooth.
Place the pot over medium heat. This is where you need to pay attention. Whisk constantly. Don’t walk away. The pudding needs to come to a gentle boil. As it heats, it will start to thicken. Keep whisking. It will look thin at first, then suddenly it will start to bubble and thicken rapidly. This takes about 5-7 minutes.
Step 3: Finish the Pudding
Once the pudding is thick and bubbling, remove it from the heat. Stir in the butter and vanilla extract. The butter will melt into the hot pudding, making it glossy and rich. Taste it. It should be sweet and vanilla-forward. If it tastes too starchy, cook it for another minute. If it’s perfect, let it cool to room temperature. Cover it with plastic wrap touching the surface of the pudding to prevent a skin from forming. This is important.
Step 4: Whip the Cream
In a large bowl, pour the cold heavy cream. Whip it until you see soft peaks. You don’t want stiff peaks because you’re going to fold this into the pudding. Soft peaks mean it’s light and airy but still manageable. If you over-whip it, it might turn into butter. Stop when it holds its shape but still droops slightly.
Step 5: Fold and Chill
Gently fold the whipped cream into the cooled pudding mixture. Use a spatula and lift from the bottom, turning over. Do this carefully to keep the air in the cream. You want a fluffy, light consistency.
Step 6: Assemble the Layers
Now for the fun part. In your serving dish, start with a layer of vanilla wafers. Cover the bottom completely. Then, add a layer of sliced bananas. Then, spoon a generous layer of the pudding mixture over the bananas. Press it down gently to fill any gaps. Repeat the layers: wafers, bananas, pudding. Continue until you run out of ingredients, ending with a layer of pudding on top.
Decorate the top with a few whole vanilla wafers or extra banana slices if you like. It doesn’t have to be perfect. Rustic is better.
Step 7: The Wait
Refrigerate for at least 4 hours, but ideally overnight. This is non-negotiable. The wafers need time to soften. If you eat it too soon, you’ll have crunchy wafers and separated layers. Let it chill. Trust me.
Expert Tips for Banana Pudding Success
Here’s everything I’ve learned from making this dozens of times. These tips will save you from my mistakes.
Don’t Rush the Cooking
When making the pudding on the stove, low and slow is better. If you crank the heat, the flour and cornstarch can clump, or the eggs can scramble. Keep the heat at medium and whisk constantly. It’s meditative, honestly.
Use Room Temperature Ingredients
Make sure your egg yolks and milk are close to room temperature before starting. Cold ingredients can shock the eggs and cause curdling when you add the hot mixture. It happens fast, so be prepared.
Fold, Don’t Stir
When combining the whipped cream and pudding, fold gently. Stirring vigorously deflates the cream and makes the final pudding dense and heavy. You want it light and airy.
Choose the Right Bananas
I’ve used green bananas and they were terrible. I’ve used black bananas and they turned the pudding gray. Aim for bright yellow with a few brown speckles. They should smell sweet and fragrant.
Prevent a Skin
When cooling the pudding, press plastic wrap directly onto the surface. If air touches the pudding, a skin forms. It’s rubbery and unpleasant. You don’t want that in your dessert.
Variations and Substitutions
Once you’ve nailed the basic version, here’s how you can mix it up. I’ve tried all of these.
Chocolate Banana Pudding
Add ½ cup of cocoa powder to the dry ingredients in Step 2. It turns it into a chocolate delight. My kids love this version. It’s like a banana split in a bowl.
Strawberry Banana Pudding
Swap half the bananas for sliced strawberries. The tartness of the strawberries complements the vanilla beautifully. Just make sure the strawberries are drained well so they don’t make the pudding watery.
Cookie Swap
If you can’t find vanilla wafers, shortbread cookies work well. They’re buttery and soft. Nilla Wafers are traditional, but shortbread is a delicious alternative.
Lighter Version
Use half-and-half instead of heavy cream, and reduce the sugar to ¾ cup. It’s still good, just less rich. I make this when I’m trying to be “healthy,” though let’s be honest, it’s still dessert.
Dairy-Free Option
Use coconut milk for the pudding base and coconut cream for whipping. It changes the flavor profile slightly, but it’s still creamy and delicious. Use dairy-free vanilla wafers if needed.
Serving and Storage
How to Serve:
I usually serve this straight from the fridge. It’s best cold. I use a large serving spoon and dig right in. It looks rustic and stays warm in the bowl. But here are other ways I’ve enjoyed it:
Side Dishes:
This is a dessert, so it stands alone. But if you’re having a big meal, pair it with something light. Maybe a fruit salad or just serve it after a simple dinner.
Toppings:
When I have guests, I put out: whipped cream, chocolate shavings, crushed nuts. Everyone customizes their bowl.
Storage Instructions:
Refrigerator: Store in an airtight container for up to 3 days. The wafers will continue to soften, so it might get mushier. That’s part of the charm.
Freezing: Honestly, this doesn’t freeze well because of the dairy and bananas. The texture changes when thawed. Make it fresh or store in the fridge for up to 3 days.
Meal Prep: Make the pudding and whip the cream on Sunday. Assemble on Monday. It’s ready to go. I do this all the time.
Nutrition Information
I’m not a nutritionist, but here’s the breakdown if you’re tracking.
Per Serving (based on 8 servings):
- Calories: 380
- Protein: 6g
- Carbs: 52g
- Fiber: 2g
- Sugar: 32g
- Fat: 16g
- Saturated Fat: 9g
- Cholesterol: 110mg
- Sodium: 180mg
What’s Good:
- Decent calcium from the milk and cream.
- Potassium from the bananas.
- More filling than it looks.
What to Know:
- Higher in calories from cream and sugar.
- Contains dairy and gluten.
- Moderate sodium (use low-sodium milk to reduce).
My Take:
Look, this is comfort food with cream and sugar. It’s not a diet recipe. But it’s way better than takeout, costs less, and I know exactly what’s in it. When I want to make it lighter, I use the half-and-half version and load up on vegetables. But usually? I just eat a reasonable portion and enjoy it.
Final Thoughts
So that’s my go-to Classic Southern Banana Pudding with Vanilla Wafers! I’ve probably talked your ear off at this point, but when you make a recipe this often, you have a lot to say about it.
This has saved weeknight desserts more times than I can count. It’s my answer to “what’s for dessert” when I’m tired, don’t want to bake, and still want something that tastes really good. My kids are happy, my husband’s happy, and I’m happy because I’m not stressed about cooking.
Make it yours! Try different add-ins, swap in your favorite cookies, adjust the sweetness (though more is always better in my opinion). The best recipes are the ones you adapt to your family’s tastes.
If you make this, drop a comment and let me know what you think! I love hearing how recipes turn out in your kitchen. And if something doesn’t work, tell me that too—I’m here to help troubleshoot.
Happy cooking! And I hope your kitchen smells half as good as mine does right now.
Frequently Asked Questions
Q: Can I use instant pudding mix instead of making it from scratch?
A: You can, but the texture is different. Instant pudding is smoother but lacks the richness of a custard-based pudding. If you use instant, follow the package directions but fold in whipped cream as I do here. It’s a shortcut, but it’s not the same as the classic version. I prefer the scratch-made version for its depth of flavor.
Q: Why did my pudding turn out watery?
A: Usually means you didn’t cook it long enough. The pudding needs to come to a boil and thicken. If it’s still thin after 10 minutes, cook it longer. Also, make sure you’re using the right ratio of flour and cornstarch to liquid. If it’s already watery, you can try cooking it on low heat to reduce it, but it might not thicken as well.
Q: Can I make this ahead for a dinner party?
A: Absolutely! This is best made at least 4 hours ahead, or overnight. The flavors meld together, and the wafers soften. I make it the day before the party. It’s ready to go when you are. Just keep it covered in the fridge.
Q: Why did my bananas turn brown?
A: Bananas oxidize when exposed to air. If you sliced them too early, they turned brown. To prevent this, slice them right before assembling. If you need to prep them ahead, toss them in a little lemon juice. It doesn’t affect the taste much, but it keeps them bright.
Q: Can I use frozen bananas?
A: No. Frozen bananas are mushy and release too much water. They’ll make your pudding watery and the texture will be off. Always use fresh, ripe bananas.
Q: How do I reheat leftovers without it getting dry?
A: You don’t. This dessert is best served cold. If you need to eat it warm, you can microwave individual portions for 10-15 seconds, but it will lose some of its texture. I recommend eating it straight from the fridge.
Q: Can I double this recipe?
A: Yes, double everything and use a larger dish. The cooking times stay the same. I do this when I’m feeding a crowd. Just make sure your pot is big enough for the pudding mixture.
Pin This Recipe!
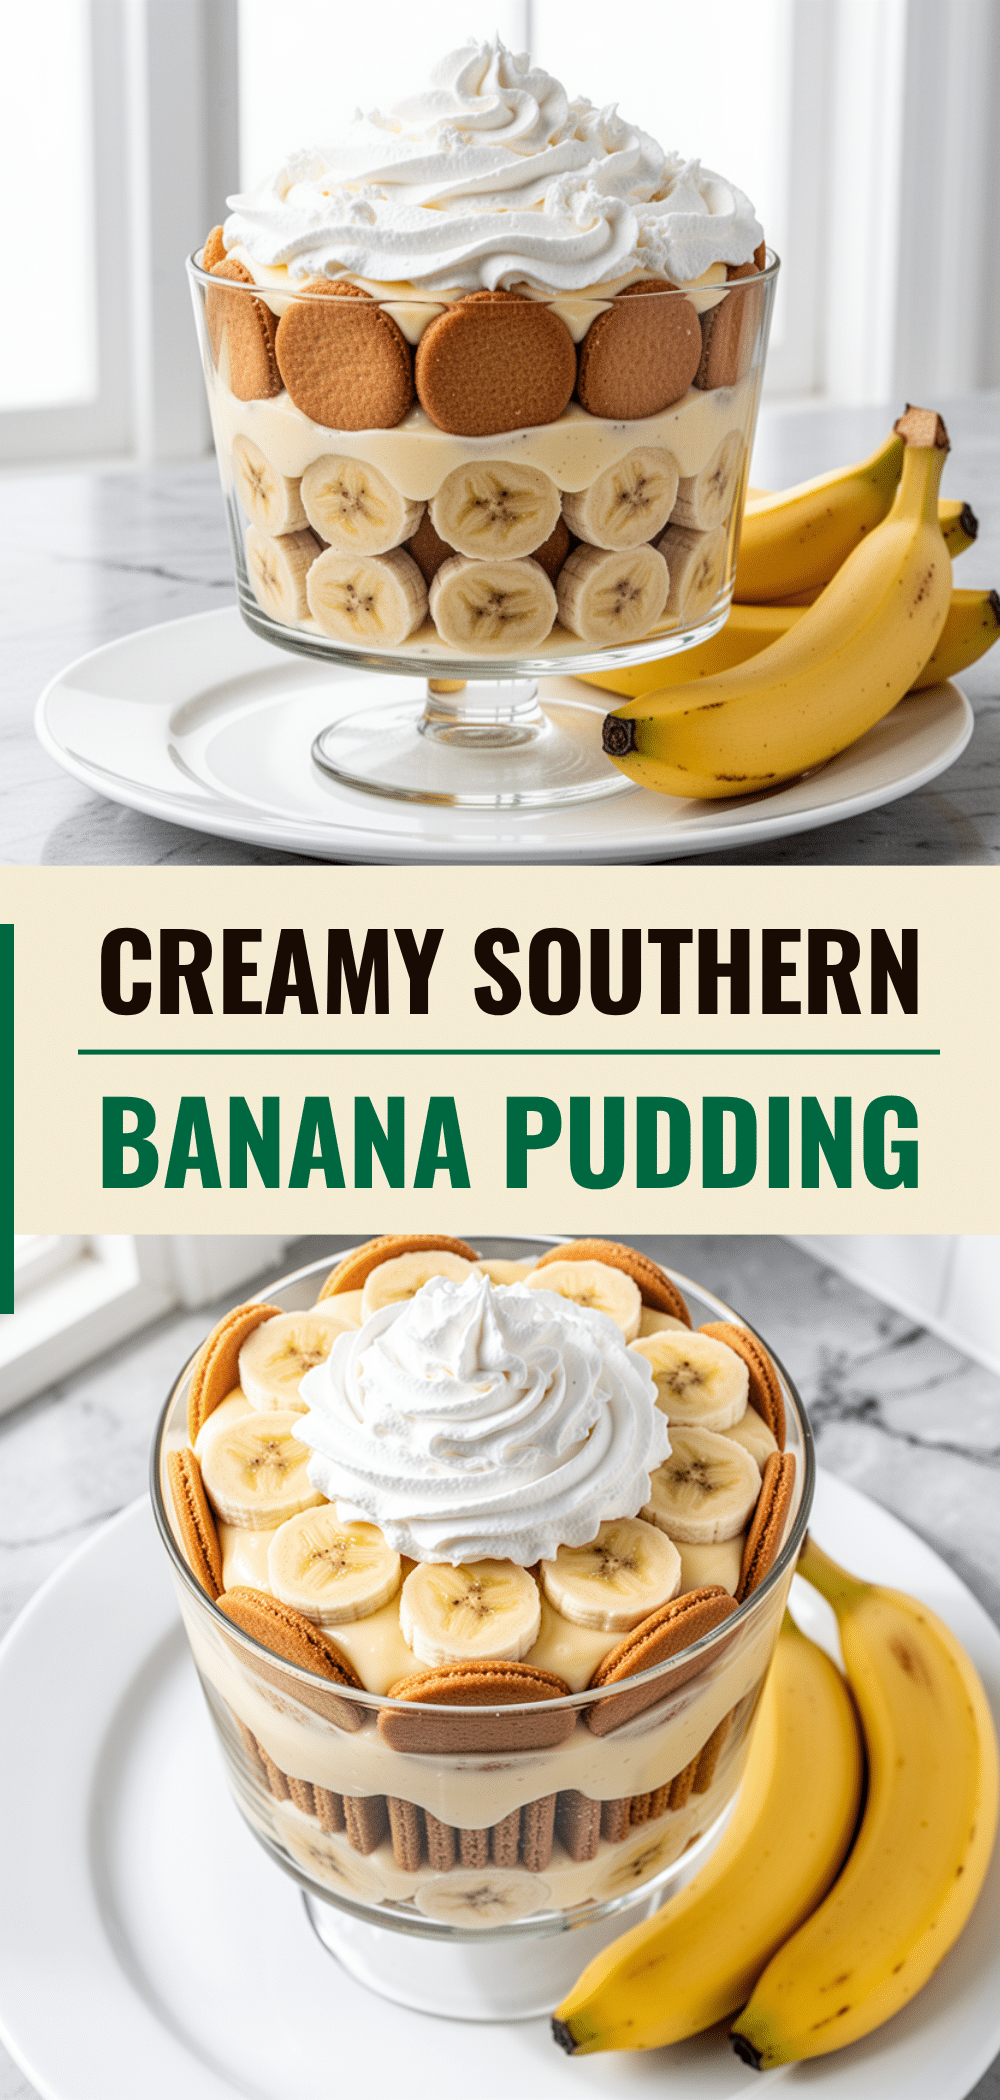
Classic Southern Banana Pudding with Vanilla Wafers
- Total Time: 4 hours 40 minutes
- Yield: 8 servings 1x
Description
A nostalgic, no-bake Southern dessert featuring layers of creamy custard, ripe bananas, and vanilla wafers that soften into cake-like pockets. This easy, make-ahead treat is perfect for potlucks and family gatherings.
Ingredients
- 4 cups whole milk
- 1 cup granulated sugar
- ½ cup all-purpose flour
- ¼ cup cornstarch
- 2 tablespoons unsalted butter
- 2 teaspoons vanilla extract
- 4 large egg yolks
- 2 cups heavy cream
- 6–8 medium ripe bananas
- 1 package vanilla wafers (about 40–50 cookies)
- Pinch of salt
Instructions
- Peel and slice bananas into quarter-inch rounds. Toss with a little lemon juice if not assembling immediately to prevent browning.
- In a large heavy-bottomed saucepan, whisk together sugar, flour, and cornstarch. Add 1 cup of milk slowly to create a smooth paste, then add remaining milk and egg yolks, whisking until smooth.
- Place pot over medium heat and whisk constantly until the mixture comes to a gentle boil and thickens (about 5-7 minutes).
- Remove from heat and stir in butter and vanilla extract. Let cool to room temperature, pressing plastic wrap directly onto the surface to prevent a skin.
- In a separate bowl, whip heavy cream until soft peaks form.
- Gently fold the whipped cream into the cooled pudding mixture until combined and fluffy.
- In a serving dish, layer vanilla wafers, sliced bananas, and pudding mixture. Repeat layers, ending with pudding on top.
- Refrigerate for at least 4 hours, ideally overnight, to allow wafers to soften.
Notes
Do not rush the cooking process; whisk constantly to prevent lumps or scrambled eggs. Use ripe bananas that are yellow with brown spots, not green or black. Ensure ingredients are at room temperature to prevent curdling. The pudding must chill for at least 4 hours for the wafers to soften properly. This recipe does not freeze well.
- Prep Time: 30 minutes
- Cook Time: 10 minutes
- Category: Dessert
- Cuisine: Southern
Nutrition
- Serving Size: 1 slice/scoop
- Calories: 380
- Sugar: 32
- Sodium: 180
- Fat: 16
- Saturated Fat: 9
- Carbohydrates: 52
- Fiber: 2
- Protein: 6
Keywords: banana pudding, southern dessert, vanilla wafers, no-bake, make-ahead dessert, custard, comfort food



