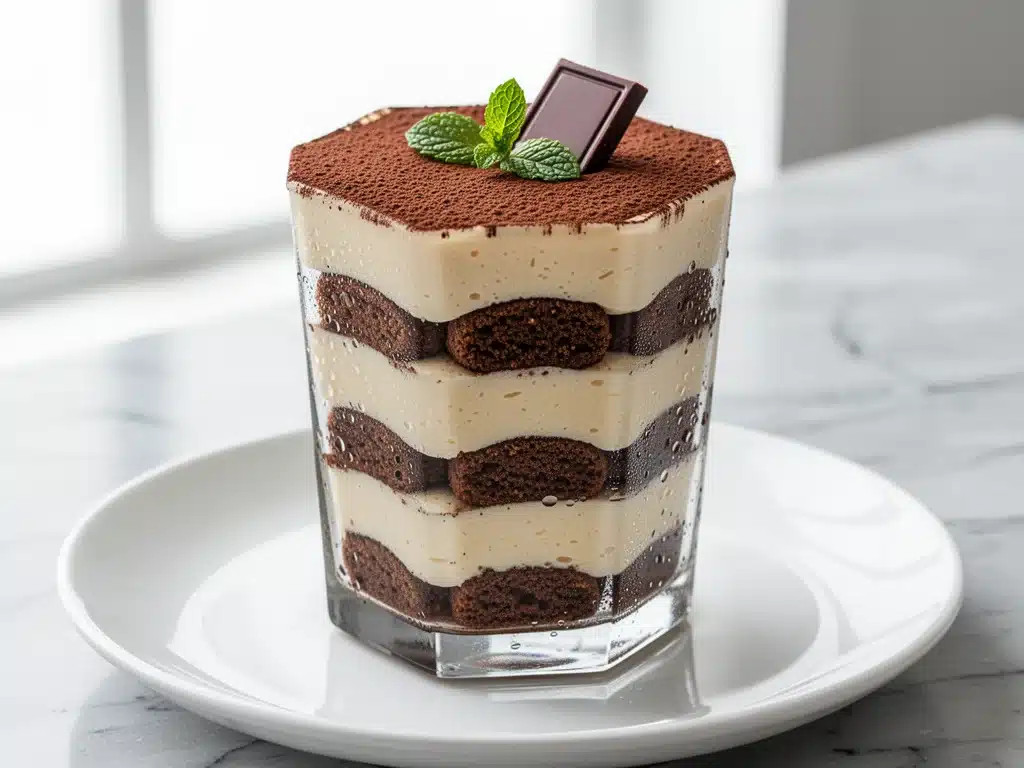
It was 11 PM on a Tuesday, and I was staring at a carton of mascarpone cheese that had been sitting in my fridge for three days. I had bought it on a whim for a dinner party that got canceled, and now I was stuck with this expensive, creamy block of dairy and absolutely no plan for it. My husband was already asleep, and I was too tired to bake. I didn’t want a cake. I didn’t want to turn on the oven. I just wanted something sweet, something that felt fancy, but required zero effort.
So I did what any sleep-deprived home cook does: I opened the coffee jar. I grabbed the ladyfingers. And I started layering.
I knew traditional tiramisu takes hours—sometimes days—to set properly in the fridge. But I didn’t have hours. I had about twenty minutes before I collapsed into bed. I whisked the mascarpone with a little sugar and heavy cream until it was light and fluffy, dipped the cookies in strong espresso (no liqueur, I was driving the next morning), and stacked it all up. I threw it in the fridge and went to bed.
The next morning, I dug in. It was perfect. The cookies had softened just enough to mimic the texture of a traditional tiramisu, but the filling was richer, lighter, and honestly? Better than the version I used to make with raw eggs. This no-bake tiramisu with mascarpone and espresso layers became my secret weapon. It’s the dessert I make when I need to impress guests but don’t have the energy to stand over a stove. It’s the treat I make when I’m craving something that tastes like a high-end Italian café but costs a fraction of the price.
I’ve tested this recipe at least a dozen times since that random Tuesday night. I’ve tweaked the sweetness, played with the coffee strength, and even tried different types of cookies. But the core recipe remains the same: three main ingredients, simple assembly, and a result that tastes like you spent all day in the kitchen. If you’re looking for an easy dessert that delivers big flavor with minimal fuss, you’re going to want to make this no-bake tiramisu on repeat.
Why You’ll Love This No-Bake Tiramisu
There are about ten reasons I keep making this, but let’s be real—you don’t need another complicated dessert that requires a mixer, a water bath, and a degree in pastry arts. This recipe works because it’s stupid simple and incredibly forgiving. Here’s why it’s become a staple in my kitchen:
- Zero Baking Required — Seriously. No oven, no stove, no melting chocolate. You just whisk, dip, and layer. If you can open a can and spread butter, you can make this. I’ve made it while my kids were doing homework at the table. It’s that low-stress.
- Ready in Under an Hour (Plus Chill Time) — The active time is maybe 15 minutes. You spend the rest of the time waiting for the fridge to do its work. I usually assemble it in the morning or afternoon, and by dinner time, it’s set and ready to serve. It’s the ultimate meal-prep dessert.
- Pantry-Friendly Ingredients — You probably already have most of this. Mascarpone, heavy cream, sugar, coffee, and ladyfingers. Those last two might require a quick trip, but everything else is likely in your fridge or cupboard. It’s not like you’re hunting for exotic spices.
- Gluten-Free Friendly Option — This is huge for my gluten-sensitive friends. By simply swapping standard ladyfingers for gluten-free ones (or even using gluten-free sponge cake scraps), this no-bake tiramisu with mascarpone and espresso layers becomes accessible to almost everyone at your table. No one misses out.
- Make-Ahead Magic — It actually tastes better the next day. The coffee flavor melds with the cheese, and the texture gets even more cohesive. I love making it the night before a dinner party because it means I’m not stressed in the kitchen when people arrive. It just sits there, looking pretty and smelling amazing.
This is my go-to when I need a dessert that feels elegant but requires zero emotional energy. It’s reliable, delicious, and always gets compliments. You’ll wonder why you ever bothered with complicated baked versions.
Ingredients You’ll Need
Here’s the best part: this recipe is incredibly minimalist. You don’t need a dozen obscure ingredients. You just need quality components because, with so few items, each one shines. I’m particular about the mascarpone and the coffee, and I’ll tell you exactly why.
For the Cream Layer
Mascarpone cheese (16 oz / 450g) — This is the star. Don’t buy the cheap stuff. Look for a brand like La Case or Galbani. It should be thick and creamy. If it’s runny, your filling won’t set. Keep it cold until you’re ready to use it.
Heavy cream (1 cup / 240ml) — You need full-fat heavy whipping cream. Half-and-half or milk won’t whip up stiff enough to give the tiramisu its airy texture. This is non-negotiable for that classic fluffy mouthfeel.
Granulated sugar (¼ cup / 50g) — I like it slightly sweet, but not cloying. If you prefer less sweet, drop it to 2 tablespoons. The coffee and cocoa will balance it out. You can also use powdered sugar for a smoother texture, but granulated works fine if you whisk well.
Vanilla extract (1 teaspoon) — Just a splash to round out the flavors. Pure vanilla, please. The fake stuff tastes chemical in a delicate dessert like this.
For the Coffee Dip
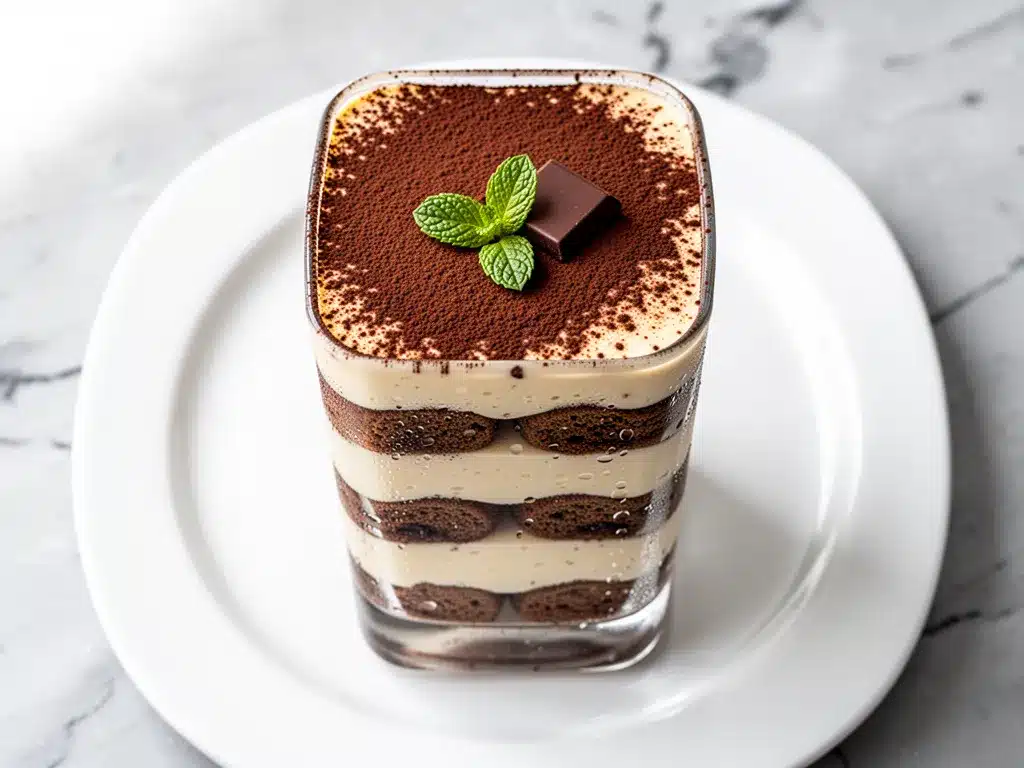
Strong espresso or coffee (1 cup / 240ml) — Brewed strong. I use my espresso machine, but a very strong French press or even instant espresso granules dissolved in hot water works great. Let it cool completely before dipping. Warm coffee will dissolve the cookies too fast.
Bitter cocoa powder (2-3 tablespoons) — For dusting on top. Use good quality unsweetened cocoa. Dutch-processed cocoa gives a darker, richer color and milder flavor, which looks more professional.
For the Structure
Ladyfingers (1 package / about 200g) — These are the traditional sponge cookies. They’re dry and absorbent, perfect for soaking up the coffee. You can find them in the baking aisle. For a gluten-free version, look for GF ladyfingers in the specialty section. They’re pricier but worth it.
Optional: Marsala Wine or Rum (2 tablespoons) — Traditional recipes use this. I skip it for daytime desserts or when kids are around, but if you want that authentic kick, add it to the coffee. Just a splash goes a long way.
Personal Tip: I always brew my coffee the night before. It cools down perfectly, and I don’t have to wait for it to cool while I’m trying to assemble the dessert. It saves time and prevents the cookies from getting soggy.
Equipment Needed
You don’t need fancy equipment for this. Here’s what I actually use:
Two medium bowls — One for the mascarpone mixture, one for whipping the cream. I use stainless steel bowls because they’re easy to clean. Glass works too.
Electric hand mixer or stand mixer — You could do this by hand with a whisk, but it takes forever and your arm will hurt. A hand mixer makes it effortless. I use my KitchenAid for this, but any basic hand mixer works.
Shallow dish or plate — For the coffee dip. I use a pie plate because the wide surface area makes dipping ladyfingers quick and easy. A shallow bowl works too.
8×8 inch baking dish or glass trifle bowl — An 8×8 dish is perfect for a standard recipe. It gives you nice square slices. A trifle bowl is great for serving at parties because it looks fancy and shows off the layers. Just adjust the cookie count if you use a different size.
Spatula — For spreading the cream. A rubber spatula is best because it scrapes the bowl clean.
Microplane or fine sieve — For dusting the cocoa powder. A microplane gives a pretty, even layer. A sieve prevents clumps. Both work, but the microplane looks nicer for photos.
Knife — A sharp chef’s knife for slicing. Clean cuts are key for presentation.
How to Make It: Step-by-Step
Alright, let’s make this! I’m walking you through exactly how I do it, including the little tricks I’ve picked up to ensure your no-bake tiramisu with mascarpone and espresso layers turns out perfect every time.
Step 1: Brew and Cool the Coffee
Brew your espresso or strong coffee. It needs to be about 1 cup. If you’re adding alcohol, stir it in now. Let it cool to room temperature. If it’s still warm, it will melt the cookies instantly. I usually make this step first thing in the morning so it’s ready by dessert time.
Step 2: Whip the Cream
In a medium bowl, pour the cold heavy cream. Using your electric mixer, beat on medium-high speed until stiff peaks form. This means when you lift the beaters, the cream stands up straight. Don’t over-whip it into butter, but it needs to be firm enough to hold the structure. Set aside.
Step 3: Beat the Mascarpone
In a separate bowl, add the mascarpone cheese and sugar. Beat on medium speed until smooth and creamy. The mascarpone is thick, so you might need to scrape down the sides of the bowl a few times. If it’s too stiff, you can add a tablespoon of the whipped cream to loosen it up, but usually, it’s fine on its own.
Step 4: Combine the Cream Cheese Mixture
Gently fold the whipped cream into the mascarpone mixture. Use a spatula and fold carefully—don’t stir vigorously or you’ll deflate the air you just whipped in. You want a light, airy, fluffy mixture. It should look like a thick mousse. This is the secret to the texture. If you mix too hard, it becomes dense.
Step 5: Dip the Ladyfingers
This is the most critical step. Take a ladyfinger and dip it into the cooled coffee for just 1-2 seconds per side. You want it soaked but not falling apart. If you leave it in too long, it will disintegrate in the bowl. If you don’t dip it enough, it will be dry and crunchy. It’s a balance. I dip them quickly, like a quick dunk in a pool.
Step 6: Layer 1
Arrange a layer of dipped ladyfingers at the bottom of your dish. They might not fit perfectly—break a few to fill gaps. Don’t worry about it looking perfect; it’s rustic. Pour or spoon half of the cream mixture over the cookies. Spread it evenly with a spatula. Make sure it covers all the edges.
Step 7: Layer 2
Dip another layer of ladyfingers and arrange them on top of the cream. Again, dip quickly and layer neatly. Pour the remaining cream mixture on top. Spread it smooth. This is your top layer, so make it look nice. You can use the spatula to create swirls or peaks if you want it to look fancy.
Step 8: Chill
Cover the dish with plastic wrap or a lid. Refrigerate for at least 4 hours, but ideally overnight. This gives the cookies time to soften and absorb the coffee, mimicking the texture of a baked tiramisu. The longer it chills, the better it tastes. I never rush this step.
Step 9: Dust and Serve
Just before serving, dust the top generously with cocoa powder. Use a sieve or microplane for an even, professional look. Slice with a sharp knife. Clean the knife between cuts for neat slices. Serve cold.
Total Time: 20 minutes active, plus 4+ hours chilling.
Expert Tips & Tricks
Here’s everything I’ve learned from making this dozens of times. These tips will save you from my mistakes.
Don’t Over-Dip the Cookies — This is the #1 mistake. Ladyfingers are like sponges. A quick dip is all they need. If they’re soggy, the tiramisu becomes a soup. Dip for 1 second per side, max.
Keep Everything Cold — Mascarpone and cream should be cold before you start. Warm cream won’t whip. Warm mascarpone will separate. Put your bowls in the fridge for 15 minutes before starting if you’re in a warm kitchen.
Use Good Cocoa — The cocoa powder is the final impression. Cheap cocoa tastes dusty and bitter. Use a nice brand like Guittard or Valrhona. It makes a huge difference in the flavor profile.
Make It Ahead — This dessert improves with age. Make it the night before. The flavors meld, and the texture becomes more consistent. It’s much better on day two than day one.
Gluten-Free Hack — If you’re making this gluten-free, use gluten-free ladyfingers. They can be drier, so you might need to dip them slightly longer—maybe 2-3 seconds. Test one first to see how it holds up.
Common Mistakes (and how to avoid them):
- Mistake: Cream is too runny — Fix: Make sure your cream is very cold and you whipped it to stiff peaks. If it’s still soft, whip it longer.
- Mistake: Cookies are dry — Fix: You didn’t dip them long enough. Or your coffee is too weak. Make sure the coffee is strong and you’re dipping adequately.
- Mistake: Dessert is too sweet — Fix: Reduce the sugar in the cream. The coffee and cocoa are bitter, so you need less sugar than you think.
Variations & Substitutions
Once you’ve nailed the basic version, here’s how you can mix it up. I’ve tried all of these.
Vegan Tiramisu — Use coconut cream instead of heavy cream and vegan mascarpone (or cashew cream). Use vegan ladyfingers. Dip in coffee. It’s surprisingly close to the original. My vegan friend loves this version.
Chocolate Lovers — Add a layer of chocolate chips or chopped chocolate between the cream and cookies. Or melt some chocolate and drizzle it over the top before dusting with cocoa.
Lemon Tiramisu — Add lemon zest to the cream mixture and use lemon juice instead of some of the coffee. Bright and refreshing. Great for spring.
Strawberry Tiramisu — Layer fresh sliced strawberries between the cream and cookies. The juices mix with the coffee for a fruity twist. I do this in summer.
Almond Tiramisu — Add almond extract to the cream and sprinkle crushed almonds on top. Adds crunch and nuttiness.
Dietary Modifications:
- Gluten-Free — Use GF ladyfingers. Everything else is naturally GF.
- Dairy-Free — Use coconut cream and vegan mascarpone.
- Lower-Sugar — Use a sugar substitute like erythritol or stevia. Or reduce sugar to 2 tablespoons.
Serving & Storage
How to Serve: I usually serve this straight from the dish, slicing it into squares. It looks rustic and homey. But here are other ways I’ve enjoyed it:
- Individual Glasses — Make mini versions in shot glasses or mason jars. Great for parties. Layer everything in the glass.
- With Fresh Berries — Top with raspberries or strawberries for a color pop and freshness.
- With Whipped Cream — Add a dollop of extra whipped cream on top for extra richness.
Storage Instructions:
Refrigerator: Store in an airtight container or covered with plastic wrap for up to 5 days. It actually tastes better after day 2. The flavors deepen.
Freezing: Honestly, this doesn’t freeze well. The cream can separate when thawed, and the texture changes. I don’t recommend freezing it. Make it fresh or store in the fridge.
Pro Tip: If you’re serving it at a party, make it the night before. It’s less stressful, and the taste is superior. Just remember to dust the cocoa powder right before serving so it doesn’t get soggy.
Nutrition Information
I’m not a nutritionist, but here’s the breakdown if you’re tracking. Keep in mind this is a rich dessert, so portion control is key.
| Per Serving (1 of 8) | Amount |
|---|---|
| Calories | 280 |
| Protein | 4g |
| Carbs | 22g |
| Fiber | 1g |
| Sugar | 14g |
| Fat | 18g |
| Saturated Fat | 11g |
| Cholesterol | 50mg |
| Sodium | 60mg |
What’s Good: It’s not a health food, but it’s not a calorie bomb either. The mascarpone provides some protein and fat, which helps keep you full. The coffee has antioxidants.
What to Know: It’s high in saturated fat from the cream and cheese. It’s also high in sugar. Enjoy in moderation. If you want to lighten it up, use less sugar and more cocoa.
Final Thoughts
So that’s my go-to no-bake tiramisu with mascarpone and espresso layers! I’ve probably talked your ear off at this point, but when you make a recipe this often, you have a lot to say about it.
This has saved dessert nights more times than I can count. It’s my answer to “what’s for dessert” when I’m tired, don’t want takeout, and still want something that tastes really good. My kids are happy, my husband’s happy, and I’m happy because I’m not stressed about cooking.
Make it yours! Try different add-ins, swap in your favorite cookies, adjust the coffee strength. The best recipes are the ones you adapt to your family’s tastes. And if you make this, drop a comment and let me know what you think! I love hearing how recipes turn out in your kitchen. And if something doesn’t work, tell me that too—I’m here to help troubleshoot.
Happy cooking! And I hope your kitchen smells half as good as mine does right now.
Frequently Asked Questions
Can I use instant coffee instead of espresso?
Yes, absolutely. Dissolve 2 tablespoons of instant espresso powder in 1 cup of hot water. Let it cool. It’s cheaper and easier than brewing fresh coffee, and it works perfectly for this recipe. Just make sure it’s cooled down before dipping the cookies.
Why did my tiramisu turn out runny?
Usually, this means the cream wasn’t whipped stiff enough, or the mascarpone was too warm. Make sure your cream is very cold and whip it to stiff peaks. Also, don’t overmix the mascarpone and cream together—fold gently to keep the air in.
Can I make this gluten-free?
Yes! Just swap regular ladyfingers for gluten-free ladyfingers. They might be slightly drier, so you may need to dip them a little longer in the coffee. Test one first to see how it holds up. Everything else in the recipe is naturally gluten-free.
How long does this last in the fridge?
It lasts up to 5 days in the refrigerator. In fact, it tastes better on day 2 or 3 as the flavors meld. Just keep it covered with plastic wrap to prevent it from absorbing fridge odors.
Can I freeze this dessert?
I don’t recommend freezing it. The dairy-based cream can separate and become grainy when thawed. The texture won’t be the same. It’s best enjoyed fresh or chilled for a few days.
What if I don’t have a mixer?
You can use a whisk and a lot of elbow grease, but it will take much longer. I’d recommend using a hand mixer or stand mixer for best results. The air whipped into the cream is crucial for the light texture.
Can I add alcohol?
Yes! Traditional tiramisu uses Marsala wine or rum. Add 2 tablespoons to the coffee before dipping. It adds a nice depth of flavor. Just remember that the alcohol will evaporate slightly, but some will remain.
Pin This Recipe!
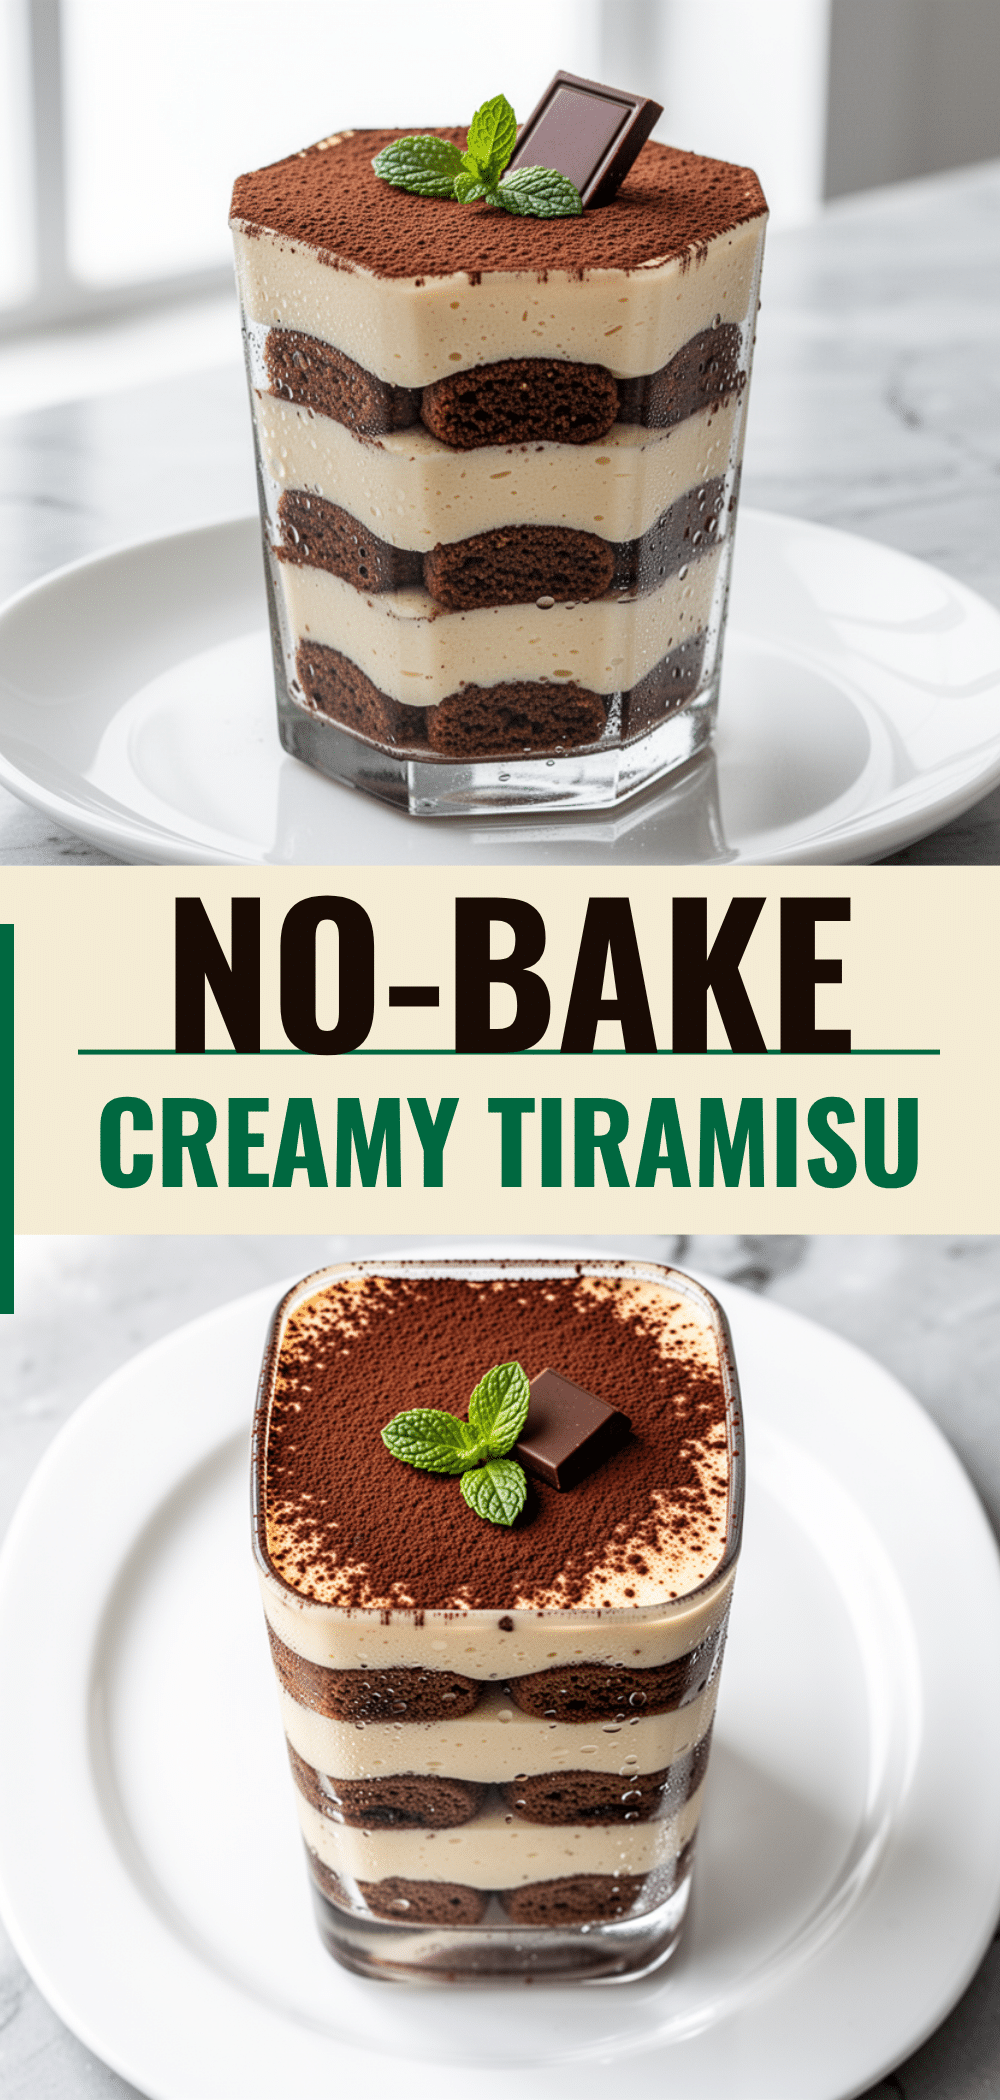
No-Bake Tiramisu: 3-Ingredient Easy Dessert
- Total Time: 4 hours 20 minutes
- Yield: 8 servings 1x
Description
A simple, no-bake tiramisu made with mascarpone, heavy cream, and ladyfingers. This easy dessert requires zero baking and delivers rich, café-quality flavor with minimal effort.
Ingredients
- 16 oz (450g) mascarpone cheese
- 1 cup (240ml) heavy whipping cream
- ¼ cup (50g) granulated sugar
- 1 teaspoon vanilla extract
- 1 cup (240ml) strong espresso or coffee, cooled
- 1 package (about 200g) ladyfingers
- 2–3 tablespoons bitter cocoa powder, for dusting
- 2 tablespoons Marsala wine or rum (optional)
Instructions
- Brew strong espresso or coffee and let it cool completely to room temperature. If using alcohol, stir it into the coffee now.
- In a medium bowl, whip the cold heavy cream using an electric mixer on medium-high speed until stiff peaks form. Set aside.
- In a separate bowl, beat the mascarpone cheese and sugar on medium speed until smooth and creamy.
- Gently fold the whipped cream into the mascarpone mixture using a spatula until combined into a light, airy mousse. Do not overmix.
- Quickly dip each ladyfinger into the cooled coffee for 1-2 seconds per side. They should be soaked but not falling apart.
- Arrange a layer of dipped ladyfingers at the bottom of an 8×8 inch baking dish or trifle bowl.
- Spread half of the cream mixture over the first layer of cookies.
- Add a second layer of dipped ladyfingers on top of the cream.
- Spread the remaining cream mixture over the top layer, smoothing it evenly.
- Cover the dish with plastic wrap and refrigerate for at least 4 hours, or ideally overnight.
- Just before serving, dust the top generously with cocoa powder using a sieve or microplane.
- Slice with a sharp knife and serve cold.
Notes
Keep mascarpone and cream cold before starting to ensure proper whipping and setting. Do not over-dip the ladyfingers or they will become soggy. This dessert improves in flavor when made the night before. It does not freeze well due to texture changes in the dairy cream.
- Prep Time: 20 minutes
- Cook Time: 0 minutes
- Category: Dessert
- Cuisine: Italian
Nutrition
- Serving Size: 1 slice
- Calories: 280
- Sugar: 14
- Sodium: 60
- Fat: 18
- Saturated Fat: 11
- Carbohydrates: 22
- Fiber: 1
- Protein: 4
Keywords: no-bake tiramisu, mascarpone dessert, easy tiramisu, espresso dessert, gluten-free dessert, make-ahead dessert, Italian dessert, 3-ingredient dessert



