I still remember the summer I turned twenty-two, sitting on the cracked concrete steps of my first apartment, holding a plastic tub of ice cream that cost more than my weekly grocery budget. It was supposed to be “artisanal salted caramel,” but it tasted like burnt sugar and regret. I was broke, I was hungry, and I was determined to figure out if homemade ice cream was actually possible without a $400 machine. That night, I threw together what I thought was a foolproof experiment. I didn’t have an ice cream maker. I didn’t have fancy stabilizers. I just had heavy cream, condensed milk, and a stubborn refusal to accept that good things had to be expensive.
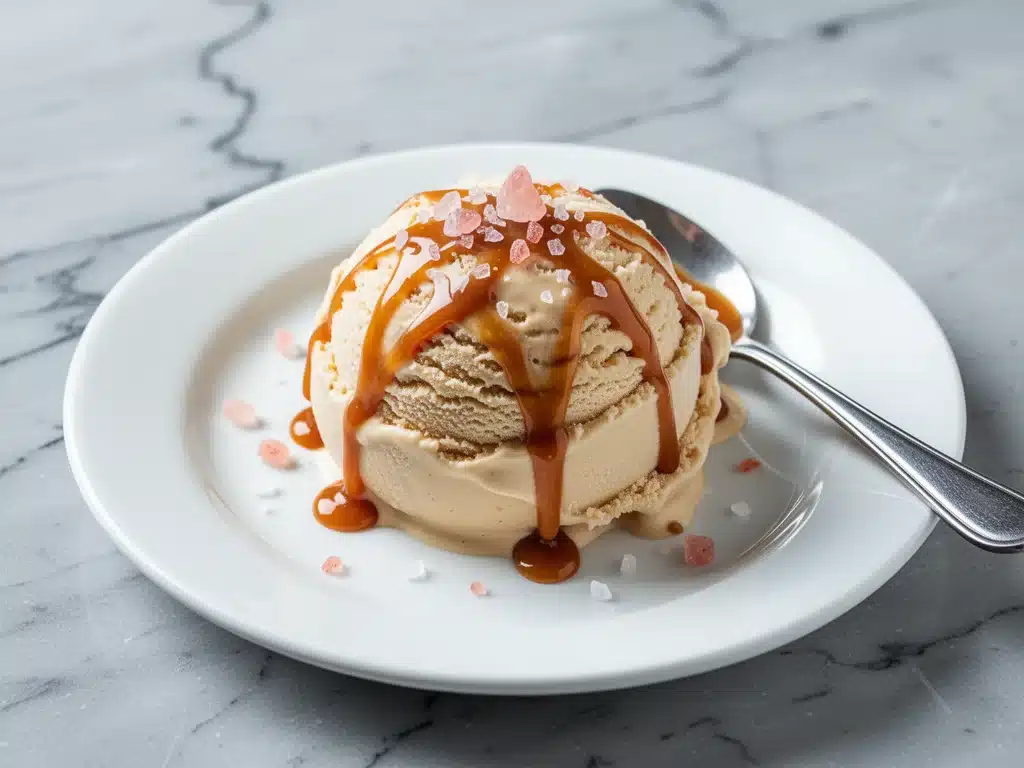
Fast forward ten years, and that accidental tub of frozen cream is still the gold standard in my kitchen. This salted caramel no-churn ice cream with sea salt swirl isn’t just a recipe; it’s my go-to comfort project. It’s the dessert I make when I need something sweet to take to a potluck, when I want to impress friends without looking like I tried too hard, or when I just need to soothe my soul on a Tuesday night. The texture is impossibly smooth—creamy, rich, and totally devoid of those icy crystals that ruin cheaper store-bought brands. The homemade caramel is chewy and buttery, and the flaky sea salt? That’s the part that makes you close your eyes and sigh.
I’ve made this specific no-churn recipe at least forty times over the last few years. I’ve tweaked the salt levels, tested different caramel techniques, and even tried swapping in coconut cream for a vegan version (which is good, but not *this* good). What I’ve landed on here is the sweet spot. It’s rich but not cloying, sweet but balanced by that sharp salty crunch. If you’ve been intimidated by making ice cream from scratch, or if you think you need a fancy machine to get that velvety texture, let me tell you: you don’t. You just need patience and a loaf pan.
Why You’ll Love This No-Churn Caramel Ice Cream
There are a few reasons I keep coming back to this salted caramel no-churn ice cream with sea salt swirl, but they all boil down to one thing: it just works. Every single time. Here’s why it deserves a permanent spot in your freezer.
Zero Fancy Equipment Needed — Seriously. If you have a hand mixer (or a whisk and some elbow grease) and a loaf pan, you’re set. No ice cream maker? No problem. No candy thermometer? I’ll show you how to tell when the caramel is ready by eye. This recipe is built for real kitchens, not just professional ones.
Texture That Rivals Premium Brands — I’m not exaggerating when I say this beats most store-bought pints. The secret is the ratio of whipped cream to condensed milk. When you whip the cream properly, you’re trapping tiny air bubbles that prevent ice crystals from forming. The result is a scoop that melts slowly on your tongue, not one that turns into a slushy mess after five minutes.
The Caramel is Actually Chewy — Store-bought caramel sauces are often too thin or too hard. This homemade version hits that perfect sweet spot: soft, chewy, and buttery. It stays soft even when frozen, so you’re not biting into chunks of hardened toffee. It swirls beautifully through the cream, creating those gorgeous ribbons you see in high-end gelato shops.
Make-Ahead Magic — This is the ultimate stress-reliever for hosting. I can make the base on Sunday, the caramel on Monday, and the final freeze takes three days. That means when my friends show up for a dinner party on Thursday, the dessert is already ready. I just pull it out, let it sit for ten minutes, and serve. No last-minute panic.
Budget-Friendly Luxury — Making this at home costs a fraction of what you’d pay for a pint of high-end salted caramel ice cream. You’re using basic pantry staples: cream, sugar, butter, salt. But the flavor profile feels indulgent and sophisticated. It’s the kind of dessert that makes people ask, “Did you buy this?” and then look disappointed when you say, “Nope, I made it.”
Ingredients You’ll Need
Before we dive into the method, let’s talk about what goes into this salted caramel no-churn ice cream with sea salt swirl. I’m being specific here because ingredient quality matters more than you think. Since there are only a few components, each one has to pull its weight.
For the No-Churn Base
Heavy Whipping Cream (2 cups / 480ml) — This is non-negotiable. You need full-fat cream with at least 35% fat content. Light cream or half-and-half won’t whip up stiff peaks, and your ice cream will turn into a brick. Keep it cold! Cold cream whips better. I literally leave the carton in the fridge overnight before I start.
Vanilla Extract (1 tablespoon) — Use the real stuff. I know the pure vanilla extract is pricey, but in a recipe this simple, it’s the star. Artificial vanilla tastes chemical and harsh. If you want to get fancy, scrape in the seeds from half a vanilla bean, but pure extract works perfectly.
Condensed Milk (1 can / 14oz or 397g) — Sweetened condensed milk, not evaporated milk. They look similar in the can, but condensed milk is thick, syrupy, and sugary. This provides the sweetness and the creamy texture without needing eggs. I usually buy the canned version; it’s consistent and easy to store.
Salt (½ teaspoon) — Just a pinch in the base itself. This isn’t for the swirl; it’s to wake up the vanilla flavor. Don’t skip it.
For the Homemade Caramel
Granulated Sugar (1 cup / 200g) — White sugar is best here. It melts cleanly and gives you that classic amber color. Brown sugar can be used, but it changes the flavor profile to be more molasses-heavy, which is nice but different.
Unsalted Butter (½ cup / 113g, cubed) — Room temperature butter melts into the hot caramel faster and more evenly. If you’re rushing, you can soften it in the microwave for 10 seconds, but don’t melt it completely. Cubes help too.
Heavy Cream (½ cup / 120ml) — Warm this up slightly before adding to the caramel. Adding cold cream to hot sugar can cause dangerous splattering. I usually microwave it for 20 seconds. Safety first!
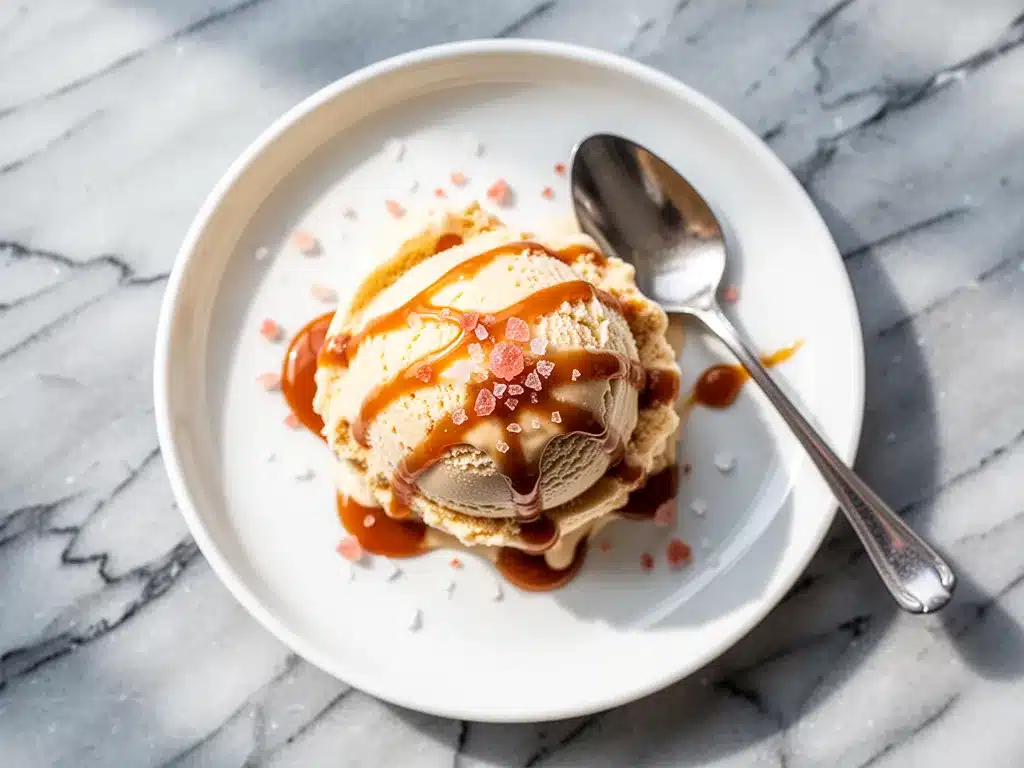
Sea Salt Flakes (for finishing) — This is crucial for the “sea salt swirl” part. Use Maldon or another large-flake sea salt. Table salt is too fine and too salty; it’ll overpower the dessert. You want those crunchy, dissolving crystals.
Equipment Needed
You don’t need a fancy kitchen for this. Here’s what I actually use, and what you can swap if you’re missing something.
Medium Saucepan — For making the caramel. A light-colored pan is helpful so you can see the sugar changing color. Dark cast iron makes it harder to judge the amber stage.
Whisk — You’ll need a good whisk for folding the whipped cream and for stirring the caramel. A silicone spatula is also essential for scraping the bowl clean.
Electric Hand Mixer or Stand Mixer — To whip the cream. Doing this by hand is possible but tiring. I use a hand mixer because it’s faster and gives me more control over the stiffness.
8×4 Inch Loaf Pan — This is the standard size for no-churn ice cream. Line it with parchment paper, leaving an overhang on the long sides. This makes it so much easier to lift the ice cream out later for scooping.
Thermometer (Optional but Helpful) — I used to guess the caramel temperature, but now I use a candy thermometer. It takes the stress out of knowing when the sugar is ready. If you don’t have one, I’ll teach you the visual cues.
How to Make It: Step-by-Step
Alright, let’s make this salted caramel no-churn ice cream with sea salt swirl. I’m walking you through exactly how I do it, including the little tricks I’ve picked up so you don’t end up with a burnt pan or a grainy sauce.
Step 1: Make the Caramel Sauce (20 minutes)
Start with the caramel because it needs time to cool. Pour your sugar into the saucepan over medium heat. Don’t stir it yet! Just let it melt. You’ll see it start to pool and turn amber at the edges. Gently swirl the pan to encourage even melting. Once it’s all liquid and a deep golden amber color, remove it from the heat immediately.
Pro Tip: If you see any dark bits, your caramel is burnt. Start over. Burnt sugar tastes bitter and will ruin the whole batch.
Slowly pour in the warm heavy cream while whisking constantly. It will bubble up violently—step back a bit! Whisk until smooth. Then, whisk in the cubed butter until fully melted and combined. Stir in a pinch of salt. Pour the sauce into a jar or bowl and let it cool completely to room temperature. It will thicken as it cools. You can speed this up by putting it in the fridge, but make sure it’s not cold yet—just cool enough so it doesn’t melt the ice cream base.
Step 2: Whip the Cream (5 minutes)
Pour your cold heavy cream into a large mixing bowl. Add the vanilla extract. Using your electric mixer, whip on medium-high speed until you see soft peaks form. Then, keep going until you reach stiff peaks. The cream should hold its shape when you lift the beaters, but it shouldn’t look grainy or separated. If it looks curdled, you’ve over-whipped it.
Step 3: Fold in the Condensed Milk (3 minutes)
Gently pour the sweetened condensed milk over the whipped cream. Using a silicone spatula, carefully fold the two together. Fold from the bottom up, turning the bowl as you go. You want to keep as much air in the mixture as possible. Stop when you see no more white streaks of condensed milk. The mixture should be smooth and fluffy.
Step 4: Assemble the Swirl (5 minutes)
Take half of the cream mixture and spread it into your lined loaf pan. Smooth the top with your spatula. Now, here’s the fun part. Take your cooled caramel sauce and drizzle it over the cream in random squiggles. Take a knife or a skewer and gently drag it through the caramel and cream in a figure-eight motion. Don’t over-mix! You want ribbons, not uniform brown cream.
Top with the remaining cream mixture. Smooth it out. Drizzle more caramel on top and do another quick swirl. Finally, sprinkle a generous amount of flaky sea salt over the very top. This salt won’t dissolve completely; it’ll create little salty crunches throughout.
Step 5: Freeze (6 hours minimum)
Cover the loaf pan tightly with plastic wrap or a lid. Freeze for at least 6 hours, but overnight is best. When you’re ready to serve, let it sit on the counter for 10-15 minutes to soften slightly. This makes scooping so much easier.
Expert Tips & Tricks
Here’s everything I’ve learned from making this dozens of times. These tips will save you from my mistakes.
Keep Everything Cold — Your cream must be ice-cold. If your bowl is warm, the cream won’t whip. I sometimes put my mixing bowl in the freezer for 15 minutes before starting. It sounds excessive, but it guarantees stiff peaks.
Caramel Consistency — If your caramel hardens too much when it hits the cream, it’s because the cream was too cold or the caramel was too hot. The key is temperature balance. If your caramel gets too thick to stir, put it back on low heat for 10 seconds to loosen it up.
Don’t Skimp on the Salt — The flaky sea salt on top is essential. It cuts through the sweetness and makes the caramel flavor pop. Without it, it’s just sweet ice cream. With it, it’s complex and addictive.
Storage Life — This ice cream stays good in the freezer for up to 2 weeks. After that, it might start to get icy or develop freezer burn. If it does get a bit hard, just let it sit out for 10 minutes before scooping.
Make It Ahead — You can make the caramel up to 3 days ahead and store it at room temperature. You can make the base up to 24 hours ahead and keep it in the fridge, but you’ll need to re-whip it slightly before folding.
Variations & Substitutions
Once you’ve nailed the basic version, here’s how you can mix it up. I’ve tried all of these.
Peanut Butter Swirl — Swap half the caramel for salted peanut butter. Swirl it in the same way. It’s like a Reese’s Cup dream.
Chocolate Chip — Fold in ½ cup of mini chocolate chips after you’ve spread the first layer of cream. Then add the caramel swirl on top.
Espresso Caramel — Add 1 tablespoon of instant espresso powder to the caramel sauce. It deepens the caramel flavor and makes it taste like a fancy coffee shop dessert.
Coconut Version — Use coconut cream instead of dairy cream, and coconut milk condensed milk. Use coconut oil in the caramel. It’s dairy-free and still incredibly rich.
Serving & Storage
I usually serve this straight from the loaf pan with a nice ice cream scoop. It looks rustic and homemade. But here are other ways I’ve enjoyed it:
Side Dishes: This pairs perfectly with warm brownies or apple pie. The cold, creamy texture contrasts with warm, spiced desserts beautifully.
Toppings Bar: When I have guests, I put out: extra caramel sauce, chopped pecans, whipped cream, and more flaky salt. Everyone loves to customize their bowl.
Storage: Keep it in an airtight container or covered tightly with plastic wrap. It will last for 2 weeks in the freezer. If you notice ice crystals forming, it’s been in there too long or wasn’t covered well enough.
Reheating: You don’t need to reheat this, but if it’s rock hard, let it sit at room temperature for 10 minutes before scooping. This is the only “reheating” you need!
Nutrition Information
I’m not a nutritionist, but here’s the breakdown if you’re tracking. Keep in mind that this is a rich dessert, so portion control is key.
Per Serving (based on 8 servings):
- Calories: 380
- Protein: 4g
- Carbs: 42g
- Fat: 22g
- Sugar: 38g
- Sodium: 120mg
What’s Good: It’s naturally gluten-free. The fat content keeps you feeling full longer than lighter desserts.
What to Know: It’s high in sugar and saturated fat because of the cream, condensed milk, and butter. It’s an indulgence, not a health food. Enjoy it as a special treat.
Final Thoughts
So that’s my salted caramel no-churn ice cream with sea salt swirl! I’ve probably talked your ear off at this point, but when you make a recipe this often, you have a lot to say about it.
This has saved me more times than I can count. It’s my answer to “what’s for dessert?” when I’m tired, don’t want to go out, and still want something that tastes really good. My family is obsessed, my friends ask for the recipe constantly, and I’m happy because I’m not stressed about cooking.
Make it yours! Try different swirls, adjust the salt, or add mix-ins. The best recipes are the ones you adapt to your family’s tastes.
If you make this, drop a comment and let me know what you think! I love hearing how recipes turn out in your kitchen. And if something doesn’t work, tell me that too—I’m here to help troubleshoot.
Happy cooking! And I hope your kitchen smells half as good as mine does right now.
Frequently Asked Questions
Can I use a stand mixer instead of a hand mixer?
Absolutely. A stand mixer with the whisk attachment works even better because it’s more consistent. Just watch it closely so you don’t over-whip the cream. Once you see stiff peaks, stop immediately.
Why did my caramel seize up?
Usually, this happens if the cream is too cold or if there’s any water in the pan when you’re melting the sugar. Water causes sugar to crystallize. Make sure your pan is bone dry and your cream is warm before adding it to the hot sugar.
Can I make this without condensed milk?
Not really. Condensed milk provides the sweetness and the texture. If you substitute with evaporated milk, it won’t be sweet enough, and if you use milk, it’ll be too watery. Stick with condensed milk for the no-churn texture.
How long does the caramel last?
The caramel sauce can be stored in an airtight jar at room temperature for up to 2 weeks, or in the fridge for up to a month. Reheat it gently in the microwave before using if it thickens too much.
Can I freeze this in ice cream trays instead of a loaf pan?
You can, but the texture might be slightly icier. The loaf pan allows for a thicker mass, which freezes more evenly. If you use trays, make sure to stir the mixture once or twice during the first hour of freezing to break up ice crystals.
Is this recipe gluten-free?
Yes, naturally! As long as you use gluten-free vanilla extract and check your caramel ingredients (most are just sugar, butter, cream, and salt), it’s completely gluten-free.
Can I use brown sugar for the caramel?
You can, but it will change the flavor. Brown sugar caramel is more molasses-forward and less sweet. It’s delicious, but it’s a different profile. For the classic salted caramel taste, stick with white sugar.
Pin This Recipe!
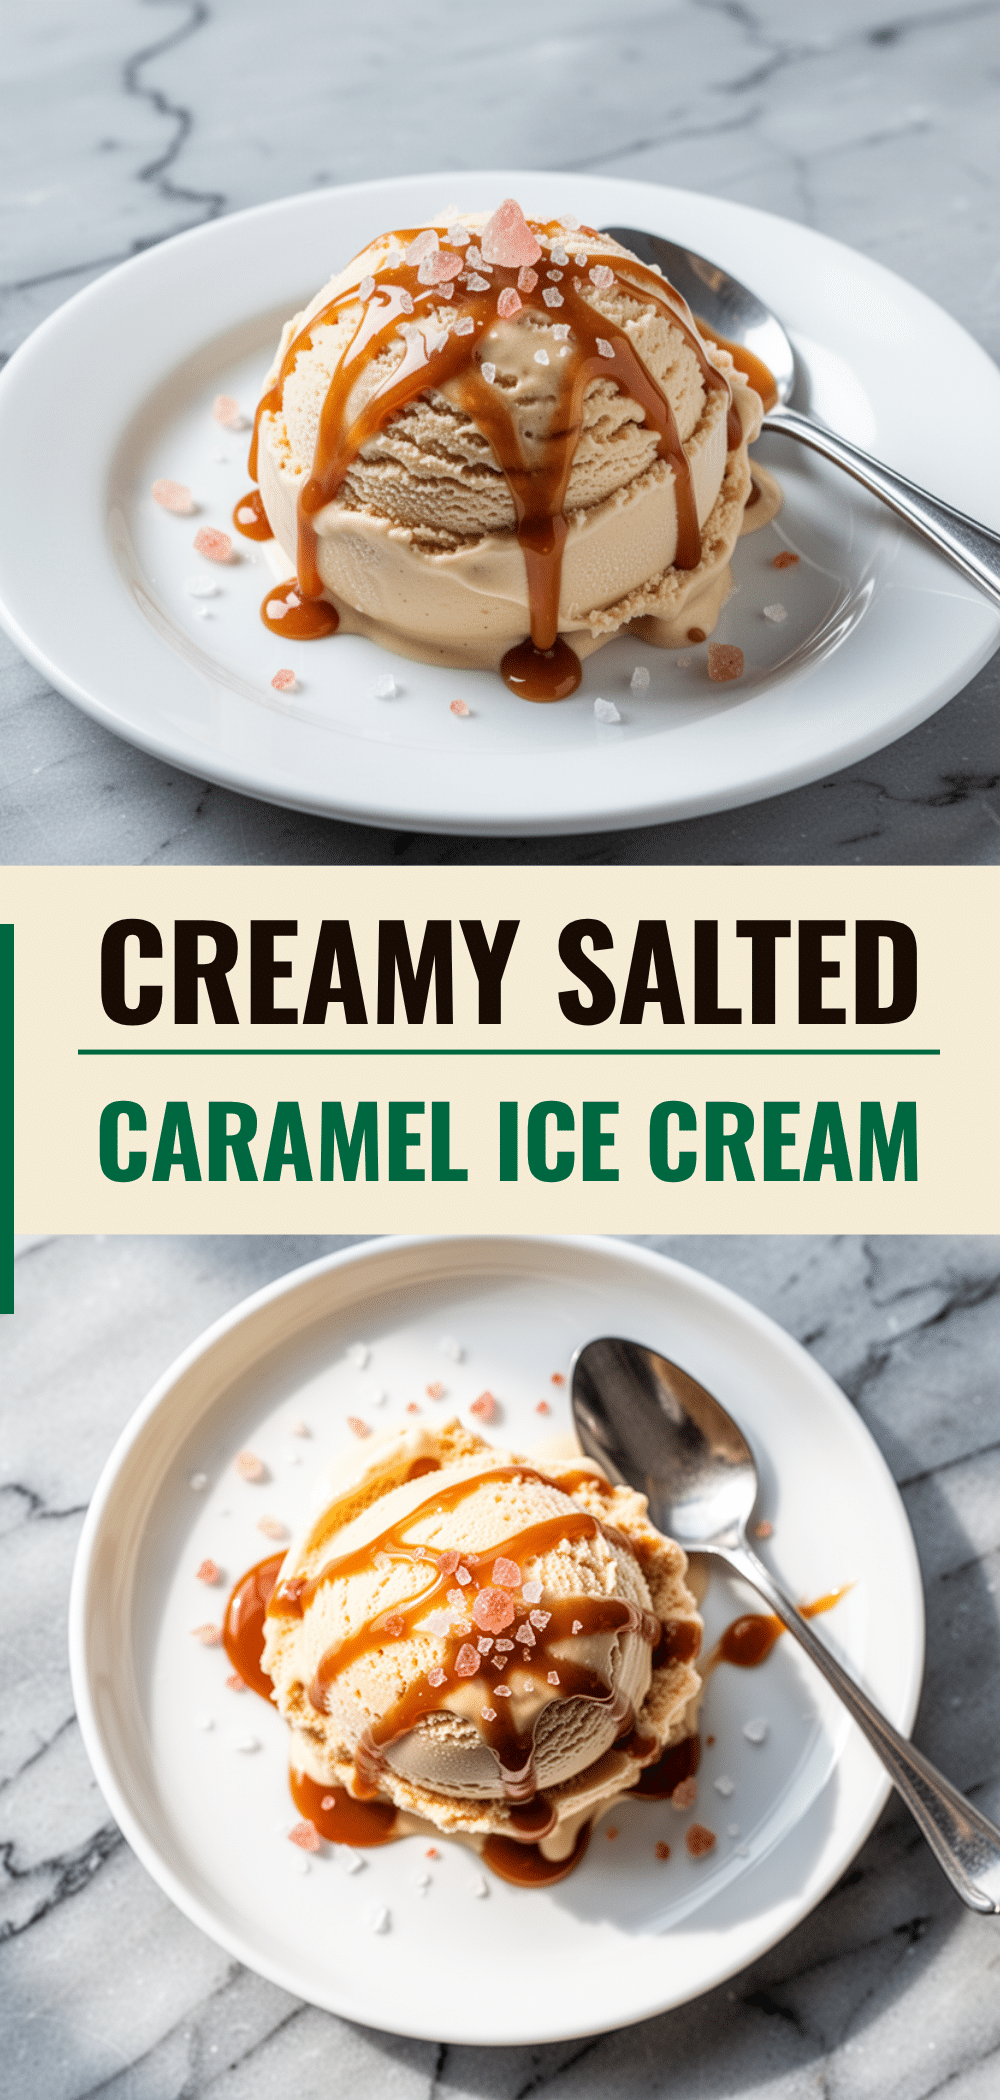
Salted Caramel No-Churn Ice Cream: Easy Sea Salt Swirl
- Total Time: 6 hours 53 minutes
- Yield: 8 servings 1x
Description
A rich, creamy no-churn ice cream featuring homemade chewy caramel and flaky sea salt swirls, requiring no ice cream machine.
Ingredients
- 2 cups heavy whipping cream (cold)
- 1 tablespoon vanilla extract
- 1 can (14oz) sweetened condensed milk
- 1/2 teaspoon salt (for base)
- 1 cup granulated sugar (for caramel)
- 1/2 cup unsalted butter (cubed, room temperature)
- 1/2 cup heavy cream (warm, for caramel)
- Sea salt flakes (for finishing)
Instructions
- Pour granulated sugar into a medium saucepan over medium heat. Let it melt without stirring until it turns a deep golden amber color.
- Remove from heat and slowly pour in warm heavy cream while whisking constantly (it will bubble up). Whisk until smooth.
- Whisk in cubed butter until fully melted and combined. Stir in a pinch of salt.
- Pour caramel sauce into a jar or bowl and let it cool completely to room temperature.
- Pour cold heavy cream into a large mixing bowl with vanilla extract. Whip on medium-high speed until stiff peaks form.
- Gently fold sweetened condensed milk into the whipped cream using a silicone spatula until smooth and fluffy.
- Spread half of the cream mixture into a lined 8×4 inch loaf pan.
- Drizzle cooled caramel sauce over the cream in random squiggles. Drag a knife through in a figure-eight motion to create ribbons.
- Top with remaining cream mixture. Drizzle more caramel on top and swirl again.
- Sprinkle flaky sea salt generously over the top.
- Cover tightly with plastic wrap or a lid and freeze for at least 6 hours or overnight.
- Let sit at room temperature for 10-15 minutes before scooping to soften.
Notes
Keep all equipment and cream ice-cold for best whipping results. Ensure the pan is bone dry when melting sugar to prevent seizing. The caramel should be cooled but not cold before swirling to prevent melting the base. This recipe is naturally gluten-free.
- Prep Time: 33 minutes
- Cook Time: 20 minutes
- Category: Dessert
- Cuisine: American
Nutrition
- Serving Size: 1/8 of loaf pan
- Calories: 380
- Sugar: 38
- Sodium: 120
- Fat: 22
- Saturated Fat: 14
- Carbohydrates: 42
- Protein: 4
Keywords: no-churn ice cream, salted caramel, sea salt swirl, homemade ice cream, dessert, summer recipe, gluten-free



