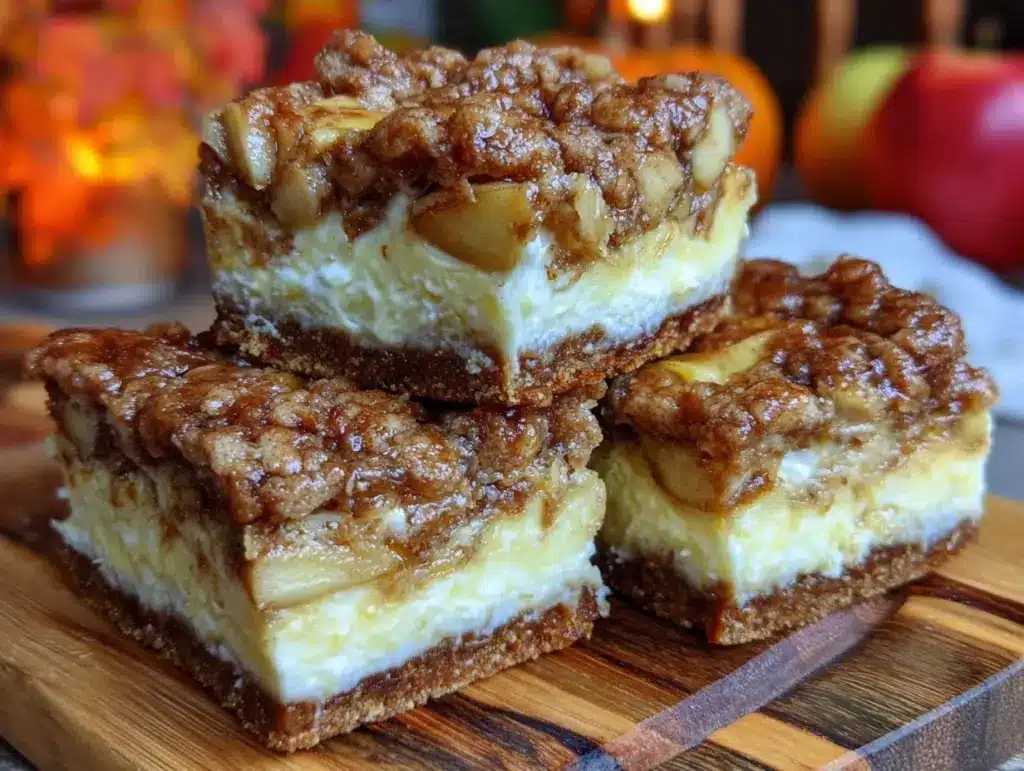
Last October, I stood in my kitchen staring at a 9×13 pan of cheesecake that had survived three days in the fridge. It was still good, technically. But it was also cold, slightly dried out at the edges, and I was too tired to deal with the guilt of letting it go to waste. I hate that feeling. You know the one. You bake something beautiful on a Saturday, eat half of it immediately, and then spend the next week staring at the container wondering if you’re going to finish it or toss it.
That was the moment I decided enough was enough. I wanted fall flavors—warm cinnamon, crisp apples, tangy cream cheese—but I didn’t want the commitment of a whole cake. I needed something that served four people, maybe six if we were really hungry, and disappeared without a trace. That’s how these Small-Batch Fall Apple Cheesecake Bars were born. I’ve made them probably twelve times since that October night, tweaking the crust ratio and figuring out the perfect apple-to-cheese balance. They are now my go-to for when I want a little treat that fits my actual appetite, not some imaginary dinner party I’m not hosting.
There’s something so satisfying about making a dessert that is perfectly sized for the moment. You get all the cozy, autumnal vibes without the post-dessert slump of eating the same thing for days. These bars are rich, creamy, and packed with tender cooked apples in every bite. They’re easier than you think, require no water bath, and most importantly, they don’t leave you with leftovers you didn’t ask for. If you’ve been looking for a way to enjoy seasonal baking without the waste, this is your new best friend.
Why You’ll Love This Small-Batch Fall Apple Cheesecake Bars Recipe
Let’s be real for a second. Baking for one or two people can feel like a chore. You don’t want to buy a whole stick of butter for two tablespoons of crust. You don’t want to spend three hours on a recipe that yields twenty bars. This recipe solves all of those problems. Here’s why these bars have earned a permanent spot in my weekly rotation:
- Perfectly Portioned — This recipe uses a 6-inch square pan (or a small 8-inch round). It yields exactly 16 bars. That’s four servings if you want to savor it, or six if you’re sharing with a partner. No more scraping the last bit out of a giant pan three days later.
- Speedy Prep — I can have these mixed and in the oven in about 20 minutes. The cooking time is longer, but the active hands-on time is minimal. It’s perfect for a Tuesday night when I want something special but don’t have the energy for a complicated project.
- Flavor-Forward — Many small-batch desserts feel under-seasoned because people are afraid of overpowering a small volume. Not here. The cinnamon, nutmeg, and vanilla punch through beautifully. The apples add natural sweetness and texture that keeps it from being just another plain cream cheese bar.
- No Special Equipment Needed — You don’t need a springform pan that leaks, a water bath, or a stand mixer. A hand mixer or even a strong whisk works fine. I make these in my beat-up old toaster oven on bad days, and they come out perfectly.
- Freezes Like a Dream — Here’s the secret weapon: these bars freeze incredibly well. If I’m making them for a friend or just want to prep ahead, I can freeze the whole batch for up to 3 months. Thaw one or two at a time. It’s like having fresh dessert on demand without the effort.
This is my go-to when I want comfort food that actually makes sense for my life. It’s indulgent but manageable, sweet but not cloying, and it tastes like fall in every single bite.
Key Ingredients for Small-Batch Fall Apple Cheesecake Bars
Since we’re working with such a small quantity, getting the ingredient ratios right is crucial. You can’t just eyeball it like you might with a big batch. Here’s exactly what you need and why I insist on specific measurements:
Shortbread Cookies (1 cup / 110g, finely crushed) — I use vanilla wafers or shortbread cookies for the crust. They provide a buttery, crisp base that holds up well against the moist filling. Do not use graham crackers unless you like a cardboard-like texture; shortbread is superior here. Process them in a food processor until they look like fine sand.
Unsalted Butter (4 tbsp / 57g, melted) — This binds the crust. Since the crust is small, you don’t need much. Melt it completely before mixing. If it’s not fully liquid, your crust will be crumbly and fall apart.
Cream Cheese (8 oz / 225g, full-fat, softened) — This is the star. Do not use low-fat or whipped cream cheese. It will not set properly and will taste watery. Let it sit on the counter for 30 minutes before you start. Cold cream cheese leads to lumps, and nobody wants lumpy cheesecake.
Granulated Sugar (½ cup / 100g) — Standard white sugar. It dissolves easily into the cream cheese. If you prefer a deeper flavor, you can swap half for brown sugar, but pure white keeps that classic tangy cheesecake taste.
Egg (1 large, room temperature) — Just one egg. This binds the filling. If your egg is cold, it can shock the cream cheese. Let it sit out while you prep the rest.
Vanilla Extract (1 tsp / 5ml) — Use real vanilla, not imitation. The flavor is concentrated in such a small batch, so cheap vanilla will taste harsh. It’s worth the extra dollar.
Apples (1 medium, approx. ½ cup / 75g, diced) — I prefer Granny Smith or Honeycrisp. Granny Smith gives a nice tart contrast, while Honeycrisp is sweeter and softer. Dice them very small—about ¼ inch pieces. You want apple in every bite, but you don’t want huge chunks that throw off the texture.
Warm Spices (1 tsp cinnamon, ¼ tsp nutmeg) — This is what makes it “fall.” Don’t skip the nutmeg; it adds that cozy, holiday vibe. If you don’t have nutmeg, a pinch of allspice works too.
Tools Needed
You don’t need fancy equipment to make these. Here’s what I use in my small kitchen:
6-inch Square Pan — This is ideal. If you don’t have one, an 8-inch round pan works, but your bars will be thinner and might cook faster. Line it with parchment paper leaving overhangs for easy removal.
Food Processor or Ziplock Bag — For crushing the cookies. A food processor is fastest, but a rolling pin and a heavy-duty bag works too. It’s good arm exercise.
Mixer — A hand mixer is perfect for this volume. A stand mixer works, but you have to be careful not to overmix since the batch is small. A whisk works if you’re feeling strong, but it takes more effort to get it smooth.
Microplane or Grater — Optional, but I love grating the apples instead of dicing them. It distributes the flavor more evenly and makes the texture silkier. If you prefer visible apple pieces, stick to dicing.
How to Make Small-Batch Fall Apple Cheesecake Bars
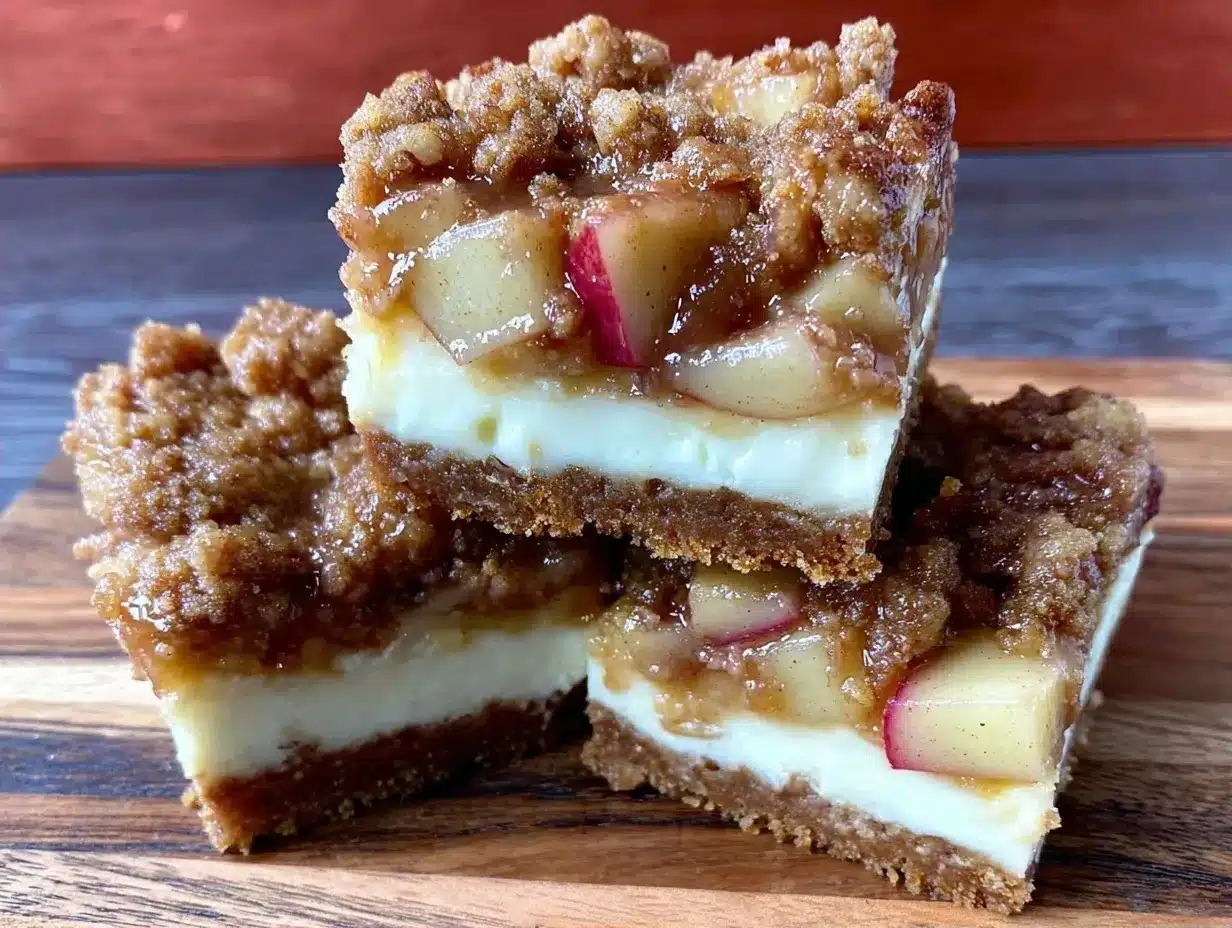
Let’s get into the nitty-gritty. I’m walking you through exactly how I do it, step by step.
Step 1: Prep the Crust (5 minutes)
Preheat your oven to 325°F (165°C). Grease your 6-inch square pan lightly with butter or non-stick spray. Line it with parchment paper, leaving a little overhang on two sides so you can lift the bars out later. This is crucial for clean removal.
Crush your cookies until they are fine crumbs. Add the melted butter and stir until the mixture looks like wet sand. Press this firmly into the bottom of your pan. Use the bottom of a measuring cup to pack it down tight. A loose crust leads to crumbling bars. Bake this crust for 8 minutes. It should smell buttery and look slightly golden. Remove from the oven and let it cool while you make the filling. Do not skip this blind bake; it prevents a soggy bottom.
Step 2: Make the Filling (10 minutes)
In a medium mixing bowl, beat the softened cream cheese, sugar, and vanilla extract until completely smooth. This is the most important step. Scrape down the sides of the bowl. If there are lumps of cream cheese, they will stay lumps after baking. It should look like thick frosting.
Add the egg and beat on low speed just until combined. Do not overmix here. Once the egg is in, gluten can start to develop, and you want this filling tender, not chewy. Fold in your diced (or grated) apples and the warm spices. The mixture will be thick. Spread it evenly over the pre-baked crust. Use a spatula to smooth the top. Tap the pan gently on the counter to release any air bubbles.
Step 3: Bake and Chill (50 minutes + cooling)
Place the pan in the center of the oven. Bake at 325°F (165°C) for 40-45 minutes. The edges should be set and slightly puffed, but the center should still have a tiny jiggle. It will continue to set as it cools. If you bake it until the center is firm, it will crack and become dry. Trust me on this.
Remove from the oven and let it cool in the pan on a wire rack for 30 minutes. It will deflate slightly. This is normal. Once cooled to room temperature, cover it tightly with plastic wrap and refrigerate for at least 4 hours, or ideally overnight. Cold cheesecake is easier to cut and tastes better.
Total Time Breakdown: 20 minutes prep, 50 minutes cook, 4+ hours chill. You can’t rush the chill!
Expert Tips for Small-Batch Success
Here’s everything I learned from making these too many times, so you don’t have to make my mistakes.
The Game-Changers
Room Temperature is Non-Negotiable
I’ve made this mistake twice. Cold cream cheese and cold egg = lumpy, uneven baking. Take your ingredients out 30 minutes early. If you forget, you can microwave the cream cheese in 10-second bursts until it’s soft to the touch, but don’t melt it.
Don’t Overbake
Small batches cook faster than you think. Check them at 35 minutes. If the center is still wobbly like Jell-O, leave it in. It will firm up in the fridge. Overbaking leads to cracks, and nobody wants a cracked cheesecake bar.
Use Parchment Paper
With such a small pan, lifting the bars out is the only way to cut them cleanly. If you don’t line the pan, you’ll be digging with a knife and making a mess. The overhang is your friend.
Common Problems & Solutions
Problem: Crusty Top
Solution: Cover the pan with foil for the last 10 minutes of baking if you see the top browning too quickly. Small pans are close to the heating element.
Problem: Soggy Bottom
Solution: You didn’t blind bake the crust enough, or you didn’t pack it down tight. Ensure the crust is firm before adding the filling.
Problem: Cracking
Solution: Overmixing the batter or overbaking. Beat gently and pull it when it’s still slightly jiggly.
Recipe Variations
Once you’ve nailed the basic version, here’s how to mix it up. These bars are a canvas for your creativity.
Maple Pecan Twist
Swap the cinnamon for maple syrup (1 tbsp) and fold in ¼ cup chopped pecans. The nuts add crunch and the maple pairs beautifully with apple. It’s like a dessert version of a classic fall brunch.
Caramel Drizzle
After the bars are chilled and cut, drizzle warm caramel sauce over the top. It adds a salty-sweet contrast that elevates the whole thing. I use store-bought caramel when I’m lazy, but homemade is worth it if you have time.
Ginger Snap Crust
Use ginger snap cookies instead of vanilla wafers for the crust. It adds a spicy kick that complements the apples. This is my personal favorite variation for winter.
Dairy-Free Option
Use vegan cream cheese (like Kite Hill) and vegan butter for the crust. The texture is slightly different but still delicious. You may need to chill them longer to set.
Gluten-Free Crust
Use gluten-free shortbread or almond flour for the crust. Almond flour makes a richer, nuttier base that works well with the apples.
Serving & Storage
Serving: I serve these chilled, straight from the fridge. They are best with a cup of black coffee or a glass of cold milk. I like to garnish with a tiny sprinkle of cinnamon or a few crushed cookie crumbs on top for presentation.
Storage: These bars keep well in the refrigerator for up to 5 days. Store them in an airtight container. If you stack them, put parchment paper between the layers to prevent sticking.
Freezing: This is where these bars shine. You can freeze the whole pan, or individual bars. Wrap tightly in plastic wrap, then foil. They freeze for up to 3 months. Thaw in the fridge overnight. They taste just as good fresh as they do frozen. This is perfect for meal prepping a treat for the week.
Do Not Freeze if you plan to add a fresh fruit topping or whipped cream, as those textures suffer after thawing. Add toppings after thawing.
Nutrition Information
I’m not a nutritionist, but here’s the breakdown for one bar (1 of 16):
| Calories | Protein | Carbs | Fiber | Fat | Sodium |
|---|---|---|---|---|---|
| 115 kcal | 2g | 12g | 0.5g | 7g | 95mg |
My Take: This is a dessert. It has sugar and cream cheese. It’s not health food. But it’s better than buying a slice of bakery cheesecake, and you know exactly what’s in it. Enjoy it as a treat, not a guilt-free snack. Pair it with a salad if you want balance, like my Strawberry Spinach Salad for a lighter meal earlier in the day.
Final Thoughts
These Small-Batch Fall Apple Cheesecake Bars are proof that you don’t need to bake for a crowd to enjoy something special. They are cozy, easy, and perfectly portioned. I’ve made them for myself, for friends, and for random Tuesday night cravings. They always hit the spot.
If you make this, I want to hear about it! Drop a comment below and let me know if you used Granny Smith or Honeycrisp apples. I love hearing how you tweak the recipe. Happy cooking!
FAQs
Can I use a different pan size?
A: Yes, but the cooking time will change. If you use an 8-inch round pan, the bars will be thinner, so reduce the bake time by 5-10 minutes. If you use a larger 9×9 pan, you’ll have very thin bars that might be hard to lift. Stick to the 6-inch square or 8-inch round for best results.
Do I have to bake the crust first?
A: I strongly recommend it. The crust needs to crisp up before the wet filling goes on top. If you skip this, the bottom will be soft and doughy. It only adds 8 minutes, but it makes a huge difference in texture.
Can I use frozen apples?
A: Fresh is best. Frozen apples release a lot of water, which can make the cheesecake filling watery. If you must use frozen, thaw them completely and squeeze out the excess liquid with a paper towel before adding them to the batter.
Why did my cheesecake crack?
A: Overmixing or overbaking. When you beat air into the batter, it expands in the oven and then collapses, causing cracks. Also, if you bake it until it’s completely firm, it will crack as it cools. Pull it when it’s still slightly jiggly.
Can I make these ahead of time?
A: Absolutely. They actually taste better the next day as the flavors meld. Make them 1-2 days ahead and store in the fridge. They also freeze beautifully for longer storage.
What if I don’t have a food processor?
A: Put the cookies in a heavy-duty ziplock bag and crush them with a rolling pin. It takes a little more effort, but it works perfectly. Just make sure they are fine crumbs, not large chunks.
Are these similar to other cheesecake recipes?
A: They are a simplified version of traditional New York cheesecake, but without the water bath and with a cookie crust instead of a graham cracker crust. If you like my Keto Cheesecake Fat Bombs, you’ll love the flavor profile here, just in a more substantial form!
Pin This Recipe!
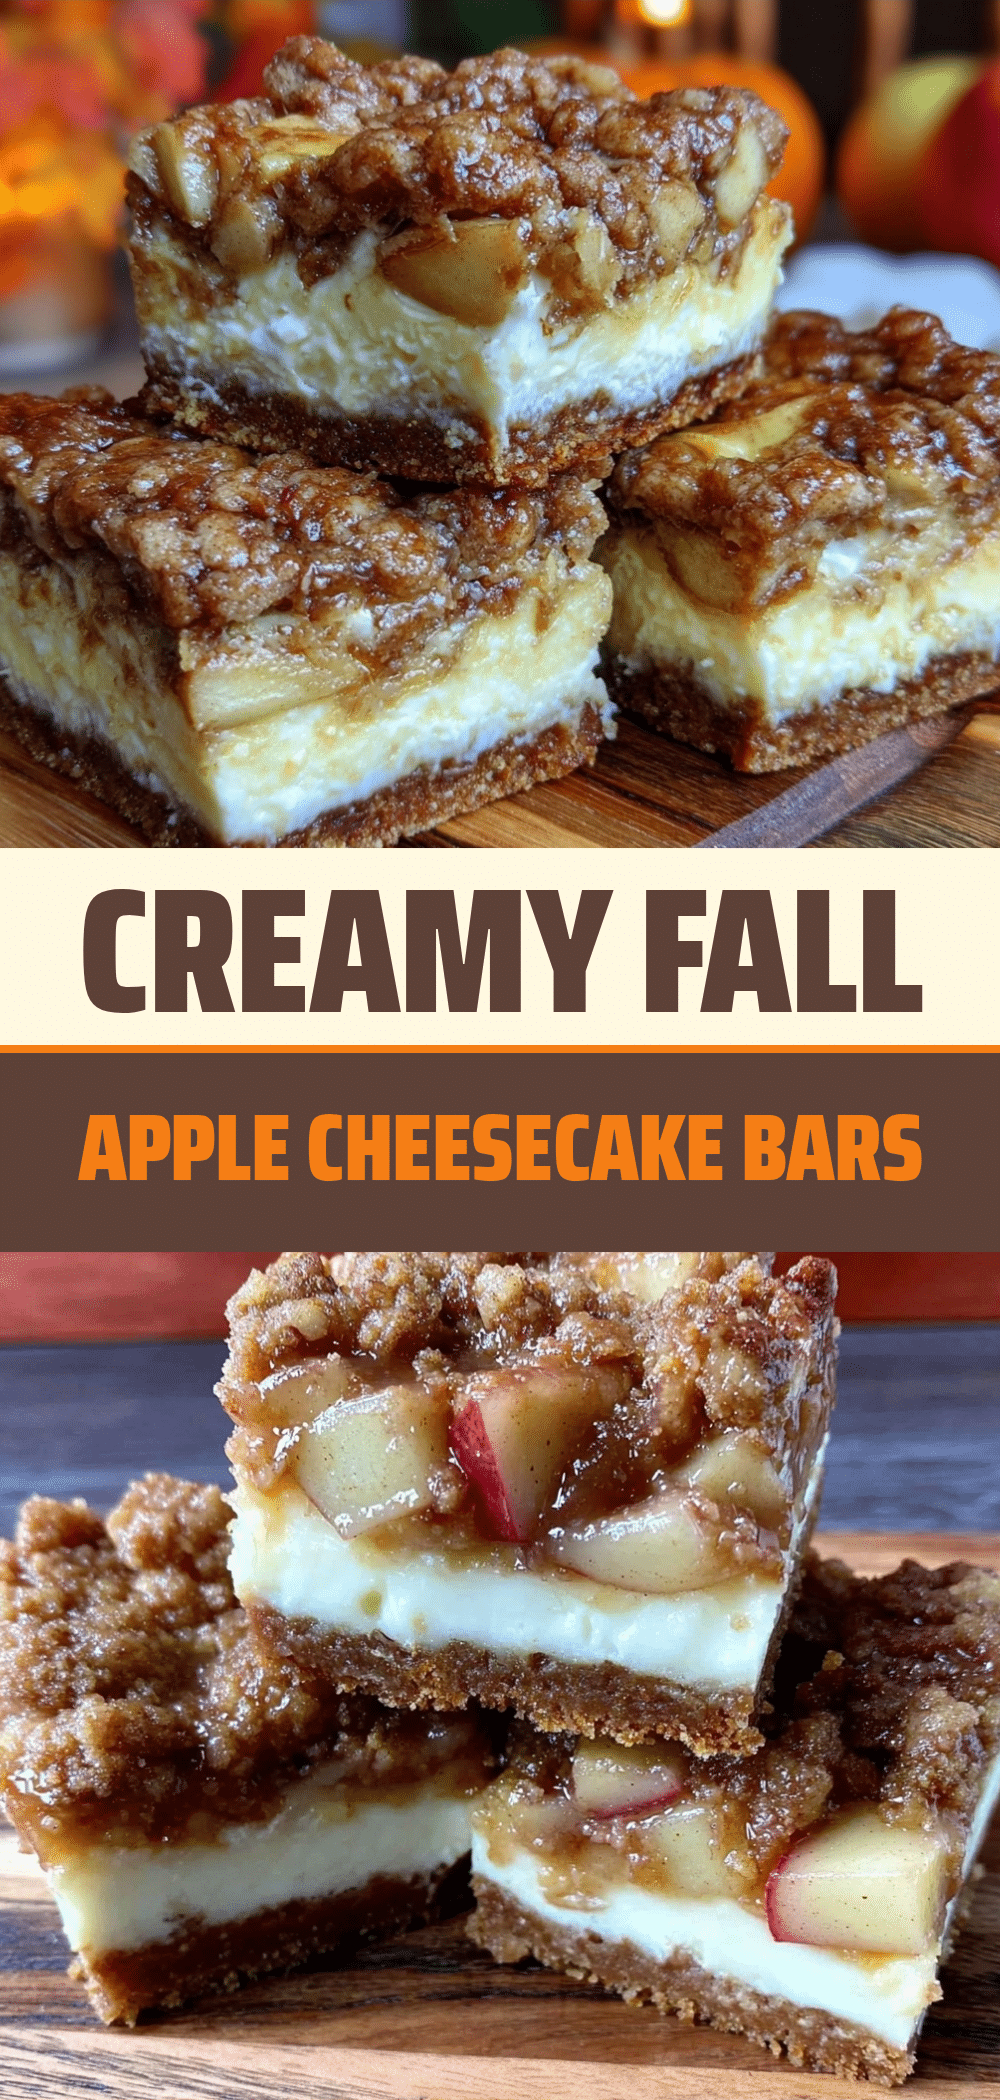
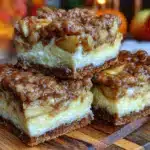
Small-Batch Fall Apple Cheesecake Bars
- Total Time: 4 hours 70 minutes
- Yield: 16 bars 1x
Description
A cozy, perfectly portioned dessert featuring tender cooked apples and tangy cream cheese in a buttery shortbread crust, designed to serve 4-6 people without leftovers.
Ingredients
- 1 cup (110g) vanilla wafers or shortbread cookies, finely crushed
- 4 tbsp (57g) unsalted butter, melted
- 8 oz (225g) full-fat cream cheese, softened
- 1/2 cup (100g) granulated sugar
- 1 large egg, room temperature
- 1 tsp vanilla extract
- 1 medium apple (Granny Smith or Honeycrisp), diced into 1/4-inch pieces (approx. 1/2 cup / 75g)
- 1 tsp ground cinnamon
- 1/4 tsp ground nutmeg
Instructions
- Preheat oven to 325°F (165°C). Grease a 6-inch square pan and line with parchment paper, leaving an overhang on two sides.
- Crush cookies into fine crumbs. Mix with melted butter until the texture resembles wet sand.
- Press the crust mixture firmly into the bottom of the pan. Bake for 8 minutes until slightly golden. Remove and let cool.
- In a medium bowl, beat softened cream cheese, sugar, and vanilla extract until completely smooth and free of lumps.
- Add the egg and beat on low speed just until combined. Do not overmix.
- Fold in the diced apples, cinnamon, and nutmeg.
- Spread the filling evenly over the pre-baked crust. Tap the pan gently to release air bubbles.
- Bake at 325°F (165°C) for 40-45 minutes. The edges should be set and slightly puffed, but the center should still have a slight jiggle.
- Cool in the pan on a wire rack for 30 minutes.
- Cover tightly with plastic wrap and refrigerate for at least 4 hours, or ideally overnight, before cutting.
Notes
Ensure all dairy ingredients are at room temperature to prevent lumps. Do not overbake, as the cheesecake will continue to set while cooling. For clean cuts, always use the parchment paper overhang. These bars freeze well for up to 3 months.
- Prep Time: 20 minutes
- Cook Time: 50 minutes
- Category: Dessert
- Cuisine: American
Nutrition
- Serving Size: 1 bar
- Calories: 115
- Sugar: 8
- Sodium: 95
- Fat: 7
- Saturated Fat: 4
- Carbohydrates: 12
- Fiber: 0.5
- Protein: 2
Keywords: small batch dessert, fall baking, apple cheesecake, no leftovers, easy cheesecake bars, autumn recipes, single serve baking