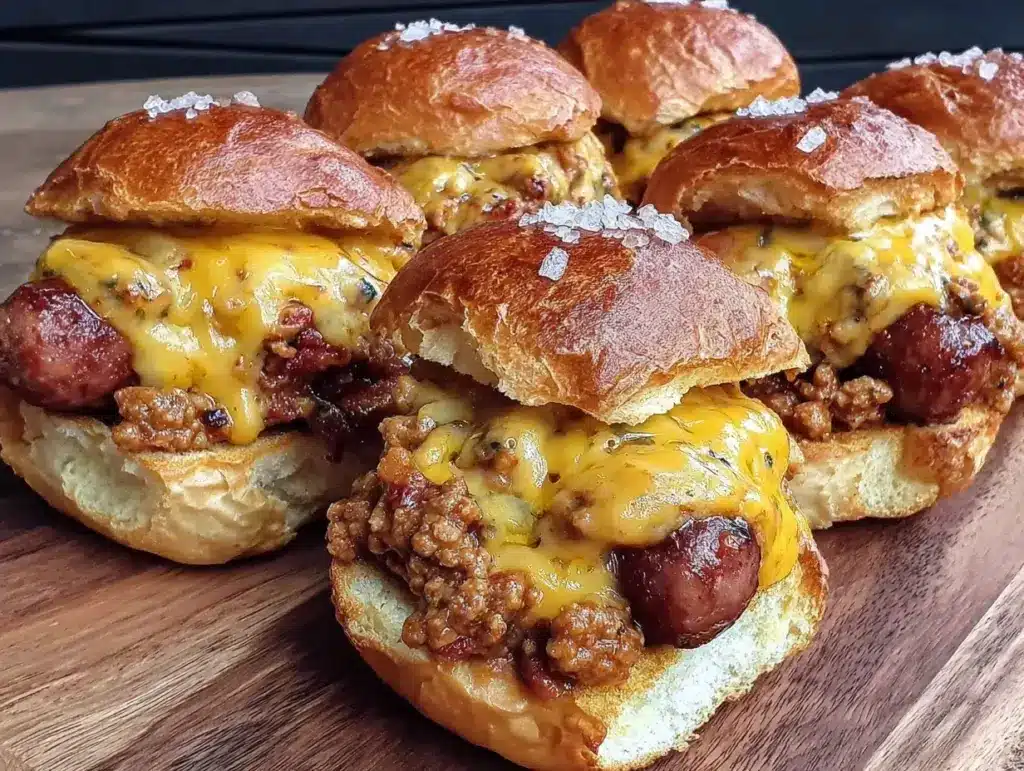
Last September, I stood in my kitchen at 6:00 AM on a Saturday, staring at a stack of buns and a bag of hot dogs like they were personal insults. My husband had just mentioned, casually, that he hoped we’d have time to hit the big tailgate at the stadium next month. “Do you think we could make those sliders again?” he asked. “The ones from last year?”
I sighed. I remembered the chaos. The melted cheese leaking everywhere. The buns getting soggy from the chili. The frantic last-minute assembly that turned a fun day into a stressful rush. I wanted to be the host who arrived with trays of golden perfection, not the one running around with a spatula and a headache.
So I did what I always do when I want control over my week: I planned it out. I tested this Tailgate Chili Cheese Dog Sliders recipe four different ways. I figured out the freezing method. I solved the sogginess problem. And now, I can make one huge batch on Sunday, portion it into four freezer-ready meals, and pull them out one by one all week long.
Here’s the thing about meal prepping game-day food: it’s not just about convenience. It’s about confidence. When I know I have four perfectly packaged Tailgate Chili Cheese Dog Sliders in the freezer, I’m not stressed about shopping or cooking on game day. I’m just heating, serving, and enjoying. This recipe has saved my sanity more times than I can count. It’s efficient, it’s delicious, and it’s the ultimate “make it once, eat it four times” victory.
Why You’ll Love This Meal Prep Strategy
Let’s be real. Most slider recipes are designed for immediate consumption. They’re meant to be eaten warm, right out of the oven, while the cheese is still gooey. That’s great for a single dinner. That’s terrible for a busy week or a busy tailgate schedule. This approach changes the game entirely.
- Zero Weeknight Stress — I make this big batch on Sunday. By Wednesday, I’m pulling one container out, thawing it, and baking it while I’m still in my pajamas. No chopping, no cooking, no thinking.
- Freezer-Ready Portions — I divide the recipe into four distinct portions. Each one is a complete meal. This means I’m not stuck eating leftovers for five days straight. I have four distinct “Tailgate Chili Cheese Dog Sliders” meals to enjoy whenever I want.
- Texture Perfection — The biggest fear with frozen sliders is soggy buns. I’ve cracked the code on layering the chili and cheese so the bun stays sturdy even after freezing and reheating. It’s about technique, not luck.
- Cost Effective — Buying hot dogs and buns in bulk is way cheaper than buying individual sliders at the stadium. Plus, you control the quality of the chili and the cheese. No mystery meat here.
- Customizable for Crowds — If I’m actually going to a tailgate, I can make six batches. They freeze beautifully. I can hand them out in foil cups or on plates, and they hold up surprisingly well for a few hours.
- Kid-Approved Speed — My kids think these are fancy restaurant food. When I pull them out of the oven, they’re impressed. It’s a great way to get them excited about a simple meal.
This is my go-to when dinner needs to just work, but I also want it to feel special. It’s comfort food that respects your time.
Key Ingredients for Success
When you’re meal prepping, ingredient quality matters even more because you’re tasting the food days later. You can’t hide behind fresh herbs if the base is weak. Here’s exactly what I use, with precise measurements so you don’t have to guess.
Mini Hot Dogs (16 count / approx. 800g) — I use beef or turkey mini dogs. They fit perfectly on slider buns. Don’t use full-size hot dogs; you’ll have to cut them, and they’ll fall apart. Look for brands with fewer fillers. I prefer Oscar Mayer or Boar’s Head for flavor.
Slider Buns (24 count / approx. 1.2kg) — You need soft, brioche-style buns. They hold up better to freezing than plain white buns. I buy the large packs from Costco or Sam’s Club. If they’re too big, just use the center halves or cut them in half. Consistency is key for even cooking.
Ground Beef (1 lb / 450g) — For the chili base, I use 80/20 ground beef. The fat adds flavor, which is crucial since you’re eating this days later. Lean beef tastes dry when reheated. If you want a lighter version, use 90/10, but expect a slightly different texture.
Chili Powder (2 tbsp / 30g) — This is the backbone of the flavor. Don’t skimp. I use Tone’s or McCormick pure chili powder. Avoid “chili seasoning mixes” that have too much salt and cornstarch. You want pure spice flavor.
Cheddar Cheese (2 cups / 200g, shredded) — Shred your own block of sharp cheddar. Pre-shredded cheese has cellulose that prevents melting. When you reheat frozen sliders, you want that gooey, stringy melt, not a grainy mess. Sharp cheddar has more flavor, which stands up to the reheating process.
Onion (1 large / approx. 200g, diced) — Yellow onion. Finely diced. You want it to disappear into the chili so every bite has flavor. If you hate onions, you can skip them, but I highly recommend keeping them for depth.
Garlic (4 cloves / approx. 12g, minced) — Fresh garlic only. Jarred garlic has a metallic taste that becomes overwhelming when frozen and reheated. Fresh garlic is sweet and aromatic.
Tomato Sauce (15 oz / 425g can) — No salt added. You control the sodium. This gives the chili its body. Stir it in at the end to keep the texture loose enough to spoon over the dogs.
Tools Needed
You don’t need fancy equipment. Here’s what I use to keep this efficient and organized.
Large Skillet — I use a 12-inch cast iron skillet. It distributes heat evenly for browning the beef. If you don’t have cast iron, a non-stick pan works fine.
Saucepan — Medium-sized. For simmering the chili. I use a 3-quart pot.
Sheet Pans — Two half-sheet pans (18×13 inches). I bake the sliders in batches. This ensures even browning. One pan isn’t enough for 24 sliders.
Freezer-Safe Containers — Four quart-sized containers with tight lids. I use Pyrex or OXO good grips. They stack well in the freezer.
Aluminum Foil Cups — If you’re taking these to a tailgate, these are essential for easy serving and cleanup.
How to Make Tailgate Chili Cheese Dog Sliders
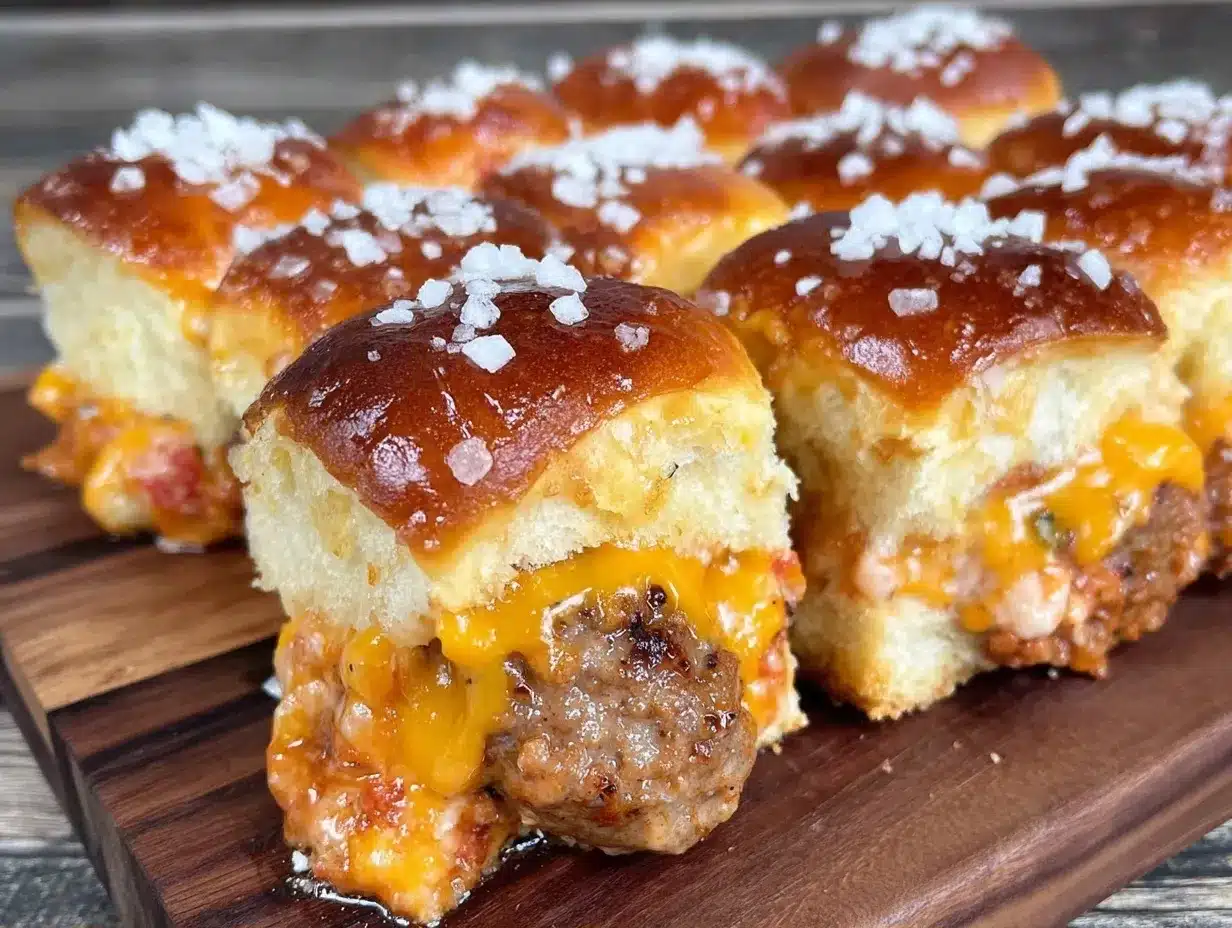
Let’s get into the method. This is a two-part process: making the chili and assembling the sliders. I do it all in one afternoon.
Step 1: Make the Chili Base (15 minutes)
Heat your skillet over medium-high heat. Add the ground beef and diced onion. Cook for 5-6 minutes, breaking the meat apart with a spatula. You want the beef browned and the onions translucent. Drain any excess fat if there’s more than 2 tablespoons. This is crucial for preventing greasy frozen sliders.
Stir in the minced garlic and chili powder. Cook for 1 minute until fragrant. Don’t burn the garlic! It tastes bitter. Add the tomato sauce. Simmer on low for 5 minutes. Taste it. It should be thick, not soupy. If it’s too thin, simmer longer. If it’s too thick, add a splash of water. Set aside to cool slightly.
Step 2: Prepare the Hot Dogs (5 minutes)
While the chili simmers, boil or steam the mini hot dogs for 3-4 minutes. You want them heated through but not split open. Drain and pat dry with paper towels. Moisture is the enemy of freezing. Dry dogs mean better texture later.
Step 3: Assemble the Sliders (10 minutes)
Preheat your oven to 350°F (175°C). Line your sheet pans with parchment paper. Split the slider buns in half horizontally. Place the bottom halves on the pans. Place one hot dog on each bun bottom. Spoon 2-3 tablespoons of chili over each hot dog. Top with a generous pinch of shredded cheddar cheese. Place the top bun halves on.
Here’s the secret: brush the tops of the buns with a little melted butter or olive oil. This creates a barrier that keeps the chili from soaking in during storage. It also helps them brown beautifully in the oven.
Step 4: Bake and Cool (15 minutes)
Bake for 10-12 minutes, until the cheese is bubbly and the buns are golden. Remove from the oven and let them cool completely on a wire rack. This step is non-negotiable. If you pack them warm, condensation will form, and your sliders will get soggy. Cool for at least 20 minutes.
Total Time: 45 minutes active. You can do this while listening to a podcast or helping with homework.
Expert Tips for Freezing Success
Here’s everything I learned from making this too many times. These tips separate the soggy disasters from the perfect sliders.
The Game-Changers:
Don’t Overfill the Chili
The first time I made this, I piled on too much chili. The buns got waterlogged. Now, I use exactly 2 tablespoons per slider. It’s enough flavor, but the bun stays intact. Think of it like a sandwich, not a soup.
Cool Completely Before Packing
I know it’s tempting to pack them hot. Don’t. Let them cool to room temperature. Then, refrigerate them for an hour before freezing. This removes excess heat and moisture. Cold food freezes faster and better.
Wrap Tightly in Foil
Before putting them in containers, wrap each portion of 6 sliders tightly in aluminum foil. This prevents freezer burn. Then place the foil bundle in the container. Double protection.
Common Problems & Solutions:
Problem: Soggy Buns
Solution: You didn’t cool them enough, or you used too much chili. Always use dry hot dogs and minimal chili.
Problem: Cheese Grainy
Solution: You used pre-shredded cheese. Always shred your own block of cheddar. It melts smoothly.
Problem: Freezer Burn
Solution: Your packaging wasn’t airtight. Use double wrapping (foil + container) and remove as much air as possible.
Pro Tricks:
Label Everything
Write the date and “Tailgate Chili Cheese Dog Sliders” on the container with a marker. You will forget what’s in there in two weeks. Don’t be that person.
Freeze in 6-Slider Packs
Six sliders is the perfect amount for one person or a small family. It’s easy to reheat and doesn’t waste food.
Recipe Variations
Once you’ve nailed the basic version, here’s how to mix it up. These variations work great with the meal prep method.
Spicy Jalapeño Version
Add diced jalapeños to the chili and use pepper jack cheese instead of cheddar. This is my favorite for game day. The heat cuts through the richness.
Bacon-BLT Sliders
Skip the chili. Use cooked bacon bits, lettuce (add after reheating), and tomato slices. This is lighter and fresher. Great for spring tailgates.
BBQ Bacon Sliders
Swap the chili for BBQ sauce. Add crispy bacon bits and red onion. The smoky flavor is incredible. I love this version with crispy bacon egg and cheese breakfast sliders vibes, but savory.
Vegetarian Option
Use veggie dogs and a bean chili. The method is the same. It’s hearty and satisfying.
Gluten-Free Buns
Use gluten-free slider buns. They hold up well if you follow the cooling and wrapping steps. Just be gentle when reheating.
Serving & Storage
Serving:
Reheat in the oven at 350°F for 15-20 minutes, or in the microwave for 2-3 minutes. Serve with extra chili on the side if you want more flavor. A simple strawberry spinach salad or budget-friendly grilled corn salad makes a great side dish to balance the heaviness.
Storage:
These freeze perfectly for up to 3 months. I keep them in the freezer for easy weeknight dinners. To reheat, thaw in the fridge overnight, then bake. They don’t freeze well in foil cups if you’re storing them long-term, as the foil can tear. Stick to containers.
Meal Prep Tip:
Make four batches on Sunday. Label them Week 1, Week 2, Week 3, Week 4. You’ll thank yourself later.
Nutrition Information
I’m not a nutritionist, but here’s the breakdown. This is comfort food. It’s indulgent. But it’s better than takeout.
| Per Serving (6 Sliders) | Amount |
|---|---|
| Calories | 650 |
| Protein | 28g |
| Carbs | 45g |
| Fiber | 3g |
| Fat | 35g |
| Sodium | 1100mg |
My Take:
This is high in sodium and fat. It’s not a salad. It’s a treat. Enjoy it as part of a balanced week. Pair it with veggies to balance the meal.
Final Thoughts
Meal prepping doesn’t have to be boring. These Tailgate Chili Cheese Dog Sliders are fun, flavorful, and incredibly convenient. I love that I can make them once and have four meals ready to go. It’s the ultimate time-saver.
If you make this, drop a comment! I love hearing how it turns out in your kitchen. Do you add extra cheese? Do you use spicy dogs? Share your tips.
Happy cooking!
FAQs
Can I freeze these without baking them first?
You can, but I don’t recommend it. Raw dough doesn’t freeze well for buns. They can become dense. It’s better to bake them, cool them, and then freeze. The texture is much better.
How do I reheat them without drying out the buns?
Wrap them in foil and bake at 350°F for 15 minutes. The foil traps moisture. If you microwave them, cover them with a damp paper towel. This adds steam and keeps them soft.
Can I use chili from a can?
Yes, but homemade chili is thicker and holds up better. Canned chili can be too watery. If you use canned, drain it first. Or, mix it with a little tomato paste to thicken it.
Do these work for a large tailgate crowd?
Absolutely. I make six batches for big events. They hold up in foil cups for 2-3 hours. Just keep them warm in a slow cooker or insulated bag. They’re easy to grab and eat.
What’s the best cheese to use?
Sharp cheddar is my go-to. It has a strong flavor that doesn’t disappear when frozen. Pepper jack is great for spice. American cheese is too mild. Avoid pre-shredded cheese.
Can I make these ahead for a birthday party?
Yes. Make them, freeze them, and thaw the night before. Bake them an hour before the party. They’ll be fresh and warm when guests arrive.
Are these similar to other slider recipes?
They’re similar to labor-day-smoky-pulled-pork-sliders in terms of the meal prep strategy. You make a big batch, portion it, and freeze it. The method is the same, just different flavors.
Pin This Recipe!
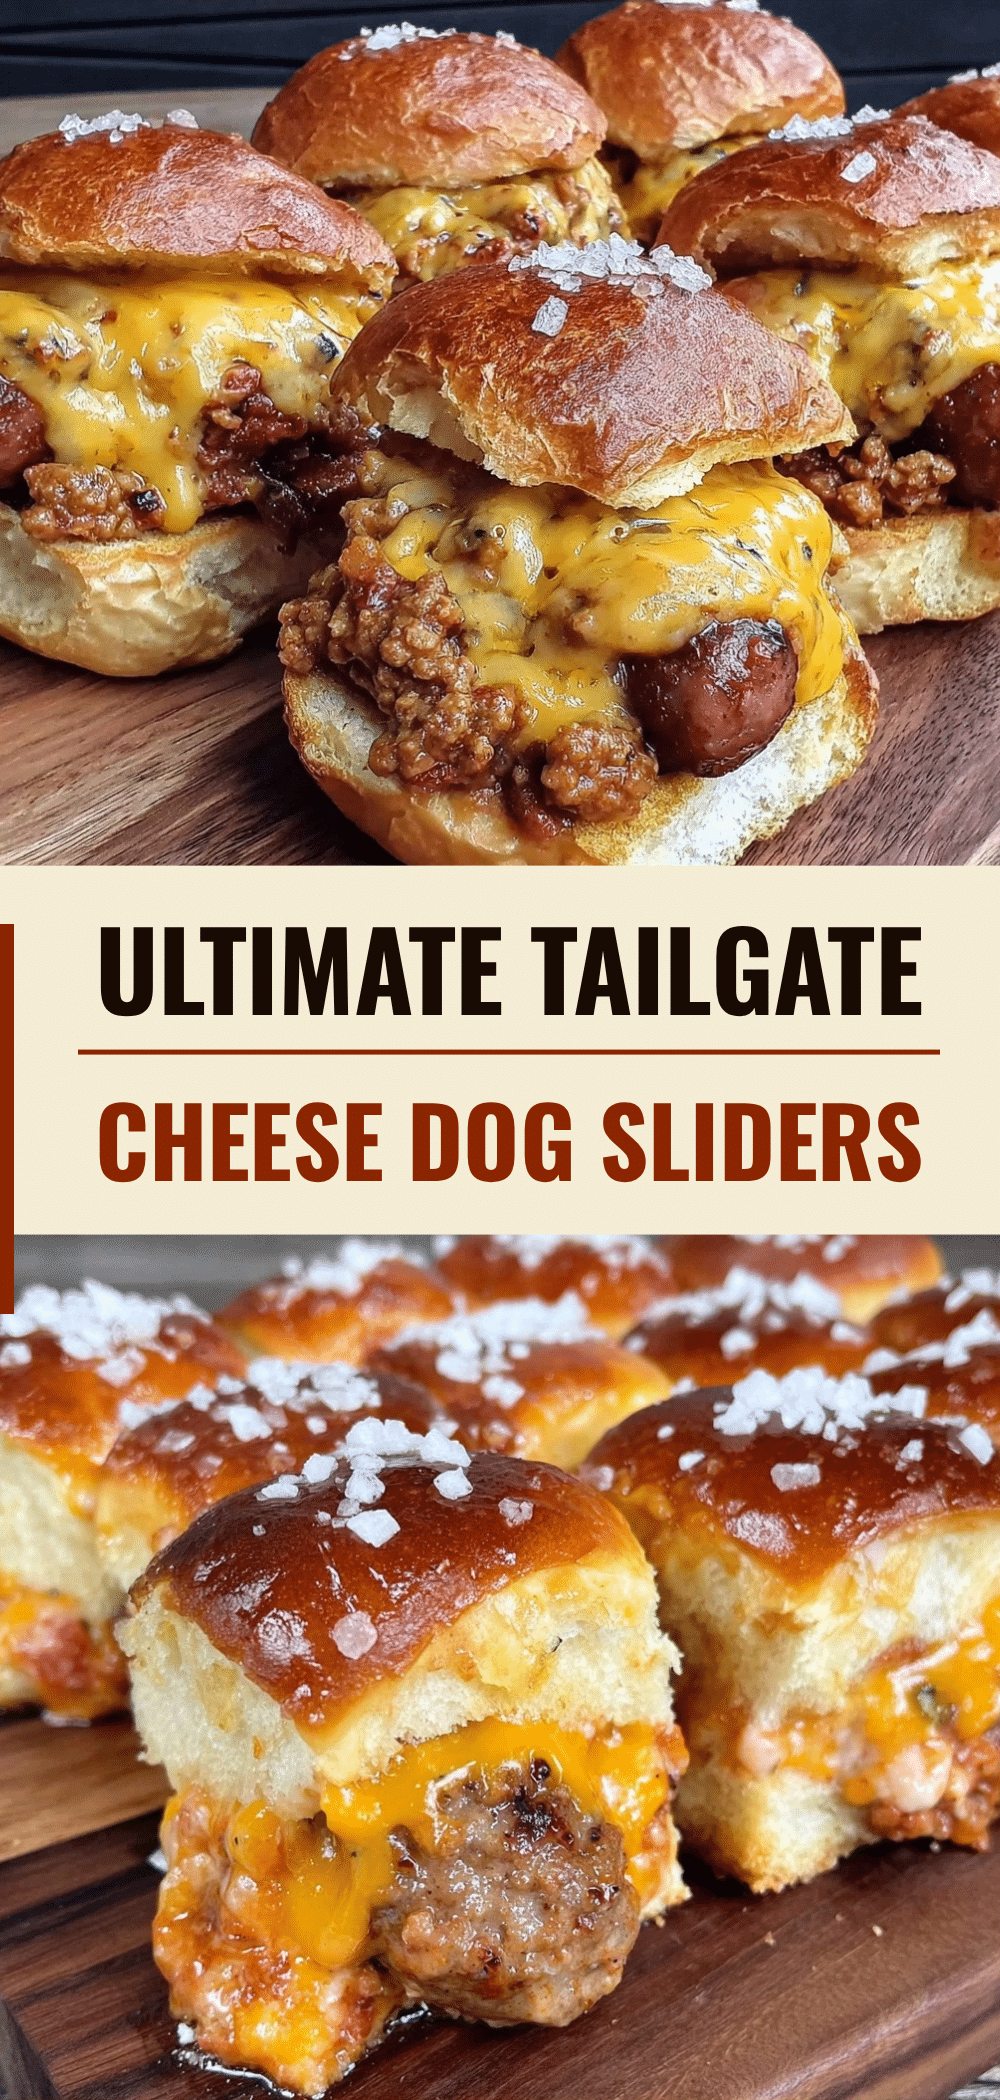
Tailgate Chili Cheese Dog Sliders: 4 Freezer-Ready Meals
- Total Time: 45 minutes
- Yield: 4 servings (24 sliders total) 1x
Description
A meal-prep friendly recipe for chili cheese dog sliders that can be made in one batch, portioned into four freezer-ready meals, and reheated for stress-free game days or weeknight dinners.
Ingredients
- 16 mini hot dogs (approx. 800g), beef or turkey
- 24 slider buns (approx. 1.2kg), brioche-style
- 1 lb (450g) ground beef (80/20)
- 2 tbsp chili powder
- 2 cups (200g) sharp cheddar cheese, shredded
- 1 large yellow onion, diced
- 4 cloves garlic, minced
- 15 oz (425g) can tomato sauce (no salt added)
- Melted butter or olive oil (for brushing buns)
Instructions
- Heat a large skillet over medium-high heat. Add ground beef and diced onion; cook for 5-6 minutes, breaking meat apart, until beef is browned and onions are translucent. Drain excess fat.
- Stir in minced garlic and chili powder; cook for 1 minute until fragrant.
- Add tomato sauce and simmer on low for 5 minutes until thick. Set aside to cool slightly.
- While chili simmers, boil or steam mini hot dogs for 3-4 minutes. Drain and pat dry thoroughly with paper towels.
- Preheat oven to 350°F (175°C). Line sheet pans with parchment paper.
- Split slider buns horizontally. Place bottom halves on pans.
- Place one hot dog on each bun bottom. Spoon 2-3 tablespoons of chili over each hot dog.
- Top with a generous pinch of shredded cheddar cheese.
- Place top bun halves on sliders. Brush tops with melted butter or olive oil.
- Bake for 10-12 minutes until cheese is bubbly and buns are golden.
- Remove from oven and let cool completely on a wire rack for at least 20 minutes.
- Wrap portions of 6 sliders tightly in aluminum foil, then place in freezer-safe containers.
- To serve, thaw in fridge overnight, then reheat in oven at 350°F for 15-20 minutes or microwave for 2-3 minutes.
Notes
Cool sliders completely before packing to prevent sogginess. Use dry hot dogs and minimal chili to maintain bun texture. Wrap tightly in foil to prevent freezer burn. Can be stored in the freezer for up to 3 months.
- Prep Time: 15 minutes
- Cook Time: 30 minutes
- Category: Main Course
- Cuisine: American
Nutrition
- Serving Size: 6 sliders
- Calories: 650
- Sugar: 6
- Sodium: 1100
- Fat: 35
- Saturated Fat: 12
- Carbohydrates: 45
- Fiber: 3
- Protein: 28
Keywords: tailgate food, chili cheese dog sliders, meal prep, freezer meals, game day food, slider recipe, comfort food