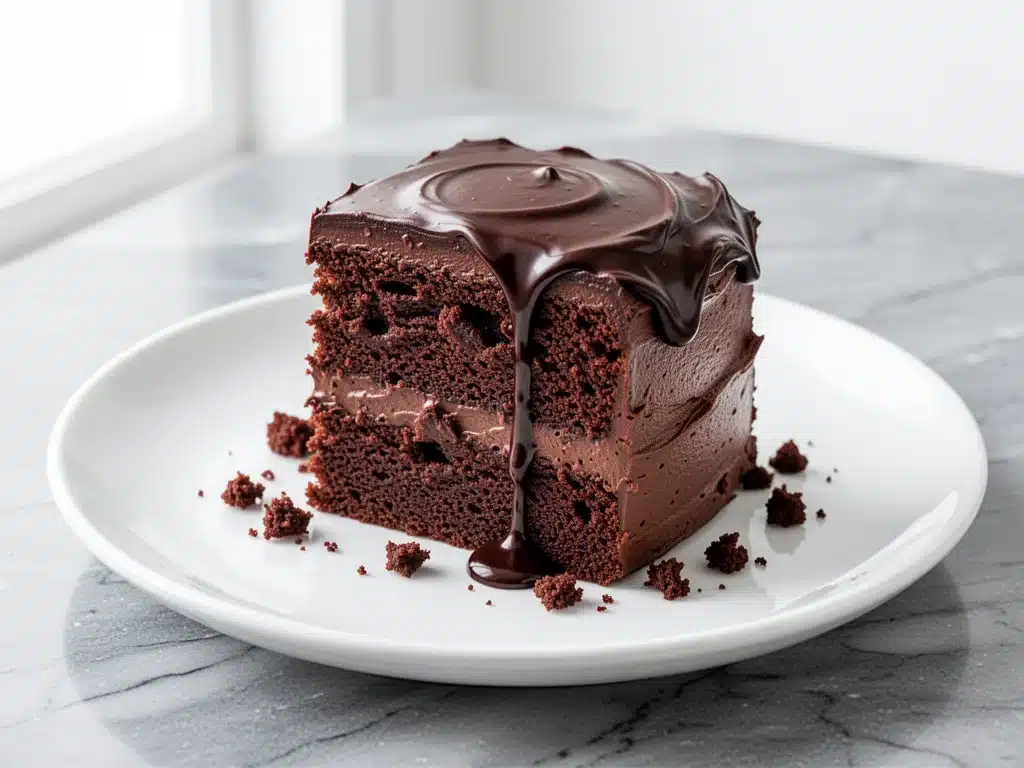
Last Thursday, I was standing in my kitchen at 6:45 PM, staring at a empty fridge that contained nothing but half a lemon, some sad spinach, and a jar of pickles. My daughter’s birthday was the next day. Her party was Saturday. And the one thing I had completely forgotten to bake? The cake. Not just any cake—she wanted chocolate. Double chocolate. With chocolate frosting. And she’s the type of kid who notices if the frosting isn’t perfectly smooth (spoiler: mine wasn’t).
I panicked. I opened a few delivery apps, but by the time I ordered, picked up, and got home, it was nearly 8 PM. The party prep was a mess. I felt defeated. That’s when I remembered a recipe I’d bookmarked months ago titled “Ultra-Moist Double Chocolate Cake.” It promised to be done in under an hour with just five steps. I didn’t believe it. But I had nothing left to lose.
Twenty minutes later, my kitchen smelled like a fancy bakery. Thirty minutes later, I had a cake that was so moist, so rich, and so deeply chocolatey that my daughter screamed when she saw it. It wasn’t just good for a last-minute rescue; it was genuinely better than the expensive cakes we’d bought in the past. This Ultra-Moist Double Chocolate Cake has since become my go-to for any time I’m running late, running on empty, or just craving something sweet without the fuss.
Here’s the thing about this cake: it doesn’t require a stand mixer. It doesn’t require tempering chocolate. It doesn’t require you to be a pastry chef. It requires you to mix wet ingredients, mix dry ingredients, combine them, and bake. That’s it. If you can follow those instructions, you can make this. I’ve tested it at least fifteen times over the last year, tweaking the sugar levels and checking the bake times, and I’ve landed on the perfect balance. It’s dense enough to feel indulgent but light enough to not weigh you down. It’s the kind of cake that makes people ask for the recipe, then ask if you sell it.
Why You’ll Love This Ultra-Moist Double Chocolate Cake
Let’s be real for a second. Baking is supposed to be relaxing, but let’s face it: most weeknights, it feels like a chore. This Ultra-Moist Double Chocolate Cake changes that dynamic completely. I’ve made this for everything from impromptu dessert nights to actual birthday parties, and here is exactly why it keeps earning a spot in my regular rotation.
- Actually Takes 45 Minutes (Not 2 Hours) — Seriously. From mixing to out of the oven, it’s less than an hour. I’ve timed it. The prep is 10 minutes, the bake is 30, and the cool down is 5. This is perfect for those nights when you want homemade but don’t want to spend your entire evening at the stove.
- One-Bowl Wonder — Okay, technically it’s two bowls (wet and dry), but you don’t need a mixer. You just need a whisk and a spoon. No dirty mixer attachments. No splattered flour across the counter. This is the clean-up-friendly cake that makes me actually want to bake on a Tuesday.
- Restaurant-Quality Moistness — Most homemade cakes dry out by the next morning. Not this one. The buttermilk and oil combo keeps it incredibly moist for days. I’ve eaten leftovers on day three, and they still tasted fresh. This is crucial for busy parents who need a snack that lasts.
- Intense Chocolate Flavor — It’s called “double” chocolate for a reason. We use both cocoa powder and melted chocolate chips. The result is a deep, dark, rich flavor that isn’t overly sweet. It tastes like a high-end chocolate truffle, not a sugary box mix.
- Foolproof Texture — I’ve had friends with zero baking experience make this. They’ve all succeeded. The batter is forgiving. If you overmix it slightly, it’s fine. If you underbake it by two minutes, it’s still good. It’s a confidence-builder for nervous bakers.
This cake has saved me more times than I can count. It’s my answer to “I need something sweet, fast, and impressive.” It’s reliable, it’s delicious, and it’s incredibly easy. Once you try it, you’ll never buy a boxed mix again.
Ingredients You’ll Need for Double Chocolate Cake
Here’s the best part: you probably have most of these ingredients already. This isn’t a recipe that requires a trip to three different specialty stores. It’s built on pantry staples that most people keep on hand. I’m particular about a few things here—specifically the cocoa powder and the chocolate chips—but the rest is pretty standard.
For the Cake Batter
All-purpose flour (2 cups / 250g) — This is your base. Don’t use self-rising flour; the leavening agents in that will throw off the balance. Just plain, old-fashioned AP flour. Sift it if it’s clumpy, but it’s not strictly necessary.
Granulated sugar (1 ½ cups / 300g) — Yes, it’s a sweet cake. But the bitterness of the dark cocoa balances it out. Don’t reduce the sugar unless you want a dry cake; sugar adds moisture. I use regular white sugar.
Cocoa powder (¾ cup / 75g) — This is non-negotiable. Use unsweetened cocoa powder. I prefer Dutch-processed cocoa (like Hershey’s Special Dark or Droste) because it’s less acidic and has a deeper flavor. Natural cocoa works too, but the taste will be slightly brighter and less rich.
Baking powder & baking soda (1 tsp / ½ tsp) — We need both. The baking powder gives it lift, and the baking soda reacts with the acidic buttermilk to create those tender crumb bubbles. Make sure they’re not expired. Old leavening agents are the #1 reason cakes fail.
Salt (1 tsp) — Essential. Salt enhances chocolate flavor. Don’t skip it. If you use salted butter (which we aren’t, but still), reduce to ½ tsp.
Eggs (2 large) — Room temperature eggs are best. They emulsify better into the batter, creating a smoother, more uniform texture. If you’re rushed, just drop them in a bowl of warm water for 5 minutes.
Buttermilk (1 cup / 240ml) — This is the secret weapon. The acidity tenderizes the gluten, making the cake ultra-soft. If you don’t have buttermilk, make your own: add 1 tablespoon of white vinegar or lemon juice to a measuring cup, then fill the rest with regular milk. Let it sit for 5 minutes until it curdles slightly.
Vegetable oil (½ cup / 120ml) — I use oil instead of butter. Butter makes cakes taste great but can make them dense. Oil keeps them moist for days. Use a neutral oil like vegetable, canola, or light olive oil. Don’t use extra virgin olive oil unless you want an olive-tasting cake.
Vanilla extract (2 teaspoons) — Pure vanilla. Not imitation. It adds depth to the chocolate. If you’re out, it’s okay, but it won’t taste as complex.
For the Chocolate Ganache Topping
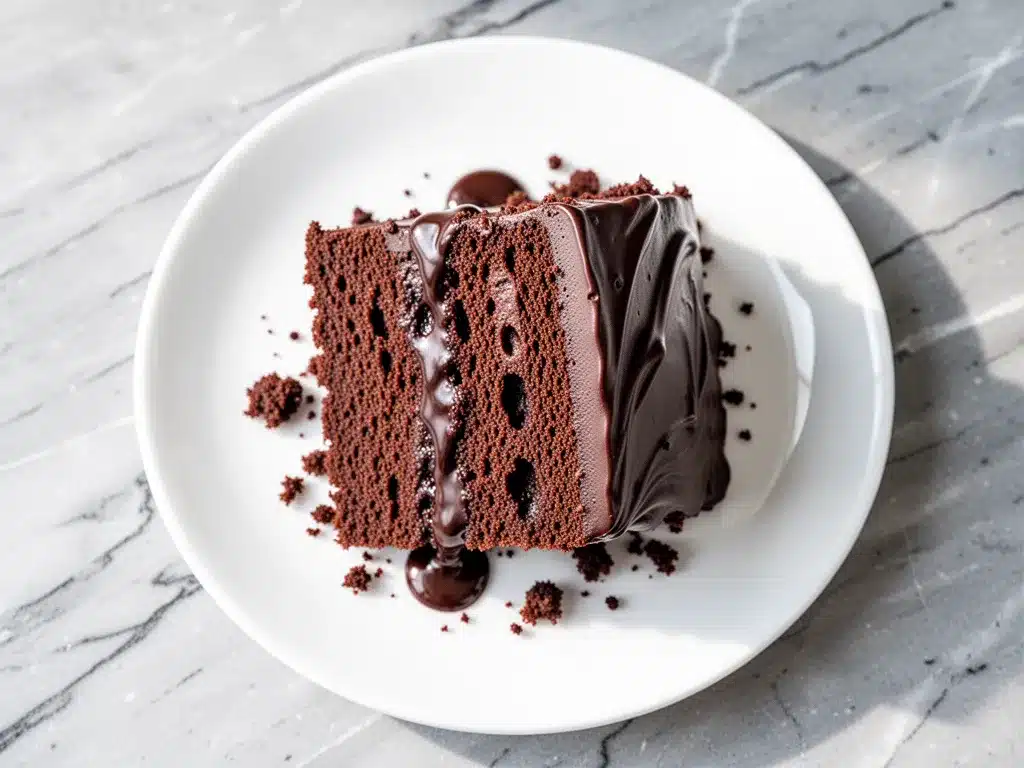
Dark chocolate chips (1 cup / 170g) — Semi-sweet or dark. Milk chocolate will make it too sweet. I use Ghirardelli 60% or Hershey’s Special Dark. The higher the cocoa content, the better the flavor.
Heavy cream (½ cup / 120ml) — This creates the ganache. Full-fat only. Light cream won’t set properly. Heat it until it just starts to simmer, then pour over the chips.
Butter (1 tablespoon) — Optional, but it adds shine and richness. I always add it. It makes the ganache glossy instead of matte.
Equipment Needed
You don’t need fancy equipment for this. Here’s what I actually use, and what you can substitute.
Two 8-inch round cake pans — I use metal pans. Glass pans bake slower and can lead to overcooked edges. If you only have glass, reduce the oven temperature by 25°F. Grease and flour your pans, or line them with parchment paper for easy removal.
Large mixing bowls — Two bowls. One for dry, one for wet. I use 4-quart bowls. If you have a huge bowl, you can do it in one, but two is easier to manage.
Whisk — A standard balloon whisk works best for breaking up lumps in the cocoa powder.
Spatula — A silicone spatula is great for scraping the bowl and folding the batter gently.
Cooling rack — Essential. Don’t let the cake cool in the pan; it will steam and get soggy. Transfer it to a rack immediately.
Small saucepan — For heating the cream for the ganache. Any small pot works.
Microwave-safe bowl — If you don’t want to heat cream on the stove, you can microwave it in 30-second bursts. Just watch it so it doesn’t boil over.
How to Make It: Step-by-Step
Alright, let’s make this! I’m walking you through exactly how I do it, including the little tricks I’ve picked up over the years. This is the easiest cake recipe you’ll ever make, but there are a few key moments where attention matters.
Step 1: Prep Your Pans and Oven (5 minutes)
Preheat your oven to 350°F (175°C). This is crucial. If the oven isn’t hot enough when the cake goes in, it won’t rise properly. While it heats, grease your two 8-inch cake pans with butter or non-stick spray. Dust them with a little flour, tapping out the excess. Or, for guaranteed success, line the bottoms with parchment paper circles. This ensures the cake never sticks.
Step 2: Mix the Dry Ingredients (3 minutes)
In your large bowl, whisk together the flour, sugar, cocoa powder, baking powder, baking soda, and salt. Sift the cocoa powder if it’s lumpy—nobody wants bitter chunks in their cake. Whisk this thoroughly. You want the baking powder and soda distributed evenly, or you’ll get spots of chemical taste. Set this aside.
Step 3: Mix the Wet Ingredients (2 minutes)
In a separate bowl, whisk the eggs until they’re beaten. Add the buttermilk, vegetable oil, and vanilla extract. Whisk until everything is smooth and combined. The mixture might look a bit curdled at first—that’s normal. Just keep whisking until it’s uniform.
Step 4: Combine Wet and Dry (2 minutes)
Pour the wet ingredients into the dry ingredients. Using your spatula or a whisk, gently fold or stir the mixture together. Stop as soon as the flour streaks disappear. Do not overmix. Overmixing develops gluten, which makes the cake tough and chewy instead of tender. A few small lumps are okay. The batter will be thick and glossy.
Step 5: Bake (30 minutes)
Divide the batter evenly between the two pans. I use a scale for this, but a measuring cup works too. Bake for 28-32 minutes. Check at 28 minutes. Insert a toothpick into the center of the cake. If it comes out clean or with just a few moist crumbs, it’s done. If it has wet batter, give it 2-3 more minutes. The cakes will pull away slightly from the edges of the pan when they’re ready.
Step 6: Cool Completely (20 minutes)
Let the cakes cool in the pans for 5 minutes, then turn them out onto a wire rack to cool completely. This is the hardest part—waiting—but if you frost a warm cake, the ganache will melt and slide off. Be patient. You can speed this up by putting the cakes in the fridge for 15 minutes, but don’t rush it.
Step 7: Make the Ganache (5 minutes)
While the cakes cool, make the topping. Heat the heavy cream in a small saucepan over medium heat until it just starts to simmer (small bubbles around the edges). Pour it over the chocolate chips in a heatproof bowl. Let it sit for 2 minutes, then stir gently until smooth and glossy. Stir in the butter if using. Let it cool for 5 minutes until it thickens slightly but is still pourable.
Step 8: Assemble and Serve
Place one cake layer on a plate or cake stand. Pour half the ganache over the top, letting it drip down the sides. Place the second layer on top. Pour the remaining ganache over the top. Let it set for 10-15 minutes before slicing. Slice with a sharp knife. Enjoy!
Expert Tips & Tricks for Success
Here’s everything I’ve learned from making this dozens of times. These tips will save you from my mistakes.
- Don’t Skip the Buttermilk — I tried this with regular milk once. The cake was denser and less flavorful. Buttermilk is key for that ultra-moist crumb. If you’re out, make your own substitute—it’s foolproof.
- Room Temperature Ingredients Matter — Cold eggs and cold buttermilk can cause the batter to seize. Bring them to room temp 30 minutes before baking. It takes zero effort and makes a huge difference.
- Test Early, Not Late — Ovens vary. My oven runs hot. Yours might run cool. Start checking at 25 minutes. Overbaking is the enemy of moist cake. It’s better to underbake slightly and let it finish cooking in the residual heat.
- Use Good Chocolate — The chocolate chips are the star of the ganache. Don’t use cheap, waxy chips. Use real chocolate. It melts smoother and tastes richer. Your cake will taste like it came from a boutique bakery.
- Let the Ganache Thicken — If you pour the ganache while it’s too thin, it will run off the sides and pool at the bottom. Wait until it’s the consistency of warm honey. It should coat the back of a spoon.
Variations & Substitutions
Once you’ve nailed the basic version, here’s how you can mix it up. I’ve tried all of these.
Gluten-Free Option
Use a 1:1 gluten-free flour blend (like Bob’s Red Mill or King Arthur). The texture will be slightly more tender, but it works beautifully. Just make sure your baking powder is gluten-free.
Dairy-Free Version
Replace buttermilk with coconut milk (full fat) plus 1 tablespoon lemon juice. Replace heavy cream with full-fat coconut cream. Use dairy-free chocolate chips. The cake will have a subtle coconut flavor, which pairs surprisingly well with chocolate.
Vegetarian/Vegan
Use flax eggs (2 tbsp ground flax + 5 tbsp water) instead of eggs. Use plant-based milk and vegan chocolate chips. The texture will be slightly denser, but the flavor remains rich.
Chocolate Chip Boost
Add ½ cup of chocolate chips directly into the batter before baking. This creates pockets of melted chocolate throughout the cake. My kids love this version.
Red Velvet Twist
Add 1 tablespoon of red food coloring to the wet ingredients. It’s subtle, but it gives the cake a pretty pink hue and a slight tang.
Serving & Storage
How to Serve: This cake is best served at room temperature. The ganache softens slightly, making it easier to cut. Serve with a dollop of whipped cream or a scoop of vanilla ice cream for a decadent dessert.
Leftovers: Store leftovers in an airtight container at room temperature for up to 3 days. The cake stays moist for days, which is rare. If your kitchen is very hot, store it in the fridge, but let it come to room temperature before eating for the best texture.
Freezing: You can freeze the unfrosted cake layers. Wrap them tightly in plastic wrap and then foil. Freeze for up to 3 months. Thaw overnight in the fridge before frosting. The ganache does not freeze well; it becomes grainy. Make fresh ganache when you thaw.
Nutrition Information
I’m not a nutritionist, but here’s the breakdown if you’re tracking. This is a rich, indulgent cake, so portions are best kept reasonable.
Per Serving (based on 12 slices):
- Calories: 480
- Protein: 6g
- Carbs: 62g
- Fat: 24g
- Sugar: 45g
- Fiber: 3g
It’s high in sugar and fat, obviously, but it’s also a good source of iron from the cocoa. I recommend pairing it with black coffee or tea to cut the sweetness.
Final Thoughts
So that’s my Ultra-Moist Double Chocolate Cake! I’ve probably talked your ear off at this point, but when you make a recipe this often, you have a lot to say about it. This cake has saved me more times than I can count. It’s my answer to “what’s for dessert?” when I’m tired, stressed, or just craving something sweet. It’s reliable, it’s delicious, and it’s incredibly easy.
Make it yours! Try different toppings, swap in your favorite chocolate chips, or adjust the sweetness. The best recipes are the ones you adapt to your family’s tastes. If you make this, drop a comment and let me know what you think! I love hearing how recipes turn out in your kitchen. And if something doesn’t work, tell me that too—I’m here to help troubleshoot.
Happy baking! And I hope your kitchen smells half as good as mine does right now.
Frequently Asked Questions
Can I use milk instead of buttermilk?
You can, but the cake won’t be as moist or tender. If you must, mix 1 tablespoon of white vinegar or lemon juice into 1 cup of milk and let it sit for 5 minutes. This creates a buttermilk substitute that works well in a pinch.
Why did my cake turn out dry?
This usually happens if you overbake it or use too much flour. Make sure you’re spooning the flour into your measuring cup (don’t scoop directly from the bag, which packs it down). Also, check your cake 2-3 minutes before the recipe time is up. The toothpick should come out with moist crumbs, not completely clean.
Can I make this cake ahead of time?
Yes! Bake the layers a day ahead. Wrap them tightly in plastic wrap and store at room temperature. Make the ganache the day you serve it. This actually helps the cake settle, making it easier to frost.
Can I use a 9×13 pan instead?
You can, but the bake time will increase. Pour the batter into a greased 9×13 pan and bake for 35-45 minutes. Check with a toothpick. The cake will be thinner, so the ganache might cover more surface area. Just adjust your expectations for the height.
Why did my ganache seize?
Seizing happens if water gets into the chocolate. Make sure your bowl is completely dry. Also, don’t overheat the cream. If it boils vigorously, it can cause the chocolate to clump. Gentle heat is key.
Can I freeze this cake?
Freeze the unfrosted layers. Wrap tightly in plastic and foil. Thaw overnight in the fridge. Do not freeze the frosted cake, as the ganache will separate and lose its texture.
Is this cake too sweet?
It’s sweet, but the dark chocolate and cocoa powder balance it out. If you prefer less sweet, use 70% dark chocolate for the ganache and reduce the sugar in the batter by ¼ cup. It will still be moist.
Pin This Recipe!
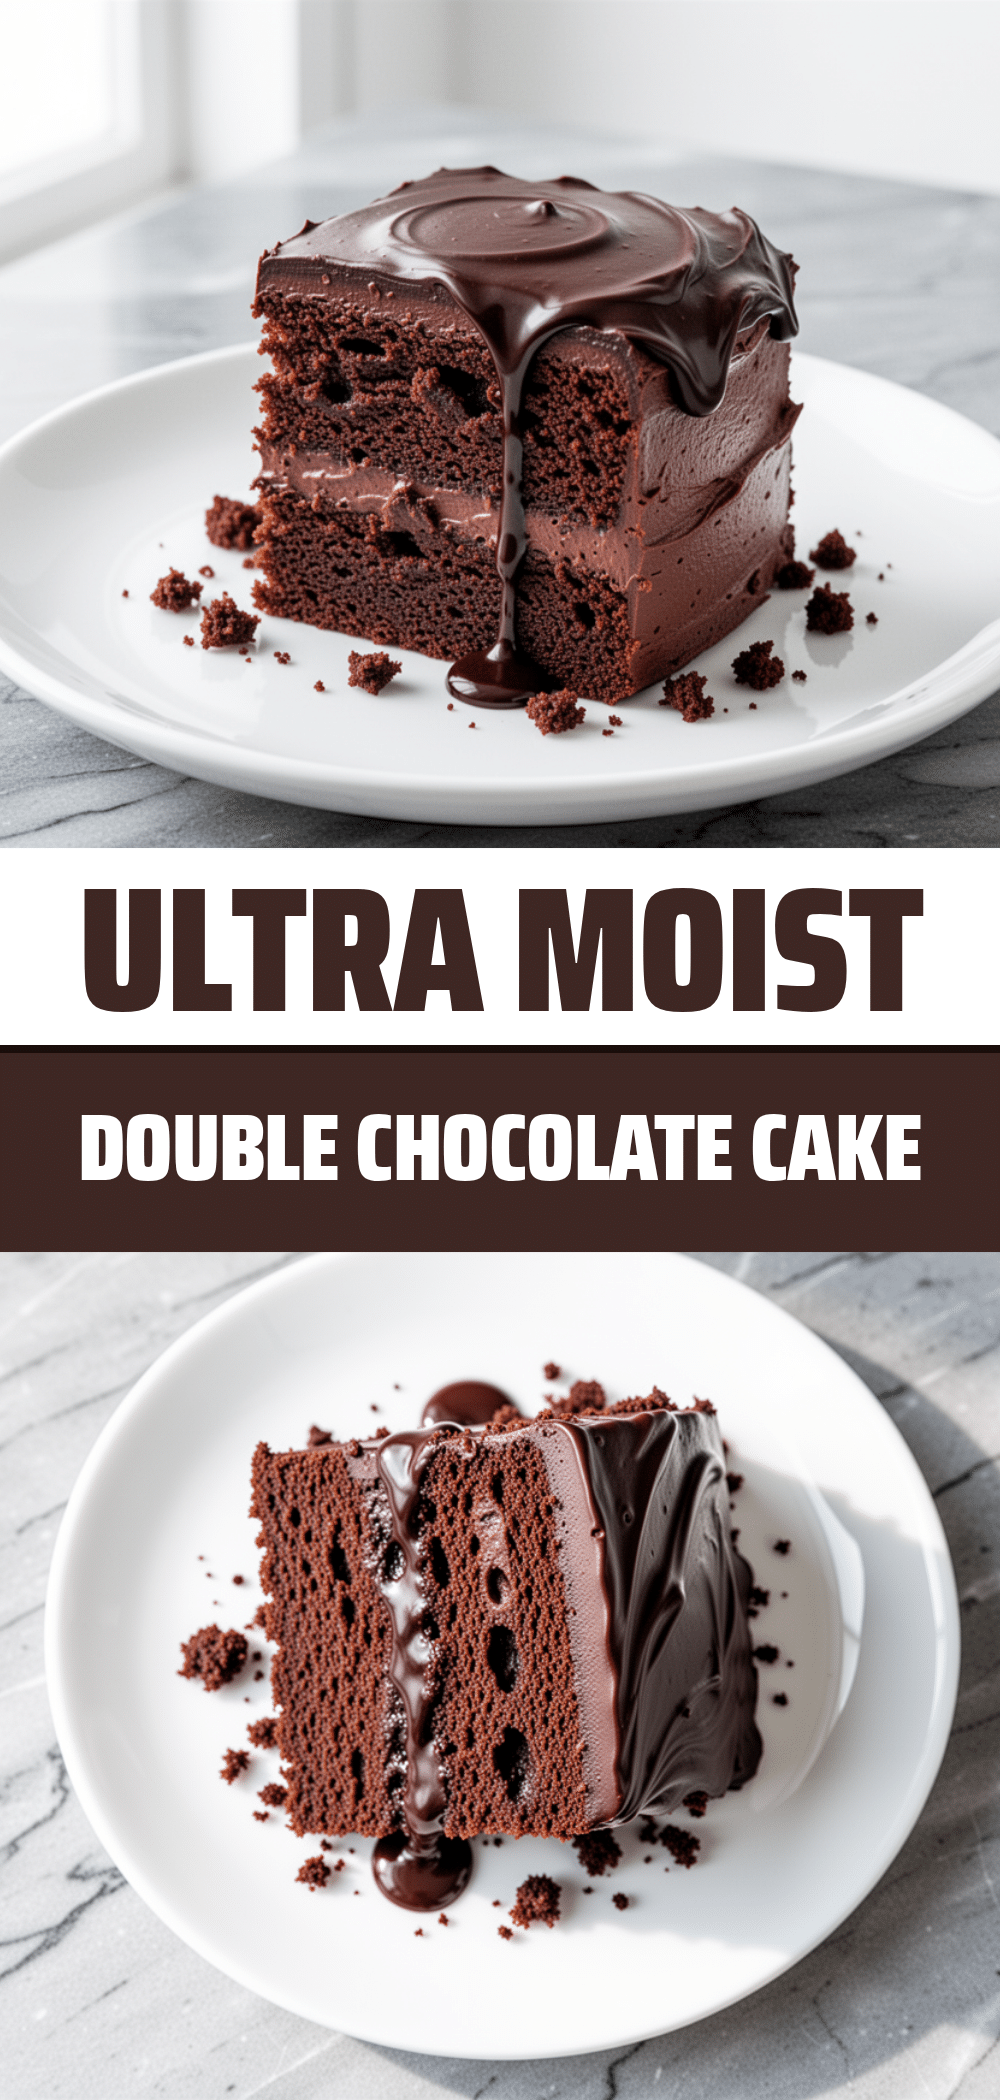
Ultra-Moist Double Chocolate Cake
- Total Time: 45 minutes
- Yield: 12 servings 1x
Description
A rich, moist double chocolate cake that requires no mixer and can be made in under an hour. This foolproof recipe uses pantry staples to create a dense yet tender crumb with a glossy chocolate ganache topping.
Ingredients
- 2 cups (250g) all-purpose flour
- 1 ½ cups (300g) granulated sugar
- ¾ cup (75g) unsweetened cocoa powder
- 1 tsp baking powder
- ½ tsp baking soda
- 1 tsp salt
- 2 large eggs, room temperature
- 1 cup (240ml) buttermilk
- ½ cup (120ml) vegetable oil
- 2 teaspoons vanilla extract
- 1 cup (170g) dark chocolate chips
- ½ cup (120ml) heavy cream
- 1 tablespoon butter (optional, for ganache)
Instructions
- Preheat oven to 350°F (175°C). Grease and flour two 8-inch round cake pans, or line bottoms with parchment paper.
- In a large bowl, whisk together flour, sugar, cocoa powder, baking powder, baking soda, and salt. Sift cocoa if lumpy.
- In a separate bowl, whisk eggs until beaten. Add buttermilk, vegetable oil, and vanilla extract. Whisk until smooth and combined.
- Pour wet ingredients into dry ingredients. Gently fold or stir until flour streaks disappear. Do not overmix. Batter should be thick and glossy.
- Divide batter evenly between prepared pans.
- Bake for 28-32 minutes, or until a toothpick inserted into the center comes out clean or with moist crumbs.
- Let cakes cool in pans for 5 minutes, then turn out onto a wire rack to cool completely.
- While cakes cool, heat heavy cream in a small saucepan until it just starts to simmer. Pour over chocolate chips in a heatproof bowl. Let sit for 2 minutes, then stir until smooth. Stir in butter if using. Let cool slightly until thickened but pourable.
- Place one cake layer on a plate. Pour half the ganache over the top. Add second layer and pour remaining ganache over top.
- Let ganache set for 10-15 minutes before slicing.
Notes
Ensure ingredients are at room temperature for best emulsification. Do not overmix the batter to avoid a tough texture. Check for doneness early as oven temperatures vary. For gluten-free, use a 1:1 gluten-free flour blend. For dairy-free, substitute buttermilk with coconut milk + lemon juice and heavy cream with coconut cream.
- Prep Time: 10 minutes
- Cook Time: 30 minutes
- Category: Dessert
- Cuisine: American
Nutrition
- Serving Size: 1 slice
- Calories: 480
- Sugar: 45
- Sodium: 350
- Fat: 24
- Saturated Fat: 10
- Carbohydrates: 62
- Fiber: 3
- Protein: 6
Keywords: chocolate cake, double chocolate, moist cake, easy baking, no mixer, ganache, birthday cake, dessert recipe



