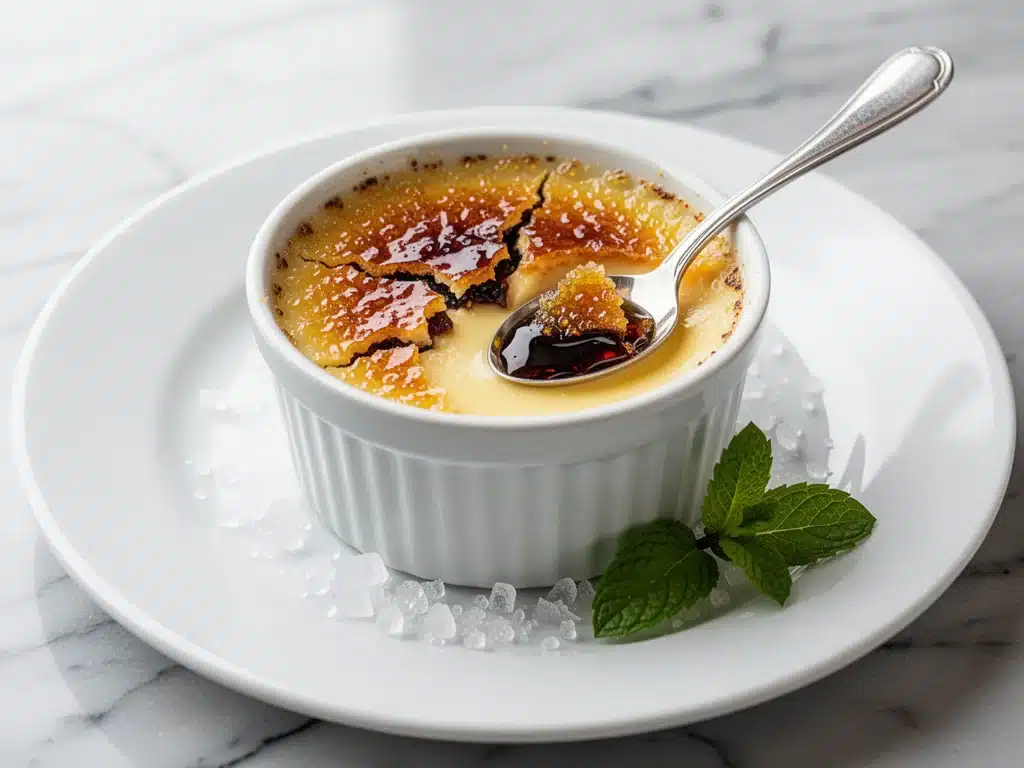
It was a humid Tuesday in July, and I was sitting in a cramped, candlelit bistro in Paris. The kind of place where the menu is handwritten on chalkboards, the wine is cheap but good, and the other diners are mostly couples whispering over plates. I ordered the crème brûlée because it was the only thing that looked like it wouldn’t require a fork and knife. I expected custard. I got an experience.
The server placed the ramekin in front of me, the sugar already torched to a perfect amber. I picked up my spoon, tapped the surface, and heard that distinct, satisfying crack. It sounded like stepping on a dry leaf. I dug in, breaking through the brittle caramel shell into the cool, vanilla-speckled custard underneath. The contrast was insane—the shock of the hot, burnt sugar against the silky, cold cream. I closed my eyes and just chewed. It was simple, yes, but it was perfect. And it completely ruined any other dessert I’ve had since.
I’ve made this classic crème brûlée at least thirty times since that night. Some were disasters (I once set off my smoke detector with a kitchen torch, which was embarrassing but educational). Some were too sweet. Some were too runny. But after years of tweaking, I’ve finally nailed the ratio that gives you that restaurant-quality crack every single time. This isn’t just a recipe; it’s my attempt to recreate that Parisian magic in my own kitchen. It’s elegant, it’s impressive, and honestly? It’s easier than you think.
People think crème brûlée is fancy chef territory. It’s not. It’s just cream, eggs, sugar, and patience. If you can whisk and you can use a torch (or an oven broiler), you can make this. It’s the ultimate “I made this myself” dessert that will have your guests asking for the recipe. So let’s get into it. No fancy equipment required, just real ingredients and a little bit of care.
Why You’ll Love This Recipe
There are about a million reasons to make this classic crème brûlée, but let’s be real—you’re here because you want to impress people without spending all day in the kitchen. Here’s why this version works so well:
It’s Technically Foolproof — Once you master the water bath, the oven does 99% of the work. You can literally walk away while it bakes. I’ve made this while answering emails and it still came out perfect. The key is low and slow heat.
The Texture is Unbeatable — I’m obsessed with the contrast. The hard, glass-like sugar top versus the creamy, pudding-like custard. It’s a textural party in your mouth. Most home recipes get the custard right but fail on the sugar. This recipe fixes both.
It’s Make-Ahead Friendly — This is my secret weapon for dinner parties. You can make the custard base a day ahead, chill it, and then torch the sugar right before serving. Your guests think you spent hours; you spent ten minutes the night before and five minutes tonight.
It Uses Simple Ingredients — You don’t need exotic spices or expensive vanilla beans (though beans are nice). You need heavy cream, egg yolks, sugar, and vanilla. If you can find these at any grocery store, you’re good to go. No specialty shops needed.
It Feels Fancy — There is something deeply satisfying about eating a dessert that looks like it belongs in a Michelin-star restaurant. It makes a regular Tuesday night feel like a special occasion. My kids love the “crack” sound, and my husband pretends he’s in France.
This recipe has saved my social life. It’s reliable, it’s delicious, and it makes you look like a pro. Let’s get cooking.
Ingredients You’ll Need
Here’s the best part: you probably have most of these items in your kitchen right now. Crème brûlée is all about quality, not quantity. Since there are so few ingredients, each one matters. Don’t cut corners on the cream or the vanilla.
For the Custard Base
Heavy Cream (2 cups / 480ml) — Use full-fat heavy cream. Do not use half-and-half or milk. You need the fat content for that rich, velvety texture. If you use lighter cream, the custard will be watery and grainy. I buy the small cartons because I don’t use it every day, but you can freeze the leftover half if you’re careful.
Vanilla Beans (1 whole) — Or 2 teaspoons of high-quality vanilla extract. I prefer beans because you get those tiny black specks that make it look gourmet. Scrape the seeds and toss in the pod. If you use extract, add it at the end so the alcohol doesn’t cook off. The bean flavor is deeper and more complex.
Egg Yolks (5 large) — Only yolks. Whites make it rubbery. Yolks make it creamy. I usually have leftover whites from other recipes (like chewy oatmeal raisin cookies where I use just the yolks for richness) and freeze them for baking. You can also buy pasteurized yolks in a carton if you want to skip the cracking.
Granulated Sugar (½ cup / 100g) — For the custard. This sweetens the cream. Don’t use brown sugar; it will make the custard gray and taste molasses-y. White sugar keeps the color bright and the flavor clean.
Salt (¼ teaspoon) — This is non-negotiable. Salt balances the sweetness and enhances the vanilla flavor. It’s the secret ingredient that makes it taste like dessert and not just sweetened milk.
For the Topping
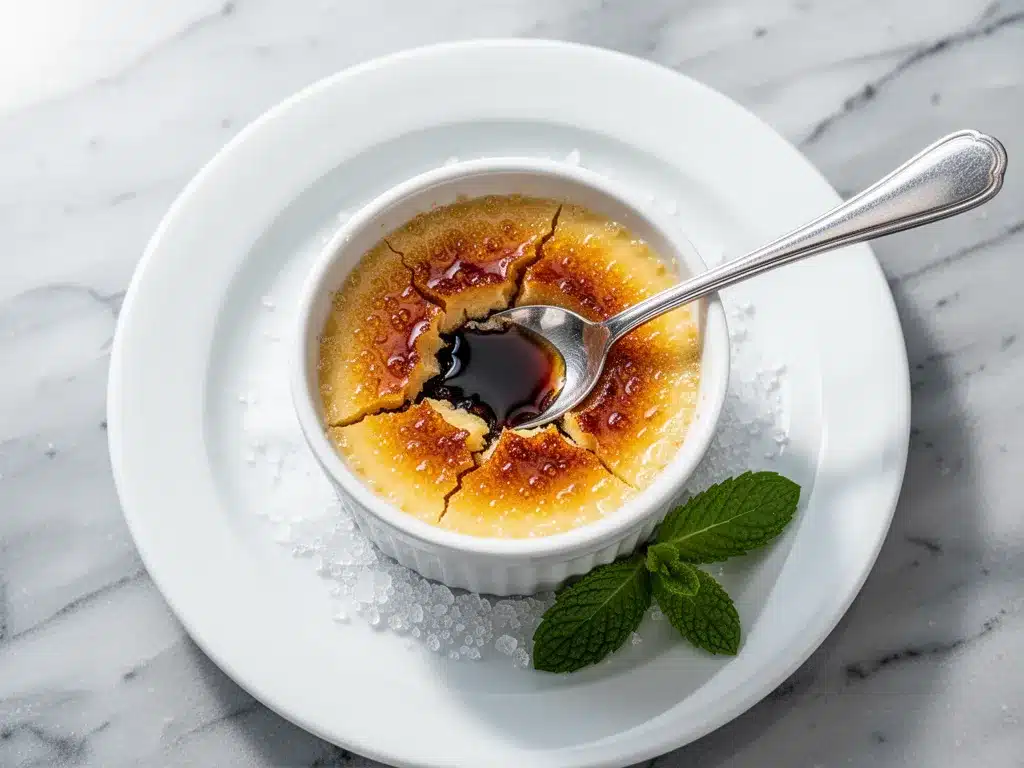
Superfine Sugar or Caster Sugar (for sprinkling) — Regular granulated sugar works, but superfine dissolves more evenly and creates a smoother crust. I keep a jar of caster sugar specifically for this. If you only have regular sugar, pulse it in a blender for 10 seconds to break it down.
Optional: A pinch of cinnamon or nutmeg — Some people like a hint of spice under the sugar. I usually skip it to keep it classic, but if you’re feeling adventurous, a tiny pinch adds warmth.
Equipment Note
You’ll need ramekins. Standard 6-ounce ramekins work best. They’re small enough to cook evenly but big enough to hold a good portion. Ceramic or porcelain is best because they hold heat well. Glass ramekins work but can crack if they’re not oven-safe. Avoid metal ramekins; they conduct heat too fast and can overcook the edges.
Equipment Needed
You don’t need a fancy kitchen to make this. Here’s what I actually use. It’s pretty minimal.
Ramekins (6-ounce, ceramic) — I have a set of four that I’ve had for ten years. They’re sturdy and beautiful. Make sure they fit in your baking dish with some room for water.
Large Baking Dish — A 9×13 inch roasting pan or a deep casserole dish. It needs to be deep enough to hold the ramekins and have an inch of water around them. Stainless steel or ceramic works. Glass works too but watch for thermal shock.
Saucepan — For heating the cream. I use a small 2-quart saucepan. Heavy-bottomed is better so the cream doesn’t scorch on the bottom. Copper is ideal, but stainless steel is fine.
Whisk — A standard balloon whisk. You need to whisk the eggs and sugar together until they’re pale and ribbon-like. This incorporates air and makes the texture lighter.
Sieve or Fine Mesh Strainer — This is the secret to silky custard. Straining the mixture removes any bits of cooked egg or vanilla pod chunks. It’s a quick step that makes a huge difference in texture.
Kitchen Torch — This is the only “fancy” tool. I have a small butane torch from IKEA. It’s cheap and works perfectly. If you don’t have one, you can use your oven’s broiler, but it’s harder to control. The torch gives you that perfect, localized caramelization.
Spatula — A silicone spatula is good for scraping the custard into the ramekins. You want to get every bit out.
Kettle — For boiling water. You need hot water for the water bath. Boiling water helps cook the custard evenly and prevents the edges from getting too hot before the center sets.
How to Make It: Step-by-Step
Alright, let’s make this! It sounds complicated, but the steps are straightforward. I’m walking you through exactly how I do it, including the little tricks I’ve picked up over the years.
Step 1: Prep Your Ramekins and Oven (5 minutes)
Preheat your oven to 325°F (165°C). This is a low temperature. High heat will scramble the eggs. You want gentle, even cooking. Get your ramekins ready. If they’re sticky, you can brush them with a tiny bit of butter, but it’s not necessary. The custard releases easily if it’s cooked correctly. Set them in your large baking dish for now.
Step 2: Heat the Cream (5 minutes)
In your saucepan, combine the heavy cream and the vanilla bean (seeds and pod). Heat over medium-low heat. You want to bring it to a simmer—small bubbles around the edges. Do NOT boil it. Boiling can scorch the cream. Once it simmers, remove it from the heat. Cover it and let it steep for 10 minutes. This infuses the vanilla flavor. If you’re using extract, skip this step and add it later.
Step 3: Whisk Eggs and Sugar (3 minutes)
In a medium bowl, whisk the egg yolks and granulated sugar together. Whisk vigorously for about 2-3 minutes. You want the mixture to turn pale yellow and slightly thickened. This is called the “ribbon stage.” When you lift the whisk, the mixture should leave a trail on the surface for a second before sinking back in. This step adds air and ensures a smooth texture.
Step 4: Temper the Eggs (2 minutes)
This is the most important step to avoid curdled eggs. Slowly pour about half of the warm cream into the egg mixture while whisking constantly. The goal is to raise the temperature of the eggs gradually. If you pour the cream in too fast, you’ll get scrambled eggs. Once combined, pour the egg mixture back into the saucepan with the remaining cream. Whisk to combine.
Step 5: Strain and Pour (5 minutes)
Place a fine-mesh sieve over a large measuring cup or bowl. Pour the custard mixture through the sieve. This catches any stray bits of cooked egg or vanilla pod. It’s worth the extra minute. Then, carefully pour the strained custard into the ramekins. Fill them about ¾ full. Leave a little room at the top for the sugar topping.
Step 6: The Water Bath (Baking time: 30-40 minutes)
Place the baking dish with the ramekins in the oven. Carefully pour boiling water from the kettle into the baking dish, around the ramekins, until the water reaches about halfway up the sides of the ramekins. This is the “bain-marie” or water bath. It protects the custard from direct heat and ensures it cooks evenly and stays creamy. Close the oven door. Bake for 30-40 minutes. The custards are done when the edges are set but the centers still jiggle slightly like Jell-O. They will continue to set as they cool.
Step 7: Chill (At least 4 hours, preferably overnight)
Remove the ramekins from the water bath and let them cool to room temperature. Then, cover them with plastic wrap and refrigerate. This step is crucial. The custard needs to be completely cold before you torch the sugar. If it’s warm, the sugar will melt into a puddle instead of forming a crust. I usually make this the day before I plan to serve it.
Step 8: Torch the Sugar (2 minutes per ramekin)
When you’re ready to serve, remove the ramekins from the fridge. Pat the tops dry with a paper towel—any moisture will prevent the sugar from sticking. Sprinkle a thin, even layer of superfine sugar over the top. Use just enough to cover the surface. Light your kitchen torch. Hold the flame about 6 inches away from the sugar. Move the flame in a circular motion. The sugar will melt, bubble, and turn amber. Don’t burn it to a crisp! You want a golden-brown color. Let it cool for 1-2 minutes. The sugar will harden into a glass-like shell. Serve immediately.
Expert Tips & Tricks
Here’s everything I’ve learned from making this dozens of times. These tips will save you from my mistakes.
Don’t Rush the Chilling
I know it’s tempting to eat it right after baking. Don’t. The custard needs to be cold. Cold custard contrasts with the hot sugar. Warm custard is just… warm custard. Plan ahead. Make it the night before.
Use Superfine Sugar
Regular granulated sugar has larger crystals that don’t melt evenly. They can leave gritty spots. Superfine sugar melts into a smooth, even crust. If you don’t have it, pulse regular sugar in a blender for 10 seconds. It’s a small step that makes a big difference.
Keep the Flame Moving
When torching, keep the flame moving. If you hold it in one spot, you’ll burn the sugar and create black, bitter spots. You want a uniform golden brown. If you’re worried about burning, hold the flame further away and take longer. It’s better to under-torch and go back than to ruin it.
Strain the Custard
I know it’s an extra step, but straining removes any bits of cooked egg. It ensures the custard is silky smooth. If you skip this, you might get little rubbery bits in your dessert. Nobody wants that.
Water Bath is Key
The water bath regulates the temperature. Without it, the edges of the custard will overcook and become rubbery while the center stays runny. Make sure the water is hot when you put it in the oven. It helps start the cooking process evenly.
Pull When It Jiggles
This is the hardest part—knowing when to take it out. The custards should look set on the edges but still have a slight jiggle in the center. They will firm up as they cool. If they’re completely firm in the oven, they’ll be overcooked and dry once chilled. Trust the jiggle.
Variations & Substitutions
Once you’ve nailed the basic version, here’s how you can mix it up. I’ve tried all of these.
Lavender Crème Brûlée
Add 1 tablespoon of dried culinary lavender to the cream while heating. Strain it out before tempering the eggs. It’s floral and elegant. Great for spring.
Chocolate Crème Brûlée
Whisk 2 tablespoons of high-quality cocoa powder into the egg mixture before adding the cream. It’s rich and decadent. Pair with a coffee liqueur for an adult version.
Maple Crème Brûlée
Replace half the granulated sugar with pure maple syrup in the custard. Use maple sugar for the topping if you can find it. It’s very autumnal.
Coffee Crème Brûlée
Add 1 tablespoon of instant espresso powder to the cream. It adds a deep, bitter note that balances the sweetness. Perfect for coffee lovers.
Dairy-Free Option
You can use full-fat coconut cream instead of heavy cream. The custard will be slightly firmer and have a coconut flavor. It’s not exactly the same, but it’s still delicious. Use coconut sugar for the topping.
Gluten-Free
This recipe is naturally gluten-free. Just make sure your vanilla bean and sugar are certified gluten-free if you have celiac disease. It’s a safe dessert for gluten-free guests.
Flavor Infusions
You can infuse the cream with almost anything. Orange zest, lemon zest, cardamom pods, or even a strip of orange peel. Just strain it out before adding to the eggs. Get creative!
Serving & Storage
I usually serve this straight from the fridge, with the sugar torched right at the table. It’s interactive and fun. But here are other ways I’ve enjoyed it:
How to Serve
Classic Style
Just the crème brûlée. It’s rich enough that it doesn’t need much else. Maybe a few fresh berries on the side for color and acidity. Strawberries or raspberries are great.
With Coffee
It pairs beautifully with a strong black coffee or an espresso. The bitterness cuts through the sweetness. I often serve it after a meal like authentic Italian chicken piccata for a complete dining experience.
With Wine
A sweet dessert wine like Moscato or Port works well. Or a glass of champagne for a special occasion. It’s festive and light.
Storage Instructions
Refrigerator:
Store the un-torched custards in the refrigerator for up to 3 days. Cover them tightly with plastic wrap. The sugar must be added right before serving. If you add it too early, it will absorb moisture from the custard and become sticky.
Freezing:
I don’t recommend freezing crème brûlée. The texture of the custard changes when thawed—it can become watery or grainy. The sugar topping definitely doesn’t freeze well. It’s best made fresh.
Reheating:
You don’t need to reheat it. It’s best served cold. If you accidentally left it out, don’t eat it. Dairy-based desserts spoil quickly. Keep it chilled until you’re ready to torch.
Pro Tip:
If you’re making this for a party, make the custards the day before. Torching the sugar takes about 2 minutes per ramekin. You can do it in batches while guests are chatting. It’s a great way to get involved in the serving process.
Nutrition Information
I’m not a nutritionist, but here’s the breakdown if you’re tracking. This is a rich, indulgent dessert, so portion control is key.
Per Serving (based on 4 servings):**
– Calories: 380
– Protein: 6g
– Carbs: 32g
– Fiber: 0g
– Sugar: 30g
– Fat: 26g
– Saturated Fat: 16g
– Cholesterol: 210mg
– Sodium: 45mg
What’s Good:
– High in calcium from the dairy
– No flour or gluten
– Simple ingredients
What to Know:
– High in saturated fat and sugar
– Calorie-dense due to the cream
– Moderate protein from egg yolks
My Take:
Look, this is crème brûlée. It’s cream and sugar. It’s not a health food. But it’s better than store-bought because you control the quality. When I want to make it lighter, I use less sugar in the custard and a lighter sprinkle on top. But usually? I just enjoy a small portion and savor it. It’s a treat, not a daily snack.
Final Thoughts
So that’s my go-to classic crème brûlée! I’ve probably talked your ear off at this point, but when you make a recipe this often, you have a lot to say about it.
This has saved my dinner parties more times than I can count. It’s my answer to “what’s for dessert” when I want something elegant but don’t have hours to spend. My guests are always impressed, and I’m proud because I made it myself. It’s comforting, it’s fancy, and it’s deeply satisfying.
Make it yours! Try different flavor infusions, use different sugars, or serve it with different fruits. The best recipes are the ones you adapt to your tastes. And don’t be afraid to mess up the first time. Even burnt sugar tastes okay. (Mostly.)
If you make this, drop a comment and let me know what you think! I love hearing how recipes turn out in your kitchen. And if something doesn’t work, tell me that too—I’m here to help troubleshoot. Happy cooking! And I hope your kitchen smells half as good as mine does right now.
Frequently Asked Questions
Q: Can I use milk instead of heavy cream?
A: You can, but the custard will be much thinner and less rich. If you want to try it, use whole milk (not skim) and add 1 tablespoon of cornstarch to thicken it. Whisk the cornstarch into the milk before adding to the eggs. I’ve done this when I ran out of cream—it works okay, just not as good as the real thing. Heavy cream is the key to that silky texture.
Q: My custard came out watery—what happened?
A: Usually means you didn’t bake it long enough, or you didn’t use a water bath. The water bath ensures even cooking. Also, make sure your oven temperature is accurate. Use an oven thermometer. If it’s too hot, the eggs will scramble. If it’s too low, it won’t set. Let it chill for at least 4 hours before serving.
Q: Can I make this ahead for a dinner party?
A: Absolutely. This is the best part. Make the custard base up to 2 days ahead and store in the fridge. Torching the sugar right before serving makes it feel fresh and hot. I do this all the time. It saves so much stress on the day of the party.
Q: Why did my sugar turn black and bitter?
A: You held the torch in one spot for too long. Keep the flame moving! You want a golden amber color, not black. If you burn it, it will taste bitter. Start with a thinner layer of sugar and go slow. It’s better to torch twice than to ruin one ramekin.
Q: Can I use the oven broiler instead of a torch?
A: Yes, you can. Sprinkle the sugar on the chilled custards, then place them under the broiler for 1-2 minutes. Watch them closely—they can go from perfect to burnt in seconds. Rotate the dish if your broiler has hot spots. The torch gives more control, but the broiler works in a pinch.
Q: How do I store leftover custard?
A: Store the un-torched custards in the refrigerator for up to 3 days. Cover them tightly with plastic wrap. Do not add the sugar until you’re ready to eat it. If you add the sugar too early, it will dissolve into the custard and become sticky.
Q: Can I double this recipe?
A: Yes, double everything. Use a larger baking dish for the water bath. The cooking time might be slightly longer, so check for the jiggle. Make sure your ramekins fit comfortably in the dish with room for water.
Pin This Recipe!
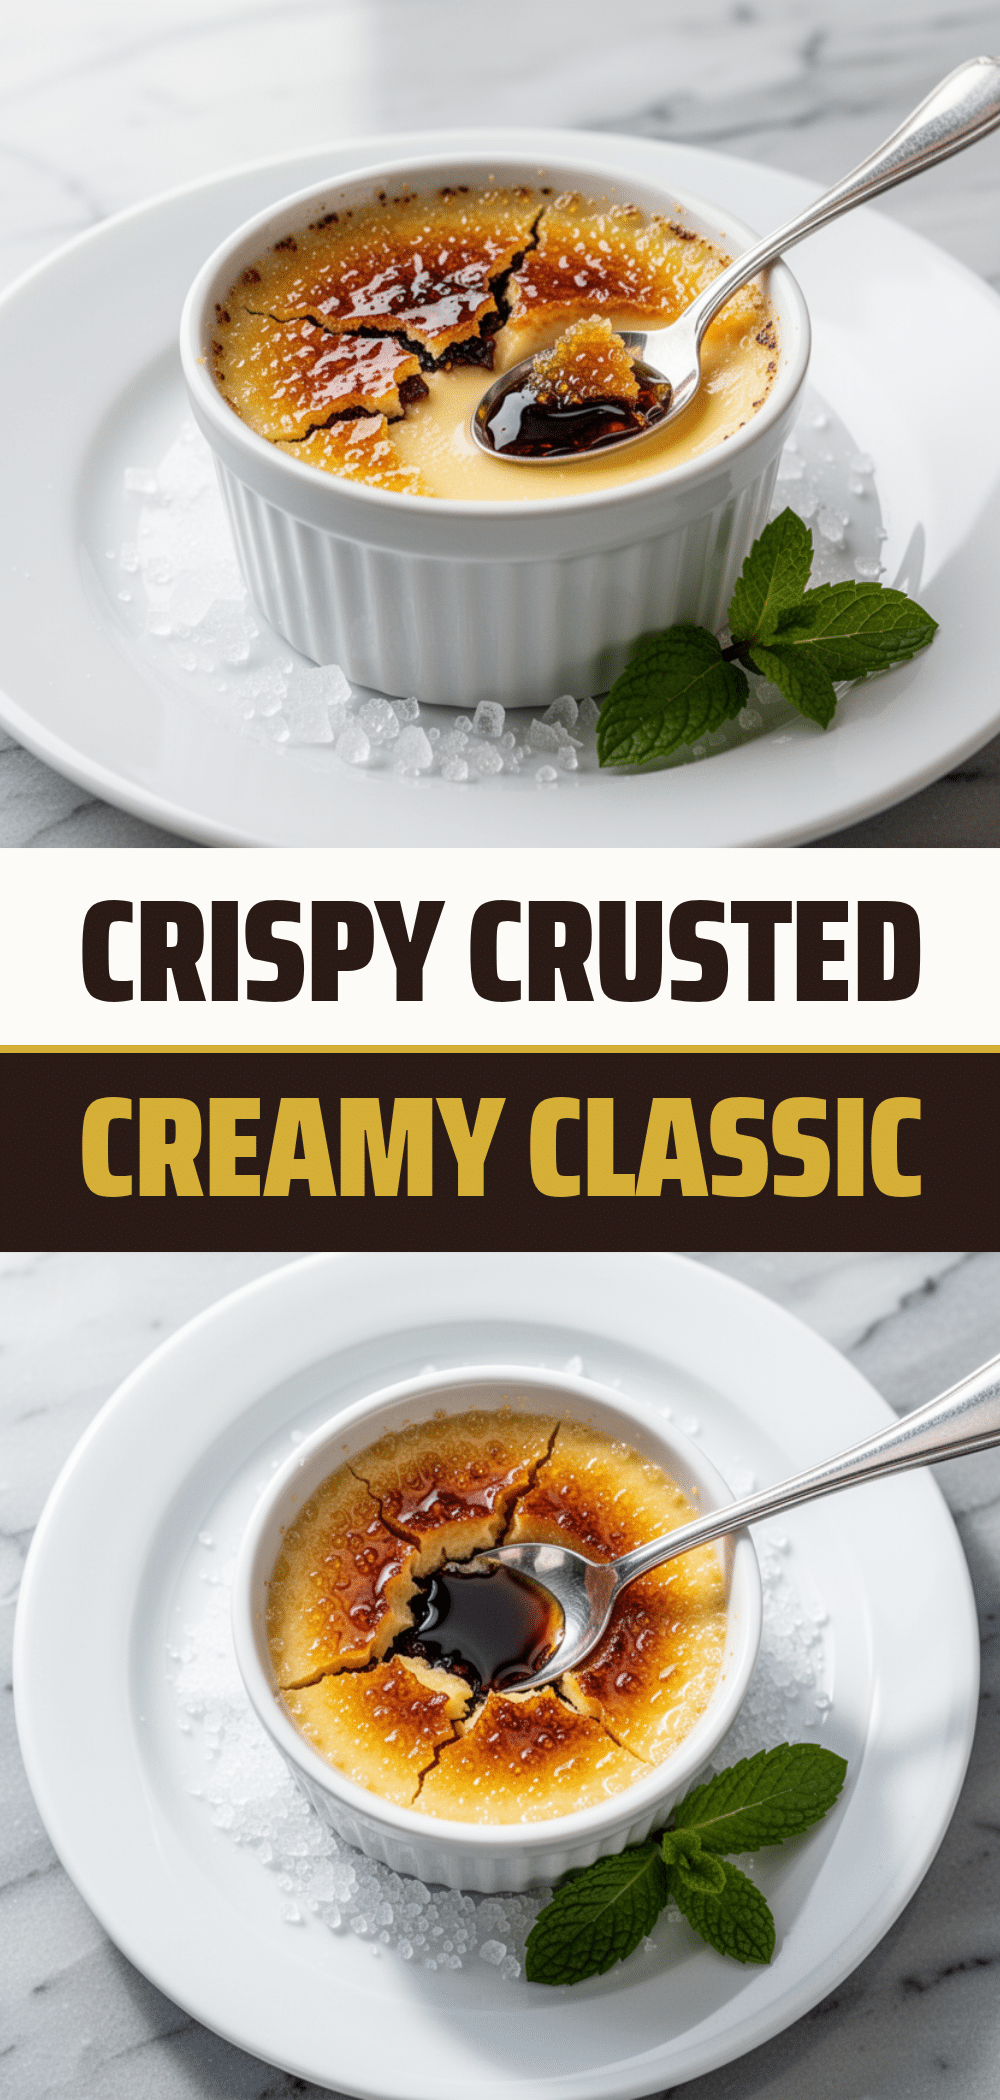
Classic Creme Brulee: 5 Steps to Perfect Caramel
- Total Time: 4 hours 60 minutes
- Yield: 4 servings 1x
Description
A foolproof, restaurant-quality crème brûlée recipe featuring a silky vanilla custard and a perfectly caramelized sugar crust. Elegant, make-ahead friendly, and easier to make than you think.
Ingredients
- 2 cups heavy cream
- 1 whole vanilla bean (or 2 teaspoons high-quality vanilla extract)
- 5 large egg yolks
- ½ cup granulated sugar
- ¼ teaspoon salt
- Superfine sugar or caster sugar (for sprinkling)
- Optional: A pinch of cinnamon or nutmeg
Instructions
- Preheat oven to 325°F (165°C). Place ramekins in a large baking dish.
- In a saucepan, combine heavy cream and vanilla bean (seeds and pod). Heat over medium-low until it simmers, then remove from heat, cover, and steep for 10 minutes.
- In a medium bowl, whisk egg yolks and granulated sugar vigorously for 2-3 minutes until pale and thickened (ribbon stage).
- Slowly pour about half of the warm cream into the egg mixture while whisking constantly to temper the eggs. Pour the egg mixture back into the saucepan with the remaining cream and whisk to combine.
- Strain the custard mixture through a fine-mesh sieve into a measuring cup to remove any cooked egg bits or vanilla pod chunks. Pour the strained custard into ramekins, filling them about ¾ full.
- Place the baking dish in the oven. Carefully pour boiling water into the dish around the ramekins until it reaches halfway up the sides (water bath). Bake for 30-40 minutes until edges are set but centers still jiggle slightly.
- Remove ramekins from the water bath and let cool to room temperature. Cover with plastic wrap and refrigerate for at least 4 hours, preferably overnight.
- When ready to serve, pat the tops of the chilled custards dry. Sprinkle a thin, even layer of superfine sugar over each. Use a kitchen torch to melt the sugar until it forms a golden-brown, glass-like crust. Let cool for 1-2 minutes before serving.
Notes
Ensure the custard is completely cold before torching the sugar to prevent it from melting into a puddle. Use a water bath to ensure even cooking and prevent the edges from becoming rubbery. If you don’t have a torch, you can use the oven broiler for 1-2 minutes, watching closely to avoid burning.
- Prep Time: 20 minutes
- Cook Time: 40 minutes
- Category: Dessert
- Cuisine: French
Nutrition
- Serving Size: 1 ramekin
- Calories: 380
- Sugar: 30
- Sodium: 45
- Fat: 26
- Saturated Fat: 16
- Carbohydrates: 32
- Protein: 6
Keywords: crème brûlée, vanilla custard, caramel dessert, French dessert, make-ahead dessert, easy baking