It was 7:30 PM on a Tuesday. I was staring at the glowing menu on my phone, thumb hovering over the “Order” button. My husband was tired, the kids were hungry, and my energy levels were firmly in the “do not speak to me” zone. I knew I wanted dinner, but I didn’t want to cook. Or, more accurately, I wanted to cook something that felt special but didn’t require me to stand over a stove for an hour.
Then I remembered a bag of chicken tenders in the freezer from a sale three weeks ago. I also remembered the jar of honey in my pantry that had been sitting there since Thanksgiving. I threw them together in a panic, thinking, “Well, it’s either this or cereal.”
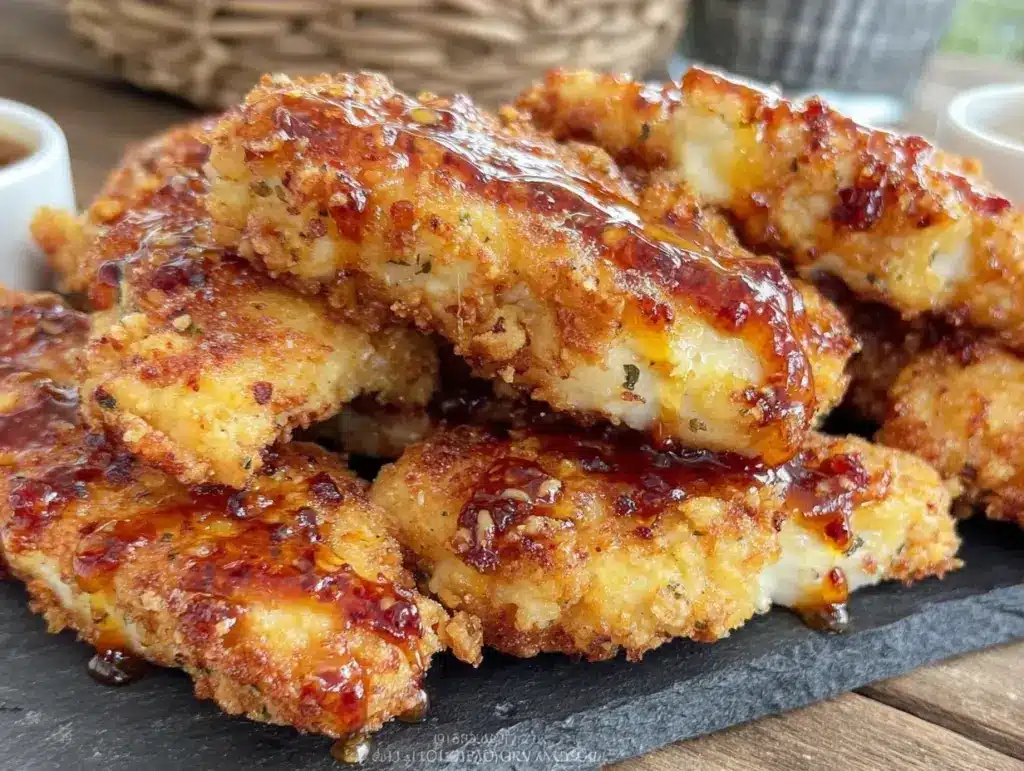
Twenty minutes later, I pulled a pan out of the oven. The kitchen smelled like warm butter and sweet caramelized honey. The chicken was golden, crisp, and dripping with that sticky glaze. My husband took one bite, looked at me, and said, “You are never ordering takeout again.” It wasn’t a huge declaration, but it was the moment I realized I had stumbled onto something good.
I’ve made these Crispy Honey Butter Chicken Tenders at least twelve times since that night. I’ve tweaked the breading, tested different honeys, and even tried baking them in the air fryer (spoiler: the oven wins for crunch). This isn’t just a quick dinner; it’s a game-changer for busy weeknights when you want restaurant-quality results without the restaurant price tag. If you’re looking for a way to get protein on the table fast without sacrificing flavor, this is the recipe you need in your rotation.
Why You’ll Love This Honey Butter Chicken Recipe
Let’s be real. Weeknight cooking is hard. We’re tired. We’re busy. We want food that tastes amazing but doesn’t require a culinary degree or a trip to the grocery store. This Crispy Honey Butter Chicken Tenders recipe checks every box. Here’s why it has earned a permanent spot in my kitchen:
- Lightning Fast Prep — From preheating the oven to pulling the pan out, it takes exactly 20 minutes. I’ve made this after getting home from work at 7:15 PM, and it’s ready by 7:35 PM. No stress, no waiting.
- Pantry Staple Sauce — You probably already have the ingredients for the glaze. Honey, butter, soy sauce, and garlic. If you have these in your fridge, you can make dinner tonight. It’s not a scavenger hunt; it’s a grab-and-go meal.
- Maximum Crunch, Minimum Effort — Most baked chicken tenders come out soggy. Not these. By using a specific breading technique (more on that later), you get that deep-fried crunch without the oil mess. It’s crispy on the outside, juicy on the inside.
- Kid-Approved Flavor — Sweet and savory is a winning combo for picky eaters. My kids usually reject anything “fancy,” but they devour these. It’s like chicken nuggets, but grown-up and actually good for you.
- One Pan Cleanup — Line your baking sheet with parchment paper or foil, and you’re done. There are no pots to scrub or pans to soak. This is the ultimate low-effort, high-reward meal.
- Freezer Friendly — I often make a double batch. You can freeze the raw breaded tenders on a tray, then bag them. When you need a quick meal, just pull them out. They bake perfectly from frozen, saving you even more time later.
This is my go-to when dinner needs to just work. It’s comforting, it’s fast, and it tastes like you spent way more time than you actually did.
Key Ingredients for Perfect Crunch
Before we get to the stove, let’s talk about what goes into these Crispy Honey Butter Chicken Tenders. You might think it’s just chicken and honey, but the details matter if you want that restaurant-quality crunch. Here is exactly what you need and why it matters.
Chicken Tenders (1.5 lbs / 680g) — Don’t buy pre-cut tenders if you can help it. Buy chicken breasts and slice them yourself. Pre-cut tenders often have uneven thickness, which means some pieces burn while others are raw. If you buy pre-cut, look for uniform pieces. If you slice them yourself, aim for strips about 1 inch wide and 1/2 inch thick. They cook evenly and stay juicy.
All-Purpose Flour (1/2 cup / 60g) — This is the base of your breading. It helps the egg wash stick and creates a barrier that keeps the moisture in. Don’t skip this step. Some people try to skip flour for “healthier” versions, but without it, the breading slides off in the oven. It’s not worth the risk.
Eggs (2 large / ~100g) — Whisked with a splash of milk or buttermilk. The fat in the milk helps with browning. If you have buttermilk, use it. Buttermilk adds a tiny bit of tang that cuts through the sweetness of the honey. Regular milk works fine, though.
Panko Breadcrumbs (1.5 cups / 120g) — This is the secret weapon. Regular breadcrumbs are dense and powdery. Panko is flaky, airy, and designed to get super crispy. Look for Japanese-style panko if you can find it. It’s lighter and crispier. Do not substitute with standard breadcrumbs unless you have no other choice, and even then, the texture will be different.
Unsalted Butter (3 tbsp / 42g) — We use this in the glaze. Unsalted allows you to control the salt level. Since honey is sweet and soy sauce is salty, you want the butter to be rich and creamy without being overly salty. Melt it before mixing.
Honey (1/4 cup / 85g) — Use real honey, not corn syrup blend. Real honey has a floral note that adds depth. Clove honey or wildflower honey works beautifully. If you’re out of honey, maple syrup is a decent substitute, but the flavor profile will shift slightly.
Soy Sauce (2 tbsp / 30ml) — This adds umami and saltiness. It balances the sweetness of the honey. If you’re avoiding soy, use tamari (gluten-free) or coconut aminos. Don’t skip it; it’s what makes the sauce taste savory, not just sugary.
Garlic (3 cloves, minced / 1 tbsp) — Fresh garlic only. Jarred garlic tastes metallic and flat, especially in a simple sauce like this. Mince it finely so it dissolves into the glaze rather than biting into your chicken.
Red Pepper Flakes (1/2 tsp / 1g) — Optional, but highly recommended. A little heat contrasts with the sweet honey butter. It wakes up the palate. If your kids are sensitive to spice, start with 1/4 tsp and add more later.
Tools Needed for Success
You don’t need fancy equipment to make this Crispy Honey Butter Chicken Tenders recipe. I’m a big believer in using what you have. Here’s what I use and why:
Large Baking Sheet — I use a standard half-sheet pan. Make sure it’s not warped. A warped pan leads to uneven cooking. If your pan is bent, your chicken will cook on the high spots and burn.
Parchment Paper or Aluminum Foil — Line your pan. This is non-negotiable for easy cleanup. Foil is great if you want to crumple it up and toss it. Parchment is better if you want to prevent sticking absolutely, but both work. Lightly spray with cooking oil if using foil to ensure extra crispiness.
Three Shallow Bowls — You need a dredging station. One for flour, one for egg wash, one for panko. Use shallow bowls so you can easily dip the chicken. I use pie plates for the flour and panko because they’re wide and shallow.
Whisk — For beating the eggs and mixing the glaze. A small whisk works best for the glaze to avoid splashing.
Silicone Spatula — To stir the glaze as it heats. Silicone won’t scratch your pan and handles the heat well.
How to Make Crispy Honey Butter Chicken Tenders
Ready to cook? Let’s walk through the steps. I’m going to be specific about timing and what you should look for. This isn’t just about following instructions; it’s about understanding the process.
Step 1: Prep the Chicken (5 minutes)
Preheat your oven to 400°F (200°C). This high heat is crucial. It sears the outside quickly, locking in juices and creating that crisp crust. While the oven heats, pat your chicken tenders dry with paper towels. Moisture is the enemy of crispiness. If the chicken is wet, the breading will slide off or get soggy. Slice any large breasts into uniform strips. Place them in a single layer on a plate.
Step 2: Set Up Your Dredging Station (5 minutes)
Take your three shallow bowls. In the first, mix the 1/2 cup flour with 1/2 tsp salt and 1/2 tsp black pepper. In the second, whisk the 2 eggs with 2 tbsp milk. In the third, pour the 1.5 cups panko breadcrumbs. You can add a pinch of salt and garlic powder to the panko if you like, but the seasoning in the flour is usually enough.
Step 3: Bread the Chicken (5 minutes)
This is where technique matters. Take a chicken tender and dredge it in the flour, shaking off any excess. Then dip it into the egg wash, letting the excess drip off. Finally, press it firmly into the panko. Use your hands to press the crumbs onto the chicken. You want them to stick. If you just roll it, the crumbs will fall off in the oven. Place the breaded tenders on a clean plate. Repeat with all chicken. Do not stack them; let them air dry for a minute while you finish. This helps the coating set.
Step 4: Bake for Crunch (10-12 minutes)
Line your baking sheet with parchment paper. Arrange the chicken tenders in a single layer. Make sure they aren’t touching. If they touch, they steam each other instead of baking, and you lose the crunch. Bake for 10-12 minutes. You’re looking for golden brown edges and an internal temperature of 165°F (74°C). If you don’t have a thermometer, cut into the thickest piece to ensure it’s no longer pink.
Step 5: Make the Glaze (3 minutes)
While the chicken bakes, make the sauce. In a small saucepan over medium heat, melt the 3 tbsp butter. Add the minced garlic and red pepper flakes. Cook for 30 seconds until fragrant. Do not let the garlic brown. Then, stir in the 1/4 cup honey and 2 tbsp soy sauce. Let it simmer for 1-2 minutes until it thickens slightly. It should coat the back of a spoon. Remove from heat.
Step 6: Glaze and Serve (2 minutes)
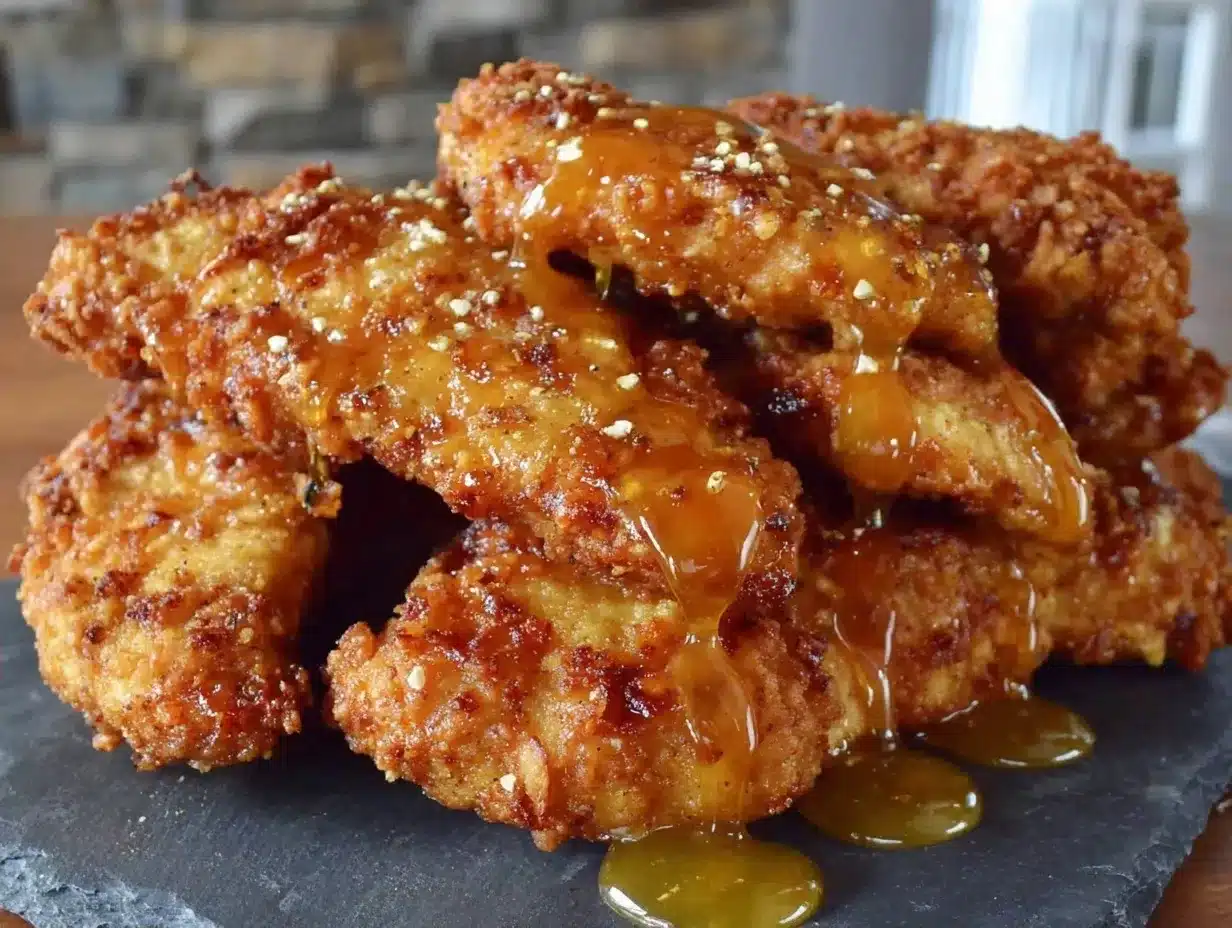
Once the chicken is done, remove it from the oven. Immediately brush or drizzle the warm honey butter glaze over the hot tenders. The heat from the chicken helps the glaze adhere and caramelize slightly. Serve immediately while the crunch is still crisp. If you let them sit too long in the sauce, they’ll get soft.
Total Time: 20 minutes. Prep: 10 minutes. Cook: 10-12 minutes. Cleanup: Minimal.
Expert Tips for the Best Results
I’ve made this recipe too many times to count. Here’s everything I learned from those mistakes so you don’t have to make them.
Don’t Skip the Paper Towel Step
I used to skip drying the chicken. Big mistake. Wet chicken = soggy breading. Pat it dry. Then pat it dry again. I know it seems tedious, but it makes a huge difference in the final texture. This is the one trick that separates home cooks from pros.
Press the Panko
When you’re coating the chicken, don’t just roll it in the crumbs. Press them in. I learned this the hard way when I sent a batch to a friend and she complained they fell off. She called them “battered chicken” instead of “crispy tenders.” Never again. Press firmly.
Keep the Oven Door Closed
When baking, resist the urge to peek every two minutes. Opening the door drops the temperature and can cause the breading to collapse. Trust the timer. Peek only at the 10-minute mark.
Glaze Hot Chicken
The glaze sticks best to hot chicken. If you let the chicken cool down before adding the sauce, it will slide off. Have the glaze ready before the chicken comes out of the oven.
Common Problems & Solutions
Breading fell off? You didn’t press the panko enough, or the chicken was too wet.
Chicken is dry? You overcooked it. Chicken tenders cook fast. Check them at 10 minutes.
Sauce is too runny? You didn’t simmer it long enough. Let it bubble for 2 minutes to reduce.
Recipe Variations to Mix It Up
Once you’ve nailed the basic version, here’s how to mix it up. These Crispy Honey Butter Chicken Tenders are a canvas for creativity.
Spicy Honey Butter
Add 1 tsp of sriracha or gochujang to the glaze. It adds a kick that pairs perfectly with the sweet honey. My husband loves this version. It’s like Korean fried chicken, but easier.
Soy Ginger Glaze
Swap the butter for sesame oil in the glaze and add 1 tsp of grated fresh ginger. It gives an Asian-inspired twist. Serve with steamed broccoli.
Dairy-Free Option
Use olive oil or coconut oil instead of butter in the glaze. The flavor will be slightly different, but the sweetness and saltiness still work. Use maple syrup instead of honey if you’re vegan.
Gluten-Free Breading
Swap the all-purpose flour for almond flour or a gluten-free flour blend. Use certified gluten-free panko. The crunch might be slightly less airy, but it still tastes great.
Herb Crusted
Add 1 tsp of dried thyme or rosemary to the panko breadcrumbs. It adds an earthy note that balances the sweet glaze. Great with a side salad.
Serving & Storage
Serving Suggestions:
I serve these with a simple side salad to cut the richness. A strawberry spinach salad is perfect because the sweetness complements the honey. You can also serve them with roasted vegetables or crispy sheet pan potatoes if you want a heartier meal. For a fun twist, serve them with dipping sauces like ranch, blue cheese, or extra honey butter.
Storage:
These are best eaten fresh. However, if you have leftovers, store them in an airtight container in the fridge for up to 3 days. The breading will soften over time, which is the nature of glazed chicken.
Reheating:
Do not microwave these. The microwave will make the breading chewy and soggy. Instead, reheat them in the oven at 375°F (190°C) for 5-7 minutes. This restores the crunch. You can also use an air fryer at 350°F for 3-4 minutes. They come out almost as good as new.
Freezing:
You can freeze the raw breaded tenders. Place them on a baking sheet and freeze until solid, then transfer to a freezer bag. They will keep for up to 3 months. Bake from frozen, adding 2-3 minutes to the cook time. Do not freeze the glazed chicken; the texture suffers.
Nutrition Information
I’m not a nutritionist, but here’s the breakdown per serving (assuming 4 servings with 4 tenders each):
| Nutrient | Amount |
|---|---|
| Calories | 380 kcal |
| Protein | 35g |
| Carbohydrates | 28g |
| Fiber | 1g |
| Fat | 12g |
| Sodium | 650mg |
My Take: This is comfort food. It has butter, sugar, and fried-style breading. It’s not a diet food. But it’s better than takeout, and you know exactly what’s in it. It’s a treat, not a daily staple. Enjoy it guilt-free because it’s homemade.
Final Thoughts
These Crispy Honey Butter Chicken Tenders are more than just a quick dinner. They’re a reminder that good food doesn’t have to be complicated. It just has to be made with care. I still remember that Tuesday night when I almost ordered takeout. I’m so glad I didn’t. That meal changed how I approach weeknight cooking. It taught me that with a few simple tricks—drying the chicken, pressing the panko, and glazing hot—you can make something truly special.
If you make this recipe, I’d love to hear how it turns out. Did you add extra heat? Did your kids devour it? Drop a comment below and let me know. And if you’re looking for more easy, crispy chicken recipes, check out my creamy Cajun chicken pasta for a different flavor profile.
Happy cooking!
FAQs
Can I use chicken breasts instead of tenders?
Yes, absolutely. Just slice the breasts into 1-inch strips. Make sure they are uniform in thickness so they cook evenly. If you buy pre-cut tenders, check that they are similar in size.
Can I make this in the air fryer?
Yes, but the timing changes. Preheat your air fryer to 380°F (190°C). Cook for 8-10 minutes, flipping halfway through. The crunch might be slightly less intense than the oven, but it’s faster. Brush with glaze after cooking to keep them crisp.
Why did my breading fall off?
This usually happens if the chicken was too wet or if you didn’t press the panko firmly. Always pat the chicken dry before dredging. Also, ensure your egg wash is thick enough to act as a glue. If it’s too thin, add more egg.
Can I double the glaze?
Yes, you can double the glaze if you like extra sauce. Just keep it warm in a small saucepan over low heat while you finish the chicken. Drizzle generously before serving.
Is there a substitute for honey?
Maple syrup is the closest substitute in terms of texture and sweetness. Agave nectar also works. However, the flavor will be different. Honey has a distinct floral taste that pairs well with butter. If you use maple syrup, add a pinch of cinnamon to the glaze for depth.
Can I prep this ahead of time?
You can bread the chicken and store it in the fridge for up to 4 hours before baking. Cover it loosely with plastic wrap. This is great for meal prep. Just remember to bake it immediately when you’re ready to eat.
What side dishes go with these?
They pair well with almost anything. I recommend crispy baked parmesan garlic chickpeas as a crunchy side, or a simple green salad. Roasted asparagus or broccoli also works well to balance the sweetness.
Pin This Recipe!
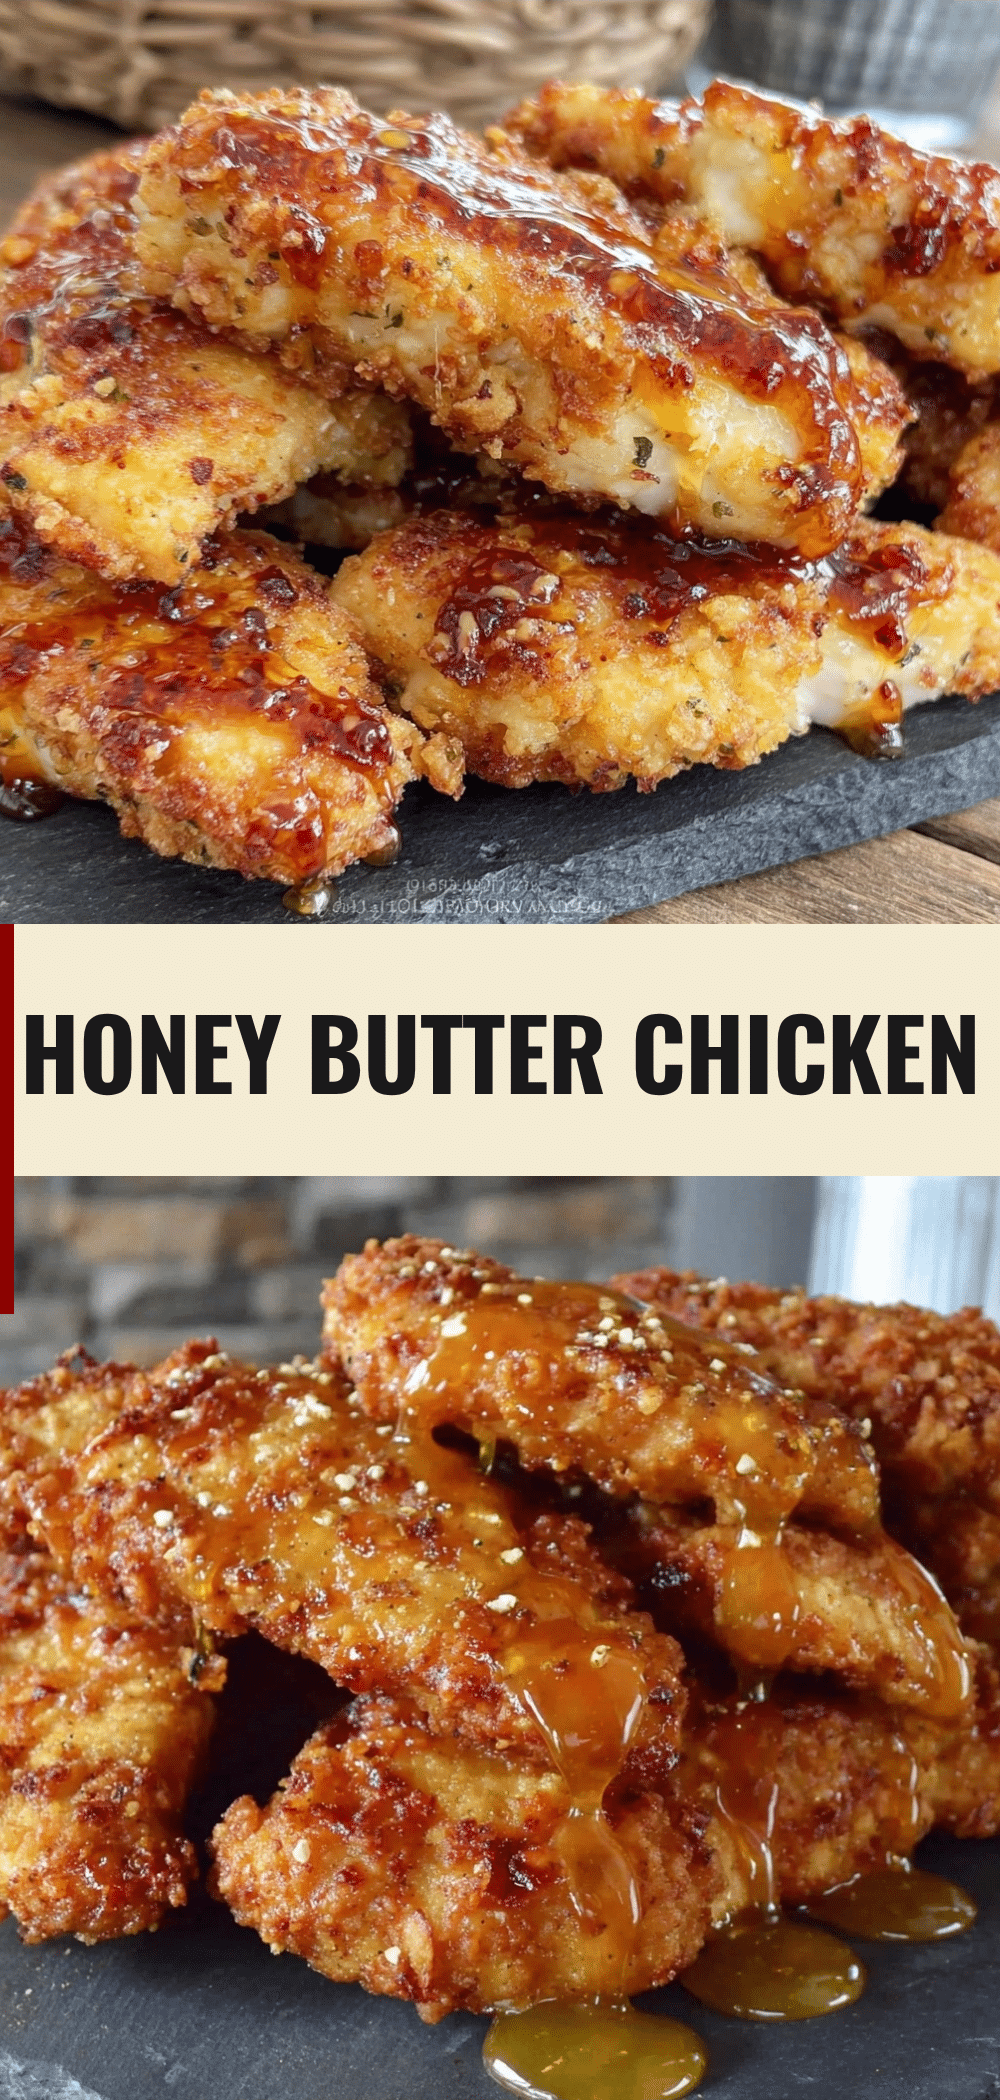
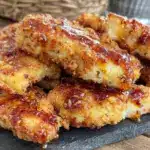
Crispy Honey Butter Chicken Tenders: The One Trick for Crunch
- Total Time: 20 minutes
- Yield: 4 servings 1x
Description
A quick and easy weeknight dinner featuring chicken tenders coated in panko breadcrumbs and baked to perfection, then glazed with a sweet and savory honey butter sauce.
Ingredients
- 1.5 lbs chicken tenders (or chicken breasts sliced into 1-inch strips)
- 1/2 cup all-purpose flour
- 1/2 tsp salt
- 1/2 tsp black pepper
- 2 large eggs
- 2 tbsp milk (or buttermilk)
- 1.5 cups panko breadcrumbs
- 3 tbsp unsalted butter
- 1/4 cup honey
- 2 tbsp soy sauce
- 3 cloves garlic, minced
- 1/2 tsp red pepper flakes (optional)
Instructions
- Preheat oven to 400°F (200°C). Pat chicken tenders dry with paper towels and slice into uniform strips if using breasts.
- Set up a dredging station with three shallow bowls: one with flour mixed with salt and pepper, one with whisked eggs and milk, and one with panko breadcrumbs.
- Dredge each chicken tender in flour, shaking off excess. Dip into egg wash, letting excess drip off. Press firmly into panko breadcrumbs to ensure coating sticks. Place on a plate and let air dry for a minute.
- Line a large baking sheet with parchment paper or foil. Arrange chicken tenders in a single layer, ensuring they are not touching.
- Bake for 10-12 minutes until golden brown and internal temperature reaches 165°F (74°C).
- While chicken bakes, melt butter in a small saucepan over medium heat. Add minced garlic and red pepper flakes, cooking for 30 seconds until fragrant.
- Stir in honey and soy sauce. Simmer for 1-2 minutes until the glaze thickens slightly.
- Remove chicken from oven and immediately brush or drizzle the warm glaze over the hot tenders. Serve immediately.
Notes
Pat chicken dry before breading to ensure crispiness. Press panko firmly onto chicken to prevent falling off. Glaze chicken while it is still hot from the oven for best adhesion. Do not microwave leftovers; reheat in oven or air fryer to maintain crunch.
- Prep Time: 10 minutes
- Cook Time: 10-12 minutes
- Category: Main Course
- Cuisine: American
Nutrition
- Serving Size: 4 tenders per servin
- Calories: 380
- Sugar: 20
- Sodium: 650
- Fat: 12
- Saturated Fat: 5
- Carbohydrates: 28
- Fiber: 1
- Protein: 35
Keywords: chicken tenders, honey butter chicken, crispy chicken, weeknight dinner, easy recipe, baked chicken, family friendly