It was 7:00 AM on a Saturday, and my usual “I’ll figure it out later” breakfast plan had completely backfired. I had promised my kids I’d make my famous banana bread, but I had two major problems. First, the three overripe bananas I’d been saving in the freezer were still solid as rocks. Second, I realized I was completely out of regular flour. I was staring at an empty cupboard, a bag of almond flour I’d bought for a keto experiment months ago, and two very hungry children who were already asking if we could just go to the drive-thru.
I didn’t want to send them out for processed muffins. I wanted something warm, sweet, and comforting. So, I did what any desperate parent does: I improvised. I thawed the bananas, dumped them into a bowl, and started throwing in the almond flour, eggs, honey, and a pinch of baking soda. I didn’t have a recipe. I didn’t have a scale. I just had instincts and a lot of hope.
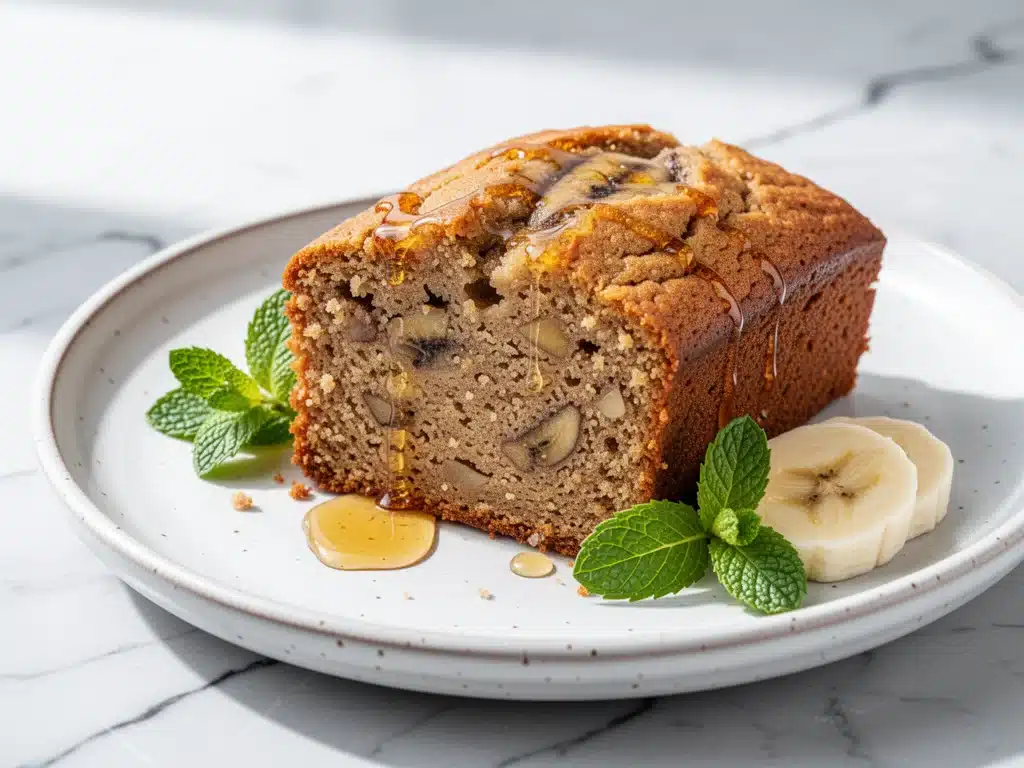
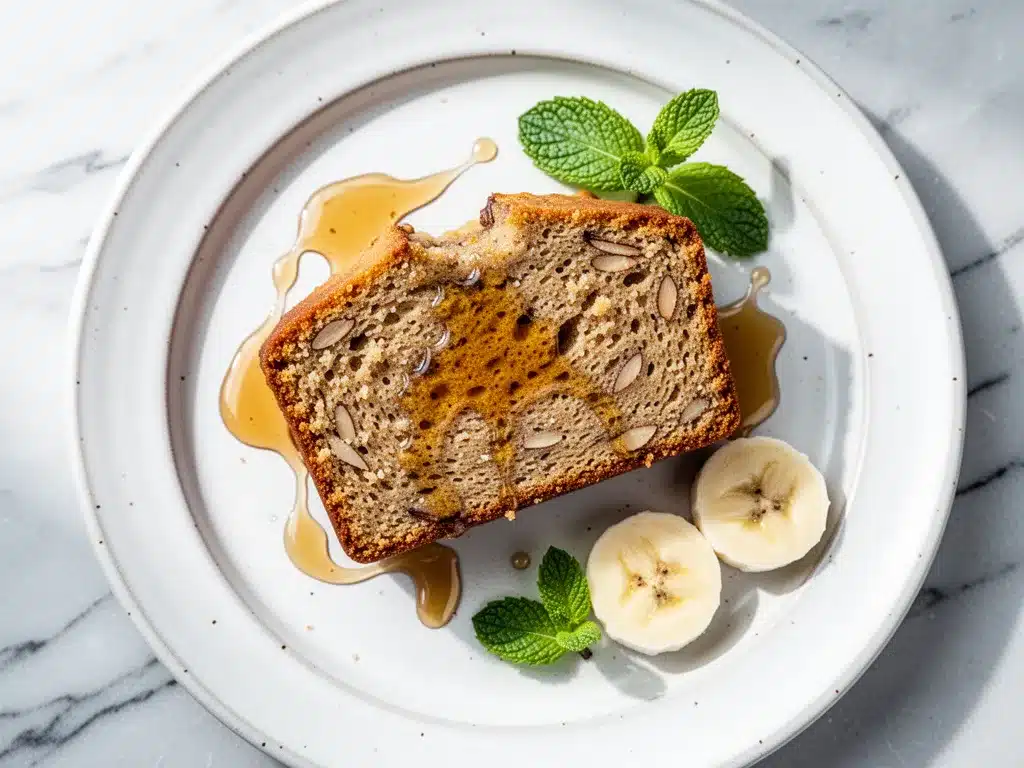
Twenty minutes later, the smell of warm, toasted almonds and caramelized banana filled the kitchen. When I pulled the loaf out of the oven, the crust was golden and crackly, and the inside was moist enough to make my husband close his eyes when he took the first bite. He didn’t even ask if it was gluten-free. He just asked for the recipe. That was the day I stopped buying gluten-free flour mixes and started mastering almond flour banana bread. This isn’t just a “diet” recipe. It’s the best banana bread you will ever eat, period.
Why You’ll Love This Almond Flour Banana Bread
I’ve made this loaf at least thirty times since that chaotic Saturday morning. It has become the anchor of our weekend breakfasts, the go-to gift for neighbors, and the secret weapon when I need to impress someone without spending hours in the kitchen. Here’s why this recipe has taken over my life (and hopefully yours):
- It’s Actually Moist — Let’s address the elephant in the room. Gluten-free baking often results in dry, crumbly breads. Not this one. The natural oils in the almond flour keep the crumb incredibly tender and moist for days. I’ve had slices on day four, and they still felt fresh.
- No Weird Flours Required — You don’t need a bag of xanthan gum, rice flour, tapioca starch, or five other ingredients you’ve never heard of. This recipe uses just almond flour. It’s simple, clean, and you probably already have it.
- Naturally Sweetened Option — While you can use white sugar, this recipe shines with honey or maple syrup. The sweetness balances the nuttiness of the almonds perfectly. It’s not cloying; it’s complex.
- Ready in 45 Minutes — Between prep and bake time, you’re looking at less than an hour. That’s faster than driving to the bakery. I make this on weeknights when I need a quick dessert that feels homemade.
- Freezer-Friendly — This bread freezes beautifully. I slice it, wrap it tightly, and keep it in the freezer. On busy mornings, I just pop a slice in the toaster. It tastes fresh-baked.
Real talk: this loaf is so good that people who aren’t gluten-free will beg you for the recipe. My brother, who is obsessed with traditional wheat-based banana bread, couldn’t tell the difference until I told him. And even then, he admitted this was “better.” That’s high praise.
Ingredients You’ll Need
Here’s the beautiful part: you don’t need a specialty store to make this. The ingredient list is short, simple, and mostly things you might already have in your pantry. I’m particular about a few things here, so pay attention to the notes.
For the Bread Base
Almond Flour (3 cups / 330g) — This is the star. Make sure you use blanched almond flour (the kind with the skins removed). It gives a lighter, finer crumb. If you use almond meal (with skins), the bread will be gritty and dark. I love the brand Blue Diamond, but any fine blanched almond flour works.
Ripe Bananas (4 medium / about 1 ½ cups mashed) — The riper, the better. I’m talking brown-spotted, almost black peels. These bananas are sweeter and mash easier. If your bananas are still yellow, bake them in the oven at 350°F for 15 minutes to soften them. Don’t skip this if you need to speed things up.
Eggs (2 large) — These provide structure since there’s no gluten. Room temperature eggs mix better and create a more uniform batter. I take them out of the fridge while the oven preheats.
Melted Butter or Coconut Oil (½ cup / 115g) — Butter adds richness and flavor. Coconut oil works great for a dairy-free version. Melt it gently—don’t burn it. Let it cool slightly before mixing so it doesn’t scramble the eggs.
Honey or Maple Syrup (½ cup / 120ml) — I prefer honey for its floral notes, but pure maple syrup is delicious too. If you’re using granulated sugar, you can use ¾ cup, but the texture will be slightly denser. Liquid sweeteners keep it moist.
For the Flavor and Rise
Baking Soda (1 teaspoon) — Essential for the rise. Make sure it’s fresh! If your baking soda is old, your bread will be flat and dense. Test it by dropping a little in vinegar—it should fizz vigorously.
Baking Powder (½ teaspoon) — A little boost to help it lift. Again, check the expiration date.
Salt (½ teaspoon) — This is non-negotiable. Salt enhances the sweetness and balances the almond flavor. Don’t skip it.
Vanilla Extract (2 teaspoons) — Use pure vanilla, not imitation. It makes a noticeable difference in flavor depth.
Optional Add-Ins
Dark Chocolate Chips (½ cup) — I add these for a treat version. They melt into pockets of sweetness.
Walnuts or Pecans (½ cup, chopped) — For extra crunch. Toast them in a dry pan for 2 minutes before adding for maximum flavor.
Cinnamon (1 teaspoon) — If you like a spiced banana bread, this is a great addition. It pairs beautifully with the almond flavor.
Equipment Needed
You don’t need fancy gadgets for this. Here’s what I actually use:
Loaf Pan (9×5 inch) — Standard size. I use a glass pan because it bakes evenly, but metal or silicone work too. Glass might need a few extra minutes.
Mixing Bowls — Two bowls: one for wet ingredients, one for dry. I use ceramic bowls because they’re heavy and don’t slip.
Mashing Tool — A potato masher or a fork. I have a dedicated masher that I love. Forks work if you don’t have one, but it takes more elbow grease.
Whisk — For mixing the wet ingredients. A balloon whisk is nice for incorporating air.
Spatula — A rubber spatula is crucial for scraping the bowl clean. You want every bit of batter in the pan.
Cooling Rack — Essential for cooling the bread properly so the bottom doesn’t get soggy.
How to Make It: Step-by-Step
Alright, let’s bake this! I’m walking you through exactly how I do it, including the little tricks I’ve picked up over the years.
Step 1: Prep Your Oven and Pan (5 minutes)
Preheat your oven to 350°F (175°C). Grease your 9×5 loaf pan generously with butter or non-stick spray. I also like to line it with parchment paper for easy removal, though it’s not strictly necessary if you grease well. The parchment makes cleanup a breeze.
Step 2: Mash the Bananas (2 minutes)
Peel your ripe bananas and put them in a large mixing bowl. Mash them with a potato masher or fork until they’re mostly smooth with a few small lumps. You want about 1 ½ cups of mashed banana. Don’t over-mash it into a liquid; you want some texture.
Step 3: Mix the Wet Ingredients (2 minutes)
To the mashed bananas, add the melted butter (or coconut oil), honey, eggs, and vanilla extract. Whisk everything together until it’s well combined and smooth. The mixture should look glossy and uniform. If you’re using maple syrup, it might be thinner, which is fine.
Step 4: Combine the Dry Ingredients (1 minute)
In a separate medium bowl, whisk together the almond flour, baking soda, baking powder, salt, and cinnamon (if using). Whisking is important here to distribute the leavening agents evenly. This prevents bitter spots of baking soda in the final loaf.
Step 5: Bring It All Together (2 minutes)
Pour the dry ingredients into the wet ingredients. Use your spatula to gently fold them together. Stop mixing as soon as no dry flour is visible. Overmixing can make the bread dense. The batter will be thick and sticky—that’s normal. If you’re adding chocolate chips or nuts, fold them in now.
Step 6: Bake (50-60 minutes)
Pour the batter into your prepared loaf pan. Smooth the top with the spatula. Bake at 350°F for 50-60 minutes. After 45 minutes, check the bread. If the top is browning too quickly, tent it loosely with aluminum foil. The bread is done when a toothpick inserted into the center comes out clean or with just a few moist crumbs. It should not be wet batter.
Step 7: Cool Completely (30 minutes)
This is the hardest part. Let the bread cool in the pan for 10 minutes, then transfer it to a wire rack to cool completely. If you cut it while it’s warm, it will fall apart. Almond flour bread is delicate when hot. Patience pays off.
Expert Tips & Tricks
Here’s everything I’ve learned from making this dozens of times. These tips will save you from my mistakes.
Use the Ripest Bananas Possible
The darker the peel, the sweeter the bread. If your bananas are green or yellow, the bread will taste bland. I keep a bag of overripe bananas in the freezer specifically for this. Thaw them before mashing.
Don’t Overmix the Batter
Almond flour doesn’t have gluten to develop, so you don’t need to worry about toughening the bread. But overmixing can still make it dense. Mix until just combined.
Check Early
Ovens vary. Start checking at 45 minutes. If the toothpick comes out clean at 45, it’s done. If it’s wet, give it 5 more minutes. Overbaking is the enemy of moist almond flour bread.
Store Properly
This bread keeps well at room temperature for 2 days, in the fridge for 5 days, or in the freezer for 3 months. Wrap it tightly in plastic wrap and then foil for freezing. It thaws beautifully.
Variations & Substitutions
Once you’ve nailed the basic version, here’s how you can mix it up. I’ve tried all of these.
Chocolate Chip Almond Bread
Add ½ cup dark chocolate chips. The bitterness of dark chocolate balances the sweetness perfectly.
Banana Walnut Bread
Add ½ cup chopped walnuts. Toast them first for extra flavor. This is my husband’s favorite version.
Spiced Banana Bread
Add 1 teaspoon cinnamon, ½ teaspoon nutmeg, and ¼ teaspoon ginger. It tastes like fall in every bite.
Dairy-Free
Use coconut oil instead of butter. Everything else is naturally dairy-free.
Sugar-Free
Use a sugar-free honey alternative or erythritol. The texture might be slightly different, but it’s still delicious.
Gluten-Free Flour Blend
If you can’t eat almonds, you can use a 1:1 gluten-free flour blend, but you’ll need to add 1 teaspoon of xanthan gum if it’s not included. The texture will be different, but still good.
Serving & Storage
How to Serve:
I usually serve this warm, sliced thickly. It’s perfect with a cup of coffee or tea. For a special occasion, top it with a dollop of whipped cream or a slice of brie cheese. It’s surprisingly good with brie.
Side Dishes:
Pair it with my fluffy buttermilk pancakes for a weekend brunch spread. Or serve it with a glass of cold milk for a simple snack.
Storage Instructions:
Store in an airtight container at room temperature for up to 2 days. In the fridge for up to 5 days. In the freezer for up to 3 months. Reheat slices in the toaster or microwave for 30 seconds.
Pro Tip:
If you’re meal prepping, slice the bread before freezing. This way, you can grab individual portions without thawing the whole loaf.
Nutrition Information
I’m not a nutritionist, but here’s the breakdown if you’re tracking. Note that almond flour is higher in calories and fat than wheat flour, but it’s also higher in protein and healthy fats.
Per Serving (based on 10 slices):
- Calories: 180
- Protein: 6g
- Carbs: 12g
- Fiber: 3g
- Sugar: 8g
- Fat: 14g
- Saturated Fat: 3g
- Cholesterol: 25mg
- Sodium: 150mg
What’s Good:
High in protein and healthy fats from almonds. Low in carbs compared to traditional banana bread. No refined flour.
What to Know:
Higher in calories due to almond flour. Contains nuts. Not suitable for those with nut allergies.
My Take:
Look, this is a treat. It’s not a salad. But it’s a much healthier alternative to store-bought banana bread. When I want to make it lighter, I reduce the honey and add more bananas. But usually? I just enjoy a slice and feel good about the ingredients.
Final Thoughts
So that’s my go-to gluten-free banana bread! I’ve probably talked your ear off at this point, but when you make a recipe this often, you have a lot to say about it. This loaf has saved my breakfasts, my desserts, and my sanity. It’s my answer to “what’s for breakfast” when I’m tired, don’t want to leave the house, and still want something that tastes really good. My kids are happy, my husband’s happy, and I’m happy because I’m not stressed about cooking.
Make it yours! Try different add-ins, swap in your favorite sweeteners, adjust the spices. The best recipes are the ones you adapt to your family’s tastes. If you make this, drop a comment and let me know what you think! I love hearing how recipes turn out in your kitchen. And if something doesn’t work, tell me that too—I’m here to help troubleshoot.
Happy baking! And I hope your kitchen smells half as good as mine does right now.
Frequently Asked Questions
Can I use almond meal instead of almond flour?
You can, but the texture will be different. Almond meal has the skins on, so the bread will be darker and grittier. If you’re okay with a rustic texture, go for it. But for a light, tender crumb, blanched almond flour is best.
Why did my banana bread turn out dry?
This usually happens if you overbake it or use under-ripe bananas. Make sure your bananas are very ripe. Also, check the bread at 45 minutes. Almond flour bread can dry out quickly if left in the oven too long. If it’s already baked and dry, toast the slices—they’ll be crispier and less noticeable.
Can I freeze this banana bread?
Yes! This bread freezes beautifully. Slice it, wrap it tightly in plastic wrap, and then put it in a freezer bag. It will last up to 3 months. Thaw it at room temperature or warm it in the toaster.
Can I use honey instead of maple syrup?
Absolutely. Honey is my preferred sweetener for this recipe. It adds a nice floral note that pairs well with the almonds. Just make sure it’s liquid honey. If it’s crystallized, warm it slightly before using.
Why did my bread sink in the middle?
This can happen if the bread is underbaked or if the oven temperature is too high. Make sure you’re testing for doneness with a toothpick. If it comes out wet, bake it longer. Also, avoid opening the oven door too early, as this can cause the bread to collapse.
Can I make this in a muffin tin?
Yes! Divide the batter into 12 muffin cups. Bake at 350°F for 20-25 minutes. They’ll be perfect for portable snacks. Just keep an eye on them, as they bake much faster than the loaf.
Is this recipe nut-free?
No, this recipe uses almond flour, so it’s not nut-free. If you have nut allergies, you’ll need to use a different flour blend. I recommend a 1:1 gluten-free flour blend with xanthan gum, but the taste will be different.
Pin This Recipe!
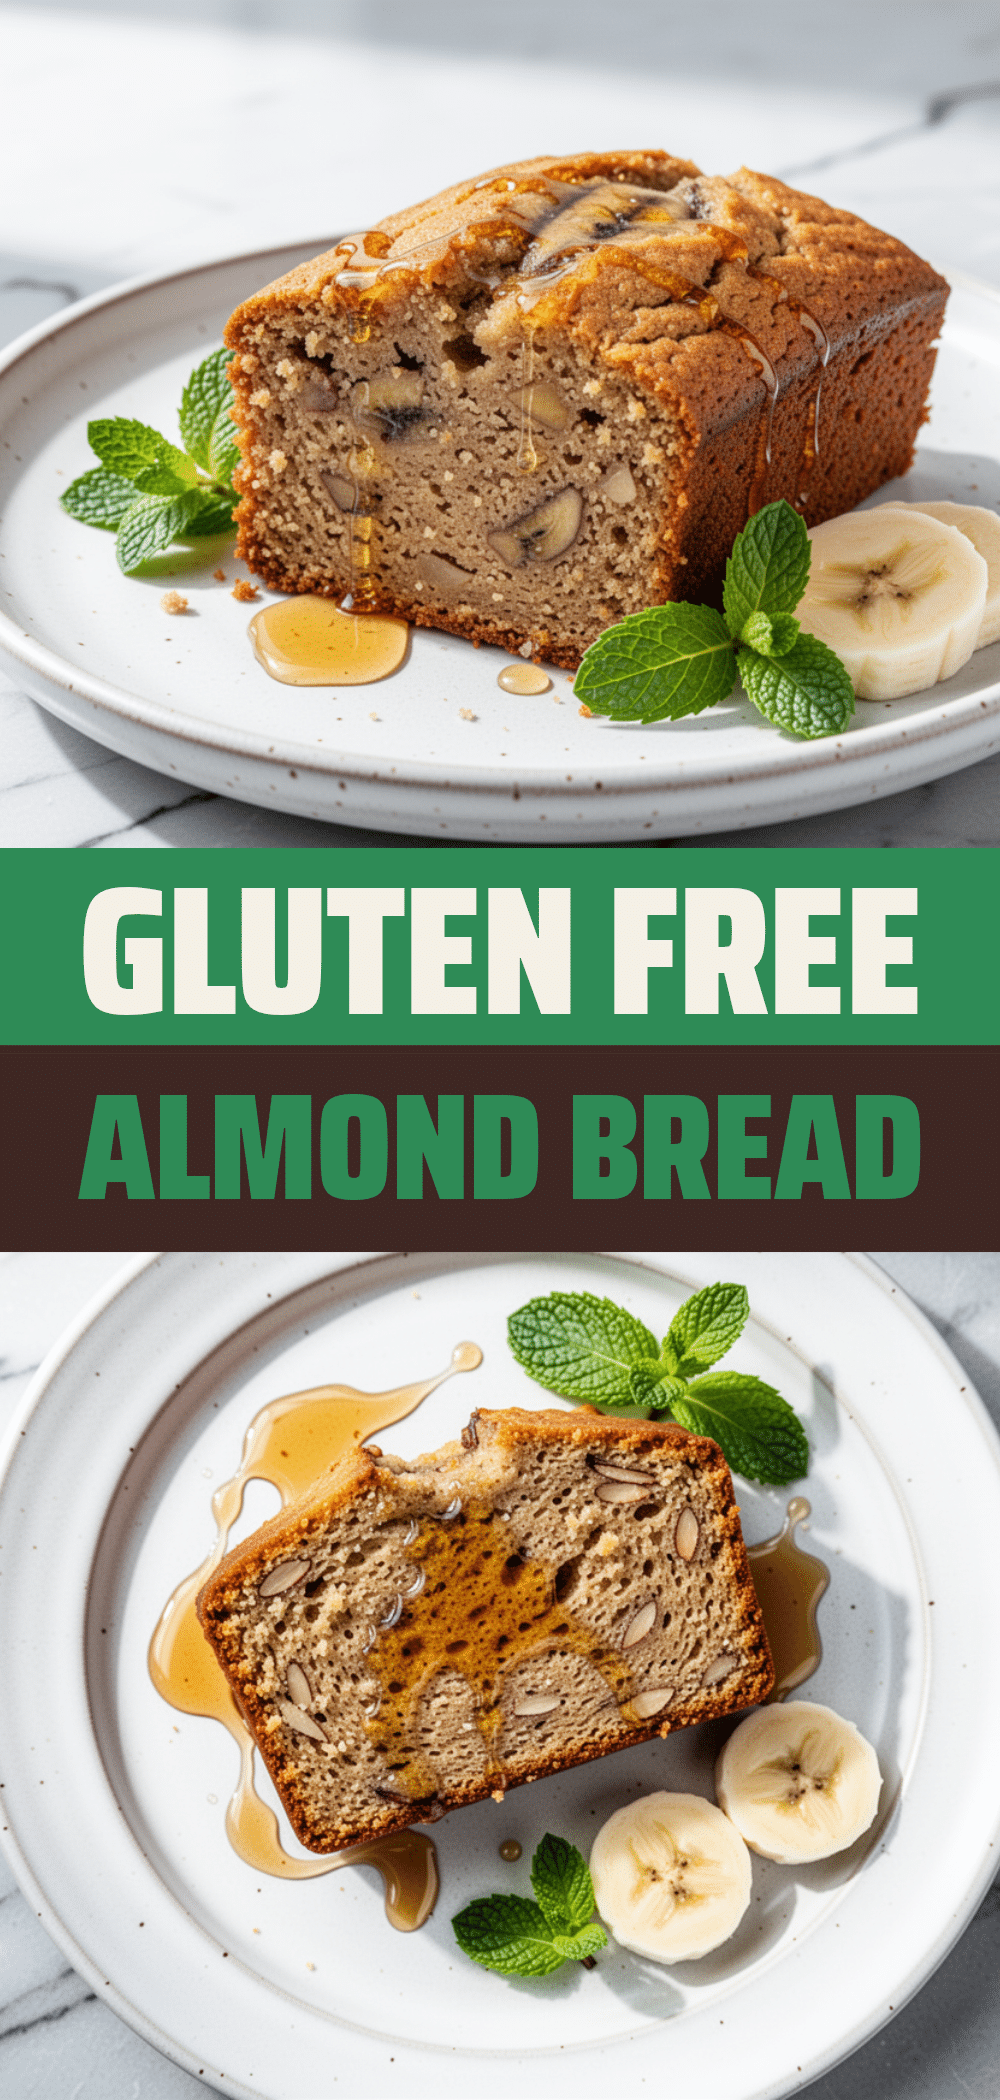
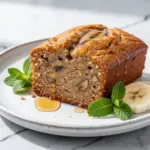
Gluten-Free Banana Bread: Easy Almond Flour Recipe
- Total Time: 45 minutes
- Yield: 10 servings 1x
Description
A moist, tender, and naturally sweetened gluten-free banana bread made with almond flour. This simple recipe requires no weird flours or xanthan gum, resulting in a delicious loaf that is ready in under an hour.
Ingredients
- 3 cups blanched almond flour (330g)
- 4 medium ripe bananas (about 1 ½ cups mashed)
- 2 large eggs, room temperature
- ½ cup melted butter or coconut oil (115g)
- ½ cup honey or maple syrup (120ml)
- 1 teaspoon baking soda
- ½ teaspoon baking powder
- ½ teaspoon salt
- 2 teaspoons pure vanilla extract
- 1 teaspoon cinnamon (optional)
- ½ cup dark chocolate chips (optional)
- ½ cup chopped walnuts or pecans (optional)
Instructions
- Preheat oven to 350°F (175°C). Grease a 9×5 inch loaf pan generously and line with parchment paper for easy removal.
- Peel ripe bananas and mash them in a large bowl until mostly smooth with a few small lumps (about 1 ½ cups).
- To the mashed bananas, add melted butter (or coconut oil), honey, eggs, and vanilla extract. Whisk until well combined and glossy.
- In a separate medium bowl, whisk together almond flour, baking soda, baking powder, salt, and cinnamon (if using) to distribute leavening agents evenly.
- Pour dry ingredients into wet ingredients. Gently fold together with a spatula until just combined. Do not overmix. Fold in chocolate chips or nuts if using.
- Pour batter into prepared loaf pan and smooth the top. Bake at 350°F for 50-60 minutes. Tent with foil if browning too quickly after 45 minutes.
- Test for doneness with a toothpick inserted into the center; it should come out clean or with moist crumbs.
- Let bread cool in the pan for 10 minutes, then transfer to a wire rack to cool completely before slicing.
Notes
Use the ripest bananas possible for maximum sweetness and moisture. Ensure baking soda and baking powder are fresh for proper rise. Do not overmix the batter to avoid dense bread. Store in an airtight container at room temperature for 2 days, fridge for 5 days, or freezer for 3 months.
- Prep Time: 10 minutes
- Cook Time: 50-60 minutes
- Category: Breakfast
- Cuisine: American
Nutrition
- Serving Size: 1 slice
- Calories: 180
- Sugar: 8
- Sodium: 150
- Fat: 14
- Saturated Fat: 3
- Carbohydrates: 12
- Fiber: 3
- Protein: 6
Keywords: gluten-free, almond flour, banana bread, healthy breakfast, dairy-free option, nut-free alternative, keto friendly, easy baking