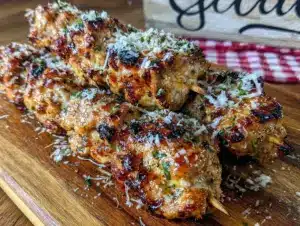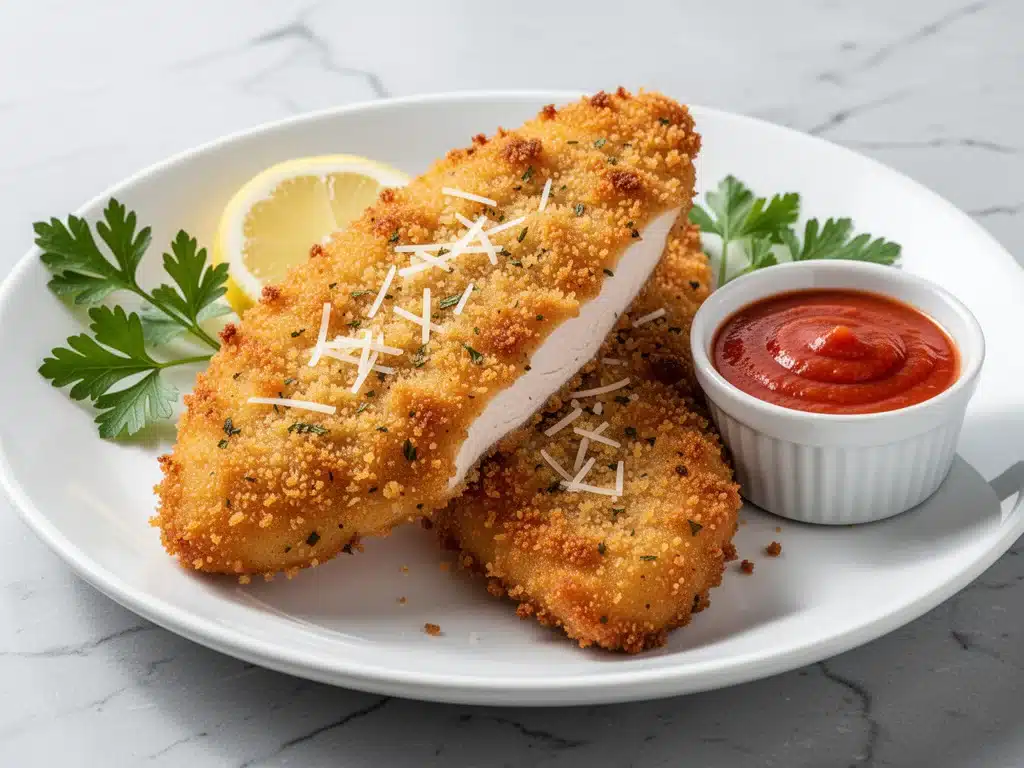
I still remember the night I almost ordered takeout for the third time in a row. It was 7:15 PM, I was exhausted, and the kids were circling like sharks, asking “What’s for dinner?” with that specific tone that suggests they might actually eat the drywall if I didn’t come up with something fast. I had chicken breasts in the freezer, a bag of breadcrumbs in the pantry, and a jar of parmesan cheese that had been sitting there for months. I threw them together on a whim, expecting mediocrity. Instead, thirty minutes later, my husband looked up from his plate and said, “Okay, that was actually restaurant quality. Can we have this again?”
That was the birth of my obsession with Crispy Parmesan Crusted Chicken Cutlets. I’ve made them at least a dozen times since that Tuesday, tweaking the breading, adjusting the cook time, and perfecting the sear. And here’s the truth: they are stupidly easy, incredibly fast, and taste like you spent hours in the kitchen (even though you really didn’t). They’ve replaced my usual go-to weeknight meals because they hit that perfect sweet spot between healthy-ish and indulgent comfort food.
If you’ve ever struggled with dry, boring chicken breasts, this is your fix. The key isn’t just the cooking method—it’s the crust. That combination of sharp parmesan, garlic powder, and fine breadcrumbs creates a barrier that locks in the juices while delivering a crunch that actually stays crunchy. It’s not fried chicken, but it satisfies that same craving without the mess or the guilt. Plus, since they’re thin cutlets, they cook in under 10 minutes. That’s it. Seriously.
I know what you’re thinking: “Another chicken recipe?” But trust me, this one is different. It’s the kind of dinner that makes you feel like a hero in your own kitchen. It’s the answer to “I’m tired but I want to eat well.” And once you try it, you’ll probably stop ordering takeout just for this dish. Let’s get into why these cutlets are worth the 15 minutes of your life.
Why You’ll Love This Recipe
There are about ten reasons I keep coming back to these Crispy Parmesan Crusted Chicken Cutlets, but here are the big ones that actually matter to your busy life.
Lightning Fast — From thawed chicken to plated dinner, we’re talking 20 minutes. Maybe 25 if you’re chopping veggies for a side. The cutlets are thin, so they sear quickly. I’ve made this on weeknights when I got home from work at 7 PM and had dinner on the table by 7:25. That speed is non-negotiable for me.
Stupid Simple Technique — You don’t need to pound the chicken perfectly. You don’t need a deep fryer. You just need three shallow bowls for the dredging station (flour, egg, breading) and a skillet. If you can dip something in liquid and roll it in crumbs, you can make this. I’ve walked my teenage daughter through it over FaceTime while she was at college. It’s that foolproof.
Texture Heaven — This is the main event. Most breaded chicken gets soggy within minutes. Not this. The parmesan in the breading helps it crisp up and stay crisp. The moment you bite in, it should crackle. It’s addictive. I’ve served this to picky eaters and food snobs alike, and everyone goes back for seconds. It’s the kind of food that makes people close their eyes when they chew.
Versatile AF — You can serve these with pasta, over salad, in a sandwich, or just with a side of roasted broccoli. I’ve served them with authentic Italian chicken piccata sauce on the side (minus the sauce, obviously) for a lighter twist, or tucked into a bun with aioli for a quick slider lunch. They play nice with everything.
Budget-Friendly — Chicken breasts are one of the most affordable proteins if you buy them right (sales, bulk packs). A pound of chicken, some breadcrumbs, and a bit of cheese costs less than $10 in most places. That’s cheaper than a single appetizer at a nice restaurant. This recipe feeds 3-4 people easily.
This is my go-to when I need dinner to just work. No complicated techniques, no weird ingredients you have to hunt for, just reliable, delicious food that makes everyone happy. And honestly? It feels like a treat, even though it’s totally normal weeknight fare.
Ingredients You’ll Need
Here’s the best part: you probably have 90% of this already in your kitchen. This isn’t a recipe that requires a special trip to the store. It’s pantry-friendly and fridge-clearing.
For the Chicken
Chicken breasts (1.5 to 2 pounds / 700-900g) — Boneless, skinless. Look for uniform pieces so they cook evenly. If your breasts are huge, slice them in half horizontally to make cutlets. Uniform thickness is key for even cooking. Don’t buy the pre-marinated ones; plain is better here.
Kosher salt (1 teaspoon) — And black pepper (½ teaspoon). Season the chicken directly before dredging. This is where you build flavor from the inside out. Don’t skip this. Bland chicken = bland crust.
For the Breading Station
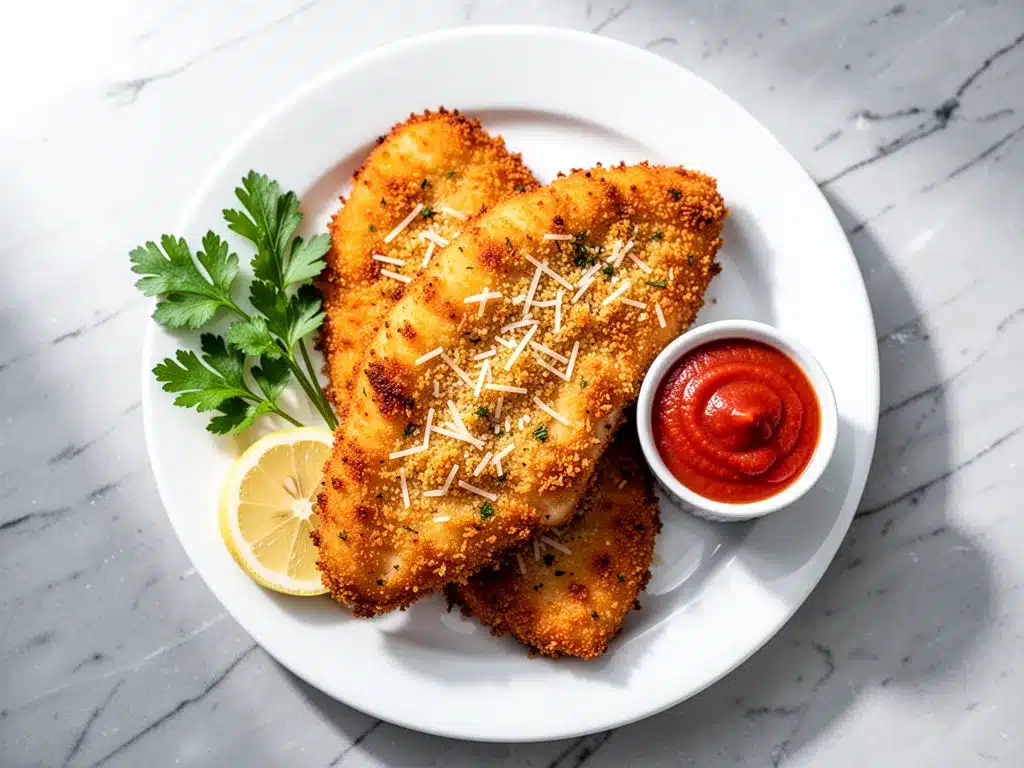
All-purpose flour (½ cup / 65g) — Just a light dusting. It helps the egg stick to the chicken. Don’t make it too thick or you’ll get a doughy layer.
Eggs (2 large) — Whisked well. I add a tablespoon of water or milk to the eggs. It makes the crust slightly lighter and less eggy. Your choice, but I recommend it.
Parmesan cheese (½ cup / 50g, freshly grated) — This is the star. Buy a wedge and grate it yourself. Pre-grated parmesan has cellulose in it to prevent clumping, and that stuff doesn’t melt or crisp the same way. It makes the texture gritty. Grating takes 2 minutes. Do it.
Breadcrumbs (1 cup / 100g) — I use Panko for extra crunch, but regular fine breadcrumbs work too. Panko gives that shattery, crispy texture. If you use regular, the crust will be more like a traditional breaded cutlet. Both are good, just different.
Garlic powder (1 teaspoon) — Not fresh garlic in the breading. Fresh garlic burns in the pan. Garlic powder infuses the crust with flavor without the risk of burning.
Dried Italian seasoning (1 teaspoon) — Or use half oregano, half basil. It adds that classic savory note. If you don’t have it, just use more garlic powder and a pinch of oregano.
For Cooking
Neutral oil (3 tablespoons) — I use avocado oil or canola oil. They have high smoke points. Olive oil works, but extra virgin can burn if the pan is too hot. I keep avocado oil on the stove for this.
Butter (1 tablespoon, optional) — I add a knob of butter at the end for flavor. It’s not traditional, but it makes the crust richer and adds a nutty aroma. Use salted or unsalted, just adjust your salt if needed.
Personal Tip: I always set up my breading station before I turn on the stove. Flour, egg, breading in three separate bowls. It’s a classic mise-en-place move, but it saves you from scrambling while the oil heats up. Also, keep a plate ready for the finished cutlets so they don’t get soggy from sitting in the pan.
Equipment Needed
You don’t need fancy gadgets for this. Here’s what I actually use, along with some honest opinions on why.
Large skillet (12-inch) — I prefer stainless steel or cast iron. They hold heat better and give a better sear. Non-stick works if you’re gentle with it, but you won’t get that deep golden crust as easily. I use a Le Creuset skillet, but any heavy-bottomed pan works.
Three shallow bowls — Pie plates or wide cereal bowls are perfect. You need enough surface area to lay the chicken flat. If the bowls are too deep, the breading gets messy and you waste it.
Meat mallet or rolling pin — Optional, but helpful. If your chicken breasts are uneven, pounding them to about ½-inch thickness ensures they cook at the same rate. I use a metal mallet, but a heavy rolling pin or even a clean hammer (don’t judge) works in a pinch.
Wire rack — I place the cooked cutlets on a wire rack set over a baking sheet. This keeps air circulating underneath so the bottom doesn’t get soggy. If you don’t have a rack, just place them on a plate lined with paper towels, but the rack is better.
Instant-read thermometer — Not strictly necessary, but it removes the guesswork. Chicken is done at 165°F (74°C). If you’re worried about undercooking, this is your friend. But honestly, after making these a few times, you’ll know by the color and firmness.
Tongs — For flipping. Spoons can work, but tongs give you better control. I use stainless steel tongs that don’t get hot.
Sharp knife — For slicing the chicken if needed. A dull knife will tear the meat. Learn to sharpen your knives. It changes everything.
Whisk — For the eggs. Fork works, but whisk incorporates air better. I keep a small whisk in every bowl station.
That’s it. No deep fryer, no special tools. Just basic kitchen gear you probably already own.
How to Make It: Step-by-Step
Alright, let’s make this! I’m walking you through exactly how I do it, including the little tricks I’ve picked up over the years. Follow these steps, and you’ll get perfect, crispy cutlets every time.
Step 1: Prep the Chicken (5 minutes)
If your chicken breasts are thick or uneven, place them between two sheets of plastic wrap or in a zip-top bag. Use a meat mallet or rolling pin to pound them to an even ½-inch thickness. This is crucial. Uneven chicken means some parts are dry and rubbery while others are still raw. Aim for uniformity. Once pounded, pat the chicken completely dry with paper towels. Moisture is the enemy of crispiness. Season both sides generously with salt and pepper.
Step 2: Set Up Your Breading Station (5 minutes)
Arrange three shallow bowls in a row. Bowl 1: Flour. Bowl 2: Whisked eggs (with that splash of water/milk). Bowl 3: Mixed breadcrumbs, parmesan, garlic powder, and Italian seasoning. Whisk the dry ingredients in the third bowl together before you start. You want the cheese and spices evenly distributed so every bite tastes good.
Step 3: Dredge the Chicken (5 minutes)
Take a piece of chicken and dredge it in the flour, shaking off any excess. It should be lightly coated, not caked. Next, dip it into the egg mixture, letting the excess drip off. Finally, press it firmly into the breadcrumb mixture. Use your hands to press the crumbs onto the chicken. Don’t just roll it; press. You want that crust to stick. Place the breaded cutlet on a clean plate. Repeat with all chicken pieces. Don’t crowd the plate.
Step 4: Heat the Oil (3 minutes)
Heat the oil in your large skillet over medium-high heat. You want the oil shimmering but not smoking. To test, drop a few breadcrumbs into the pan. If they sizzle and turn golden in 30 seconds, you’re ready. If they burn instantly, it’s too hot. If they sink and don’t sizzle, it’s too low.
Step 5: Cook the Cutlets (8-10 minutes total)
Carefully lay the cutlets in the pan. Don’t crowd the pan—cook in batches if necessary. Overcrowding steams the chicken instead of frying it. Cook for 3-4 minutes on the first side until golden brown and crispy. Flip carefully with tongs. Cook for another 3-4 minutes on the second side. The chicken should be golden brown, crispy, and cooked through (internal temp of 165°F). If they’re browning too fast but not cooking through, lower the heat slightly. Add the butter at the end of cooking for the last minute, swirling it around for flavor.
Step 6: Rest and Serve (2 minutes)
Transfer the cooked cutlets to the wire rack. Let them rest for 2-3 minutes. This allows the juices to redistribute. If you cut into them immediately, the juices run out and the meat dries up. Serve immediately while hot and crispy. They lose their crunch if they sit too long, so get them on plates fast.
Total Time: About 20-25 minutes (5 minutes prep, 5 minutes breading, 10-15 minutes cooking).
Troubleshooting: If the crust falls off, your chicken was too wet before dredging, or you didn’t press the crumbs on firmly enough. If it’s burning, your heat is too high. Parmesan burns faster than regular breadcrumbs, so watch that color closely.
Expert Tips & Tricks
Here’s everything I’ve learned from making these dozens of times. These tips will save you from my mistakes and ensure your crust stays crunchy.
Pat the Chicken Dry
This is the #1 tip. Moisture creates steam, and steam prevents browning. If your chicken is wet, the flour slides right off, and the crust won’t stick. Paper towels are your best friend here. I even let the chicken sit out for 10 minutes after patting to ensure surface dryness.
Press, Don’t Roll
When applying the breadcrumb mixture, don’t just roll the chicken in the crumbs. Press them in with your fingers. You want mechanical adhesion. The egg acts as glue, but the pressure ensures the crumbs embed into the surface. This prevents the crust from sliding off in the pan.
Use Panko for Extra Crunch
If you want that restaurant-style shatter, use Panko breadcrumbs. They have a higher surface area and create more air pockets, which crisp up beautifully. Regular breadcrumbs are denser and give a harder, more uniform crust. Both work, but Panko is superior for texture.
Don’t Crowd the Pan
I know it’s tempting to cook all four cutlets at once, but if they’re touching, they steam each other. The moisture gets trapped between them, and you end up with soggy, pale chicken. Cook in two batches if you have to. It only adds 5 minutes, but it’s worth it for the texture.
Keep the Heat Steady
Medium-high is the sweet spot. If it’s too low, the chicken absorbs oil and gets greasy. If it’s too high, the outside burns before the inside cooks. Parmesan burns quickly, so keep an eye on the color. You want golden brown, not black.
Rest Before Cutting
I know it’s hard to wait, but resting the chicken for 2-3 minutes after cooking keeps it juicy. The fibers relax and reabsorb the juices. Cutting immediately releases all that good stuff onto the plate.
Make-Ahead Strategy
You can bread the cutlets up to 24 hours ahead and store them covered in the fridge. Cook them straight from the fridge (you might need an extra minute in the pan). This is great for meal prep or if you’re hosting dinner and want to get ahead.
Variations & Substitutions
Once you’ve nailed the basic version, here’s how you can mix it up. I’ve tried all of these, and they’re all winners.
Spicy Parmesan Chicken
Add ½ teaspoon cayenne pepper and 1 teaspoon paprika to the breadcrumb mixture. It adds a nice kick without overpowering the savory flavor. Great with a cooling ranch dip.
Herb-Infused Crust
Swap the Italian seasoning for fresh chopped parsley and thyme. Mix the fresh herbs into the breadcrumbs right before dredging. It’s fresher and more aromatic. I love this for spring dinners.
Gluten-Free Version
Use gluten-free flour and gluten-free Panko breadcrumbs (or crushed gluten-free crackers). The technique stays the same. I’ve used almond flour for the dredge, but it browns faster, so watch the heat. GF Panko is the easiest swap.
Baked Option
For a lighter version, bake at 400°F (200°C) on a wire rack for 15-18 minutes, flipping halfway. Spray the tops with oil before baking. It’s not as crispy as pan-frying, but it’s much lower in fat. I do this when I’m trying to be “healthy,” though I admit the pan-fried version is superior.
Cheese Lover’s
Add a slice of mozzarella or provolone on top of the hot chicken right after cooking. Let it melt under the residual heat. It’s basically a deconstructed chicken parmesan. Delicious.
Sauce Pairings
Serve with marinara sauce for a classic chicken parm vibe, or with a lemon-aioli for a lighter, tangy twist. I’ve also served them with a simple pan sauce made from deglazing the skillet with chicken broth and a splash of cream. Rich and savory.
Serving & Storage
How to Serve:
I usually serve these straight from the wire rack. They look rustic and stay warm. Pair them with a simple green salad, roasted asparagus, or mashed potatoes. I love them with cheesy garlic pull-apart bread on the side for a carb-heavy comfort meal. Or serve them over spaghetti with marinara for a classic Italian-American dinner.
Leftovers:
Store in an airtight container in the fridge for up to 3 days. The crust will soften in the fridge, which is normal. To re-crisp, reheat in an air fryer at 375°F for 3-4 minutes, or in a toaster oven. The microwave will make them soggy, so avoid that unless you’re in a huge rush. If you microwave, do it on a paper towel and for short bursts.
Freezing:
You can freeze the breaded cutlets before cooking. Place them on a baking sheet in the freezer, then transfer to a freezer bag. Cook from frozen, adding 2-3 minutes to the cook time. Do not freeze cooked cutlets if you want to preserve the texture—the crust will get mushy when thawed. Better to freeze raw and cook fresh.
Nutrition Information
I’m not a nutritionist, but here’s the breakdown if you’re tracking. Keep in mind that these are estimates based on average sizes and ingredients.
Per Serving (based on 4 servings, 1 cutlet each):
– Calories: 320
– Protein: 30g
– Carbs: 18g
– Fiber: 1g
– Sugar: 1g
– Fat: 14g
– Saturated Fat: 4g
– Cholesterol: 110mg
– Sodium: 450mg
What’s Good:
High protein, low carb (if you skip the heavy sides), and satisfying. The parmesan adds calcium and flavor without needing a lot of salt.
What to Know:
The calories come mainly from the oil and breadcrumbs. If you bake instead of fry, you can cut the fat by half. The sodium is moderate, so use low-sodium breadcrumbs if you’re watching salt.
My Take:
Look, this is breaded chicken. It’s not a diet food. But it’s way better than takeout, and the protein content keeps you full. I enjoy it as part of a balanced meal with veggies. When I want to make it lighter, I use less oil and bake it. But usually? I pan-fry it and enjoy it. Balance is key.
Final Thoughts
So that’s my go-to Crispy Parmesan Crusted Chicken Cutlets! I’ve probably talked your ear off at this point, but when you make a recipe this often, you have a lot to say about it. This has saved weeknight dinners more times than I can count. It’s my answer to “what’s for dinner” when I’m tired, don’t want takeout, and still want something that tastes really good.
Make it yours! Try different herbs, swap the breadcrumbs, or add a spicy kick. The best recipes are the ones you adapt to your family’s tastes. If you make this, drop a comment and let me know what you think! I love hearing how recipes turn out in your kitchen. And if something doesn’t work, tell me that too—I’m here to help troubleshoot.
Happy cooking! And I hope your kitchen smells half as good as mine does right now.
Frequently Asked Questions
Can I use chicken thighs instead of breasts?
Yes, but the texture will be different. Thighs are juicier and have more fat, so they’re less likely to dry out. However, they’re also softer, so the crust might not get as crunchy. If you use thighs, make sure to pound them flat so they cook evenly. I prefer breasts for this specific recipe because of the lean texture, but thighs work if you want more flavor.
Why did my crust fall off in the pan?
Usually, this happens because the chicken was too wet before dredging, or you didn’t press the breadcrumbs on firmly enough. Make sure to pat the chicken dry with paper towels. Also, press the crumbs into the chicken with your fingers. If the crust still slides off, your oil might not be hot enough. The heat helps set the coating immediately.
Can I make this ahead of time?
You can bread the cutlets up to 24 hours ahead and store them covered in the fridge. Cook them straight from the fridge. If you cook them ahead, they will lose their crispiness. It’s best to bread them ahead and cook them right before serving. This gives you the prep ease without sacrificing texture.
What’s the best oil to use for frying?
I recommend avocado oil or canola oil because they have high smoke points and neutral flavors. Olive oil works, but extra virgin can burn at medium-high heat. Vegetable oil is also fine. Avoid butter alone for frying—it burns too quickly. I use a mix of oil and a knob of butter at the end for flavor.
How do I reheat leftovers without them getting soggy?
The air fryer is your best friend here. Reheat at 375°F for 3-4 minutes. A toaster oven works too. Avoid the microwave, as it will steam the crust and make it soft. If you must microwave, do it on a paper towel for short bursts, but know that the texture won’t be the same.
Can I bake these instead of frying?
Yes! Bake at 400°F (200°C) on a wire rack for 15-18 minutes, flipping halfway. Spray the tops with cooking oil or brush with a little oil before baking. They won’t be as crispy as pan-fried, but they’re much lower in fat. I do this when I’m trying to be healthier, but I admit the pan-fried version is superior for crunch.
Why does my parmesan burn so fast?
Parmesan has a lower melting point and burns easily because of the sugar content and fine texture. That’s why I keep the heat at medium-high, not high. If you see it turning dark brown quickly, lower the heat. You want golden, not black. Using Panko breadcrumbs can also help protect the parmesan by creating a barrier.
Pin This Recipe!
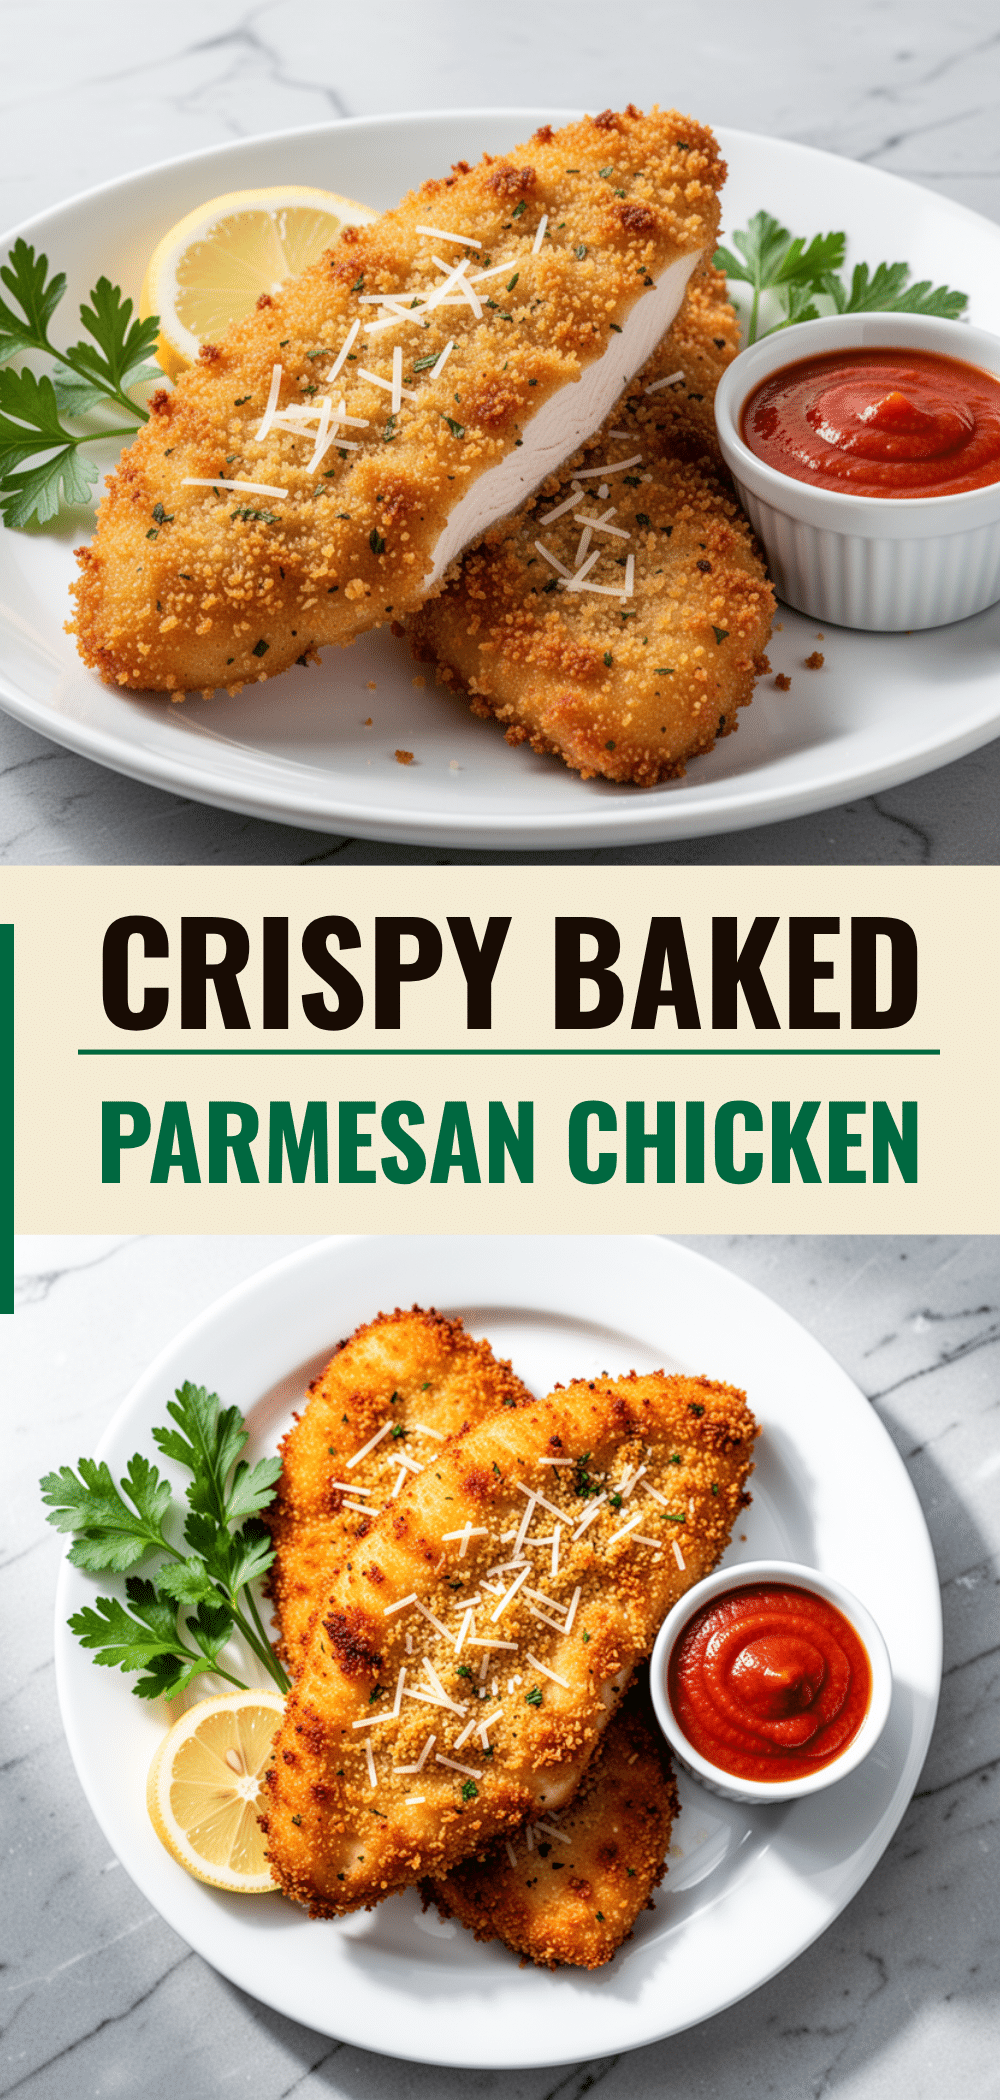
Crispy Parmesan Crusted Chicken Cutlets: Easy Weeknight Dinner
- Total Time: 25 minutes
- Yield: 4 servings 1x
Description
These crispy parmesan crusted chicken cutlets are a lightning-fast, foolproof weeknight dinner that delivers restaurant-quality crunch without the mess. Thinly pounded chicken breasts are dredged in a seasoned parmesan and panko mixture and pan-seared to golden perfection in under 10 minutes.
Ingredients
- 1.5 to 2 pounds boneless, skinless chicken breasts
- 1 teaspoon kosher salt
- 1/2 teaspoon black pepper
- 1/2 cup all-purpose flour
- 2 large eggs
- 1 tablespoon water or milk
- 1 cup Panko breadcrumbs (or regular fine breadcrumbs)
- 1/2 cup freshly grated parmesan cheese
- 1 teaspoon garlic powder
- 1 teaspoon dried Italian seasoning
- 3 tablespoons neutral oil (avocado or canola)
- 1 tablespoon butter (optional)
Instructions
- Place chicken breasts between plastic wrap or in a zip-top bag and pound to an even 1/2-inch thickness. Pat completely dry with paper towels and season both sides with salt and pepper.
- Set up a breading station with three shallow bowls: one with flour, one with whisked eggs mixed with water/milk, and one with breadcrumbs, parmesan, garlic powder, and Italian seasoning combined.
- Dredge each chicken piece in flour, shaking off excess. Dip into the egg mixture, letting excess drip off, then press firmly into the breadcrumb mixture to ensure the crust adheres. Place on a clean plate.
- Heat neutral oil in a large skillet over medium-high heat until shimmering but not smoking.
- Carefully lay cutlets in the pan, ensuring they are not crowded. Cook for 3-4 minutes on the first side until golden brown and crispy.
- Flip cutlets and cook for another 3-4 minutes on the second side until internal temperature reaches 165°F. Add butter in the last minute if desired.
- Transfer cooked cutlets to a wire rack to rest for 2-3 minutes before serving immediately.
Notes
Patting the chicken dry is crucial for crispiness. Press the breadcrumbs firmly onto the chicken rather than just rolling it. Do not crowd the pan, as this causes steaming instead of frying. For a lighter version, bake at 400°F for 15-18 minutes. Leftovers can be reheated in an air fryer to restore crunch.
- Prep Time: 15 minutes
- Cook Time: 10 minutes
- Category: Main Course
- Cuisine: Italian-American
Nutrition
- Serving Size: 1 cutlet per serving
- Calories: 320
- Sugar: 1
- Sodium: 450
- Fat: 14
- Saturated Fat: 4
- Carbohydrates: 18
- Fiber: 1
- Protein: 30
Keywords: crispy chicken, parmesan chicken, chicken cutlets, weeknight dinner, easy chicken recipe, panko chicken, quick dinner, healthy-ish comfort food